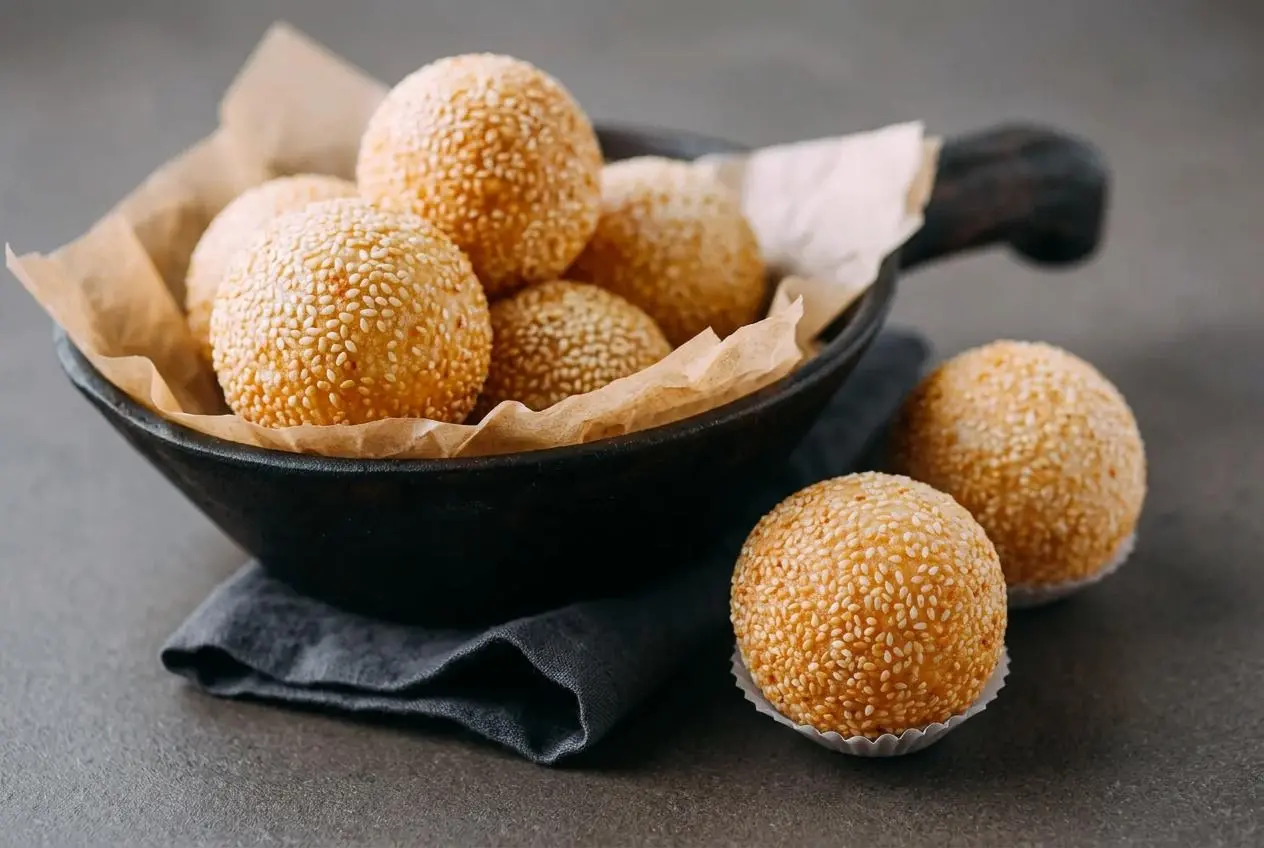
This sesame balls recipe wraps sweet lotus or red bean paste in glutinous rice dough, coats it with damp sesame seeds, and uses staged deep-frying for a golden, crisp shell and chewy interior. That first warm bite brings a delicate crunch followed by soft, stretchy dough.
Chinese sesame balls, also called jian dui or zhi ma qiu, are a dim sum favorite with a sweet center and nutty coating. Making them at home takes patience, especially when wrapping and frying, but weighing the portions makes the work much more manageable.
The key is giving the dough time to expand before the outside browns. Ready-made filling saves preparation work, leaving you free to focus on smooth seams and steady oil heat. The crunch is worth the care.
Set out your kitchen scale and deep-frying thermometer before mixing so you can portion evenly and adjust the heat without scrambling.
Ingredients and Why Each One Matters
Rice flour provides stretch, sugar sweetens the wrapper, and water brings the dough together. Sweet paste gives the center richness, sesame seeds add nutty crunch, and frying oil develops the crisp exterior.
- 1 1/2 cups glutinous rice flour (divided)
- 1/3 cup granulated sugar
- 1/4 cup boiling water
- 1/4 cup room temperature water (plus 1 tablespoon)
- 7 ounces lotus paste or red bean paste
- 1/4 cup sesame seeds (raw or toasted are both fine)
- 4 cups peanut or vegetable oil (for frying)
Choose a lotus or red bean paste that holds its shape when rolled. A loose filling makes sealing harder because it can smear across the dough edges. Ready-made paste from an Asian grocery store reduces preparation work; homemade paste works too.
Both raw and toasted sesame seeds work for the coating. Rinsing and draining them provides surface moisture that helps them cling, while the final palm roll presses them into the dough rather than leaving them loose.
I prefer to let the rinsed seeds drain thoroughly before spreading them out; damp seeds are easier to handle than a puddle on the plate.
Glutinous Rice Flour Is Not Regular Rice Flour
Look for the printed words “glutinous rice flour” or “sweet rice flour.” This flour gives the wrapper its stretchy chew. Regular rice flour is not a direct substitute and can leave dough crumbly instead of pliable.
Mochiko is a sweet rice flour term you may encounter, though brands can handle moisture differently. Check the flour name rather than relying on package color, and keep the stated flour quantity as your starting point.
Why the Dough Uses Two Water Temperatures
Boiling water cooks part of the starch in the first flour addition, helping the mixture bind and stretch. The later room-temperature water combines with the remaining flour to complete the dough.
The pauses matter too: the initial mixture sits for 5 minutes, then the completed dough rests covered for 30 minutes. These stages support workable dough, but they cannot compensate for dried surfaces, thin wrappers, or excessively hot oil.
How to Make Sesame Balls Step by Step
Make eight sesame balls in two frying batches. Plan on 1 hour 20 minutes of preparation and 40 minutes of cooking, for about 2 hours total.
- Select lotus paste or red bean paste, either prepared at home or purchased ready-made.
A paste that holds a rounded shape will be easier to enclose neatly. - Combine the sugar with 1/2 cup (60 g) glutinous rice flour in a bowl, stir in 1/4 cup (60 g) boiling water using a rubber spatula, and leave the smooth mixture for 5 minutes; then incorporate 1/4 cup plus 1 tablespoon (70 g) room-temperature water and the remaining 1 cup (120 g) flour, cover, and rest for 30 minutes.
The finished dough should contain no dry flour and feel soft and pliable. - Saturate the sesame seeds under running water in a fine-mesh strainer, drain away excess water, and distribute them across a plate.
The coating should feel damp without dripping or sitting in pooled water. - Portion the filling on a kitchen scale into eight 24 g pieces and shape each piece into a sphere.
Matching portions help keep the centers consistent and leave enough dough around each filling. - Check the dough weight, which should be about 370 to 380 g, then divide it into eight equal portions of approximately 47 g, round them, and keep them covered.
The portions should remain supple rather than developing a dry skin. - Press one dough portion into a 3-inch disc with a slightly thicker center, set a filling portion in the middle, and bring the dough around it, pinching the edges closed.
Aim for an even wrapper without exposed filling or noticeably thin patches. - Smooth the enclosed ball with gentle palm pressure and roll it between your hands.
The finished surface should look round and continuous, with no visible seam. - Cover the ball completely with damp sesame seeds, roll it between your palms again to secure the coating, and set it on parchment paper.
The seeds should sit snugly against the dough rather than scatter when you move it. - Bring 4 cups peanut or canola oil to a steady 320°F/160°C in a medium deep pot, checking with a thermometer.
The oil should reach roughly halfway up the pot, leaving space above it. - Lower four balls into the oil, guide them gently in circles with a slotted spoon, and adjust the heat to maintain 300°F/150°C.
Keep them moving enough to avoid sticking to the bottom. - At about 10 minutes, watch for the balls to float, continue turning them, and occasionally lower all four gently beneath the surface with a slotted spoon or small spider during the next 2 to 3 minutes.
Use controlled pressure for even oil contact without flattening the expanding shells. - Raise the oil temperature gradually to 350°F and continue frying for another 5 minutes, bringing the batch’s total frying time to 17 to 18 minutes.
Look for a light golden coating rather than a dark brown crust. - Lift the balls onto a strainer, cooling rack, or paper towel-lined plate to drain, then cook the remaining four using the same temperature stages and allow a 10-minute cooling period before serving.
The drained shells should retain their rounded shape as the initial heat subsides.
Mixing the Two-Water Glutinous Rice Dough
Stir the first mixture until smooth before its pause, then work in the remaining flour and water until no powder remains. The covered rest belongs before portioning, not after shaping.
Think soft and yielding, roughly like an earlobe, rather than stiff modeling clay. Keep the dough covered while you organize the filling and seeds so its surface stays workable.
Weighing, Wrapping, and Coating in Damp Seeds
The 24 g filling and approximately 47 g dough portions create roughly a 1:2 filling-to-dough ratio. It is an approximate ratio, not an exact equality. Weighing helps prevent an oversized center from stretching one wrapper too thin.
Leave the disc’s center slightly thicker because it supports the filling as you draw up the edges. Close the seam fully before smoothing the ball. Damp seeds adhere better than dry ones, and the second palm roll anchors them without requiring a separate coating mixture.
Two-Stage Deep Frying for Hollow Expansion
The preheat, expansion stage, and final browning serve different purposes. Adding four balls can drop the oil temperature immediately, so watch the thermometer and make gentle heat adjustments rather than turning the burner sharply upward.
Allow expansion at the lower temperature before gradually increasing the heat for crispness. Turn and submerge the floating balls gently, never crush them. Floating and light golden color are useful progress cues, but the interior cavity may vary from ball to ball.
Expert Tips and Troubleshooting for Sesame Balls
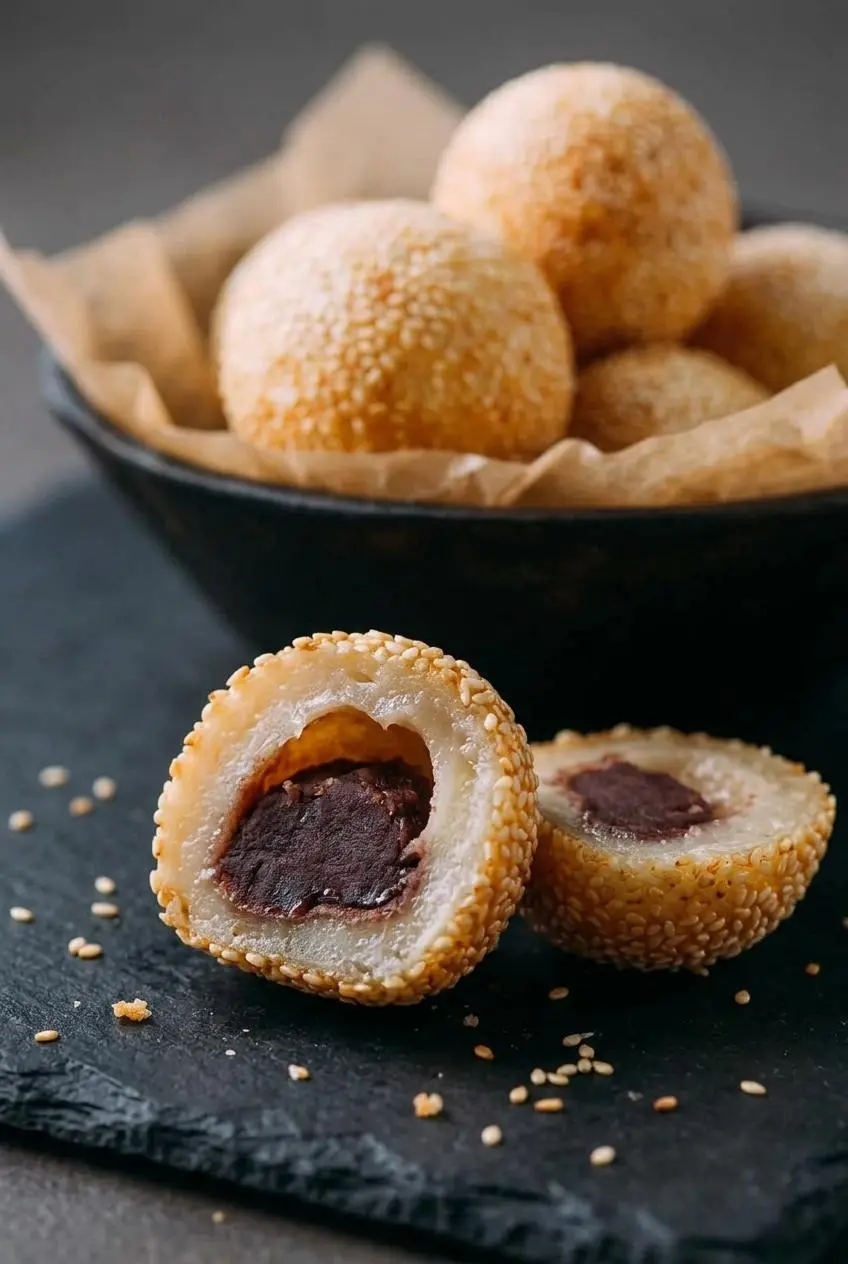
Use the symptom to identify the likely problem before changing the dough formula or frying heat.
- Surface cracks during wrapping: Exposed dough may have dried out. Keep unused portions covered; as an optional repair, smooth a tiny dab of water over a superficial dry patch before sealing.
- Bursting or leaking filling: Thin spots, trapped air, open seams, or excessive initial heat can contribute. Wrap snugly, smooth the closure, and let the dough expand at the lower frying temperature before browning.
- Shells that collapse: Insufficient expansion or a crust that browns before it develops structure can play a part. Follow the gradual temperature progression and gentle submersion rather than rushing to a darker color.
- Tough or crumbly dough: Check the flour label first, then consider surface drying or a skipped hot-water stage. Use sweet rice flour, preserve both mixing stages, and keep the resting dough covered.
- Seeds falling into the oil: Seeds that are too dry or barely attached can shed. Rinse, drain, coat thoroughly, and press them into place with the final palm roll.
A dry kitchen can speed surface drying, making covered portions especially important. At high altitude, start with the same formula and judge pliability rather than guessing at new water amounts or oil temperatures. Large, unmeasured additions of flour or water can create a different problem.
Best Fillings and Cooking Variations for Sesame Balls
Change the flavor with a firm filling, but keep optional alternatives separate from the lotus or red bean version above.
Lotus, Red Bean, Black Sesame, and Peanut Fillings
- Lotus seed paste: An official choice with a smooth texture and mellow sweetness.
- Red bean paste: The other official choice, with a distinct sweet bean flavor; choose a consistency that rolls cleanly.
- Black sesame paste: An optional filling with a deeper roasted flavor; use a firm paste rather than a pourable sesame spread.
- Mung bean paste: Another optional sweet filling, provided it is cohesive enough to enclose.
If your paste feels too soft to shape, brief chilling can help with handling. Keep it covered and follow its storage directions.
Crushed Peanut and Peanut Butter Filling
For an optional nutty center, combine crushed roasted peanuts with creamy peanut butter and maple syrup until cohesive and rollable. Aim for a mixture that keeps its shape, similar to the handling consistency of peanut butter balls, rather than a loose spoonful.
The peanut pieces add texture against the chewy wrapper. This variation contains peanuts, an allergen, so identify the filling clearly when serving.
Deep-Frying vs Air-Frying and Baking
- Deep-frying: The method above supports rounded expansion, a crisp sesame shell, and a chewy interior through steady oil contact.
- Air-frying: An optional alternative that can give a firmer, less chewy shell. Brushing with oil helps coat the surface, but it is not a direct replacement for the frying method, and no complete alternate timing schedule is provided here.
- Baking: Generally gives poorer puffing and a drier shell. It is not the preferred choice for the classic dim sum texture.
Optional Toasted Sesame Oil in the Dough
A little toasted sesame oil added during the second mixing stage is an optional way to emphasize roasted sesame aroma. It is a flavor variation, not a required ingredient or a proven way to keep the dough tender longer.
Making Sesame Balls Ahead and Reheating the Crisp Shell
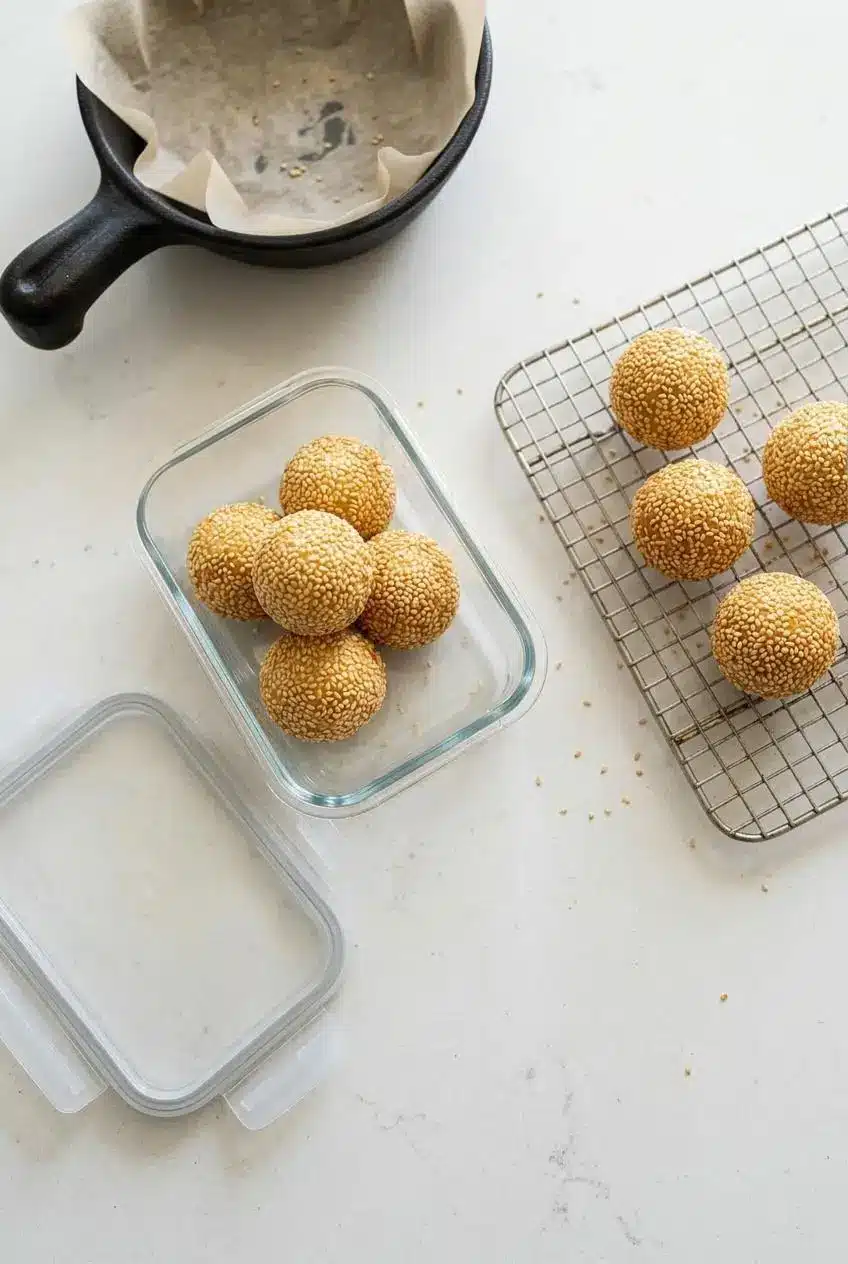
For the most predictable wrapping and frying, mix the dough and fry the balls in the same cooking session. Holding shaped, unfried balls in the refrigerator can dry their surfaces and encourage cracking.
If you separate the preparation tasks, focus on the filling: keep it covered and follow its package or preparation-specific storage directions. Avoid leaving assembled balls exposed while you work.
For leftovers, let the shells cool before enclosing them so trapped steam does not immediately soften the coating. Refrigerate in an airtight container, bearing in mind that chilling can firm the chewy dough. Storage requirements also depend on the filling, so there is no single storage limit given here.
A toaster oven or air fryer can restore some surface crispness with dry heat. Check frequently and stop when warmed through and crisped to your liking; reheating will not reproduce the fresh interior exactly. A microwave is a poor choice when preserving the crust is the goal.
What to Serve with Sesame Balls
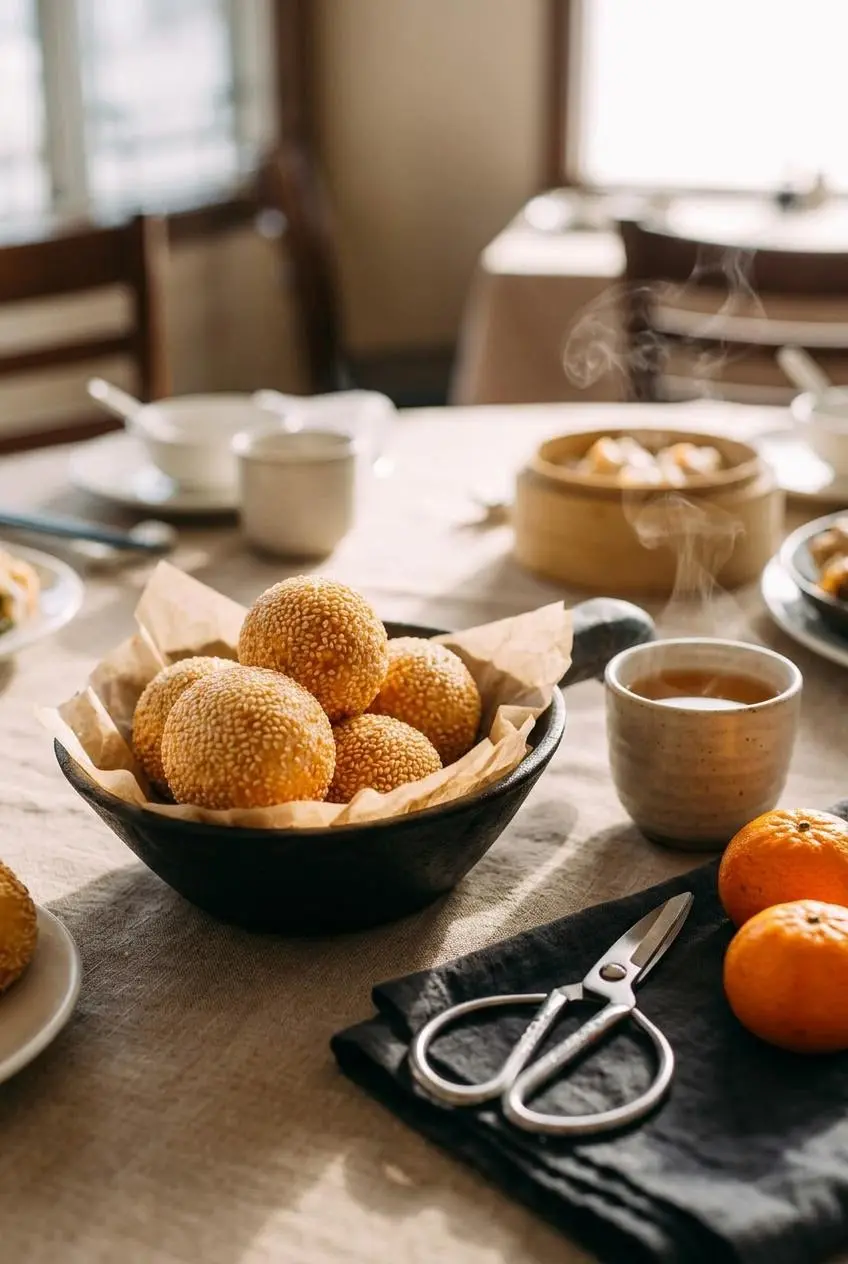
After the prescribed cooling period, serve the balls warm so the crisp sesame coating contrasts with the yielding dough and sweet center. Jasmine or oolong tea balances the richness without competing with the filling.
For a Lunar New Year platter, add fresh mandarin oranges. If you want to reveal the filling, cut a ball with kitchen shears just before serving, taking care with the warm center.
For a larger Chinese-inspired meal, serve homemade fried rice as the savory course and bring out the sesame balls with tea afterward.
Conclusion
Golden sesame balls depend on the right flour, evenly wrapped filling, and enough time for the dough to expand before browning. Those details create the contrast between a crisp shell and a chewy center.
Keep the dough covered, take care with the seams, and let the thermometer guide the frying. Enjoy them warm, when the sesame crunch is at its best.
Frequently Asked Questions
What Are Chinese Sesame Balls Usually Filled With?
Sweet lotus seed paste and red bean paste are the two choices used here. Optional alternatives include firm black sesame paste, mung bean paste, and sweetened peanut filling.
Can You Bake or Air Fry Sesame Balls Instead of Frying Them?
Air-frying is an option, but expect a firmer shell and less chew than the deep-fried version. Baking generally produces less expansion and a drier exterior. Neither method is an identical substitute for the staged frying instructions.
Can I Roll Sesame Balls a Day Before and Fry Them the Next Day?
For more dependable results, shape and fry during the same cooking session. Refrigerated assembled balls can develop dry surfaces and cracks. Separate filling preparation from dough preparation instead, keeping the filling covered and following its storage directions.
Why Do My Sesame Balls Crack, Burst, or Deflate?
Dry dough can crack; thin wrappers, trapped air, and incomplete seams can cause leaks or bursting. Excessive initial heat can brown the shell before expansion, while insufficient expansion can contribute to collapse. Keep portions covered, seal them evenly, and follow the preheat, lower-temperature expansion, gentle submersion, and gradual final heat increase described above.
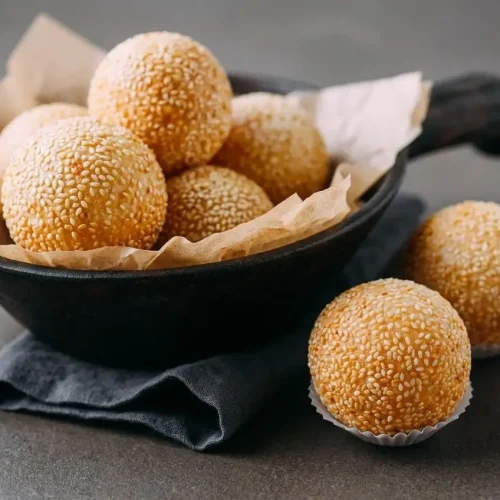
Sesame Balls Recipe

Equipment
- Rubber spatula
- fine-meshed strainer
- Digital kitchen scale
- Parchment Paper
- Thermometer
- Slotted spoon
- small spider
- Cooling Rack
Ingredients
- 1 1/2 cups glutinous rice flour (divided)
- 1/3 cup granulated sugar
- 1/4 cup boiling water
- 1/4 cup room temperature water (plus 1 tablespoon)
- 7 ounces lotus paste or red bean paste
- 1/4 cup sesame seeds (raw or toasted are both fine)
- 4 cups peanut or vegetable oil (for frying)
Instructions
- Select lotus paste or red bean paste, either prepared at home or purchased ready-made. A paste that holds a rounded shape will be easier to enclose neatly.
- Combine the sugar with 1/2 cup (60 g) glutinous rice flour in a bowl, stir in 1/4 cup (60 g) boiling water using a rubber spatula, and leave the smooth mixture for 5 minutes; then incorporate 1/4 cup plus 1 tablespoon (70 g) room-temperature water and the remaining 1 cup (120 g) flour, cover, and rest for 30 minutes. The finished dough should contain no dry flour and feel soft and pliable.
- Saturate the sesame seeds under running water in a fine-mesh strainer, drain away excess water, and distribute them across a plate. The coating should feel damp without dripping or sitting in pooled water.
- Portion the filling on a kitchen scale into eight 24 g pieces and shape each piece into a sphere. Matching portions help keep the centers consistent and leave enough dough around each filling.
- Check the dough weight, which should be about 370 to 380 g, then divide it into eight equal portions of approximately 47 g, round them, and keep them covered. The portions should remain supple rather than developing a dry skin.
- Press one dough portion into a 3-inch disc with a slightly thicker center, set a filling portion in the middle, and bring the dough around it, pinching the edges closed. Aim for an even wrapper without exposed filling or noticeably thin patches.
- Smooth the enclosed ball with gentle palm pressure and roll it between your hands. The finished surface should look round and continuous, with no visible seam.
- Cover the ball completely with damp sesame seeds, roll it between your palms again to secure the coating, and set it on parchment paper. The seeds should sit snugly against the dough rather than scatter when you move it.
- Bring 4 cups peanut or canola oil to a steady 320°F/160°C in a medium deep pot, checking with a thermometer. The oil should reach roughly halfway up the pot, leaving space above it.
- Lower four balls into the oil, guide them gently in circles with a slotted spoon, and adjust the heat to maintain 300°F/150°C. Keep them moving enough to avoid sticking to the bottom.
- At about 10 minutes, watch for the balls to float, continue turning them, and occasionally lower all four gently beneath the surface with a slotted spoon or small spider during the next 2 to 3 minutes. Use controlled pressure for even oil contact without flattening the expanding shells.
- Raise the oil temperature gradually to 350°F and continue frying for another 5 minutes, bringing the batch’s total frying time to 17 to 18 minutes. Look for a light golden coating rather than a dark brown crust.
- Lift the balls onto a strainer, cooling rack, or paper towel-lined plate to drain, then cook the remaining four using the same temperature stages and allow a 10-minute cooling period before serving. The drained shells should retain their rounded shape as the initial heat subsides.