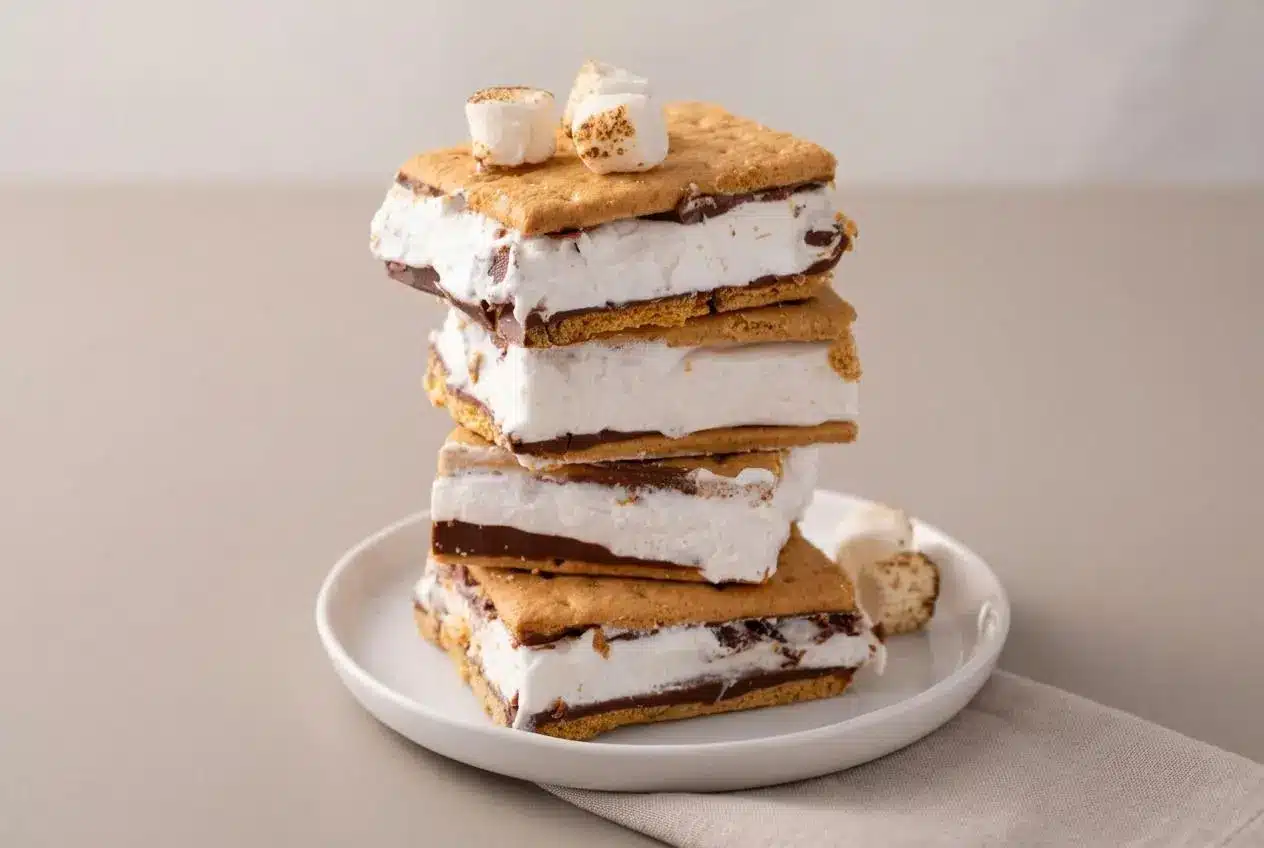
Frozen s’mores are no-bake dessert bars made with graham crackers, melted milk chocolate, and a fluffy marshmallow topping that freezes into a creamy, ice cream sandwich-style treat.
These frozen s’mores turn campfire flavors into a cool, chocolatey bar with crisp-edged crackers and a soft marshmallow center.
The key is keeping the layers even and giving the slab time to firm before cutting. That clean snap of chocolate is worth the wait.
Thaw the whipped topping fully before mixing so the filling turns smooth and airy rather than lumpy.
Ingredients for Frozen S’mores
Each ingredient supports the bar’s structure and flavor: crackers form the sandwich, whipped topping creates lift, fluff adds chew, chocolate brings richness, and salt keeps the sweetness balanced.
- About 20 full sheets of graham crackers
- 8 ounces frozen whipped topping (thawed)
- 1 jar marshmallow fluff (7.5 ounces)
- 1 bag milk chocolate chips (11.5 ounces (I prefer Ghirardelli))
- 1 teaspoon flaky sea salt
I thaw whipped topping in the refrigerator until it holds soft peaks, which helps it fold into the fluff without stubborn icy lumps.
The Graham Cracker Base and Sandwich Top
Honey graham crackers are sturdy enough to hold the filling as you assemble the bars. In the freezer, they take on a slightly tender bite from the filling, closer to an ice cream sandwich wafer than a dry cookie. Arrange them tightly, breaking sheets along their perforations where needed, so each finished square has a supported top and bottom.
Marshmallow Fluff and Whipped Topping Chemistry
Marshmallow fluff gives the center its familiar stretchy sweetness, while thawed whipped topping keeps it light and creamy. Together, their sugar-rich, airy texture helps the filling stay softer than a plain water-heavy frozen dessert, so the bars are firm enough to hold yet pleasant to bite into.
Selecting Chocolate and the Power of Flaky Salt
Milk chocolate gives these bars the classic s’mores flavor and melts into a smooth layer that firms cleanly. Dark chocolate can work if you prefer a deeper cocoa flavor, but it will make a firmer shell. Flaky sea salt matters here: it breaks up the sweetness of the chocolate and marshmallow instead of letting the bars taste one-note.
How to Make Frozen S’mores Step by Step
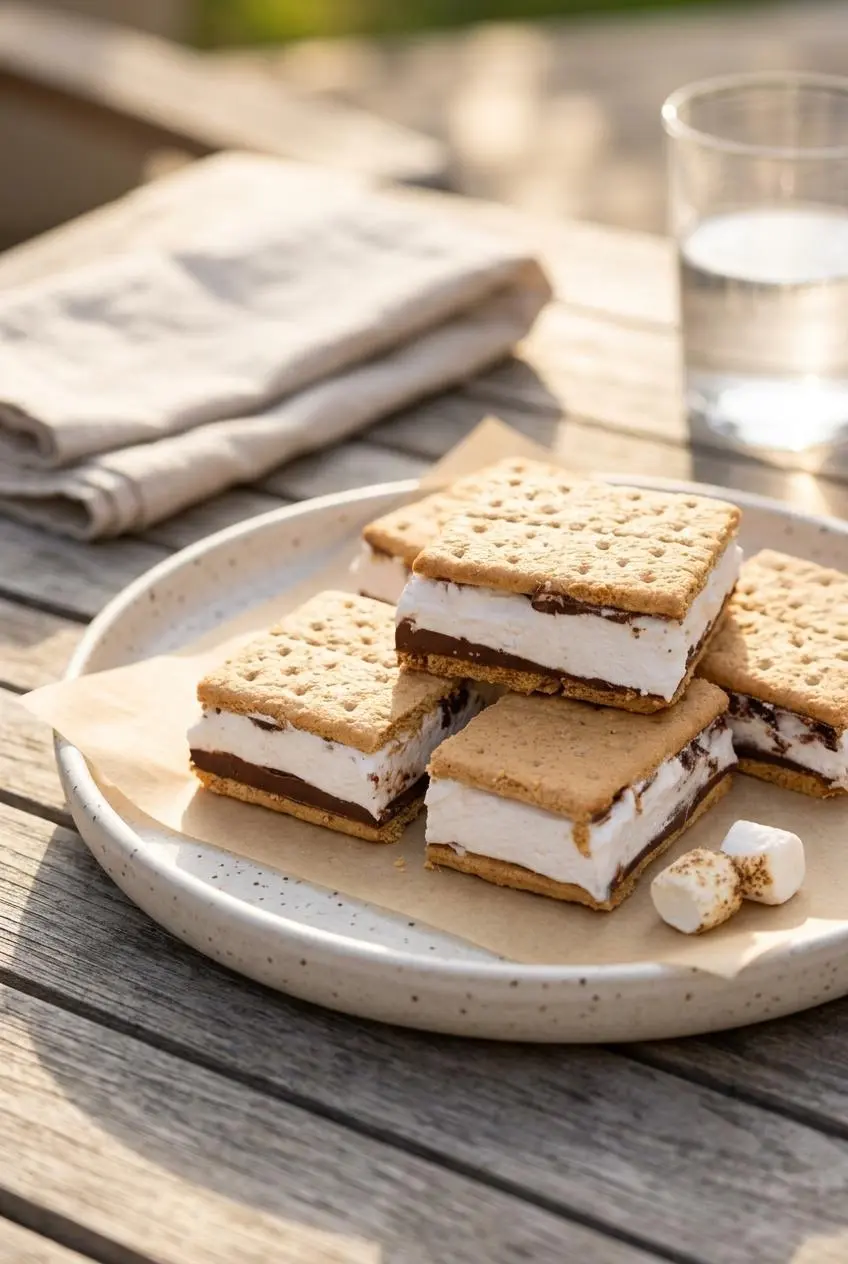
A lined 9×13-inch pan keeps the layers tidy and gives you a reliable shape for cutting. Work steadily once the chocolate is melted so the marshmallow layer stays lofty.
- Line a 9×13-inch baking pan with two crossing sheets of parchment, leaving overhang on all sides to form lifting handles.
The parchment sling should sit flat in the bottom of the pan with enough paper extending above the rim to grip later. - Cover the bottom of the pan with graham crackers, breaking sheets neatly along the perforations to fill open spaces.
A snug, even layer creates a stable base with no large gaps beneath the filling. - Stir the thawed whipped topping and marshmallow fluff together in a large bowl until fully blended.
The mixture should look smooth, pale, and airy, with no streaks of fluff remaining. - Heat the milk chocolate chips in a microwave-safe bowl at 50 percent power for 90 seconds, then stir.
Continue in 30-second bursts at 50 percent power, stirring after each, until the chocolate is glossy and smooth. - Spread half of the melted chocolate over the graham cracker layer and scatter the flaky sea salt evenly across it.
Use a gentle hand so the crackers stay in place and the chocolate reaches the edges. - Spread all of the marshmallow mixture over the chocolate, then add the remaining chocolate and finish with a second layer of graham crackers.
Press the top crackers down lightly until they settle with a soft crackle, without squeezing filling out the sides. - Cover the pan and place it in the freezer for at least 4 hours.
The center should feel firm when pressed gently through the top layer before you lift the parchment handles. - Lift the chilled slab from the pan with the parchment overhang and cut it into squares for serving.
Clean edges and a firm center show that the layers have set properly.
Pro Tips for Clean Slicing and Flawless Texture
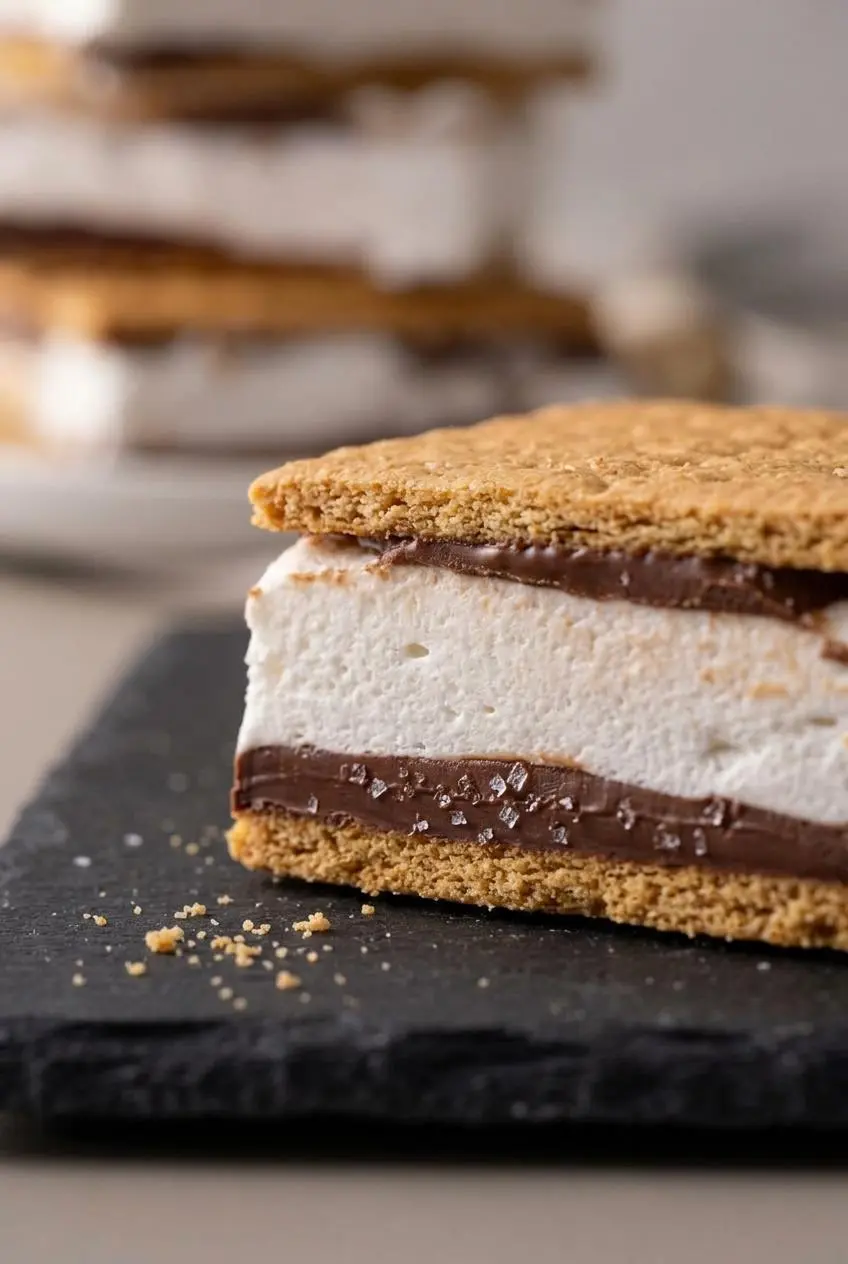
Small handling choices make the difference between neat squares and a shower of cracker crumbs. Let the slab soften slightly before cutting, then use firm, straight-down pressure.
- Crackers are shattering: Let the slab rest on a cutting board at room temperature for 5 to 10 minutes. Cutting it straight from a deep freeze makes the cracker layers more likely to crack.
- Chocolate is splintering: Run a large sharp chef’s knife under hot tap water, dry it thoroughly, and wipe it clean between cuts. A warm blade moves through the chocolate instead of pushing it apart.
- Edges look ragged: Trim a thin strip from the outer border before portioning. Those pieces make a fine cook’s snack, while the center cuts look much neater.
- The filling is loose: Return the slab to the freezer until the center feels firm before lifting it from the pan. The parchment handles should lift the whole block without bending it.
- The chocolate seems grainy: Use 50 percent microwave power and stir often. High power can overheat milk chocolate before the chips appear fully melted.
Delicious Variations From Pudding Layers to High-Protein
Keep the classic bar as written when you want the clean chocolate layers, then try these optional directions when a softer filling or dietary swap fits the occasion. For a warm version of the same flavor family, chewy s’mores cookies make a fitting companion for a dessert spread.
A ribbon of salted caramel and toasted cracker crumbs folded through the marshmallow layer adds a deeper, buttery flavor, but it also makes the filling less uniform when sliced. Add it lightly and keep it strictly optional.
The Chocolate Pudding and Cream Cheese Method
For a softer, more pudding-like center, swap the melted chocolate layers for an optional chocolate pudding filling. Instant chocolate pudding mixed with milk creates a chilled, mousse-like texture, while softened cream cheese makes it tangier and more substantial.
This style stays softer than the chocolate-chip version and feels more like an ice cream sandwich. It also changes the flavor balance: the classic version has distinct chocolate layers, while pudding distributes chocolate flavor throughout the creamy center.
High-Protein Peanut Butter Boost
To make an optional higher-protein version, fold vanilla or chocolate protein powder and creamy peanut butter into the whipped topping and marshmallow mixture. Add them gradually so the filling stays spreadable rather than becoming dense or chalky.
Chocolate protein powder gives the center a cocoa-forward flavor, while vanilla keeps the marshmallow taste more prominent. Peanut butter adds a salty, nutty note that pairs especially well with the graham crackers.
Gluten-Free and Dairy-Free Swaps
- Use certified gluten-free graham crackers to keep the sandwich layers crisp and sturdy.
- Choose dairy-free whipped topping or whipped coconut cream for a non-dairy filling with a similarly airy texture.
- Use vegan, gelatin-free marshmallow creme when avoiding gelatin.
- Select allergen-friendly chocolate chips that fit your needs, keeping in mind that chocolate texture can vary by brand.
Freezer Storage and Make-Ahead Instructions
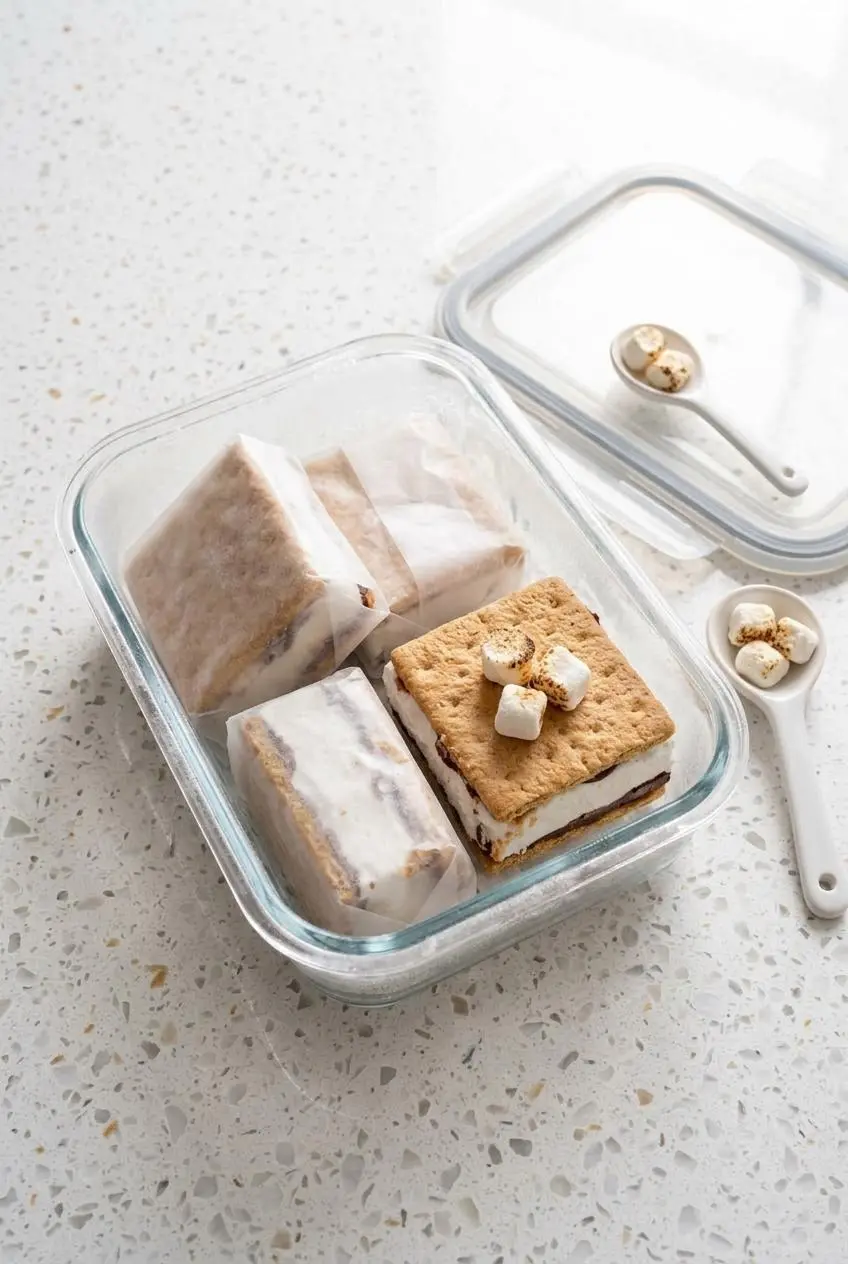
These bars are especially handy for gatherings because you can cut and wrap them before serving. Once the squares are firm, wrap each one in plastic wrap or wax paper, then place the portions in an airtight freezer bag to limit drying and odor transfer.
Keep the bars in the freezer rather than the refrigerator, where the graham crackers can turn soggy. Serve them directly from the freezer for a firmer bite, or let a portion stand briefly at room temperature for a softer center. If you enjoy portioned chilled treats, frozen yogurt granola cups offer another make-ahead option.
Conclusion
Frozen s’mores bring the chocolate, marshmallow, and graham cracker combination into a cool format that works beautifully on hot days. Gentle chocolate melting, even layers, and a full 4-hour freeze create the cleanest result.
Give the slab a brief rest before slicing, then cut with a warm sharp knife for crisp-looking squares and a creamy center. Keep a few wrapped portions ready for an easy summer dessert.
Frequently Asked Questions
Why Do Frozen S’mores Not Freeze Completely Solid?
Marshmallow fluff and whipped topping contain plenty of sugar and trapped air, which helps the center stay creamy rather than turning into a solid icy block. The graham crackers also soften slightly against the filling, making the finished bar easier to bite.
How Long Do Frozen S’mores Last in the Freezer?
For the best texture, keep individually wrapped bars inside an airtight freezer bag and protect them from moisture and strong freezer odors. Serve portions while the crackers still taste pleasantly firm and the filling remains creamy.
What Is the Best Way to Slice Frozen S’mores Cleanly?
Let the slab sit at room temperature for 5 to 10 minutes before cutting. Warm a large sharp chef’s knife under hot water, dry it well, then press straight down through the layers instead of sawing back and forth.
Can I Use Regular Marshmallows Instead of Marshmallow Fluff?
Regular marshmallows do not blend as smoothly into whipped topping and can become tough and chewy when chilled. Jarred marshmallow fluff or creme gives the filling the soft, spreadable texture these bars need.
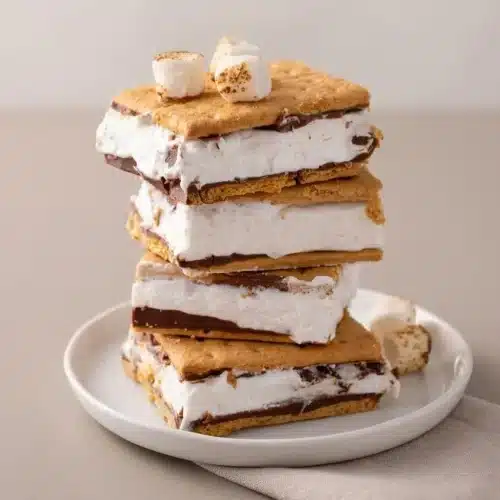
Frozen S’mores

Equipment
- Nordic Ware Metal 9×13 Covered Cake Pan
Ingredients
- 20 sheets graham crackers about 20 full sheets
- 8 ounces frozen whipped topping thawed
- 1 jar marshmallow fluff 7.5 ounces
- 1 bag milk chocolate chips 11.5 ounces (I prefer Ghirardelli)
- 1 teaspoon flaky sea salt
Instructions
- Line a 9×13-inch baking pan with two crossing sheets of parchment, leaving overhang on all sides to form lifting handles. The parchment sling should sit flat in the bottom of the pan with enough paper extending above the rim to grip later.
- Cover the bottom of the pan with graham crackers, breaking sheets neatly along the perforations to fill open spaces. A snug, even layer creates a stable base with no large gaps beneath the filling.
- Stir the thawed whipped topping and marshmallow fluff together in a large bowl until fully blended. The mixture should look smooth, pale, and airy, with no streaks of fluff remaining.
- Heat the milk chocolate chips in a microwave-safe bowl at 50 percent power for 90 seconds, then stir. Continue in 30-second bursts at 50 percent power, stirring after each, until the chocolate is glossy and smooth.
- Spread half of the melted chocolate over the graham cracker layer and scatter the flaky sea salt evenly across it. Use a gentle hand so the crackers stay in place and the chocolate reaches the edges.
- Spread all of the marshmallow mixture over the chocolate, then add the remaining chocolate and finish with a second layer of graham crackers. Press the top crackers down lightly until they settle with a soft crackle, without squeezing filling out the sides.
- Cover the pan and place it in the freezer for at least 4 hours. The center should feel firm when pressed gently through the top layer before you lift the parchment handles.
- Lift the chilled slab from the pan with the parchment overhang and cut it into squares for serving. Clean edges and a firm center show that the layers have set properly.