
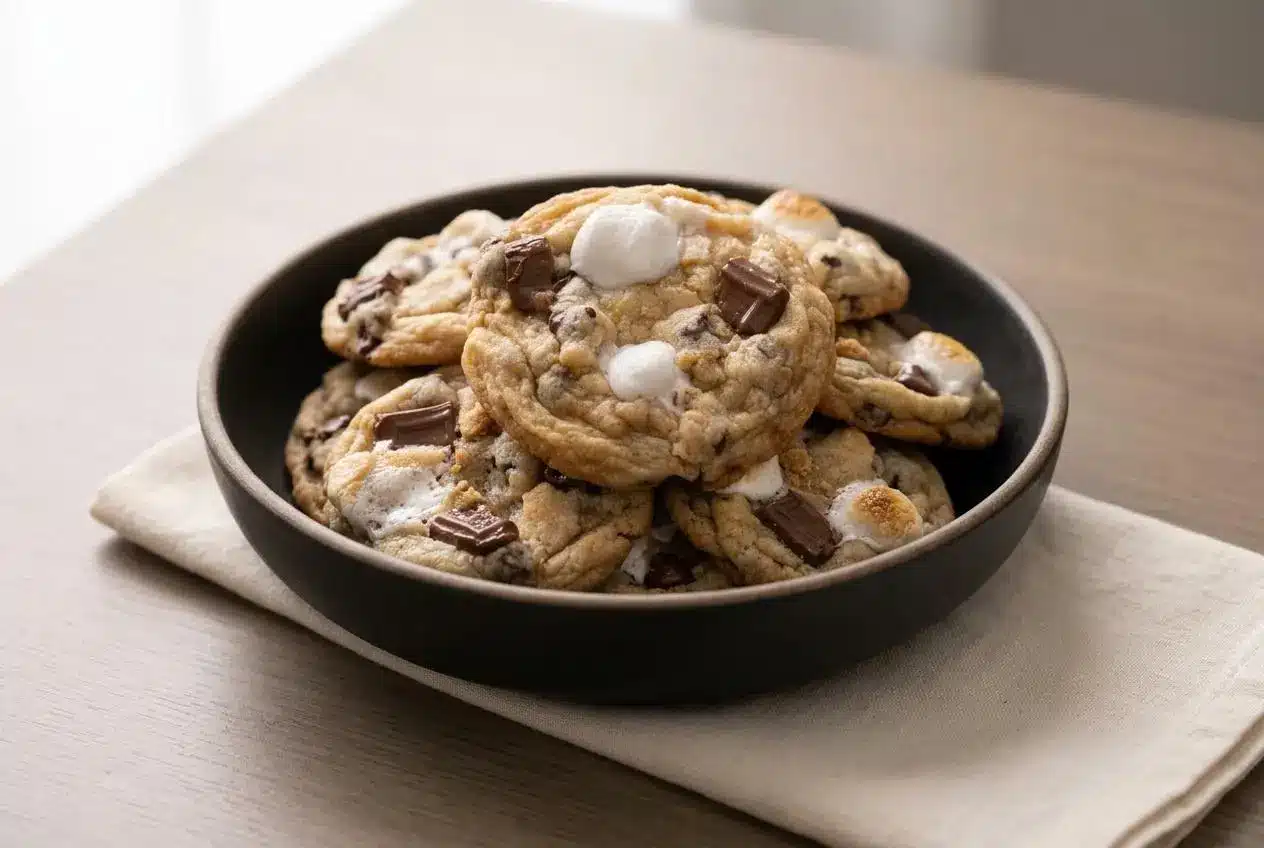
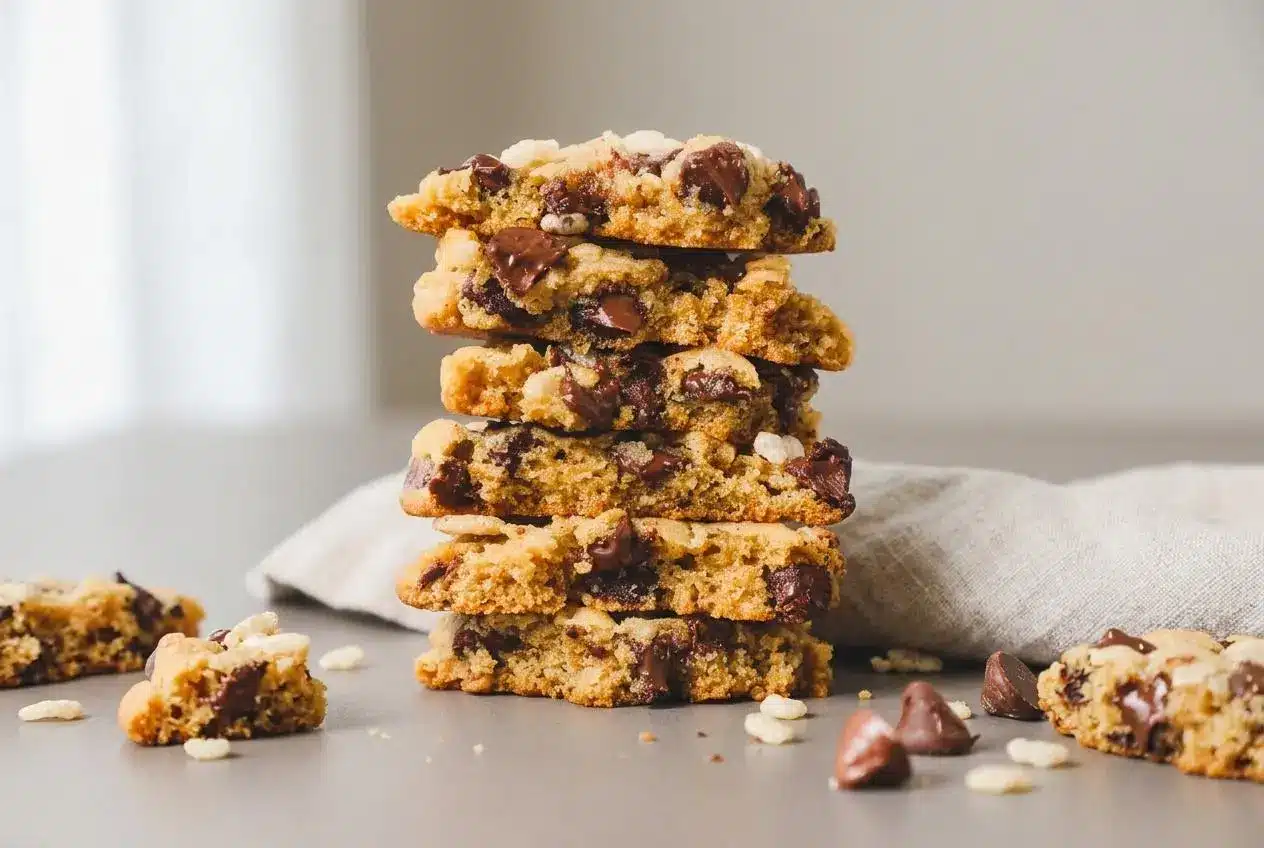
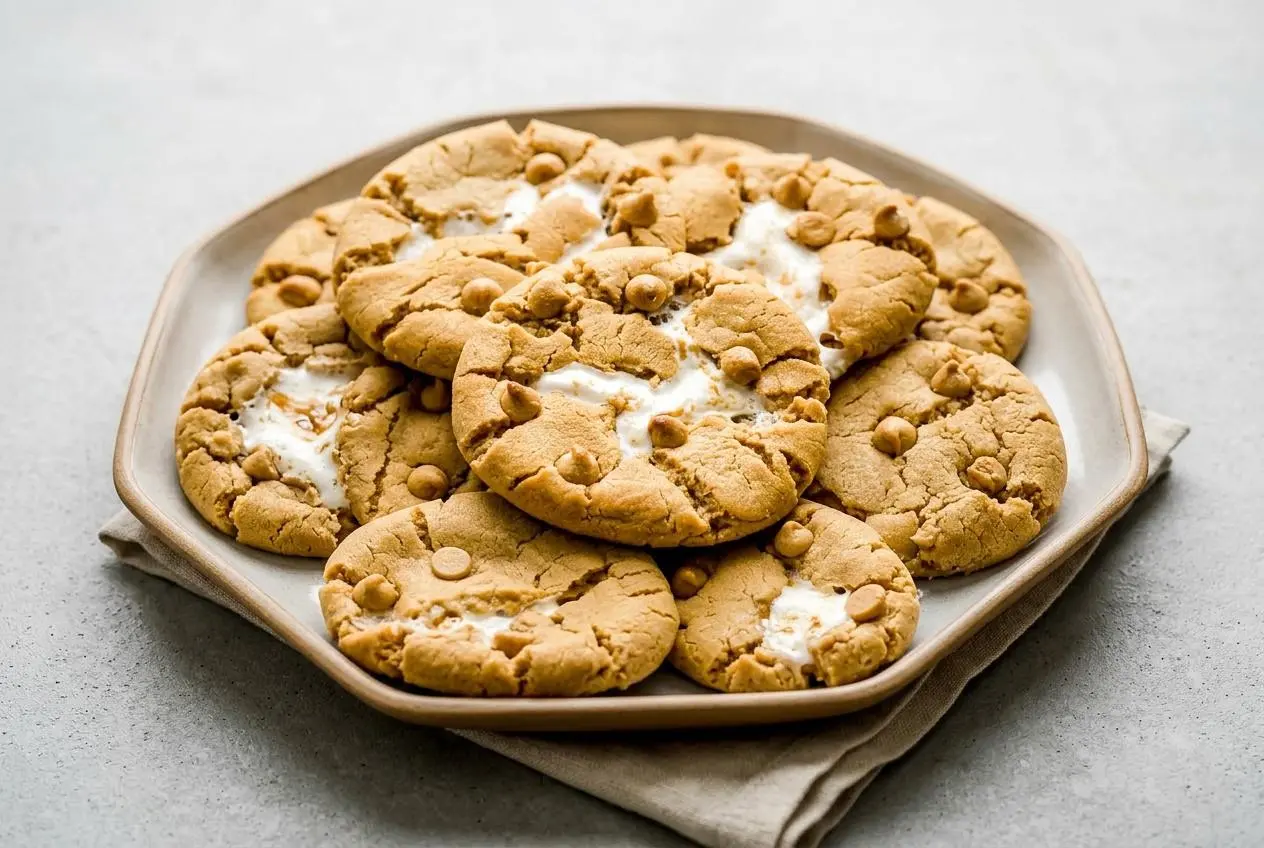
S’mores cookies combine a chewy chocolate chip cookie base with graham cracker crunch and gooey toasted marshmallows. Chill the dough for 1 hour and add extra marshmallow pieces near the end of baking to keep them thick, round, and bakery-style.
S’mores Cookies bring together everything you want from the campfire treat in a soft baked cookie, with melty chocolate, toasted marshmallow pockets, and buttery crunch in every bite.
They smell warm and cozy as they bake, and the big trick is controlling the marshmallow so it stays gooey instead of vanishing onto the pan. That’s where the magic happens.
If your kitchen runs warm, scoop the dough quickly and return it to the fridge the moment it starts feeling soft.
Essential Ingredients for Perfect S’mores Cookies
Each ingredient has a real job here, from building a chewy center to holding marshmallow pockets in place and giving the cookies that classic campfire flavor.
- 1 1/2 cups all-purpose flour (180g)
- 1/2 tsp. baking powder
- 1/2 tsp. baking soda
- 1 tsp corn starch
- 3/4 cup semisweet chocolate chips
- 10 tbsp unsalted butter (room temperature)
- 1/4 cup granulated sugar
- 1/2 cup light brown sugar
- 1 egg
- 1 tsp vanilla extract
- 1/4 tsp salt
- 1 cup mini marshmallows (OR marshmallow bits, divided)
- 1 bar Hershey’s Chocolate (1.55oz)
- 4 Graham crackers (56g)
The flour gives the dough structure, while the baking powder and baking soda help the cookies rise and spread in a balanced way. Butter adds richness, and vanilla rounds out the sweet, toasted flavor.
Light brown sugar matters more than it looks. It adds moisture and chew, so the centers stay soft instead of turning crisp all the way through. Granulated sugar helps the edges set and lightly caramelize.
Corn starch is the quiet hero. It helps keep the cookies thick and tender, which is especially helpful when the dough is carrying heavy mix-ins like chopped chocolate, graham crackers, and marshmallows.
Using both semisweet chocolate chips and Hershey’s bar pieces gives you two kinds of chocolate payoff. The chips hold their shape through baking, while the Hershey’s pieces melt into that unmistakable classic s’mores flavor. If you like understanding how a chewy dough behaves before the mix-ins go in, these chocolate chip cookies show the same kind of cookie-base logic.
Graham crackers do more than add crunch. Some pieces soften slightly into the dough, while the bigger bits stay a little crisp, which gives the finished cookies a more true-to-s’mores texture than fine crumbs alone.
I like separating sticky mini marshmallows with slightly damp fingertips or kitchen shears, because once they start clinging together they can turn dough-mixing into a wrestling match.
The Perfect Flour-to-Cornstarch Ratio
This dough uses mostly all-purpose flour for structure, then a small amount of corn starch to soften that structure just enough. That combination helps the cookies bake up thick with a tender bite instead of turning cakey or spreading thin.
Corn starch also helps cushion the marshmallow and chocolate pieces in the dough. Since those mix-ins melt and shift as the cookies bake, a slightly softer flour structure keeps the centers chewy while still holding the cookies together.
Selecting Your Marshmallows: Traditional, Vegan, or Dehydrated
Traditional mini marshmallows give you the toastiest flavor and the gooey pockets most people want, but they melt fast and can spill onto the pan if too much is exposed.
Vegan marshmallows often hold their shape a little better in the oven, so they can be a useful option if you keep getting marshmallow puddles. Since brands vary, it is best to treat them as a texture option rather than an exact science.
Dehydrated marshmallow bits are the neatest choice. They stay more distinct, add sweetness without much mess, and work well if you want cleaner cookie tops. They will not give you the same molten center as regular mini marshmallows, though.
How to Make S’mores Cookies
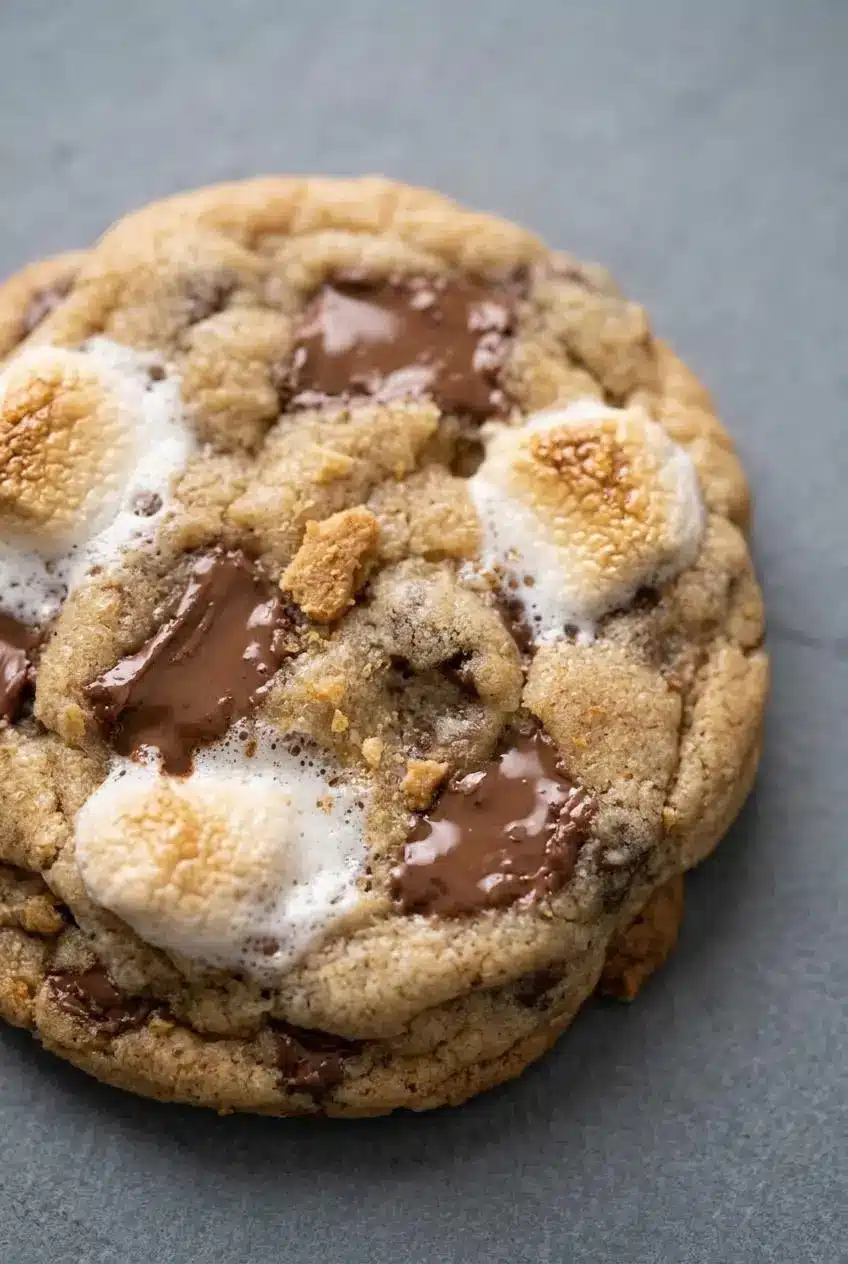
This method works because it builds a sturdy dough first, chills it well, and adds part of the marshmallow topping at the end so you get gooey tops without total marshmallow collapse.
- Roughly chop the Graham crackers and Hershey’s bar, then tear the mini marshmallows in half.
Smaller marshmallow pieces stay tucked into the dough more easily and are less likely to flood the pan. - Whisk together the flour, salt, baking powder, baking soda, and cornstarch in a bowl, then set the mixture aside.
Make sure everything looks evenly combined with no streaks so the cookies bake with a uniform lift and texture. - Beat the butter with the granulated sugar and light brown sugar for about 2 minutes, then mix in the egg and vanilla and scrape the bowl before mixing once more.
The mixture should look creamy and lighter in texture, which means the butter and sugars are properly blended for a chewy cookie structure. - Add the dry mixture gradually to the butter mixture and mix on low speed only until the flour disappears.
Stop as soon as the dough comes together so the cookies stay tender instead of turning tough. - Set aside a handful of the torn marshmallows, then mix the remaining marshmallows, chocolate chips, and Graham crackers into the dough on low speed until just combined.
The dough should look thick and studded throughout, with graham cracker pieces dispersed in every scoop. - Refrigerate the dough for 1 hour or more.
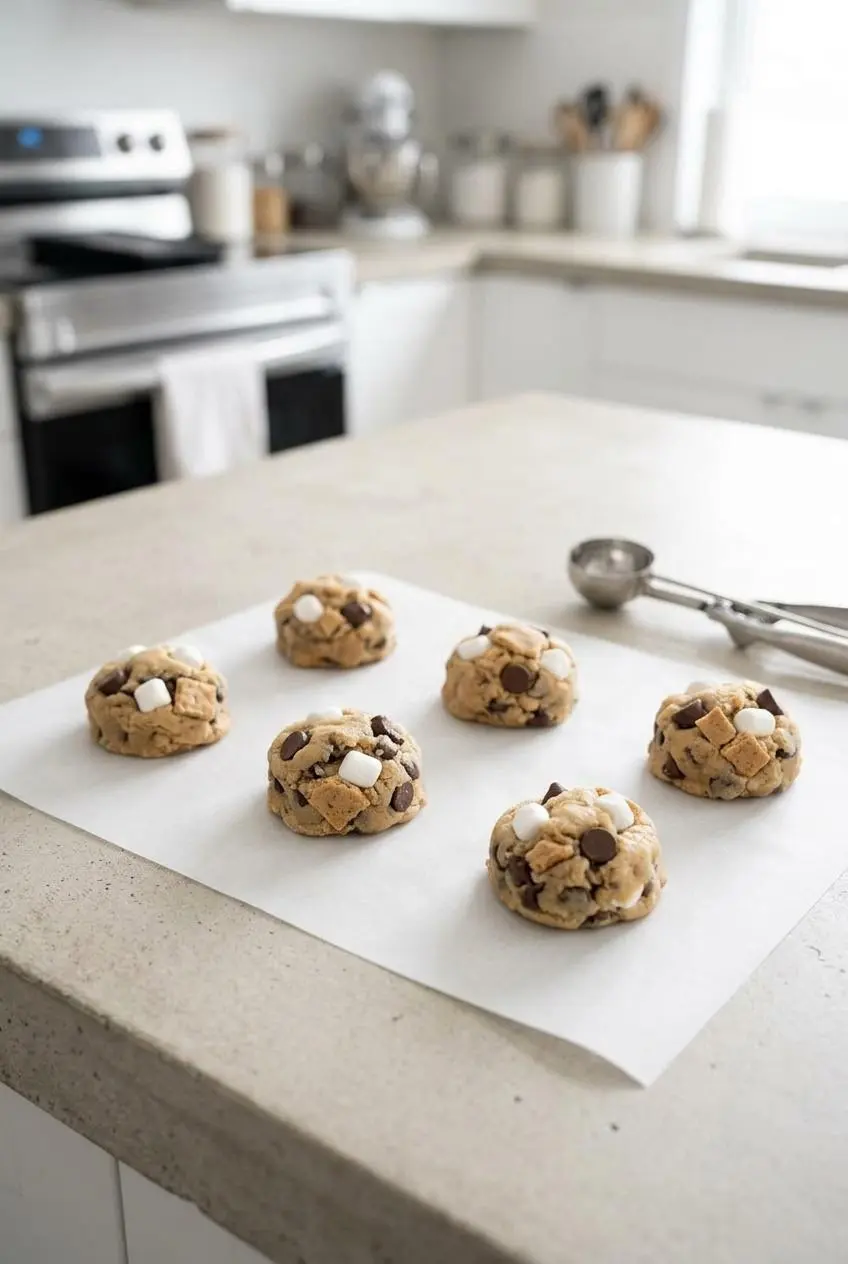
This chill firms the butter, reduces spreading, and gives the marshmallows a better chance of staying inside the cookies. - Heat the oven to 350°F, scoop roughly 2 tbsp portions of dough, roll them into balls, and place them about 2 inches apart on a parchment-lined baking sheet.
If the dough starts feeling greasy or loose while rolling, pause and chill it again before baking. - Bake for 8 minutes, top each cookie with the reserved marshmallow pieces and chopped Hershey’s bar, then return the pan to the oven for 2 to 3 minutes.
The edges should be lightly golden while the centers still look soft, and hot marshmallow sugar can burn badly so do not touch the tops right away. - Leave the cookies on the pan to cool completely.
They will finish setting as they cool, and the marshmallow will become chewy instead of flowing everywhere.
That final topping step gives these cookies their bakery look. You get visible pools of chocolate and toasted marshmallow on top instead of hiding all the best parts inside the dough.
If you use a stand mixer, keep the final mixing brief. Overworking the dough can crush the graham crackers, warm the butter too much, and make the baked cookies spread more than you want.
How to Get That Campfire Flavor Indoors
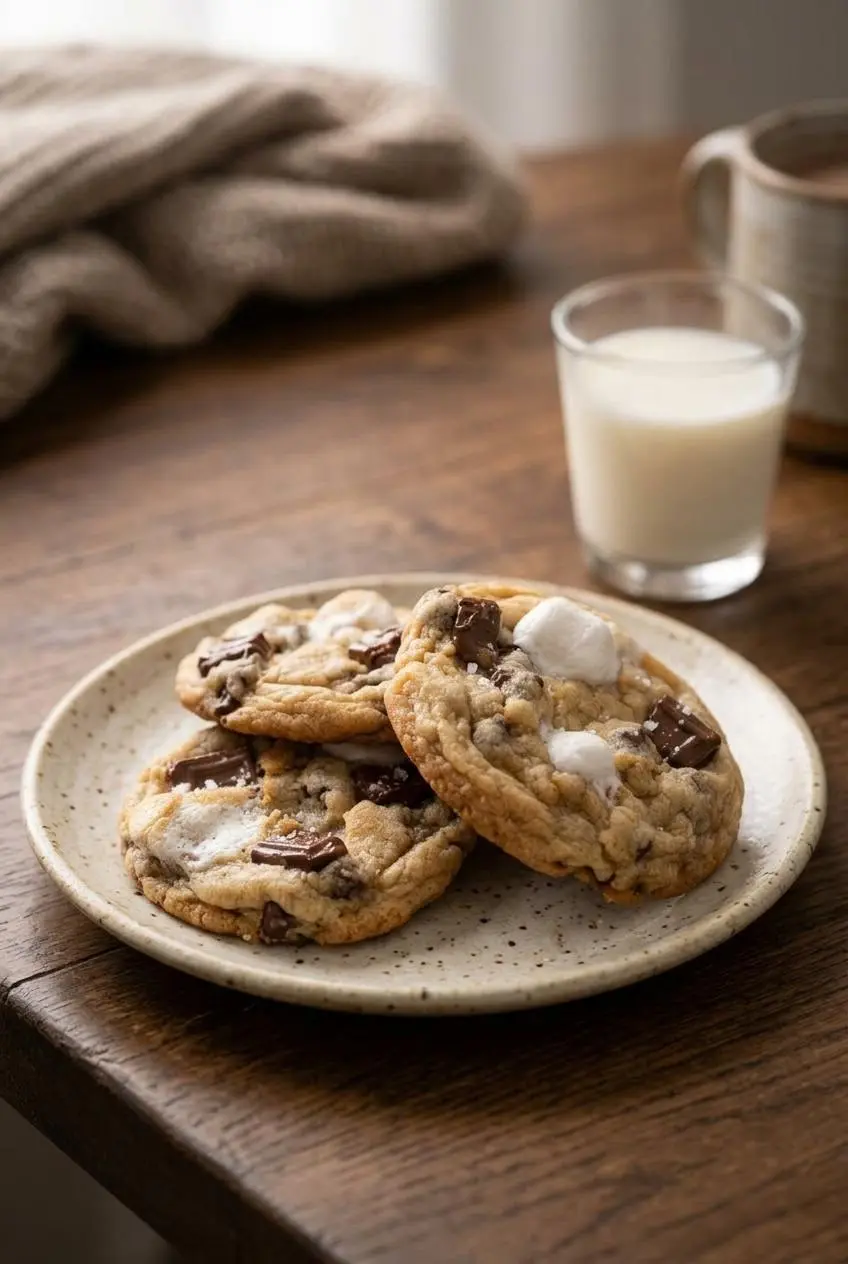
You do not need an actual fire pit to make these taste more like the real thing. A tiny pinch of ground cinnamon in the flour mixture can lift the honey notes in the graham crackers, and a very light sprinkle of smoked sea salt right after baking can give the warm tops a subtle campfire edge.
Keep both ideas optional and gentle. The goal is to support the classic marshmallow and chocolate flavor, not turn the cookie into a spice project. If you like the sweet-salty effect on rich chocolate bakes, these salted brownie cookies use the same balancing idea beautifully.
Troubleshooting Marshmallow Blowouts
If your marshmallows keep disappearing or burning onto the pan, you are not imagining things. Marshmallows contain a lot of sugar and air, so once they hit high heat they can puff, liquefy, slip out of the dough, and caramelize faster than the cookie finishes baking.
- Problem: the marshmallows melt into sticky puddles. Cause: too much exposed marshmallow on the outside of the dough. Fix: tear mini marshmallows in half and bury most of them inside the dough.
- Problem: the cookies spread too wide and lose their marshmallow center. Cause: warm butter or unchilled dough. Fix: give the dough the full 1 hour chill and keep it cool while scooping.
- Problem: burnt sugar patches around the cookies. Cause: whole marshmallows or too many marshmallow pieces in one scoop. Fix: use fewer exposed pieces and save the prettiest bits for the last 2 to 3 minutes of baking.
- Problem: misshapen cookies with runaway edges. Cause: melted marshmallow pulling the dough outward. Fix: reshape the cookies while they are still hot, right after they come out of the oven.
There is also a texture difference between marshmallow types. Standard mini marshmallows usually give the softest gooey pockets, while dehydrated bits stay neater. Vegan marshmallows can behave a little more steadily in the oven, which makes them worth trying if the classic ones keep turning chaotic.
The Cookie Cutter Swirl Trick
As soon as the pan comes out of the oven, place a large round cookie cutter or a drinking glass over one cookie at a time and gently swirl in a circle. That motion nudges the edges inward and pulls stray marshmallow back into a cleaner shape.
Work while the cookies are still very warm. Once the edges set, they stop moving easily. Use a light hand here since hot marshmallow sugar is extremely sticky and can burn.
The Pan-Slamming Technique
If you like chewy centers with rippled tops, give the pan a firm tap on the counter or oven rack during baking once the cookies have started to puff. That quick jolt deflates the domes and encourages those crinkly bakery-style wrinkles.
Do not overdo it. One or two firm slams are enough. Too much force can send molten marshmallow toward the edges, which is funny once and annoying every other time.
Stuffed Marshmallow vs. Mixed-in Toppings
Mixed-in marshmallows, which this recipe uses, spread little gooey pockets through the dough and give you a more even cookie. They also make the dough easier to portion and bake consistently.
Stuffing a larger marshmallow chunk into the center creates a dramatic molten middle, but it is trickier. If the dough does not fully seal around it, the marshmallow can burst out fast and leave a candy crater behind. For a neater result, mixed-in pieces are the more forgiving choice.
Delicious Recipe Variations
The base cookie is great as written, but it also handles a couple of optional twists well if you want a deeper flavor or a more intense chocolate profile.
Brown Butter S’mores Cookies
Browning the butter gives the dough a nuttier, toastier flavor that pairs especially well with graham crackers and marshmallow. It makes the whole cookie taste a little more grown-up without losing the classic s’mores feel.
If you try it, brown the butter first, then let it cool back to room temperature before creaming it with the sugars. Warm butter will loosen the dough too much and undo the thick, chewy texture this recipe depends on.
Double Chocolate S’mores Cookies
For a darker, richer version, replace a small portion of the flour with cocoa powder so the dough turns soft and fudgy rather than plain vanilla-based. Since cocoa absorbs moisture, the dough will usually feel a bit firmer and may spread differently.
Keep the cocoa swap modest so the marshmallow and graham cracker flavors still come through. If you love that dense chocolate-cookie direction, these fudgy brownie cookies are a useful reference point for the texture you are aiming toward.
Make-Ahead, Storage, and Reheating Instructions
These cookies keep their best texture when they are cooled fully before storing and warmed briefly before serving. Marshmallow tends to firm up as it sits, so reheating matters more here than it does with ordinary chocolate chip cookies.
Storing and Reheating Leftovers
Once the cookies are completely cool, store them in an airtight container at room temperature for up to 4 days. Keep them away from heat and moisture, and handle dairy ingredients with the same kind of care used for safe refrigeration and storage practices for dairy ingredients.
To bring back that gooey center, microwave one cookie for 5 to 10 seconds. The chocolate softens, the marshmallow loosens up again, and the cookie tastes much closer to freshly baked.
Freezing and Baking Cookie Dough Balls
Yes, you can freeze the dough. Scoop and roll the dough first, place the balls on a sheet pan until firm, then transfer them to an airtight freezer bag for up to 3 months.
Bake the dough balls straight from frozen and add 2 minutes to the baking time. You can still use the same final topping trick, adding the reserved marshmallow and Hershey’s pieces in the last part of baking.
Conclusion
These cookies deliver all the best s’mores flavors from a regular oven, with chewy centers, toasted marshmallow pockets, and enough graham cracker crunch to keep every bite interesting.
Keep the dough chilled, be gentle with the marshmallows, and enjoy them warm with a cold glass of milk when you can. That contrast is hard to beat.
Frequently Asked Questions
Why did my marshmallows melt completely away in the oven?
Standard marshmallows can liquefy fast in high heat, especially when too much of them sits on the outside of the dough. Tear the mini marshmallows in half, chill the dough well, and save some marshmallow pieces for the last 2 to 3 minutes of baking. That gives you visible gooey tops without letting the whole marshmallow disappear onto the pan.
Can I freeze s’mores cookie dough?
Yes. Roll the dough into balls first, freeze them on a sheet pan until firm, then transfer them to an airtight freezer bag for up to 3 months. Bake them directly from frozen and add 2 minutes to the bake time. This is a great way to keep the dough ready when you want a small batch of warm cookies.
What is the cookie cutter trick for round cookies?
Right after baking, place a large round cookie cutter or glass over a hot cookie and gently swirl it in a circle. This pulls in uneven edges and helps gather any marshmallow that tried to escape. Do it while the cookie is still soft and warm for the cleanest result.
Can I use marshmallow fluff instead of real marshmallows?
Yes, but it behaves differently. Marshmallow fluff is too loose to mix directly into the dough. Instead, indent a chilled dough ball, add a small spoonful of fluff to the center, and seal the dough around it before baking. It is messier than mini marshmallows, but it can give you a very soft center.
Can I use store-bought graham cracker crumbs?
Yes, they will work, but the texture changes. Whole graham crackers give you a mix of fine crumbs and crunchy chunks, which makes the cookies taste more like actual s’mores. If you use packaged crumbs, the dough will feel more even but the finished cookies will have less crackly graham bite.
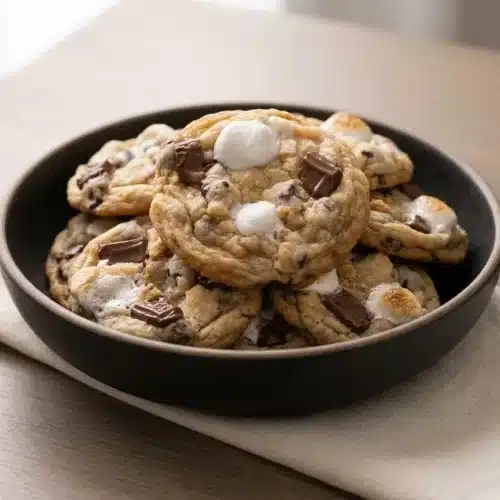
S’mores Cookies

Equipment
- large bowl
- Baking Sheet
- Parchment Paper
- Stand mixer
Ingredients
- 1 1/2 cups all-purpose flour (180g)
- 1/2 tsp. baking powder
- 1/2 tsp. baking soda
- 1 tsp corn starch
- 3/4 cup semisweet chocolate chips
- 10 tbsp unsalted butter (room temperature)
- 1/4 cup granulated sugar
- 1/2 cup light brown sugar
- 1 egg
- 1 tsp vanilla extract
- 1/4 tsp salt
- 1 cup mini marshmallows (OR marshmallow bits, divided)
- 1 bar Hershey’s Chocolate (1.55oz)
- 4 Graham crackers (56g)
Instructions
- Roughly chop the Graham crackers and Hershey’s bar, then tear the mini marshmallows in half. Smaller marshmallow pieces stay tucked into the dough more easily and are less likely to flood the pan.
- Whisk together the flour, salt, baking powder, baking soda, and cornstarch in a bowl, then set the mixture aside. Make sure everything looks evenly combined with no streaks so the cookies bake with a uniform lift and texture.
- Beat the butter with the granulated sugar and light brown sugar for about 2 minutes, then mix in the egg and vanilla and scrape the bowl before mixing once more. The mixture should look creamy and lighter in texture, which means the butter and sugars are properly blended for a chewy cookie structure.
- Add the dry mixture gradually to the butter mixture and mix on low speed only until the flour disappears. Stop as soon as the dough comes together so the cookies stay tender instead of turning tough.
- Set aside a handful of the torn marshmallows, then mix the remaining marshmallows, chocolate chips, and Graham crackers into the dough on low speed until just combined. The dough should look thick and studded throughout, with graham cracker pieces dispersed in every scoop.
- Refrigerate the dough for 1 hour or more. This chill firms the butter, reduces spreading, and gives the marshmallows a better chance of staying inside the cookies.
- Heat the oven to 350°F, scoop roughly 2 tbsp portions of dough, roll them into balls, and place them about 2 inches apart on a parchment-lined baking sheet. If the dough starts feeling greasy or loose while rolling, pause and chill it again before baking.
- Bake for 8 minutes, top each cookie with the reserved marshmallow pieces and chopped Hershey’s bar, then return the pan to the oven for 2 to 3 minutes. The edges should be lightly golden while the centers still look soft, and hot marshmallow sugar can burn badly so do not touch the tops right away.
- Leave the cookies on the pan to cool completely. They will finish setting as they cool, and the marshmallow will become chewy instead of flowing everywhere.


1 thought on “S’mores Cookies”