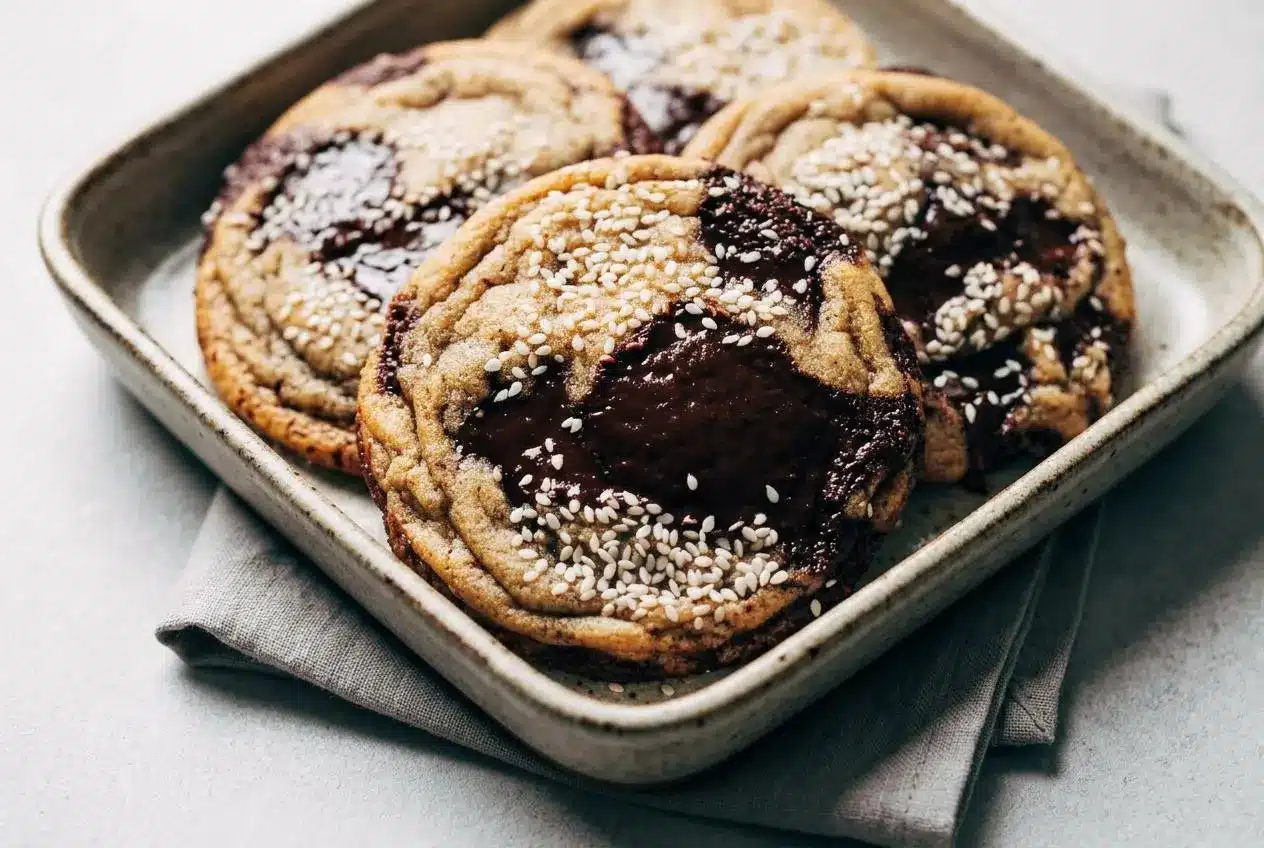
Brown butter and mild white miso give chocolate chip cookies nutty, caramel-like depth and a gently salty balance. Bake the sesame-topped dough at 350°F until the edges turn light golden, then let the soft centers set as the cookies cool for a chewy finish.
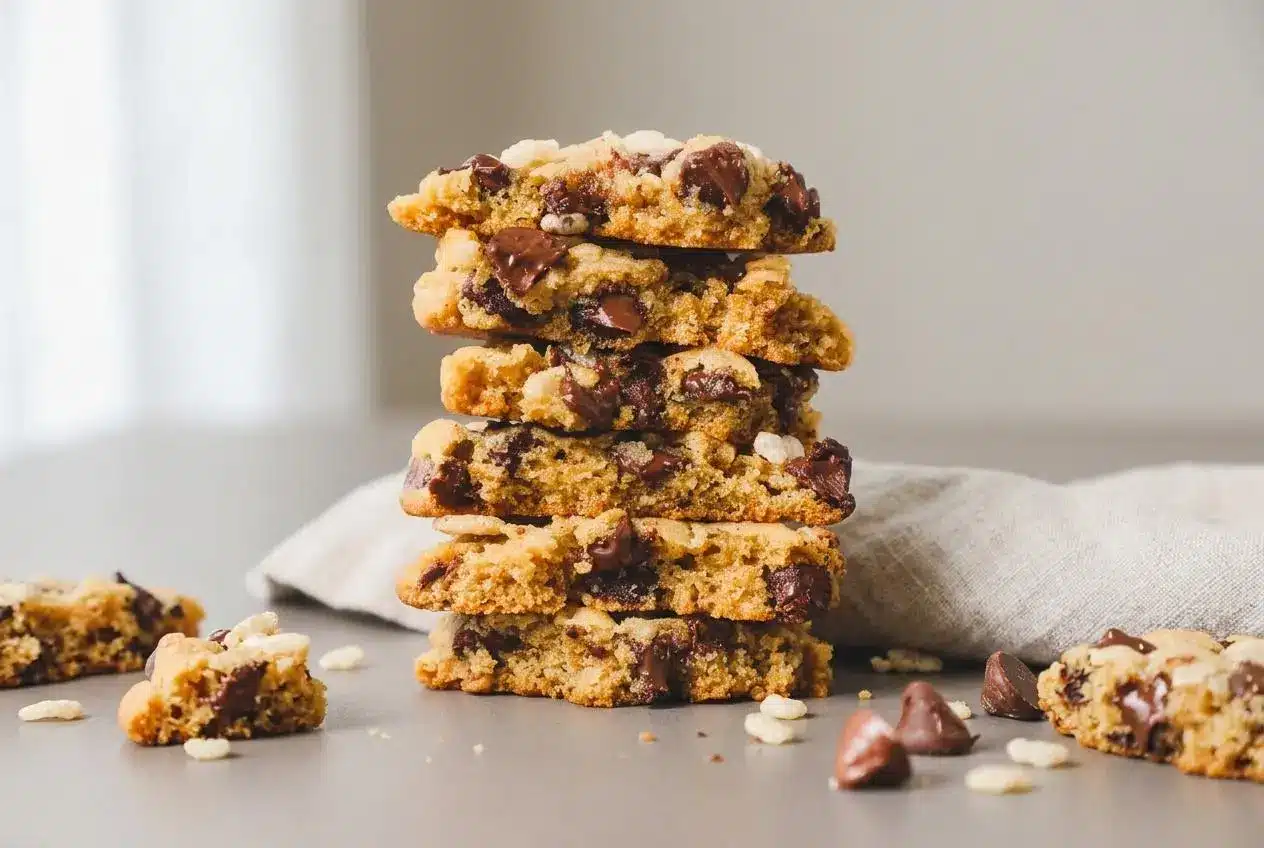
Brown Butter Miso Chocolate Chip Cookies bring together toasted butter, bittersweet chocolate, and the mellow savory flavor of white miso. The butter smells almost like roasted hazelnuts, while chopped chocolate melts into generous pockets throughout the dough.
You’ll get eight large cookies with crisp edges, tender centers, and a sesame-speckled top. No mixer or required chilling stands between you and a batch. Watch for those golden edges.
Set a heatproof measuring glass beside the stove before browning the butter so you can transfer it promptly when the milk solids turn amber.
Ingredients for Brown Butter Miso Chocolate Chip Cookies
Butter supplies richness and toasted aroma, miso balances sweetness, and the sugars shape the texture. Egg and flour give the dough structure, the leaveners help it rise, and vanilla, chocolate, salt, and sesame build flavor from the center to the crust.
- 1/2 cup (110g) unsalted butter
- 1 1/2 tbsp white miso paste
- 1/2 cup (100g) granulated sugar
- 1/2 cup (100g) dark brown sugar, packed
- 1 tsp vanilla extract
- 1 large egg
- 1 1/4 cup (165g) all purpose flour
- 1/2 tsp baking powder
- 1/4 tsp baking soda
- 1/4 tsp salt
- 6 oz 70-80% cocoa dark chocolate, chopped
- 3 tbsp white sesame seeds
Unsalted butter lets you control the seasoning alongside the miso and measured salt. The egg helps bind the butter and sugars while supplying moisture; flour forms the framework that keeps the cookies from spreading into a single sheet.
Baking powder and baking soda work together to give the dough lift and encourage browning. Vanilla rounds out the toasted flavors, and the sesame seeds add a delicate crunch as they toast on top of each cookie.
Dark brown sugar contributes molasses flavor and a moist chew, while granulated sugar supports spreading and crisp edges. Chopped chocolate bars create a mix of fine chocolate flecks and larger melting pockets rather than uniform chip-shaped bites.
I prefer chopping the chocolate into uneven pieces and keeping the fine shavings, since they carry chocolate flavor into the dough between the larger chunks.
Key Ingredients and Flavor Dynamics
Miso belongs here because its saltiness and savory depth balance the richness of butter, sugar, and chocolate. The finished cookie still tastes like dessert, with a deeper, rounded sweetness rather than a strongly savory flavor.
The equal measures of granulated and dark brown sugar give these cookies two useful textures. White sugar helps the edges become crisp, while the molasses in dark brown sugar contributes a softer center and a butterscotch-like undertone. Keep both sugars rather than treating them as interchangeable.
White Miso vs Red Miso
Choose mild white miso, often labeled shiro miso. Its gentle sweetness and savory flavor suit this dough without taking over the chocolate. Whisking it into the warm butter helps break up the paste so you don’t get concentrated salty spots.
White miso usually looks cream-colored to pale yellow or light beige. Red miso typically looks reddish brown to dark brown and often tastes stronger and saltier. Color alone isn’t a perfect guide, so check the label for white or sweet white miso.
Don’t use red or dark miso as an equal swap here. Products vary, but their more assertive flavor can overwhelm the balance this dough needs.
Selecting the Right Dark Chocolate
Use a dark chocolate bar within the listed 70–80% cocoa range. The lower end brings a slightly sweeter balance; the higher end offers a more pronounced bittersweet contrast against the sugars and miso.
Chop the bar with a sturdy knife on a stable cutting board. Aim for varied pieces rather than perfectly matching cubes: smaller fragments disperse through the dough, while larger chunks make the melted chocolate pockets.
Chocolate chips can hold their shape more firmly during baking. A chopped bar is the better choice when you want broad chocolate pools and an irregular, bakery-style texture.
Mastering Nutty Brown Butter
Brown butter is ready when the milk solids turn golden brown and smell toasted, not simply when the liquid butter melts. Those solids are where much of the flavor develops.
As butter heats, its water bubbles away and foam gathers on the surface. Stir or swirl the pan gently so the milk solids don’t sit in one hot spot. A light-colored saucepan makes the change from pale yellow to amber easier to judge.
The Maillard reaction creates browned, nutty flavors as the milk solids heat. Watch beneath the foam for brown flecks, and pay attention when the bubbling becomes quieter. That quieter phase means you should watch closely, not walk away.
Transfer the butter when it smells nutty and the solids look golden brown. Include those browned flecks; they belong in the dough. Black specks and an acrid smell indicate burning rather than useful browning.
Browning also removes water, leaving a more concentrated fat mixture than plain melted butter. That changes how the dough hydrates and spreads. The amount lost depends on the butter and the cooking process, so don’t add replacement water to this recipe.
The same toasted flavor anchors classic brown butter chocolate chip cookies; white miso adds another layer of savory balance here.
Whisk the miso into the butter while it’s warm, then let the mixture cool before combining it with the sugars and egg. It should remain fluid but no longer feel hot. Hot butter can interfere with the egg mixture and leave the dough oily.
How to Make the Brown Butter Miso Chocolate Chip Cookies
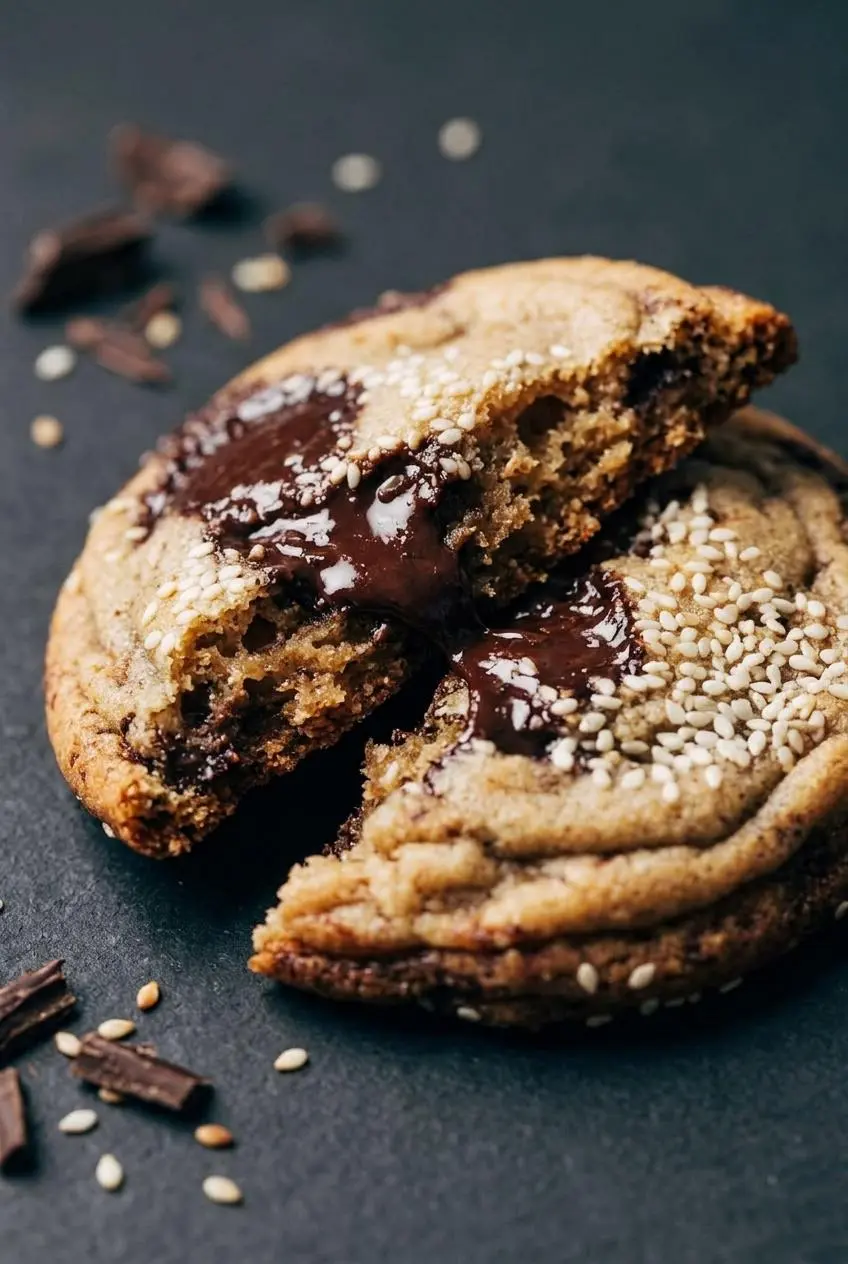
This recipe makes eight large cookies, baked in two batches. Have a saucepan, heatproof measuring glass, mixing bowls, whisk, rubber spatula, parchment-lined baking sheet, cooling rack, and a 2 oz scoop or 1/4 cup measure ready.
- Heat the butter in a saucepan over medium heat, gently moving it around the pan as it melts and browns.
Look for golden-brown milk solids beneath the foam and a toasted, nutty aroma. - Transfer the butter and browned flecks to a heatproof measuring glass, whisk in the miso, and leave the mixture to cool.
The paste should disperse without visible clumps, and the butter should be fluid but no longer hot before mixing the dough. - Set the oven to 350°F and cover a large baking sheet with parchment paper.
Keep the parchment flat so the dough portions sit evenly on the sheet. - Blend the flour, baking powder, baking soda, and salt with a whisk in a medium bowl.
The mixture should look uniform, with no obvious pockets of leavener. - Whisk both sugars with the cooled butter-miso mixture in a large bowl.
Scrape through any brown sugar lumps until the mixture looks evenly combined. - Beat the egg and vanilla into the sugar mixture with a vigorous whisking motion.
Continue until it becomes paler, creamy, and thick enough to briefly trail from the whisk. - Fold the flour mixture into the wet mixture with a rubber spatula, adding the chopped chocolate while some flour remains visible.
Stop folding once the flour disappears and the chocolate distributes throughout the dough. - Portion the dough with a large 2 oz scoop or a 1/4 cup measuring cup.
Keep the portions similar in size so they bake at the same pace. - Pour the sesame seeds into a shallow dish and dip the upper surface of each dough portion into them.
The seeds should coat the tops without covering the entire dough ball. - Arrange four portions on the prepared sheet with a few inches between them, then bake for 11–13 minutes.
Remove them when the edges look light golden and the centers remain soft, slightly puffy, and barely underdone. - Leave the cookies on the baking sheet for about 5 minutes before moving them to a cooling rack, then bake the remaining portions.
The edges should firm enough to lift while the centers continue setting from the pan’s residual heat. - Allow about 20–30 minutes of cooling before serving.
The centers will settle into a chewy texture while the chocolate pockets remain soft.
The pale, thick stage after adding the egg matters more than speed. A mixture that briefly falls from the whisk in a ribbon shows that you’ve incorporated air and brought the ingredients together; vigorous whisking can also encourage a glossy, crinkled surface.
Once flour enters the bowl, change gears. Fold gently and stop when the dough comes together. Continued stirring develops more gluten and can make the cookies tougher.
Troubleshooting Common Baking Issues
Texture problems usually begin with dough temperature, flour measurement, or baking past the soft-center stage.
- Greasy dough: Butter that is still hot can leave the mixture loose and oily. Let the butter-miso mixture cool before mixing, and chill overly soft dough until it holds its scooped shape.
- Dry or dense cookies: Packed flour can push the dough toward a crumbly texture. Use the listed gram weight when possible; otherwise, spoon flour into the cup and level it without compressing it.
- Overly salty bites: Strong miso or undissolved paste can concentrate the seasoning. Choose mild white miso, use unsalted butter, and whisk the paste thoroughly into the warm butter.
- Uneven spreading: An oven that runs hotter or cooler than its setting changes how quickly the edges set. Check it with an oven thermometer and use the standard bake setting rather than assuming convection behaves identically.
- Hard centers after cooling: The cookies likely stayed in the oven too long. Pull them at light golden edges instead of waiting for the entire surface to brown.
Preventing Excessive Cookie Spread
Start with cooled brown butter and a baking sheet that isn’t hot from the previous batch. Warm dough and a hot sheet both give the fat a head start on melting before the cookie structure sets.
If the scooped dough slumps instead of holding a rounded shape, chill the portions until they feel firmer. This optional pause helps control spreading and gives the flour time to absorb moisture. Use the dough’s texture as your cue rather than relying on an unsupported fixed chilling time.
Keep the portions large and evenly spaced as directed. Crowding the sheet makes it harder for the edges to bake consistently and gives spreading cookies nowhere to go.
The Cookie Scoot Technique for Perfect Circles
For rounder cookies, shape them immediately after removing the sheet from the oven, while the edges are still flexible. Place a round cutter slightly larger than the cookie around it, then gently circle the cutter against the stray edges.
A wide-mouth mug can work if its opening comfortably clears the cookie. Keep the movement small and avoid pressing down on the center. This tidies the outline; it won’t repair severely overspread dough.
Creative Flavor and Texture Variations
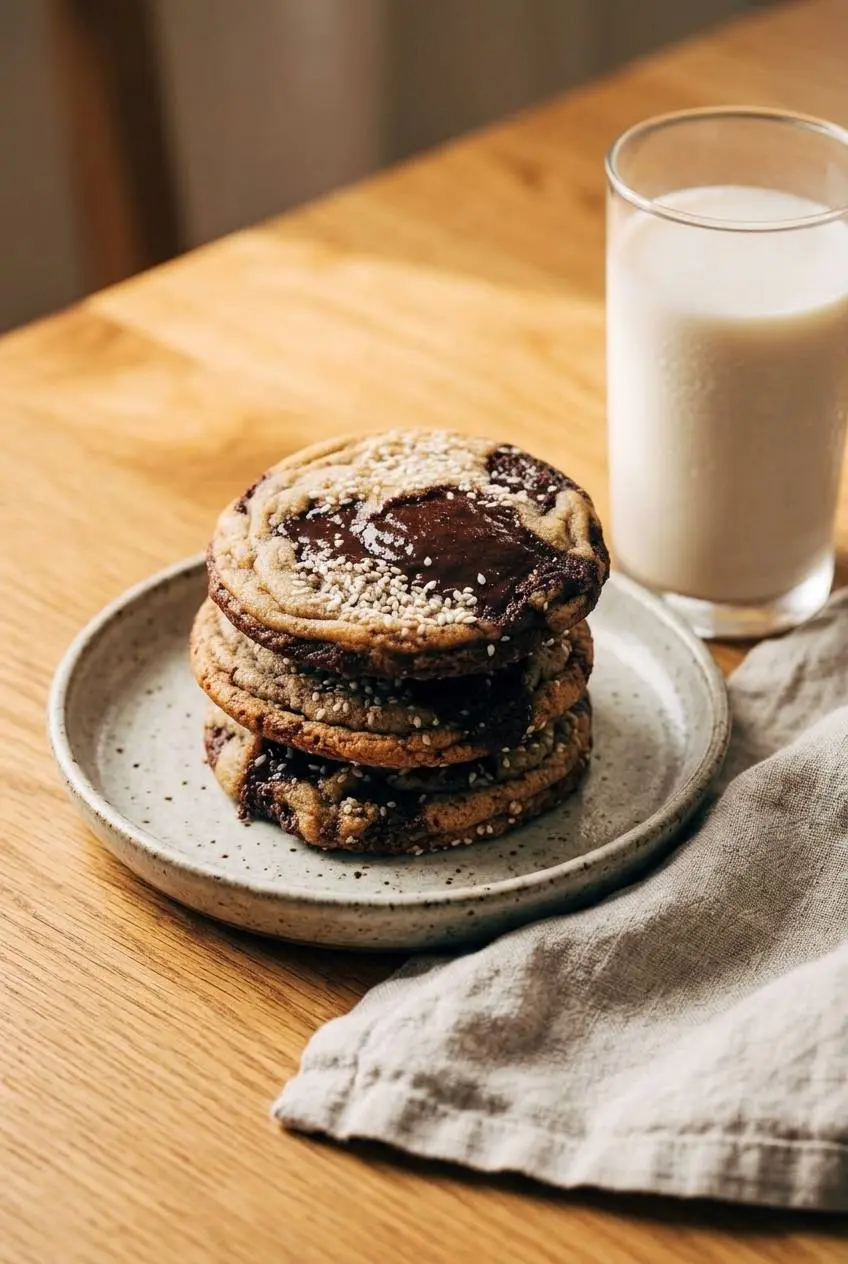
Keep the flour, butter, and sugar proportions unchanged when trying an optional flavor adjustment. Make one change at a time so the miso and chocolate remain balanced.
An optional touch of fine espresso powder can deepen the chocolate flavor. Stir it into the warm butter-miso mixture so it disperses rather than leaving dry specks; skip it if you prefer the toasted butter flavor without a coffee accent.
Sesame Seed Crusted Tops
The white sesame coating is part of the recipe as written. The exposed seeds toast during baking, giving each cookie a nutty surface and a delicate crunch against the chewy center.
For an optional topping variation, replace the sesame coating with a restrained pinch of flaky sea salt after baking. The miso already supplies saltiness, so a light hand gives the contrast associated with sea salt chocolate chip cookies without overwhelming the dough.
Miso Toffee Chunk Crunch
For an optional caramel crunch, fold cooled, crushed miso toffee pieces into the dough when you add the chocolate. Keep the pieces small and the addition modest so the dough can still hold together around its mix-ins.
Use fully cooled, firm toffee rather than warm or sticky candy. Fold it in gently and tuck protruding pieces into the dough where possible, since exposed sugary fragments can melt onto the sheet and darken quickly.
Serve the cookies after their cooling rest with cold milk or oat milk. Once completely cooled, they also make a rich sandwich around vanilla bean ice cream.
Storage and Texture Protection
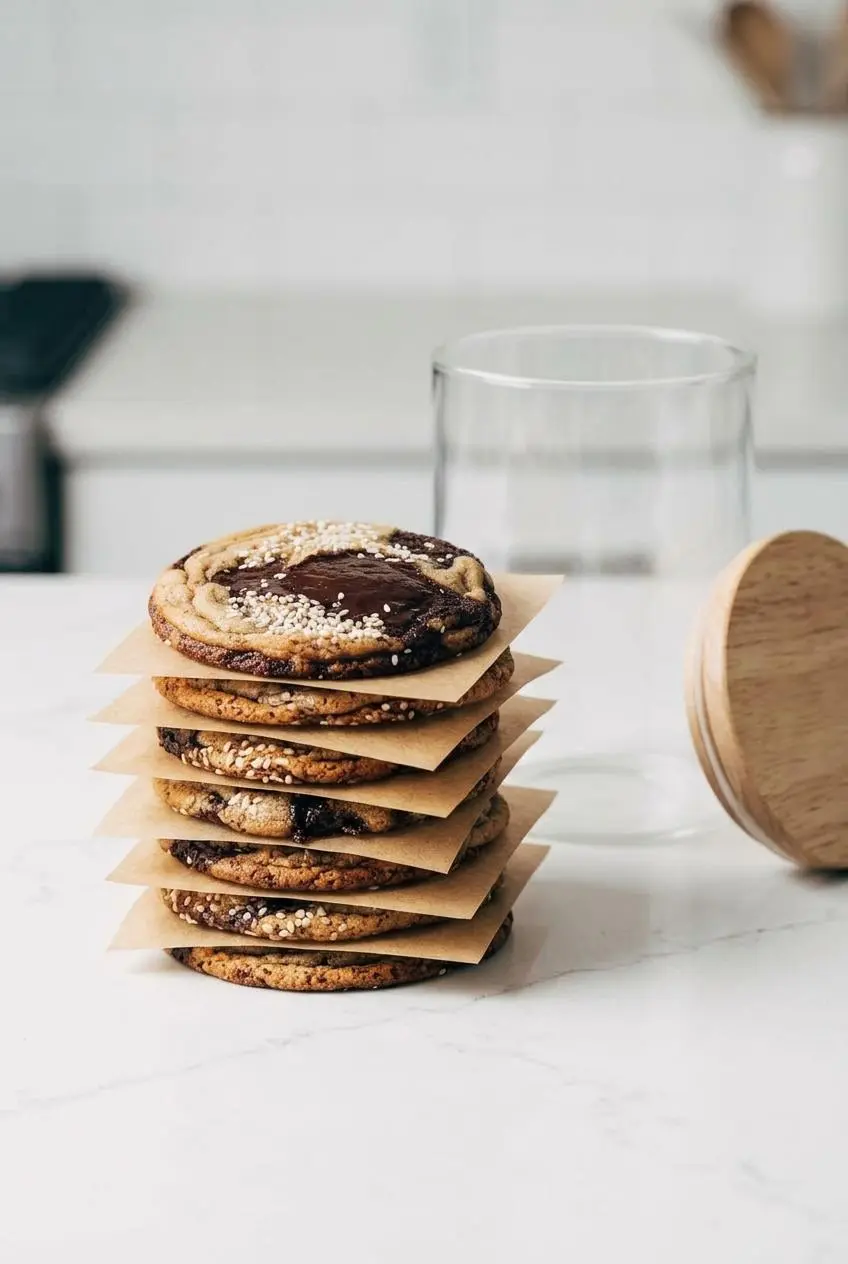
Let baked cookies cool completely before placing them in an airtight container at room temperature. Trapping steam while they’re warm can soften the sesame crust and leave moisture inside the container.
Use parchment between layers to keep chocolate pockets from sticking to neighboring cookies. Close the container after taking out a portion rather than leaving the batch uncovered, and keep it away from direct heat and sunlight.
For the unbaked dough, remember that it contains raw egg. Keep eggs refrigerated before use, wash hands and utensils after handling them, and cook egg-containing mixtures thoroughly to reduce the risk of foodborne illness; don’t treat a soft-center appearance as a safety measurement.
Conclusion
Nutty brown butter, mild white miso, and dark chocolate give these cookies a rich sweetness with a gently salty finish. The sesame tops add a crisp contrast without distracting from the chewy centers.
Cool the butter, whisk the egg mixture until pale and thick, and trust those light golden edges. Give the cookies their cooling rest, then enjoy the texture you worked for.
Frequently Asked Questions
What Flavor Does Miso Add to Chocolate Chip Cookies?
White miso adds gentle saltiness and savory depth that can read as a salted-caramel note alongside brown sugar. It balances the sweetness and rounds out dark chocolate without making these cookies taste brothy.
Which Type of Miso Is Best for Sweet Cookie Dough?
Mild white miso, often labeled shiro miso, is the best fit for this dough. Avoid an equal substitution with red or dark miso, whose stronger flavor can overpower the butter and chocolate.
Can I Bake Miso Cookie Dough Immediately Without Chilling?
Yes. The method uses cooled brown butter and allows you to bake the dough immediately. If your portions feel warm or slump on the sheet, chill them until firmer to help control spreading.
How Should Brown Butter Miso Cookies Be Stored to Stay Soft?
Cool them completely, then keep them in a tightly closed container at room temperature, away from heat and sunlight. Separate stacked cookies with parchment and avoid leaving the container open, which lets the cookies dry out.
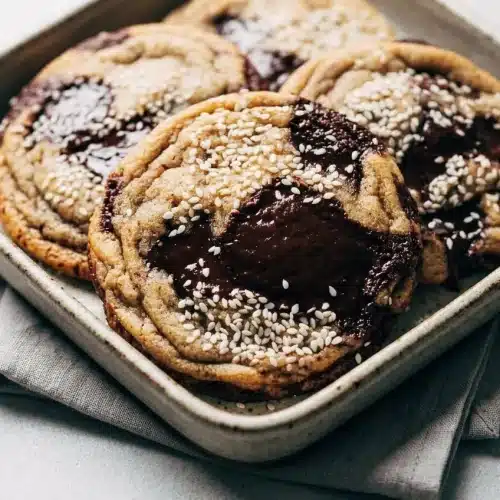
Brown Butter Miso Chocolate Chip Cookies

Equipment
- 2 oz Scoop
Ingredients
- 1/2 cup unsalted butter (110g)
- 1 1/2 tbsp white miso paste
- 1/2 cup granulated sugar (100g)
- 1/2 cup dark brown sugar, packed (100g)
- 1 tsp vanilla extract
- 1 large egg
- 1 1/4 cup all purpose flour (165g)
- 1/2 tsp baking powder
- 1/4 tsp baking soda
- 1/4 tsp salt
- 6 oz 70-80% cocoa dark chocolate, chopped
- 3 tbsp white sesame seeds
Instructions
- Heat the butter in a saucepan over medium heat, gently moving it around the pan as it melts and browns. Look for golden-brown milk solids beneath the foam and a toasted, nutty aroma.
- Transfer the butter and browned flecks to a heatproof measuring glass, whisk in the miso, and leave the mixture to cool. The paste should disperse without visible clumps, and the butter should be fluid but no longer hot before mixing the dough.
- Set the oven to 350°F and cover a large baking sheet with parchment paper. Keep the parchment flat so the dough portions sit evenly on the sheet.
- Blend the flour, baking powder, baking soda, and salt with a whisk in a medium bowl. The mixture should look uniform, with no obvious pockets of leavener.
- Whisk both sugars with the cooled butter-miso mixture in a large bowl. Scrape through any brown sugar lumps until the mixture looks evenly combined.
- Beat the egg and vanilla into the sugar mixture with a vigorous whisking motion. Continue until it becomes paler, creamy, and thick enough to briefly trail from the whisk.
- Fold the flour mixture into the wet mixture with a rubber spatula, adding the chopped chocolate while some flour remains visible. Stop folding once the flour disappears and the chocolate distributes throughout the dough.
- Portion the dough with a large 2 oz scoop or a 1/4 cup measuring cup. Keep the portions similar in size so they bake at the same pace.
- Pour the sesame seeds into a shallow dish and dip the upper surface of each dough portion into them. The seeds should coat the tops without covering the entire dough ball.
- Arrange four portions on the prepared sheet with a few inches between them, then bake for 11–13 minutes. Remove them when the edges look light golden and the centers remain soft, slightly puffy, and barely underdone.
- Leave the cookies on the baking sheet for about 5 minutes before moving them to a cooling rack, then bake the remaining portions. The edges should firm enough to lift while the centers continue setting from the pan’s residual heat.
- Allow about 20–30 minutes of cooling before serving. The centers will settle into a chewy texture while the chocolate pockets remain soft.