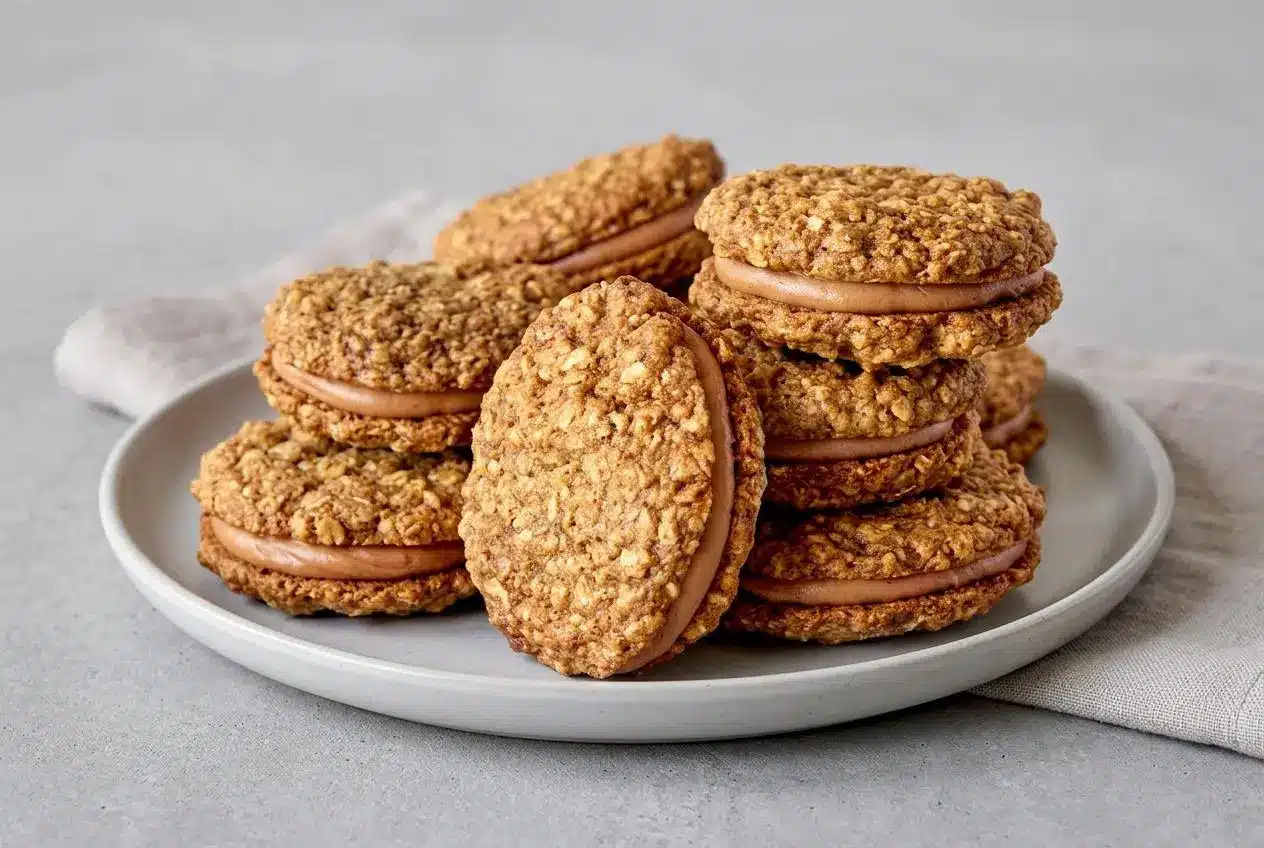
Soft pumpkin oatmeal cream pies pair chewy, cinnamon-spiced oat cookies with fluffy pumpkin buttercream. Dark brown sugar and molasses give the cookies their rich flavor, while whipped butter and pumpkin spice spread create a smooth, creamy center.
These homemade sandwich cookies bring together buttery oats, warm spices, and a generous pumpkin filling. The pumpkin goes into the buttercream rather than the dough, so the cookies keep their familiar oatmeal-cookie chew.
As they bake, cinnamon, nutmeg, and toasted oat aromas fill the kitchen. Careful mixing and complete cooling help you get tender cookies without a slippery filling. Watch for that golden rim.
Set out a wire rack before baking so each batch has somewhere to cool completely.
Why Pumpkin Oatmeal Cream Pies Are the Ultimate Autumn Treat
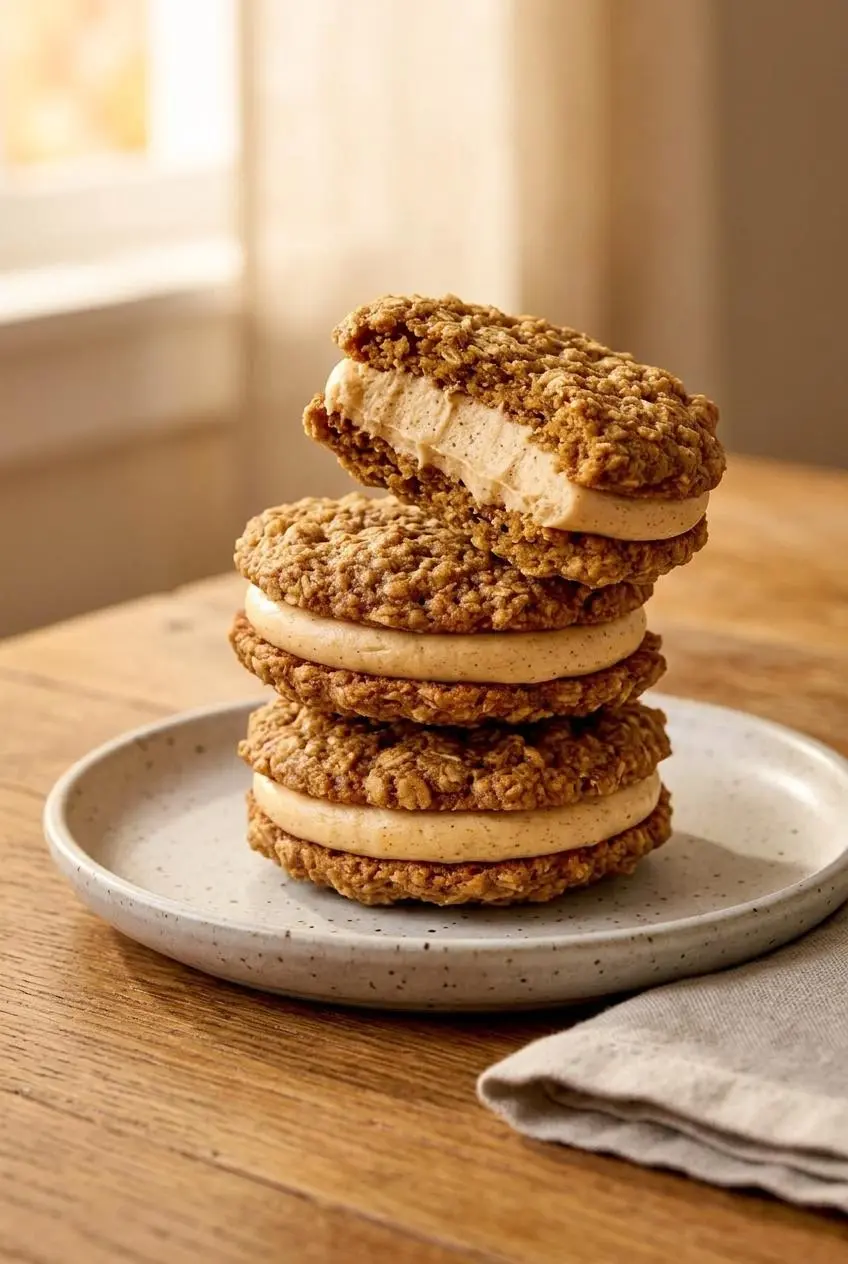
Oats give these cookies enough texture to balance the soft pumpkin center. The spices connect both layers, making each bite taste like one dessert rather than a cookie with frosting added afterward.
Better Than Store-Bought: The Nostalgic Flavor Advantage
Homemade cream pies capture the appeal of a wrapped snack cake while letting butter, molasses, and ground spices take the lead. You can enjoy them freshly assembled, with distinct oat texture and a filling that tastes clearly of pumpkin.
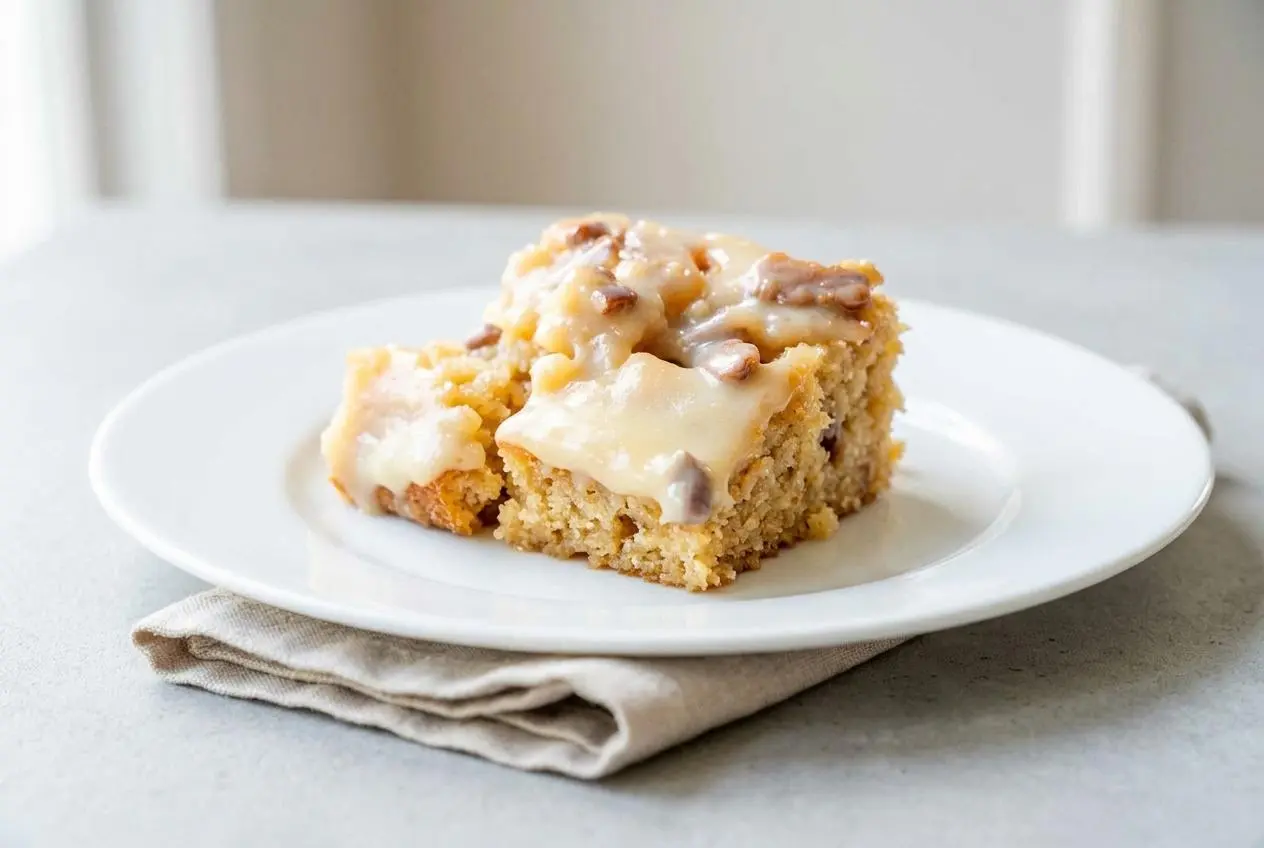
The advantage is control: you choose the cookie’s doneness, spread the filling evenly, and keep the sandwiches as soft or chilled as you prefer. If chewy autumn desserts are your favorite, chewy pumpkin blondies offer another way to enjoy that rich, spiced texture.
Balancing Chewy Texture and Creamy Spiced Filling
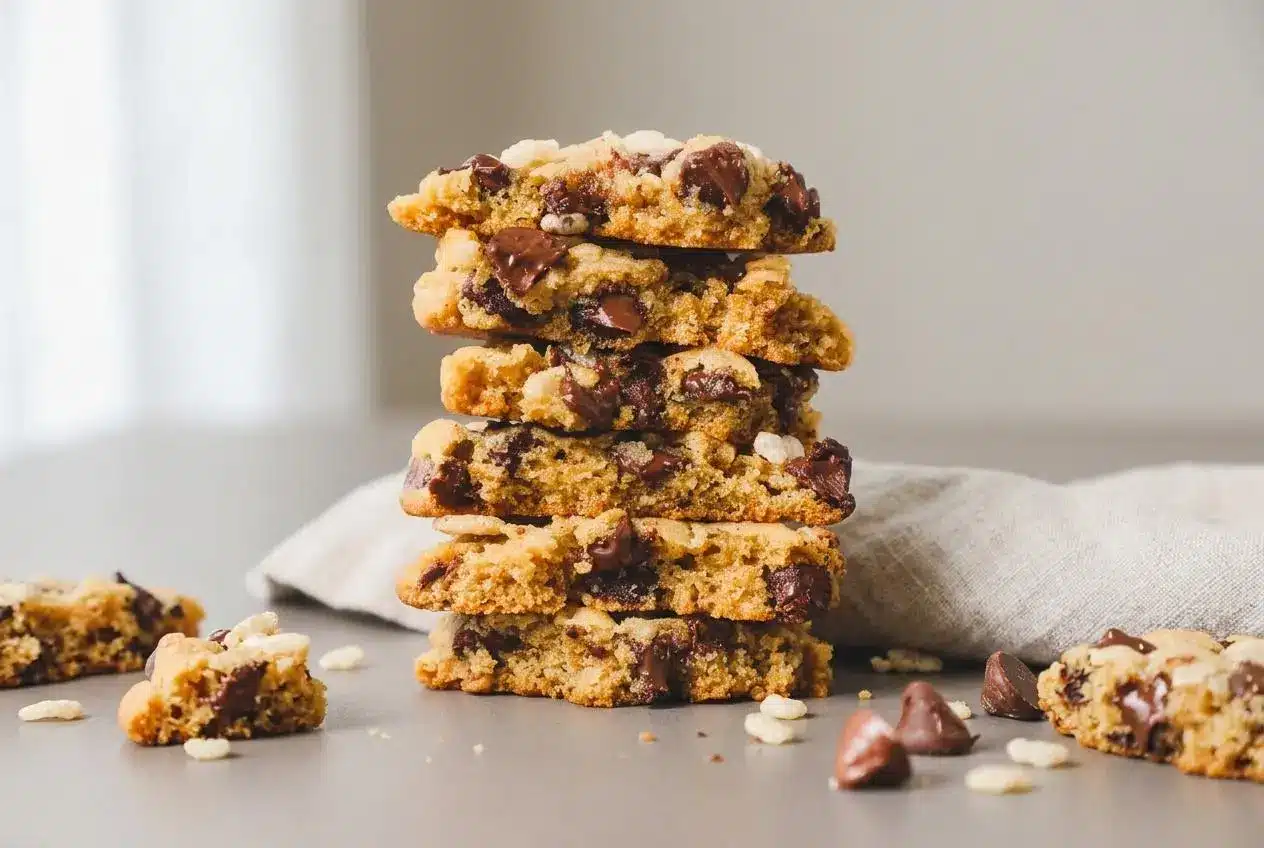
A good sandwich cookie should yield when you bite it, not force the filling out the sides. Quick-cooking oats create a more cohesive cookie than large oat flakes, while brown sugar and molasses help maintain a tender chew.
The filling needs enough body to stay between the cookies. Thick pumpkin spread blends into buttercream without adding the same amount of loose moisture as plain puree. Fully cooled cookies protect that consistency during assembly.
Key Ingredients for Perfect Soft Oatmeal Cookies
Butter supplies richness, sugars and molasses support tenderness, and oats and flour build structure. The spices add warmth, while pumpkin spread, cream, vanilla, and salt give the whipped filling its flavor, smoothness, and balance.
Cookies
- 1 ¼ Cups Softened Unsalted Butter
- 1 Cup Packed Dark Brown Sugar
- ½ Cup Granulated Sugar
- 1 Egg, Room Temperature
- 2 tsp Vanilla Extract
- 1 Tbsp. Unsulphured Molasses
- 1 ½ Cups All-Purpose Flour
- 1 tsp Baking Soda
- ½ tsp Salt
- ¾ tsp Ground Cinnamon
- ⅛ tsp Ground Cloves
- ¼ tsp Ground Ginger
- ¼ tsp Ground Nutmeg
- 3 Cups Quick-Cooking Oats
Pumpkin Spice Filling
- ½ Cup Bonne Maman Pumpkin Spice Spread
- ¾ Cup Softened Unsalted Butter
- 4 Cups Powdered Sugar
- 2 Tbsp. Heavy Whipping Cream
- ½ tsp Vanilla Extract
- ¼ tsp Salt
Dark brown sugar and molasses: Both bring deeper flavor than granulated sugar alone. Their molasses notes complement the oats and help the cookies retain moisture. Pack the brown sugar when measuring, as specified.
Quick-cooking oats: Their smaller flakes distribute through the dough and make the sandwich easier to bite cleanly. Old-fashioned rolled oats produce a coarser texture. Use quick-cooking oats here, not flavored instant oatmeal packets.
Flour, egg, and baking soda: Flour and egg help the cookies hold together, while baking soda supports their spread and browning. Measuring flour accurately matters because excess flour can turn a tender sandwich cookie dry.
The spice blend: Cinnamon leads, ginger and nutmeg add warmth, and the smaller amount of cloves provides depth without dominating. Keep those proportions intact rather than increasing every spice at once.
Softened butter: It should accept a finger indentation while still holding its shape. Glossy, slumping butter is too warm for dependable creaming.
I look for butter that dents under gentle pressure but still keeps its corners; that texture is easier to cream without encouraging excessive spread.
How to Make the Chewy Oatmeal Cookie Base
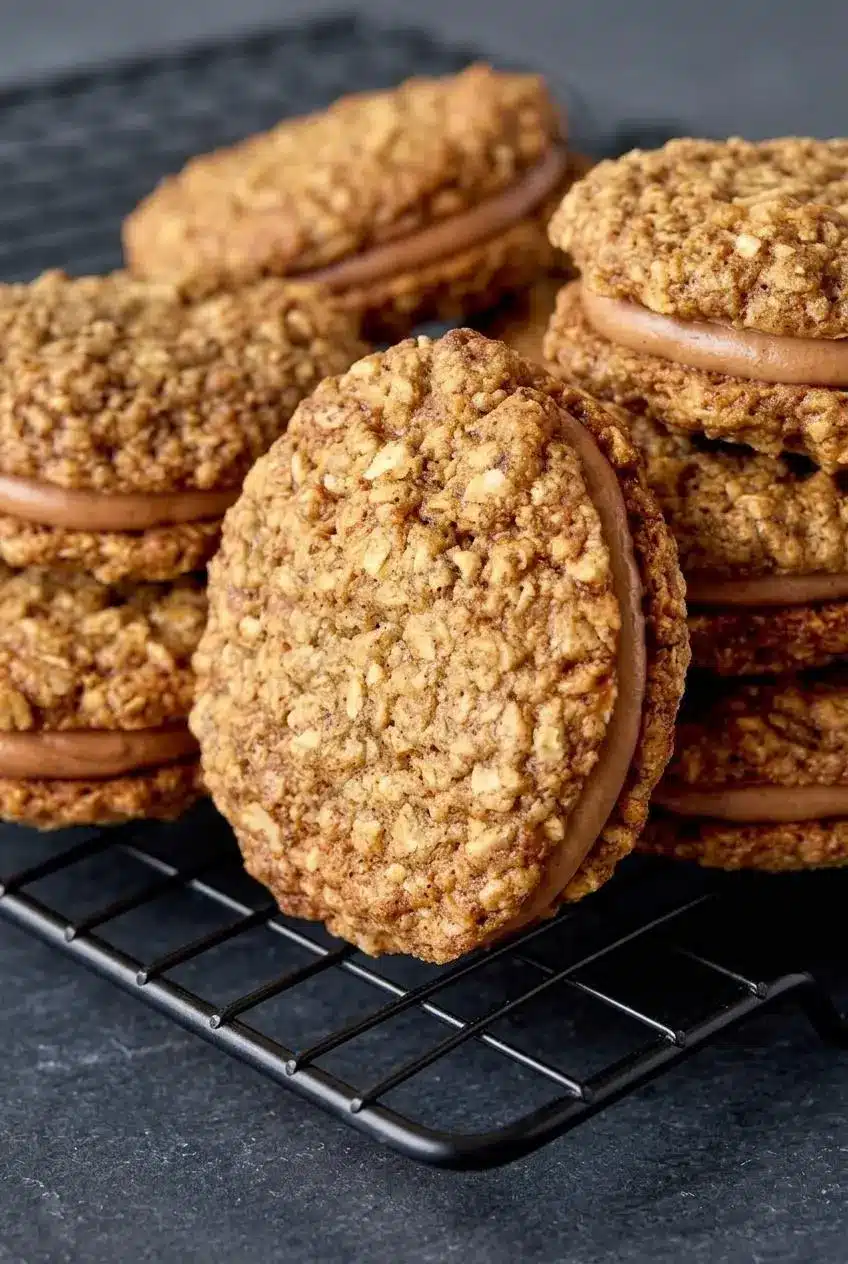
This recipe yields 18–19 cream pies, with a listed total time of about 1 hour. Let the cookies’ temperature, rather than the clock, determine when you fill them.
Have a stand mixer with a paddle attachment or a handheld mixer ready, along with two large baking sheets, parchment, a medium bowl, a whisk, a spatula, a 2-tablespoon scoop, and a wire rack.
Preparation and Baking
- Set the oven to 375°F and cover two large baking sheets with parchment.
The parchment provides a clean surface for lifting the cookies after their initial cooling period. - Beat the cookie butter and both sugars at medium-high speed for about 2 minutes, using a paddle attachment or handheld mixer.
Look for a paler, fluffy mixture with an evenly creamy texture. - Keep the same mixer speed while incorporating the egg, vanilla, and molasses, scraping the bowl as needed.
The mixture should look uniform, without streaks of molasses or unmixed butter along the sides. - Combine the flour, baking soda, salt, cinnamon, cloves, ginger, nutmeg, and oats in a medium bowl with a whisk.
Distributing the spices and leavener now prevents concentrated pockets in the finished dough. - Work the dry mixture into the butter mixture in two additions at low speed, then switch off the mixer and finish with a spatula.
Stop when no dry patches remain so the dough stays tender rather than overworked. - Portion the dough with a 2-tablespoon scoop, leave 3 inches between portions, and bake for 10 minutes.
A golden outer rim signals the intended doneness; avoid waiting for the centers to look hard or deeply browned. - Leave the baked cookies on their sheets for 5 minutes, then move them to a wire rack until completely cool.
The brief sheet rest helps them firm up, and the rack releases lingering heat from underneath. - Continue baking the remaining dough by alternating sheets that have cooled completely.
A cool sheet helps each batch spread consistently instead of melting the dough’s butter before baking begins.
Check the underside of a cookie before filling it. The top may feel cool while the center and bottom still retain warmth. Both surfaces should feel cool to the touch.
Whipping the Spiced Pumpkin Buttercream Filling
Start with softened butter, not melted butter, so the filling can hold air. Whipping it before adding sugar builds a creamy foundation; salt balances the sweetness without making the filling taste salty.
Filling and Assembly
- Whip the filling butter at high speed for about 1 minute.
It should become creamy and lighter in texture, with no firm lumps remaining. - Beat in the powdered sugar at medium speed for 1–2 minutes.
The mixture should become evenly combined before the liquid ingredients go in. - Add the heavy whipping cream, vanilla, salt, and pumpkin spice spread, then beat until uniform.
The finished buttercream should look smooth and fluffy, without streaks of pumpkin spread. - Spread 1.5 tablespoons of filling onto the flat undersides of half the cooled cookies, then cap them with the remaining cookies facing right side up.
A gentle press should secure each sandwich without pushing the filling beyond its edges. - Place the finished sandwiches in a covered container and refrigerate for cautious storage.
Keeping the filling cool also helps it hold its shape, especially in a warm kitchen.
If specialty pumpkin spread isn’t available, plain puree offers an optional alternative, although it won’t taste or behave exactly like a sweetened spread:
- Plain canned pumpkin: Blot it firmly with paper towels to remove loose moisture, then stir in pumpkin pie spice before incorporating it into the buttercream.
- Homemade pumpkin: Choose thick fresh pumpkin puree and blot away excess liquid before using it.
- Flavor difference: Puree is less sweet than pumpkin spread, so expect a more pumpkin-forward filling rather than an identical replacement.
If the buttercream feels loose because the kitchen is warm, chill it until it holds a spreadable mound. Use its consistency as the cue rather than a fixed chilling time.
Assembly, Storage, and Freshness Guidelines
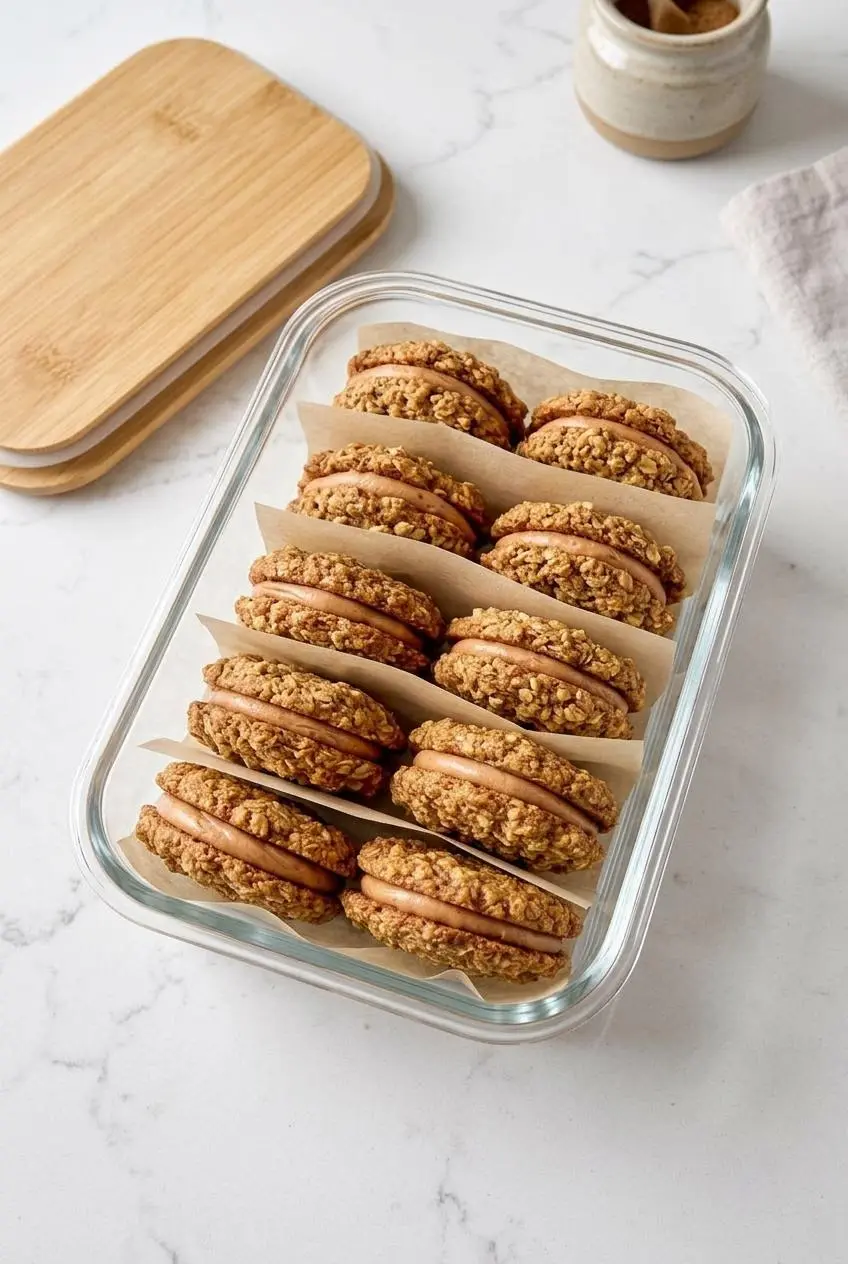
Pair cookies of similar diameter before spreading the filling. Consistent scooping helps, but matching the baked cookies makes the finished sandwiches neater.
- Leave an edge: Spread the measured filling toward the perimeter without covering the very edge, allowing room for it to move when you add the top cookie.
- Press lightly: Hold the cookies level and apply gentle pressure rather than squeezing the center.
- Protect softness: Keep assembled pies in an airtight container so the cookie edges don’t dry out.
- Keep chilled: Refrigeration is the cautious choice for the pumpkin and cream filling, particularly in warm conditions.
- Prevent sticking: Separate stacked layers with wax paper or parchment to protect the cookie surfaces.
For serving, bring out the portion you plan to enjoy and keep the rest covered and chilled. Chilled filling feels firmer; slightly softened filling gives a creamier bite. Avoid leaving the entire batch in a warm spot.
Troubleshooting Common Sandwich Cookie Mistakes
Most texture problems come from butter temperature, flour measurement, or filling cookies before they cool. Check those details before changing ingredient proportions.
- Cookies spread too flat: Warm sheets soften the butter before the dough reaches the oven. Let sheets cool completely between batches and use softened, shape-holding butter.
- Cookies turn tough: Extended mixing after adding flour can toughen the dough. Use low speed for the two dry additions, then finish gently with a spatula.
- Cookies taste dry: Excess flour or overbaking can reduce tenderness. Spoon flour into the measuring cup, level it, and watch for golden edges rather than firm centers.
- Dough seems unusually stiff: Check whether you packed the flour or used a different oat type. Don’t pour in extra cream or other liquid, which changes the dough’s balance.
- Filling slides out: Residual cookie heat or overly warm buttercream can cause slipping. Cool the cookies fully and chill loose filling until spreadable before assembling.
- Cookies crumble during assembly: Moving them too soon can break their delicate structure. Give them the specified sheet rest before transferring them to the rack.
Flavor Variations to Try
Keep these optional changes separate from the recipe above. Each alters the flavor or texture, so the unchanged version is the most straightforward starting point.
Salted Brown Butter Pumpkin Cream Pies
Brown butter adds toasted, nutty notes that complement molasses and oats. If you experiment with browning part of the cookie butter, watch for golden-brown milk solids and a toffee-like aroma, then cool it back to a softened consistency before creaming.
Browning drives off water, so it isn’t a neutral swap and may change spreading or tenderness. Avoid using warm, liquid browned butter in this dough. For a salted finish, an optional light sprinkle of flaky salt can provide contrast without replacing the measured salt in the recipe.
Tangy Cream Cheese Pumpkin Filling
For a tangier center, optionally replace part of the filling butter with softened block-style cream cheese. Avoid spreadable tub cream cheese, which can make the filling looser.
The tangy direction pairs well with warm spices, much like cinnamon cream cheese frosting. Keep this version chilled and assemble only when the filling holds its shape.
Conclusion
These pumpkin oatmeal cream pies combine molasses-rich oat cookies with a fluffy pumpkin center. Accurate measuring, gentle mixing, and golden-edge doneness help preserve their tender chew.
Let the cookies cool completely before filling, then enjoy a sandwich with spiced tea or fresh coffee. A cool cookie and a creamy center make a very satisfying match.
Frequently Asked Questions
Can I Use Old-Fashioned Rolled Oats Instead of Quick-Cooking Oats?
Quick-cooking oats are recommended for a softer, more cohesive sandwich cookie. Rolled oats give a coarser bite; briefly pulsing them in a food processor can reduce the flake size, though the texture may still differ.
What Is the Filling Made Out of in Pumpkin Oatmeal Cream Pies?
The filling is an American-style buttercream made with softened unsalted butter, powdered sugar, heavy whipping cream, vanilla, salt, and pumpkin spice spread. Blotted pumpkin puree with pumpkin pie spice is an optional alternative, with a different sweetness and consistency.
Do Homemade Pumpkin Oatmeal Cream Pies Need to Be Refrigerated?
Refrigeration is the cautious choice for this pumpkin and cream filling, especially in a warm kitchen. Store the sandwiches in an airtight container and take out the portion you plan to serve.
How Do I Prevent My Oatmeal Cookies From Spreading Too Flat?
Cool baking sheets completely between batches and use butter that feels soft but hasn’t melted. Spoon and level the flour rather than packing it into the measuring cup. Keep the specified spacing so expanding cookies don’t run into one another.
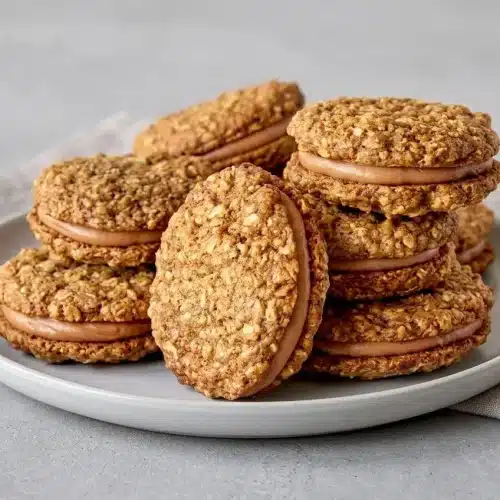
Pumpkin Oatmeal Cream Pies

Equipment
- Stand mixer with paddle attachment or handheld mixer
- 2 large baking sheets
- Parchment Paper
- Medium-sized bowl
- Whisk
- Spatula
- 2 tablespoon cookie scoop
- Wire cooling rack
Ingredients
Cookies
- 1 1/4 Cups Softened Unsalted Butter
- 1 Cup Packed Dark Brown Sugar
- 1/2 Cup Granulated Sugar
- 1 Egg Room Temperature
- 2 tsp Vanilla Extract
- 1 Tbsp. Unsulphured Molasses
- 1 1/2 Cups All-Purpose Flour
- 1 tsp Baking Soda
- 1/2 tsp Salt
- 3/4 tsp Ground Cinnamon
- 1/8 tsp Ground Cloves
- 1/4 tsp Ground Ginger
- 1/4 tsp Ground Nutmeg
- 3 Cups Quick-Cooking Oats
Pumpkin Spice Filling
- 1/2 Cup Bonne Maman Pumpkin Spice Spread
- 3/4 Cup Softened Unsalted Butter
- 4 Cups Powdered Sugar
- 2 Tbsp. Heavy Whipping Cream
- 1/2 tsp Vanilla Extract
- 1/4 tsp Salt
Instructions
Preparation and Baking
- Set the oven to 375°F and cover two large baking sheets with parchment. The parchment provides a clean surface for lifting the cookies after their initial cooling period.
- Beat the cookie butter and both sugars at medium-high speed for about 2 minutes, using a paddle attachment or handheld mixer. Look for a paler, fluffy mixture with an evenly creamy texture.
- Keep the same mixer speed while incorporating the egg, vanilla, and molasses, scraping the bowl as needed. The mixture should look uniform, without streaks of molasses or unmixed butter along the sides.
- Combine the flour, baking soda, salt, cinnamon, cloves, ginger, nutmeg, and oats in a medium bowl with a whisk. Distributing the spices and leavener now prevents concentrated pockets in the finished dough.
- Work the dry mixture into the butter mixture in two additions at low speed, then switch off the mixer and finish with a spatula. Stop when no dry patches remain so the dough stays tender rather than overworked.
- Portion the dough with a 2-tablespoon scoop, leave 3 inches between portions, and bake for 10 minutes. A golden outer rim signals the intended doneness; avoid waiting for the centers to look hard or deeply browned.
- Leave the baked cookies on their sheets for 5 minutes, then move them to a wire rack until completely cool. The brief sheet rest helps them firm up, and the rack releases lingering heat from underneath.
- Continue baking the remaining dough by alternating sheets that have cooled completely. A cool sheet helps each batch spread consistently instead of melting the dough’s butter before baking begins.
Filling and Assembly
- Whip the filling butter at high speed for about 1 minute. It should become creamy and lighter in texture, with no firm lumps remaining.
- Beat in the powdered sugar at medium speed for 1–2 minutes. The mixture should become evenly combined before the liquid ingredients go in.
- Add the heavy whipping cream, vanilla, salt, and pumpkin spice spread, then beat until uniform. The finished buttercream should look smooth and fluffy, without streaks of pumpkin spread.
- Spread 1.5 tablespoons of filling onto the flat undersides of half the cooled cookies, then cap them with the remaining cookies facing right side up. A gentle press should secure each sandwich without pushing the filling beyond its edges.
- Place the finished sandwiches in a covered container and refrigerate for cautious storage. Keeping the filling cool also helps it hold its shape, especially in a warm kitchen.