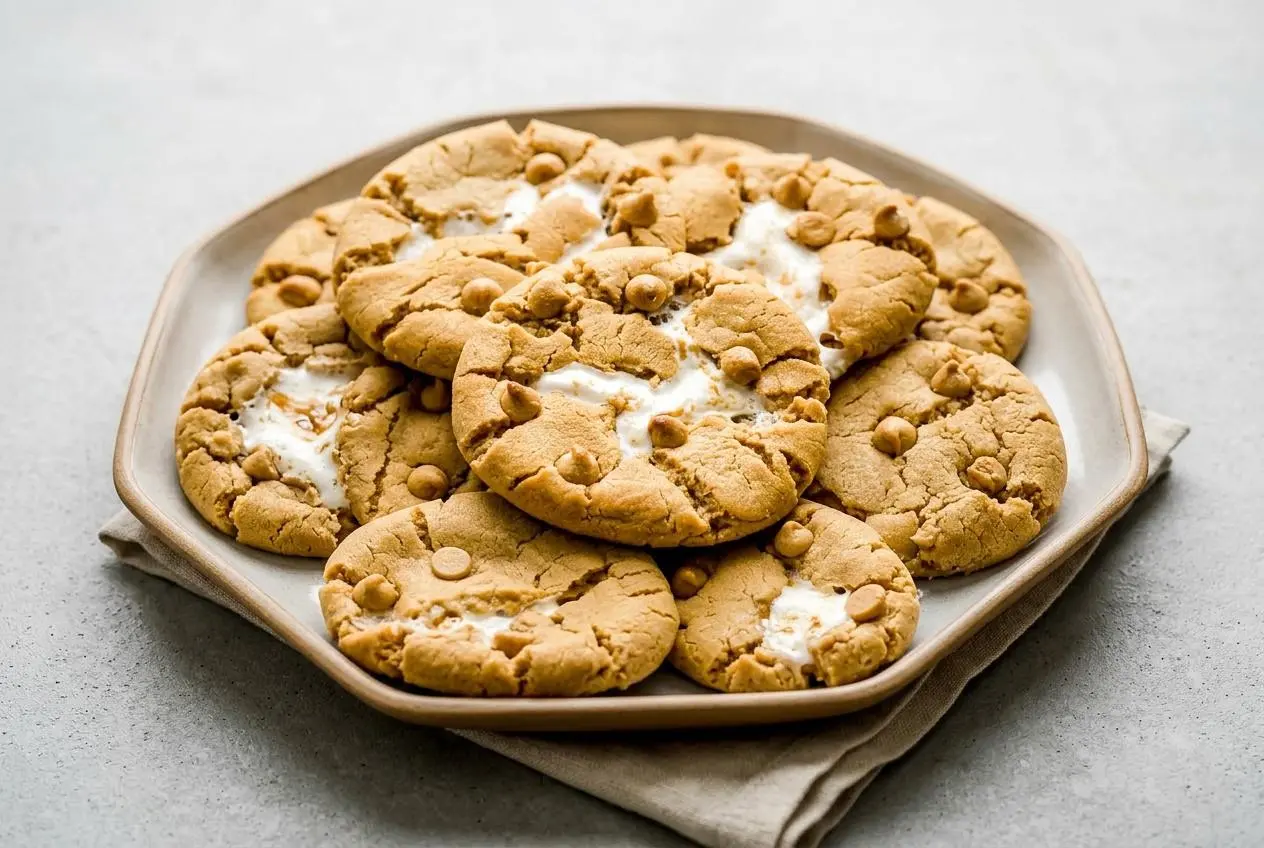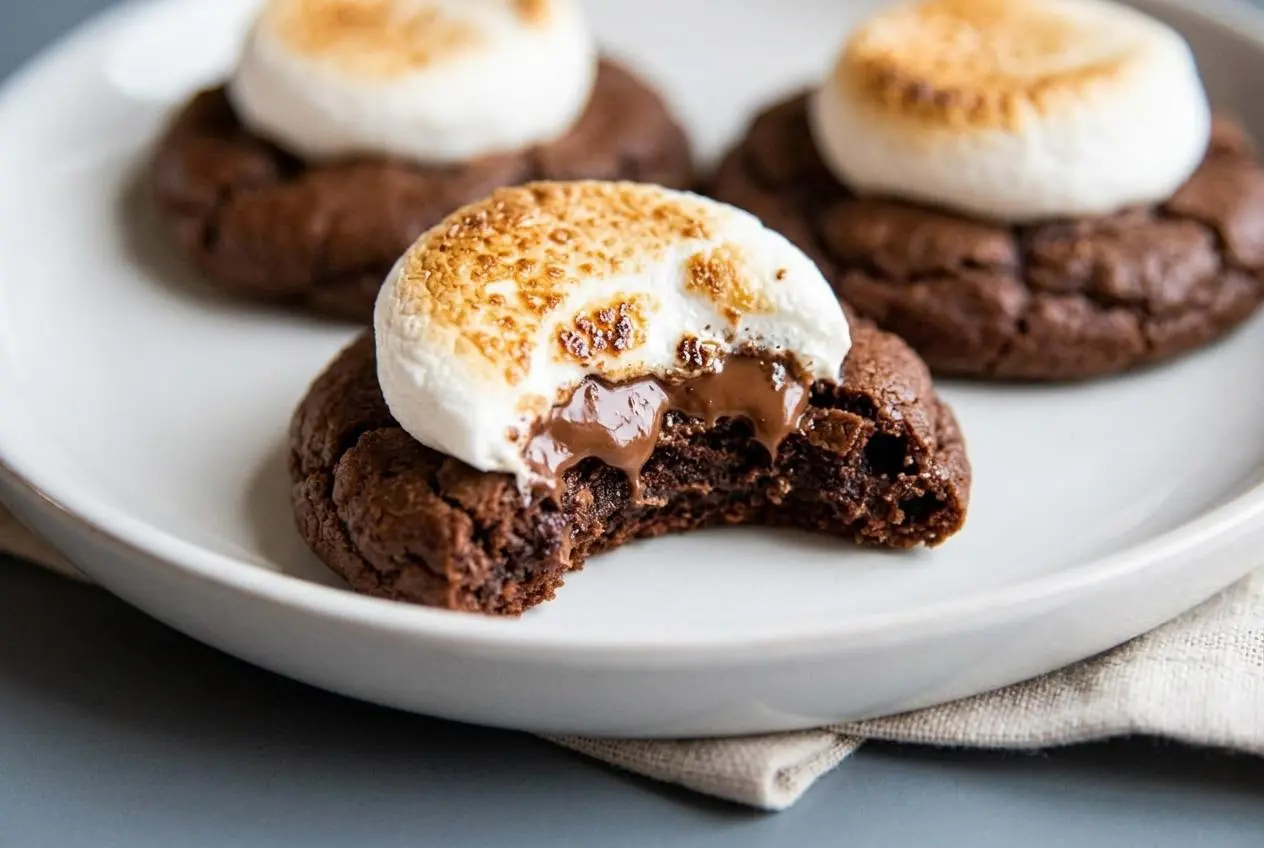
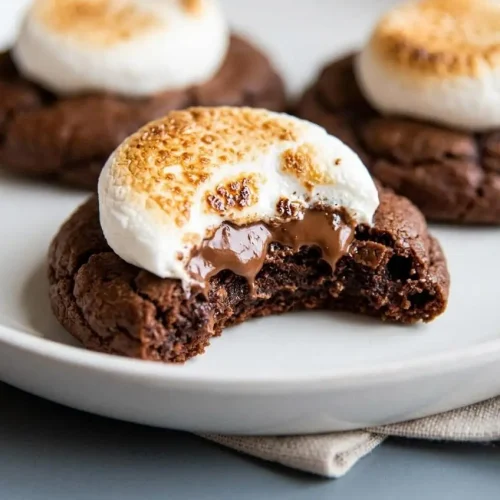
Hot cocoa cookies are fudgy chocolate cookies topped with melted chocolate and soft, gooey marshmallows. Chill the dough until rollable, bake until the tops crack, then add the toppings for the final 3 to 4 minutes.
These hot cocoa cookies bring the comfort of a warm mug to a chewy chocolate cookie. Melted chocolate runs through the dough, cocoa deepens the flavor, and a marshmallow cap gives each bite that familiar cocoa sweetness.
The chocolate aroma makes them especially welcome on a cold afternoon, whether you’re settling beside the fire or filling a holiday cookie platter. The dough needs chilling, but the topping comes together quickly. Watch for that glossy marshmallow puff.
Leave room in the refrigerator for the mixing bowl before you start; freshly mixed dough will be too soft to roll.
Key Ingredients and Smart Substitutions
Butter and chocolate bring richness, brown sugar supports a chewy center, and flour and eggs give the cookies structure. Cocoa adds depth, vanilla rounds out the flavor, and the chocolate bar and marshmallows create the soft, gooey topping.
- 1/2 cup unsalted butter (1 stick)
- 12 oz chocolate chips
- 1 3/4 cups all purpose flour
- 1/4 cup cocoa powder
- 1 1/2 tsp baking powder
- 1/4 tsp salt
- 1 1/4 cups brown sugar
- 3 eggs
- 1 tsp vanilla extract
- 24 large marshmallows
- 1 large chocolate bar
Melted chocolate chips and cocoa powder do different jobs. The chips contribute chocolate flavor along with fat and sweetness, giving the dough its brownie-like richness. Unsweetened cocoa intensifies the chocolate without adding more sugar. Together, they make a cookie that tastes deeper than its marshmallow topping alone suggests.
Brown sugar helps keep the texture chewy. Its moisture and molasses flavor suit this rich dough. The eggs bind the mixture and help it set during baking, while flour provides enough structure to hold the chocolate and marshmallow topping.
Hot cocoa mix is not a direct substitute for cocoa powder. Drink mixes usually contain sugar and may contain powdered milk, flavorings, or thickeners. Replacing the cocoa by volume changes more than the chocolate flavor, and this dough already contains sweetened chocolate chips and brown sugar. There’s no granulated sugar here to casually reduce.
Dutch-process cocoa is unsweetened cocoa treated to reduce acidity, typically giving it a darker color and mellower flavor. It differs from sweetened hot cocoa packets even when both look like brown powder. For this recipe, choose unsweetened baking cocoa rather than a drink mix; use a recipe formulated for packets if that’s what you want to bake with.
I prefer kitchen shears for halving marshmallows because they make it easier to keep the sticky cut surface intact for placement.
How to Make the Hot Cocoa Cookies
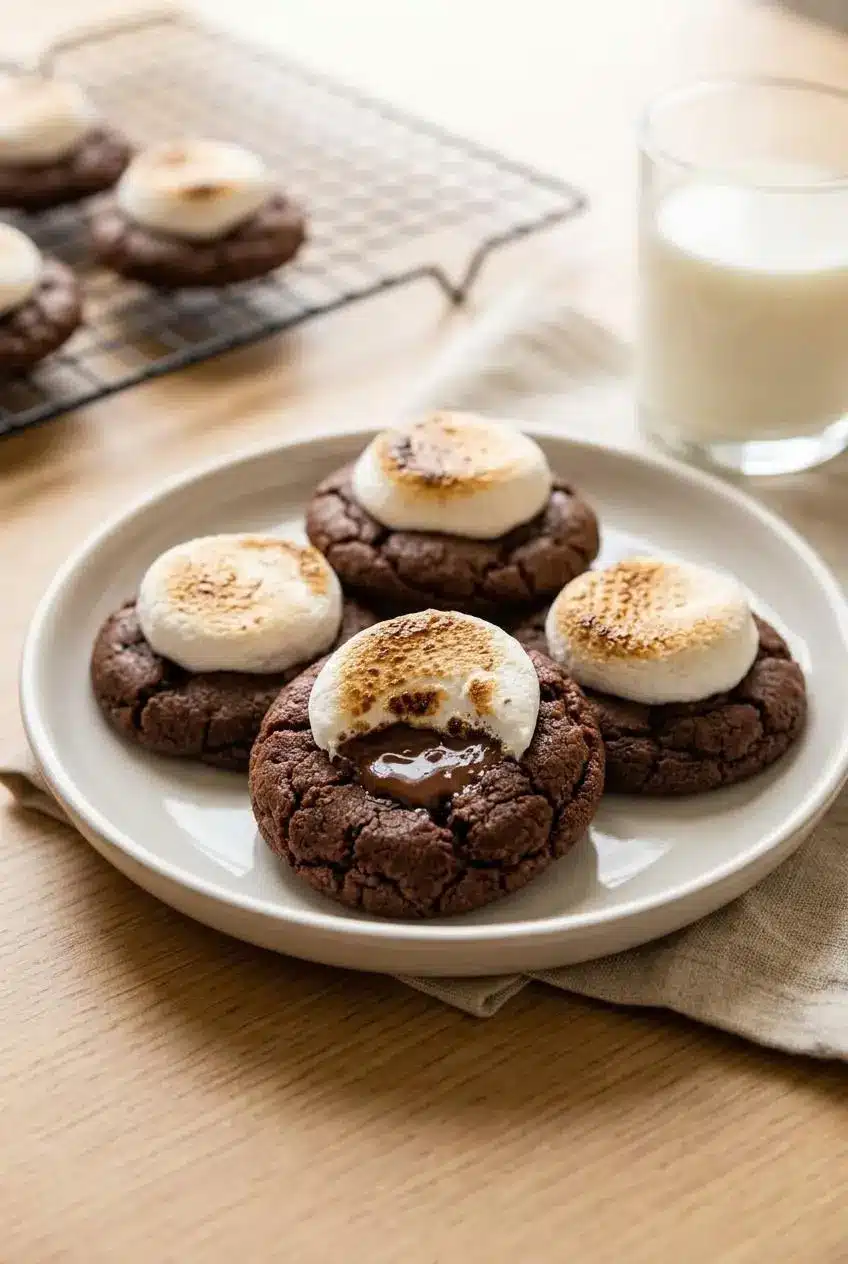
Expect the dough to look more like thick brownie batter than cookie dough at first. Chilling changes its consistency enough for shaping, so plan for about 20 minutes of active preparation, the refrigerator rest, and 13 to 14 minutes of baking per batch.
- Heat the butter and chocolate chips in a small saucepan over medium heat, stirring occasionally, then take the pan off the heat and allow about 15 minutes for cooling.
The mixture should become smooth and lose its intense heat before it meets the eggs. - Whisk the flour, cocoa powder, baking powder, and salt in a large bowl, then keep this mixture aside.
An even color with no visible cocoa pockets helps distribute the dry ingredients throughout the dough. - Beat the brown sugar, eggs, and vanilla in a separate large mixing bowl until smooth.
The ingredients should form one consistent mixture rather than separate streaks of egg and sugar. - Stir the cooled chocolate mixture into the egg mixture until the color is uniform.
Cooling the chocolate first helps prevent the hot mixture from cooking the eggs. - Incorporate the dry mixture gradually while stirring, stopping when no dry patches remain.
The finished dough will be thick but still too soft to shape like ordinary cookie dough. - Seal the bowl with a lid or plastic wrap and refrigerate the dough for 1 to 2 hours.
Look for a firm, scoopable consistency that holds its shape rather than flowing back into the bowl. - Set the oven to 325°F and cover one or two baking sheets with parchment paper.
The parchment provides a surface that releases the soft chocolate cookies more easily. - Form the chilled dough into balls measuring 1 1/2 to 2 inches across and arrange them at least a couple of inches apart on the prepared sheets.
Each portion should hold a rounded shape, with open space around it for spreading. - Bake the dough portions for 10 minutes before adding any toppings.
Small cracks should begin appearing across the cookie tops at this stage. - During the initial bake, halve the marshmallows and cut the chocolate bar into 1/2-inch pieces.
Keep the marshmallow cut surfaces exposed so they are ready to face downward. - Pull the sheet from the oven, place a chocolate piece on each cookie, cover it with a marshmallow half cut side down, and bake for another 3 to 4 minutes.
The marshmallow should expand into a soft, gooey cap rather than collapse into a thin puddle. - Take the baking sheet out of the oven and leave the cookies on it for about 5 minutes.
This brief rest lets the tender cookie bottoms firm enough for moving. - Add grated chocolate over the marshmallow tops if desired.
The warm topping helps the chocolate shavings cling to the surface. - Move the cookies to a cooling rack for further cooling, or enjoy them warm.
The centers remain soft, and the warm marshmallow has its stretchiest texture.
The refrigerator rest is part of the texture-building process, not an optional pause. If a portion slumps immediately after scooping, the dough isn’t ready to roll. Firm dough should still yield to your hands without behaving like a sticky chocolate sauce.
At the initial baking check, use the surface cracks as your cue rather than waiting for a completely dry center. Chocolate cookies don’t offer the same obvious golden-color signal as pale cookies, and they still have their topping bake ahead of them.
Essential Baking Techniques for Gooey Marshmallow Toppings
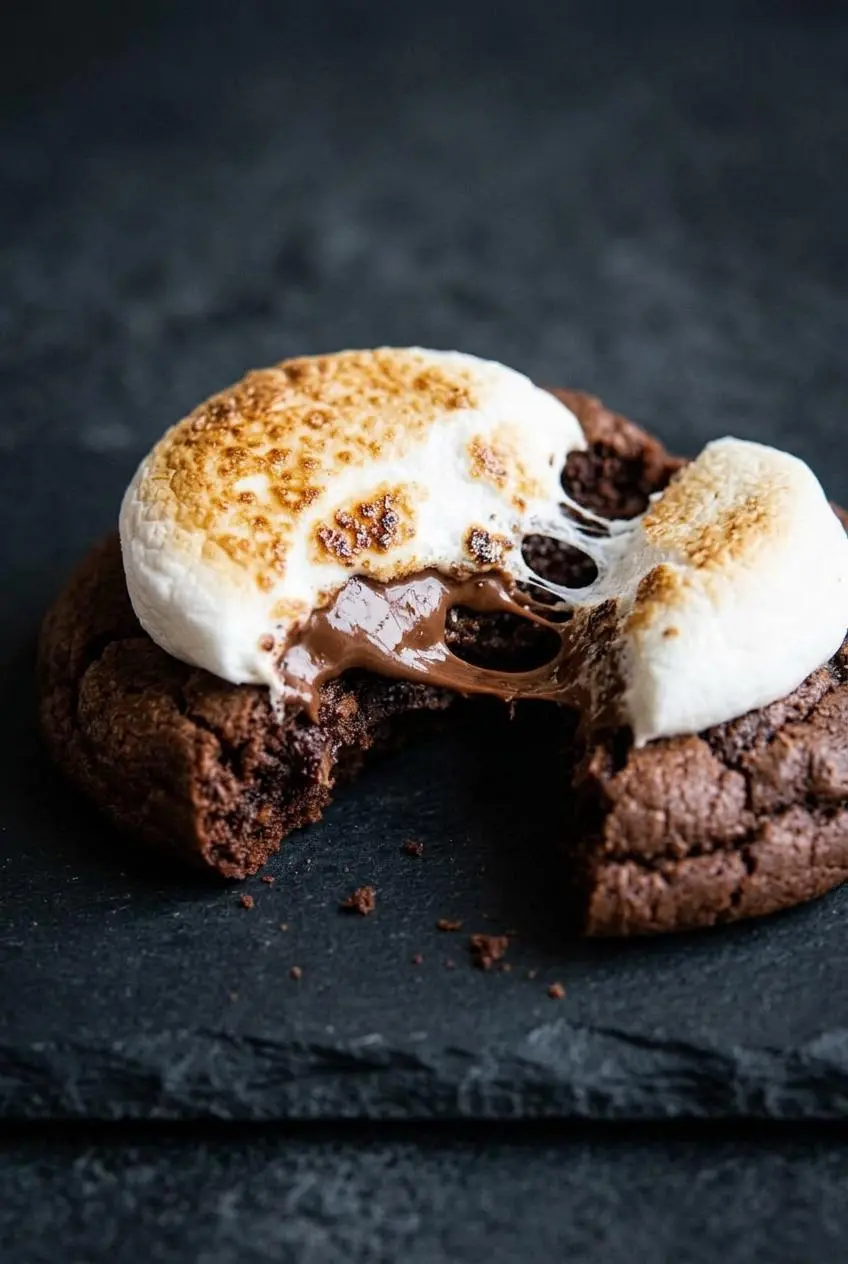
Add the marshmallows after the cookies have begun to set. Giving them the full baking cycle can turn that pillowy topping into sticky syrup before the cookie underneath finishes cooking.
The chocolate piece goes on first, followed by the marshmallow half with its sticky cut side down. That broad cut surface helps anchor the marshmallow over the chocolate. A rounded marshmallow surface facing downward is more likely to wobble or slide as the chocolate softens.
Keep the final bake to 3 to 4 minutes and watch the topping closely. A slight gloss and a rounded puff are useful signs. Browning isn’t necessary, so don’t extend the bake simply to make the marshmallow look toasted.
If a puffed marshmallow sits particularly tall, you can gently flatten it with the back of a spoon after baking. This is optional; use a light touch so you don’t squeeze the melted chocolate out over the cookie edges.
The same appeal of soft chocolate and stretchy marshmallow makes gooey s’mores cookies a natural next bake. Here, the key is keeping the marshmallow’s oven exposure separate from most of the cookie’s baking time.
For an optional flavor adjustment, finish with a little flaky sea salt to contrast the sweetness. A small pinch of espresso powder in the chocolate dough can also deepen its flavor. Neither addition is necessary for the fudgy texture or gooey topping.
Festive Variations and Flavor Ideas
Choose a topping or flavor direction that complements the chocolate rather than adding everything at once. Keep these optional changes separate from the ingredient list and main method above.
Crushed Peppermint Candy Cane Topping
Scatter finely crushed candy cane over the chocolate and marshmallow as the cookies finish their pan-cooling rest. The warm surface helps the peppermint adhere, and the small pieces add a crisp contrast to the soft topping.
Crush the candy finely enough that it’s comfortable to bite through. A light scattering gives peppermint flavor without covering the marshmallow completely, which works especially well for holiday cookie platters.
Molten Ganache Lava Center Cookies
A ganache-filled center creates a different kind of chocolate cookie: a soft outer shell surrounding a flowing filling. It’s an appealing variation, but stuffing this already-soft dough changes its thickness, spreading, and baking needs.
For that version, use a tested ganache-stuffed cookie formulation rather than inserting an improvised filling and assuming the baking schedule above will still work. The chocolate piece beneath the marshmallow already supplies a melted chocolate layer without changing the dough’s structure.
If a gooey filled cookie is your main goal, caramel Rolo cookies offer another direction for a cookie platter while keeping the filling technique separate from this recipe.
Mexican Spiced Hot Cocoa Cookies
- Ground cinnamon: Add a little to the dry mixture for a warm spice aroma that complements the cocoa.
- Cayenne pepper: Use a restrained pinch for gentle heat rather than a sharply spicy cookie.
- Flavor balance: Keep the marshmallow topping unchanged so its sweetness contrasts with the spiced chocolate.
Troubleshooting Common Cookie Pitfalls
Most texture problems start with dough temperature or topping timing. Match the symptom to its likely cause before changing the ingredient amounts.
- Flat, greasy cookies: Warm dough lets the melted fats spread before the cookie sets; complete the chilling stage and shape only dough that holds a ball.
- Marshmallows disappear: Adding them at the beginning exposes them to too much heat; wait until the cookie tops crack before topping.
- Toppings slide sideways: A rounded marshmallow underside makes unstable contact; place the sticky cut surface over the chocolate piece.
- Dry centers: Waiting for the cookies to look fully dry before topping can overbake them; use the initial cracking cue and remember that another bake follows.
- Cookies tear during transfer: Moving them immediately leaves the soft bottoms unsupported; let them rest on the baking sheet before lifting them.
- Marshmallow caps stick together: Warm packing or direct stacking presses sticky surfaces against each other; cool completely and separate the cookies before closing the container.
Storage and Make-Ahead Preparation
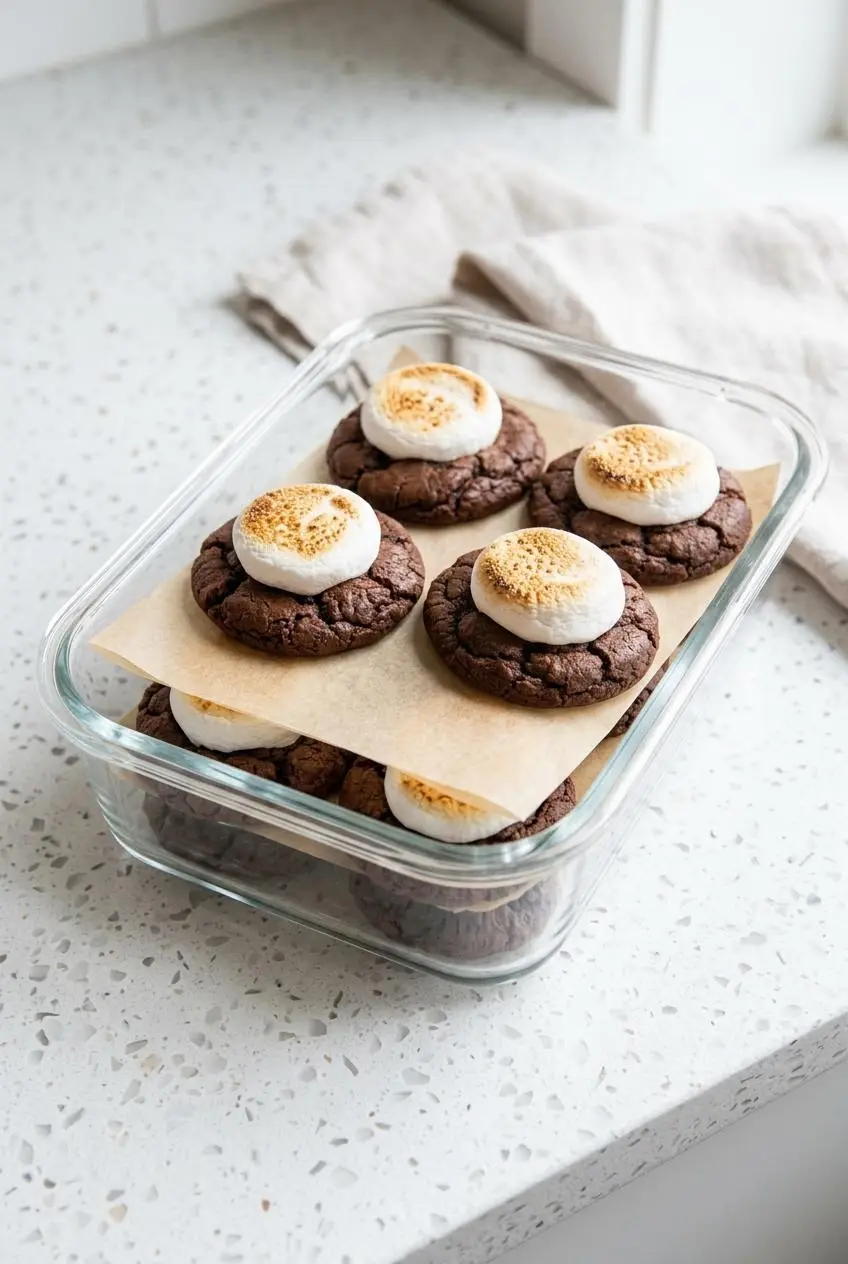
Let the cookies cool completely before packing them. Trapped warmth creates moisture inside a closed container, and warm marshmallow tops are especially easy to smear.
Use an airtight container and arrange the cookies in a single layer when possible. If you need layers, place parchment between them and avoid compressing the cookies with a tight-fitting lid. Parchment helps separate the surfaces, but it can’t protect a topping that gets squashed.
For a cookie exchange, choose a container with enough headroom above the marshmallow caps. A snug row of cookies looks tidy, but leave enough space to lift each one without dragging its topping against its neighbor.
Shaping Chilled Dough for Baking
Organize preparation around the required refrigerator rest: while the covered dough firms, set out the baking sheets, parchment, and cooling rack. You can also get the topping ingredients ready so assembly doesn’t become a scramble once the cookies leave the oven.
Shape only firm dough, and keep the remaining bowl covered and chilled while working through batches. This keeps later portions closer to the consistency of the first batch without changing the recipe’s chilling requirement.
Reheating for a Softer Marshmallow Topping
To soften a cooled cookie, warm it briefly on a microwave-safe plate and check it before adding more heat. Microwave strength and cookie size vary, so use the topping’s texture rather than a fixed reheating time.
Stop when the marshmallow softens. Prolonged heating can make the topping slump and turn the chocolate layer runny; warming one cookie at a time makes that change easier to monitor.
Conclusion
These cookies combine a fudgy chocolate center with a soft marshmallow cap and a melted chocolate layer between them. Give the dough time to firm, then watch the topping for a glossy puff rather than waiting for browning.
Enjoy them warm with cold milk or a mug of hot cocoa, and let any cookies destined for a platter cool before arranging them. A little patience keeps those pillowy tops looking as good as they taste.
Frequently Asked Questions
Why Did My Marshmallows Dissolve or Disappear in the Oven?
They likely baked too long, especially if you added them before the initial cookie bake. Add them after the cookies have baked for 10 minutes, then return the sheet for only 3 to 4 minutes, until puffed and gooey.
Can I Use Packets of Hot Cocoa Mix Instead of Cocoa Powder?
Not as a direct replacement in this dough; packets add sugar and may contain milk powder or thickeners. Use unsweetened cocoa powder here, or choose a cookie recipe specifically formulated for your hot cocoa mix.
How Do I Prevent Hot Cocoa Cookies From Spreading Too Flat?
Refrigerate the covered dough for 1 to 2 hours so the melted butter and chocolate can firm. Check that each shaped portion holds its rounded form, and keep unshaped dough chilled between batches.
How Should I Store Hot Cocoa Cookies So the Marshmallows Do Not Stick?
Cool the cookies completely, then place them in an airtight container, preferably in one layer. Separate stacked layers with parchment and leave room above the toppings so the lid doesn’t press them flat.
Hot Cocoa Cookies

Equipment
- Hand whisk
- Large Mixing Bowl
- Small saucepan
- Baking pan
- Parchment Paper
- Cooling Rack
Ingredients
- 1/2 cup unsalted butter (1 stick)
- 12 oz chocolate chips
- 1 3/4 cups all purpose flour
- 1/4 cup cocoa powder
- 1 1/2 tsp baking powder
- 1/4 tsp salt
- 1 1/4 cups brown sugar
- 3 eggs
- 1 tsp vanilla extract
- 24 large marshmallows
- 1 large chocolate bar
Instructions
- Heat the butter and chocolate chips in a small saucepan over medium heat, stirring occasionally, then take the pan off the heat and allow about 15 minutes for cooling. The mixture should become smooth and lose its intense heat before it meets the eggs.
- Whisk the flour, cocoa powder, baking powder, and salt in a large bowl, then keep this mixture aside. An even color with no visible cocoa pockets helps distribute the dry ingredients throughout the dough.
- Beat the brown sugar, eggs, and vanilla in a separate large mixing bowl until smooth. The ingredients should form one consistent mixture rather than separate streaks of egg and sugar.
- Stir the cooled chocolate mixture into the egg mixture until the color is uniform. Cooling the chocolate first helps prevent the hot mixture from cooking the eggs.
- Incorporate the dry mixture gradually while stirring, stopping when no dry patches remain. The finished dough will be thick but still too soft to shape like ordinary cookie dough.
- Seal the bowl with a lid or plastic wrap and refrigerate the dough for 1 to 2 hours. Look for a firm, scoopable consistency that holds its shape rather than flowing back into the bowl.
- Set the oven to 325°F and cover one or two baking sheets with parchment paper. The parchment provides a surface that releases the soft chocolate cookies more easily.
- Form the chilled dough into balls measuring 1 1/2 to 2 inches across and arrange them at least a couple of inches apart on the prepared sheets. Each portion should hold a rounded shape, with open space around it for spreading.
- Bake the dough portions for 10 minutes before adding any toppings. Small cracks should begin appearing across the cookie tops at this stage.
- During the initial bake, halve the marshmallows and cut the chocolate bar into 1/2-inch pieces. Keep the marshmallow cut surfaces exposed so they are ready to face downward.
- Pull the sheet from the oven, place a chocolate piece on each cookie, cover it with a marshmallow half cut side down, and bake for another 3 to 4 minutes. The marshmallow should expand into a soft, gooey cap rather than collapse into a thin puddle.
- Take the baking sheet out of the oven and leave the cookies on it for about 5 minutes. This brief rest lets the tender cookie bottoms firm enough for moving.
- Add grated chocolate over the marshmallow tops if desired. The warm topping helps the chocolate shavings cling to the surface.
- Move the cookies to a cooling rack for further cooling, or enjoy them warm. The centers remain soft, and the warm marshmallow has its stretchiest texture.