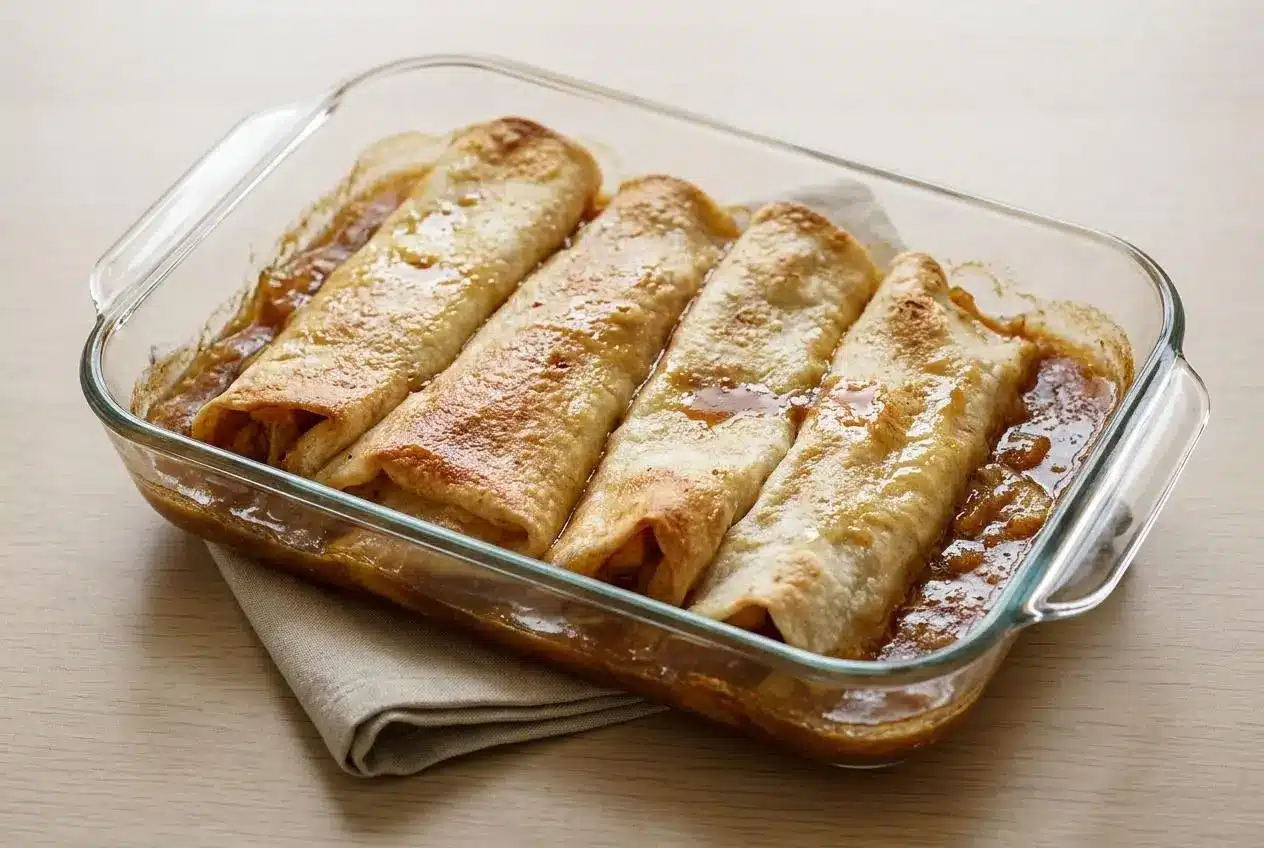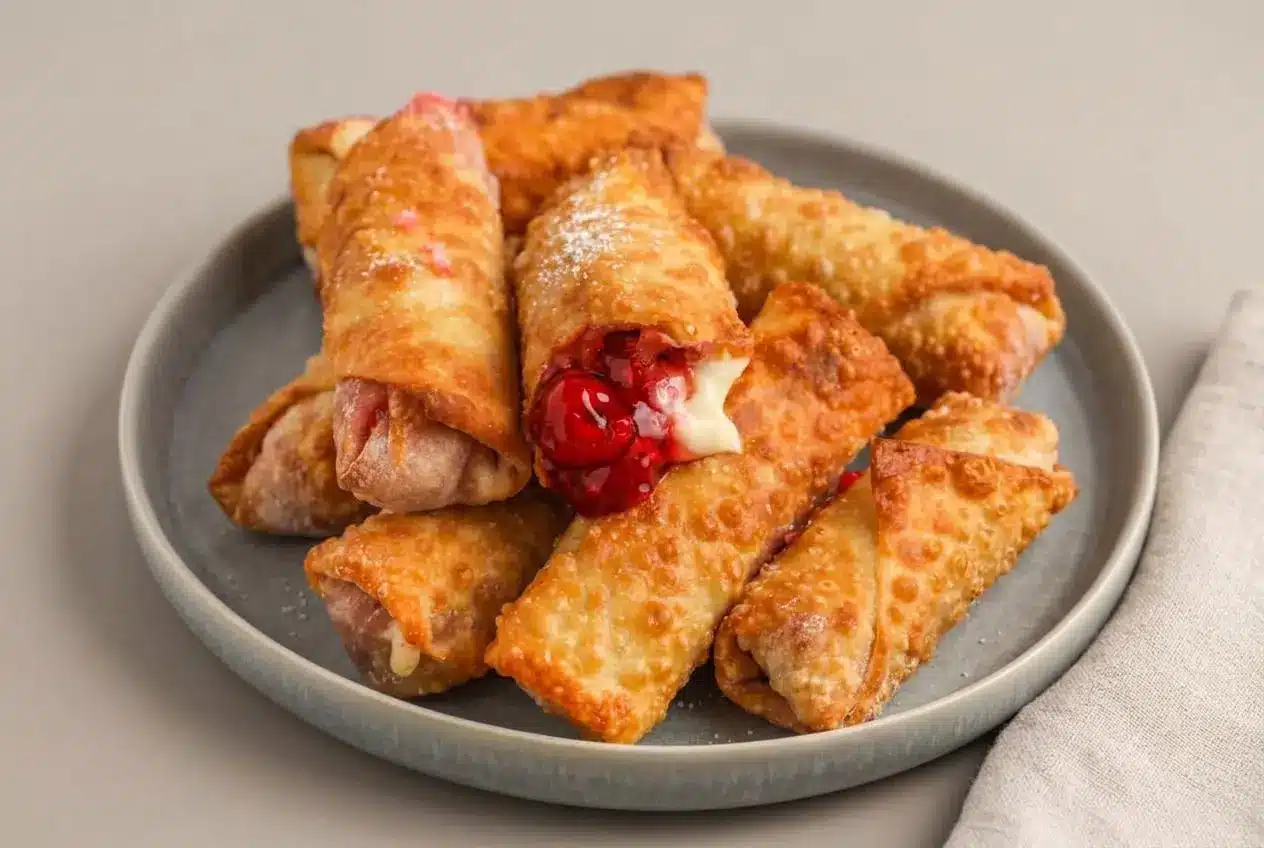
Cherry cheesecake egg rolls are crisp handheld pastries filled with sweetened cream cheese and cherry pie filling, then deep-fried until golden or cooked in an air fryer for a lighter finish.
These cherry cheesecake egg rolls bring together a crackly wrapper, warm cherries, and a creamy cheesecake center in one fun dessert. The key is keeping the filling contained so the crust stays crisp instead of soggy.
A little lemon brightens the sweet filling, while a firm roll and rested seam help prevent leaks in hot oil. That first crunchy bite is worth the careful fold.
Set the cream cheese out to soften before mixing, and keep the unopened wrappers covered with a damp paper towel while you work.
Ingredients for Cherry Cheesecake Egg Rolls
Each ingredient has a job here: cream cheese creates richness, lemon adds brightness, cherries bring juicy fruit flavor, and the wrappers provide structure and crunch.
- 4 ounces cream cheese (softened)
- 1 teaspoon lemon zest
- 3 tablespoons granulated sugar
- ½ teaspoon fresh lemon juice
- 1 can cherry pie filling
- 8 egg roll wrappers (mine were 6″x6″)
- oil (for frying )
Softened cream cheese blends into a smooth, pipeable filling. Cold cream cheese can leave small lumps that make filling the wrappers harder. Lemon zest and juice cut through the sweetness of the cherries, while sturdy square wrappers fry into the blistered, golden shell that makes this dessert so satisfying.
I lightly drain the cherries before filling each wrapper, leaving the fruit coated but not swimming in syrup, which helps the bottom seam stay firm.
For optional fruit changes, use blueberry, blackberry, or spiced apple pie filling in place of the cherry filling. Each gives the same creamy-fruity contrast, though apple filling benefits from being spooned on without excess sauce. For a gluten-free version, choose certified gluten-free egg roll wrappers and handle them gently, since they can tear more easily than standard wheat wrappers.
How to Make Cherry Cheesecake Egg Rolls
Work in an orderly line: mix and pipe the filling, roll the wrappers snugly, then fry in small batches. A tight wrapper gives the hot filling room to warm without forcing its way through the seam.
- Beat the softened cream cheese with the lemon zest, sugar, and fresh lemon juice in a bowl, then transfer the mixture to a Ziploc baggie and snip off one corner.
The filling should look smooth and glossy, with no firm bits of cream cheese remaining. - Place one egg roll wrapper in front of you as a diamond, with a point facing you, then pipe a line of filling across the lower center and top it with approximately 10 cherries.
Leave a clear border around the filling so the wrapper can close without squeezing fruit toward the edges. - Moisten the wrapper edges with water, fold and roll it firmly into a sealed packet, then leave it to stand for 3 to 4 minutes.
The seam should feel lightly tacky and closed rather than loose or slippery before it goes into the oil. - Heat the oil to about 350°F and fry the rolls in small batches for about 5 to 6 minutes.
Look for steady bubbling and a deep golden-brown crust with small crisp blisters before serving warm.
Keep an eye on the oil temperature between batches. Oil that cools too much can leave the wrappers greasy instead of crisp, while overly hot oil can brown the outside before the center has warmed through.
Mastering the Wrap: Preventing Blowouts and Leaks
A leak usually starts before frying: too much filling, excess cherry syrup, dry wrapper edges, or trapped air can all weaken the seal. Keep the filling centered and roll with gentle firmness rather than crushing the wrapper.
The Diamond Envelope Fold
Lay the wrapper like a diamond with the bottom point closest to you. Pipe the cream cheese filling just below the center, then add the cherries in a neat line rather than piling them high.
Bring the bottom corner over the filling and tuck it snugly underneath. This first tuck pushes out air pockets that can expand in hot oil. Fold the two side corners inward like an envelope, then roll upward toward the top point until the packet is compact and even.
Keep unused wrappers beneath a damp paper towel as you assemble the batch. A dry wrapper can crack at the corners, and even a small split gives warm cherry filling an easy escape route.
Sealing and Resting for Success
Run a little water around the outer borders before the final roll. The water softens the wrapper starch so the seam can bond as it rests. Press the final point down firmly, but do not soak the whole wrapper.
Give every sealed roll its full 3 to 4 minutes of rest before cooking. That pause lets the seam set, which is especially helpful when frying. Drain off excess syrup from the canned cherries first as well, since wet filling can soften the wrapper base and encourage splitting.
- Wrapper bursts in the oil: The roll was likely overfilled or contained trapped air. Use a narrower line of filling and make the first tuck tighter.
- Filling leaks from one end: The edges may not have been moistened evenly. Wet the border, press the seam closed, and let it rest before cooking.
- Bottom feels soft: Too much cherry gel may be soaking into the wrapper. Drain the fruit lightly before assembly.
Step-by-Step Cooking Instructions
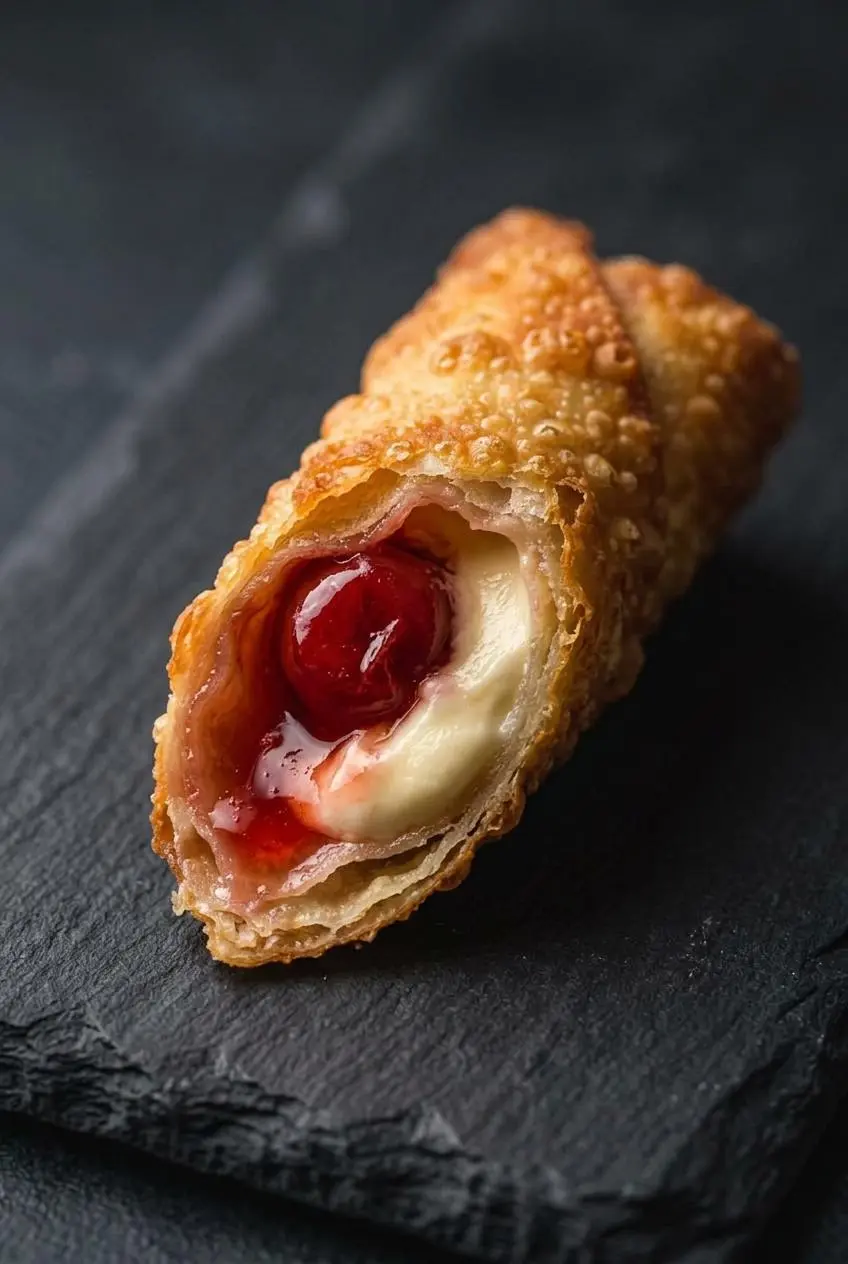
Deep frying gives the most pronounced crunch and the prettiest blistered crust. Cook only a few rolls at a time so the oil stays close to 350°F and each wrapper has room to brown evenly.
Lower the rolls in carefully and turn them as needed for even color. The crust should reach a rich golden brown and feel crisp all around. Transfer the cooked rolls to a paper towel-lined plate, then let them sit briefly before eating because the cherry center stays very hot.
Deep-fried rolls have the fullest crunch and the most even browning. If you want a less oil-heavy approach, the air fryer and oven options below still make a crisp, golden dessert, though the shell will be a bit less blistered.
Alternative Cooking Methods: Air Fryer and Oven
Both methods avoid deep frying while keeping the cream cheese filling warm and the wrapper pleasantly crisp. Give the rolls space so circulating heat can reach every side.
Crispy Air Fryer Method
Lightly brush or spray both sides of the assembled rolls with neutral oil. Arrange them in the air fryer basket with space between each one, then cook at 390°F for 7 to 8 minutes, turning them halfway through.
The finished wrappers should be browned in spots, crisp at the corners, and firm enough to lift without sagging. Air frying creates a lighter crust than deep frying, with less dramatic bubbling but plenty of crunch.
Oven-Baked Instructions
Heat the oven to 400°F and line a baking sheet with parchment paper. Brush each roll generously with oil on all sides, arrange them seam-side down, and bake for 12 to 15 minutes, turning them halfway through.
Baking produces a drier, more evenly crisp shell than an air fryer, though it will not have the same deeply blistered finish as frying. The oil coating matters here, as it helps the wrapper brown rather than becoming tough.
If baked cheesecake-filled pastries are your favorite kind of dessert project, these cheesecake crescent rolls offer another warm, golden option for the oven.
Flavor Variations and Easy Swaps
Keep the main filling as written, then use these additions only when you want a different flavor direction.
- Graham cracker and cardamom: Stir a pinch of ground cardamom and crushed graham cracker crumbs into the cream cheese filling for warm spice and a cheesecake-crust feel.
- Blueberry or blackberry: Swap in either pie filling for a darker berry flavor that pairs beautifully with lemon.
- Spiced apple: Use apple pie filling for a cozy cinnamon-style version with the same crisp wrapper.
- Gluten-free wrappers: Use certified gluten-free egg roll wrappers, keeping them covered as you work and rolling carefully to avoid tears.
For another fruit-filled dessert with a crunchy wrapper, try these peach cobbler egg rolls when peaches are calling your name.
Storage and Reheating Tips
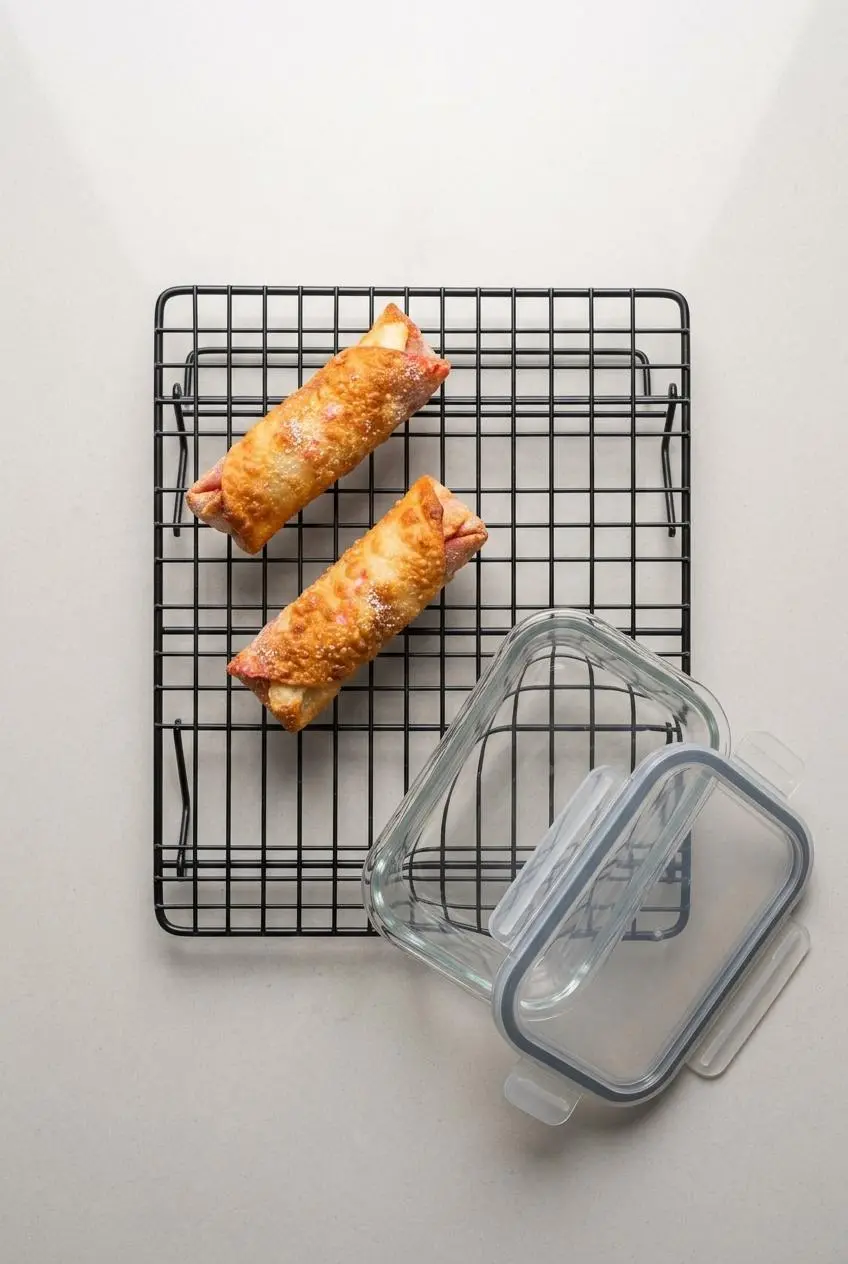
Cool cooked rolls before placing them in a tightly covered container in the refrigerator. Keeping the rolls sealed helps protect the creamy filling, though the wrappers will soften as they sit.
For the best texture, reheat only the portion you plan to serve in an air fryer or toaster oven until the shell is hot and crisp again. Skip the microwave when possible, since it tends to soften the wrapper and make it chewy.
If you need to assemble ahead for a gathering, keep the rolls covered so the wrappers do not dry out, then cook them as close to serving as practical. Avoid leaving the finished rolls exposed, since humidity quickly takes away their crunch.
Serving Suggestions for Parties and Family Desserts
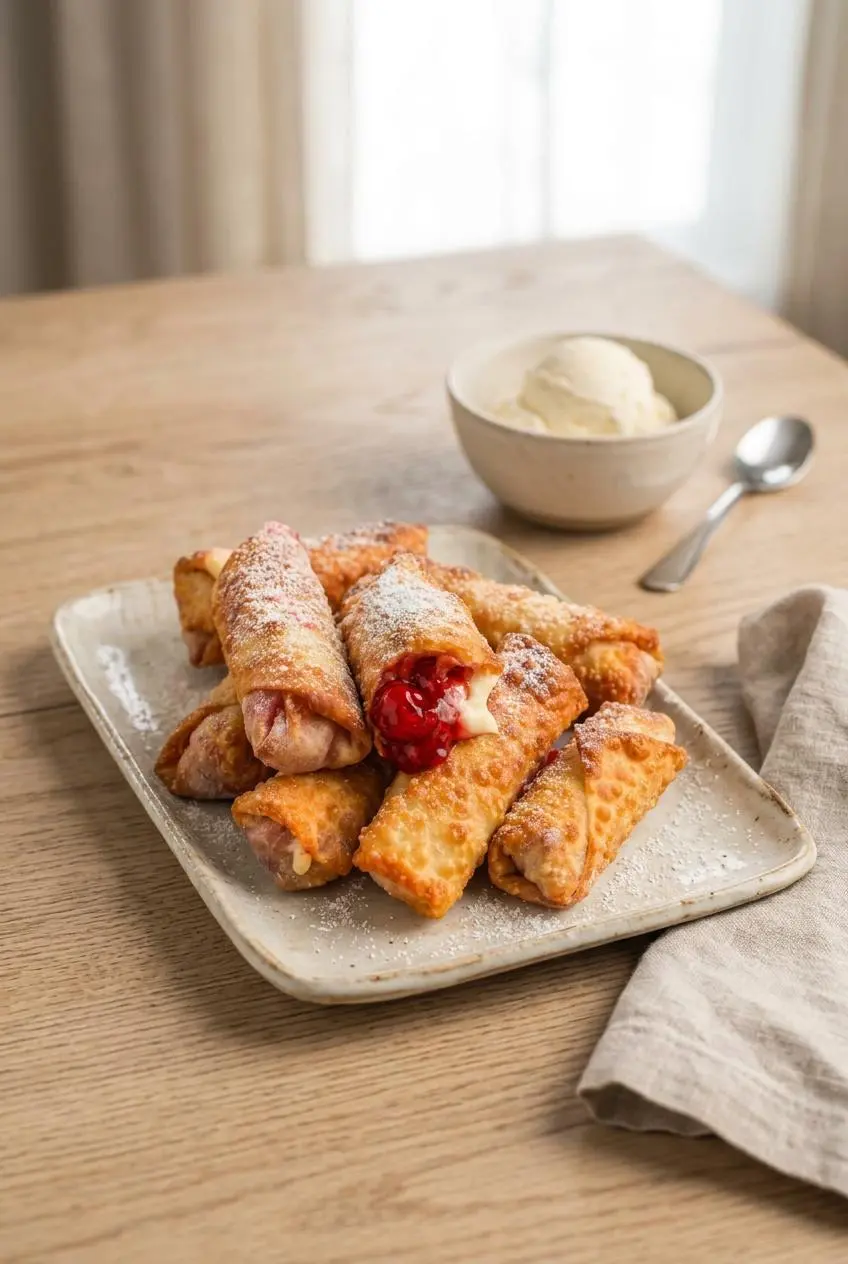
Serve these rolls warm, after a brief rest that lets the fruit center cool slightly. A generous dusting of sifted powdered sugar adds a bakery-style finish right before they reach the table.
- Pair each warm roll with vanilla bean ice cream for a hot-and-cold dessert contrast.
- Add a spoonful of fresh whipped cream for a softer, lighter finish.
- Set out a platter of cherry cheesecake cupcakes alongside the rolls for a cherry cheesecake dessert spread with two different textures.
Conclusion
These dessert rolls come together in about 25 minutes with a crisp golden shell, warm cherry fruit, and a smooth lemon cheesecake center. The small details make the difference: softened cream cheese, lightly drained cherries, and a wrapper rolled without trapped air.
Give the damp seam its 3 to 4 minute rest before cooking, and you’ll have a much better chance of keeping that creamy filling exactly where it belongs. Add the graham cracker variation when you want an extra cheesecake-style finish.
Frequently Asked Questions
How Do You Stop Cheesecake Egg Rolls From Bursting While Frying?
Keep the filling away from the outer edges and avoid overfilling the wrapper. Lightly drain the cherries, press out air as you make the first tuck, and seal the border with water. Let the seam rest for 3 to 4 minutes before frying. That short pause helps the wrapper close firmly before it meets the hot oil.
Can Cherry Cheesecake Egg Rolls Be Made in an Air Fryer?
Yes. Brush or lightly spray the assembled rolls with oil, then air fry at 390°F for 7 to 8 minutes. Turn them halfway through so both sides brown evenly. The result is crisp and golden, though slightly less blistered than a deep-fried wrapper.
Can I Freeze Assembled Cheesecake Egg Rolls Before Cooking?
For best texture, assemble the rolls close to cooking time and keep them covered while you finish the batch. The wrappers can soften if they sit against moist cherry filling for too long. If you need to plan ahead, prepare the cream cheese mixture and keep the wrappers protected from drying out until you are ready to roll and cook.
What Is the Best Way to Reheat Leftover Cheesecake Egg Rolls?
An air fryer or toaster oven is the best choice for bringing back a crisp shell. Heat only until the wrapper is hot and crunchy again and the filling is warmed through. A microwave will warm the center quickly, but it usually leaves the wrapper soft and chewy rather than crisp.
Cherry Cheesecake Egg Rolls

Equipment
- Ziploc baggie
- Deep fryer or deep skillet
- Air fryer
Ingredients
- 4 ounces cream cheese (softened)
- 1 teaspoon lemon zest
- 3 tablespoons granulated sugar
- ½ teaspoon fresh lemon juice
- 1 can cherry pie filling
- 8 egg roll wrappers (mine were 6″x6″)
- oil (for frying )
Instructions
- Beat the softened cream cheese with the lemon zest, sugar, and fresh lemon juice in a bowl, then transfer the mixture to a Ziploc baggie and snip off one corner. The filling should look smooth and glossy, with no firm bits of cream cheese remaining.
- Place one egg roll wrapper in front of you as a diamond, with a point facing you, then pipe a line of filling across the lower center and top it with approximately 10 cherries. Leave a clear border around the filling so the wrapper can close without squeezing fruit toward the edges.
- Moisten the wrapper edges with water, fold and roll it firmly into a sealed packet, then leave it to stand for 3 to 4 minutes. The seam should feel lightly tacky and closed rather than loose or slippery before it goes into the oil.
- Heat the oil to about 350°F and fry the rolls in small batches for about 5 to 6 minutes. Look for steady bubbling and a deep golden-brown crust with small crisp blisters before serving warm.