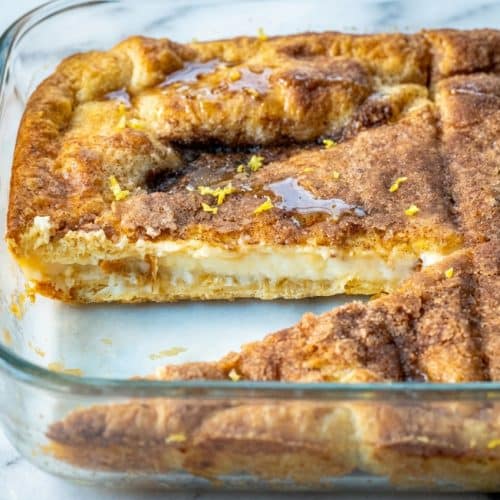
Some nights, dessert needs to feel like a warm hug, but I still want it to look like I actually tried. That is exactly where cheesecake crescent rolls shine, flaky pastry on top and bottom, with a tangy, creamy center that tastes like a bakery case daydream.
In my kitchen, the little upgrade that changed everything was a browned-butter finish plus a whisper of lemon zest in the cinnamon sugar. The result is crisp edges, a rich cheesecake layer, and that golden top that makes people hover by the pan before it even cools.
Why You Will Love This Recipe
The gourmet upgrade: Browned butter brings that beurre noisette nuttiness, and lemon zest lifts the sweetness so the vanilla extract and cinnamon sugar taste brighter, not heavier.
Texture that hits every note: You get shattering, flaky pastry from the Pillsbury Crescent Rolls vibe, then a smooth Cream Cheese center that feels plush and rich on the tongue.
Effortless elegance: It bakes up like dessert bars from a pastry shop, but everything comes from a regular grocery run and a trusty 9×13 baking pan.
Ingredients and Substitutions

These cheesecake crescent rolls keep it simple on purpose, a few pantry staples, one creamy filling, and a buttery cinnamon top that bakes into a glossy, golden blanket.
Ingredients
- 2 cans Crescent rolls
- 16 oz Cream cheese, at room temperature
- 1 1/2 cups Granulated sugar
- 1 teaspoon Vanilla extract
- 1/4 teaspoon Salt
- 1 teaspoon Cinnamon
- 1/2 cup Butter, melted
Ingredient Notes & Substitutions
Crescent rolls: Classic cans work perfectly, just take an extra moment to pinch seams closed so the filling stays where it belongs. If you find seamless dough sheets, the top looks extra tidy and slices cleaner.
Cream cheese, at room temperature: Use full-fat brick cream cheese for the best structure, tub or whipped styles tend to bake softer and can weep. Room temperature matters because it blends silky instead of lumpy.
Granulated sugar: The split use is important, some sweetens the filling and the rest becomes that crackly cinnamon top. If you cut sugar, the filling will taste tangier and the top browns a bit less.
Vanilla extract: Natural vanilla gives a warmer, rounder aroma, but anything labeled vanilla extract will still taste delicious here. I keep it simple and let the browned butter do the heavy lifting.
Cinnamon: This is the cozy backbone of the topping, especially once it hits warm butter and turns fragrant in the oven. If you love a bolder spice note, you can add the zest of one medium lemon to the cinnamon-sugar before sprinkling.
Butter, melted: I brown it first for a deeper, toasted flavor, then pour it while it is still warm. Watch closely as it browns because it can go from amber to bitter quickly.
How to Make cheesecake crescent rolls
Prep the pan and build the base
- Heat the oven to 350°F, then grease a 9×13-inch baking pan with cooking spray so nothing sticks at the corners.
- Unroll 1 can Crescent rolls and press it into the bottom, easing the dough to the edges. Pinch and smooth any perforations until the base looks like one even sheet.
Whip the cheesecake layer
- In a medium bowl, blend the Cream cheese, at room temperature with 1 cup of the Granulated sugar, the Salt, and the Vanilla extract. Use an electric mixer until the mixture turns smooth and fluffy, and it smells sweet and vanilla-forward.
- Spread the filling over the dough in an even layer, keeping a tiny border around the edges so the top dough can settle and seal.
Top, butter, and bake
- Unroll the second can of Crescent rolls and lay it over the filling, nudging pieces to cover the surface like a soft quilt.
- Brown the Butter, melted in a small saucepan until it turns amber and smells nutty, then pour it over the top and brush so every spot gets glossy.
- Mix the remaining sugar with the Cinnamon, then sprinkle it evenly over the buttered dough so it looks lightly sanded.
- Bake for about 30 minutes, until the top is a deep golden brown and the edges look set.
- Let it cool for 20 minutes before slicing along the perforations into triangles, that short rest helps the cheesecake layer set so pieces lift cleanly.
The Secret Science for Perfect Crescent Cheesecake Bars

The Maillard reaction and browned butter: When butter browns, milk solids toast and create deeper flavors that plain melted butter cannot match. The same browning family is why the Maillard reaction creates complex flavor compounds in a golden crust.
Pan material matters for soggy bottoms: For these dessert bars, I reach for a light-colored metal pan because it heats quickly and evenly. The idea that metal pans offer superior heat conductivity helps explain why glass can leave the bottom softer.
The “window-pane” check: You are looking for a top that is truly deep golden, not just lightly tan. The edges should pull away slightly from the pan, and the center should look set, with a gentle puff that feels springy if you tap it lightly.
High-altitude adjustments: At higher elevations, crescent dough can over-rise and then slump, and sugar can act a little more aggressive in browning. The guidance around high-altitude baking adjustments supports a small oven temp increase or a modest sugar reduction if your tops brown too fast.
Pro Tips & Troubleshooting
Pro Tips
- Let the cream cheese fully come to room temperature, it is the only reliable way to get a smooth, lump-free filling.
- Keep the crescent dough cold until you need it, warm dough turns sticky and fights you when sealing seams.
- Use an electric mixer long enough to aerate the filling, it should look lighter and feel pillowy on the spatula.
- Leave a small border when spreading the filling, it helps the top layer settle without sliding.
- Cool for at least 20 minutes before slicing, the center firms up and the triangles hold their shape.
Common Mistakes to Avoid
- Pulling the pan too early, if the top is not deeply browned, the bottom layer often stays doughy.
- Forgetting to pinch seams on the bottom layer, the filling can sneak underneath and scorch.
- Using whipped or fat-free cream cheese, the baked texture tends to go soft and watery.
- Pouring butter unevenly, dry patches on top bake pale and taste floury.
If you love this flavor family, the same creamy-tangy comfort shows up in cheesecake cookies with a chewy, handheld bite. I like them when I want cheesecake energy without slicing bars.
Serving & Storage

Serving Ideas
I serve these slightly warm when I want maximum gooey comfort, then add a drizzle of honey or a dollop of fresh whipped cream. For brunch, a strong dark roast coffee cuts the richness beautifully.
On a dessert table, something airy alongside keeps the platter feeling balanced, and cheesecake mousse brings that light, spoonable contrast. I also love a few berries on the side for color and freshness.
Storage and Make-Ahead Instructions
Because these contain cream cheese, I follow the 2-hour food safety window at room temperature. After that, refrigerate in an airtight container for up to 4 days, and keep slices in a single layer when possible to protect the flaky pastry.
They slice even better after chilling overnight, the cheesecake layer tightens and the edges stay neat. If you want to freeze, wrap individual pieces well, then thaw in the fridge before reheating.
Reheating
To bring back crispness, reheat in a 350°F oven or air fryer for 3 to 5 minutes. You want the pastry to feel flaky again, with the center just warmed, not melting-hot.
Cheesecake Crescent Rolls With Browned Butter

Equipment
- 9×13 inch baking pan
- Electric Mixer
- Small saucepan
- Medium bowl
Ingredients
- 2 cans Crescent rolls
- 16 oz Cream cheese, at room temperature
- 1 1/2 cups Granulated sugar
- 1 teaspoon Vanilla extract
- 1/4 teaspoon Salt
- 1 teaspoon Cinnamon
- 1/2 cup Butter, melted
Instructions
Prep the pan and build the base
- Heat the oven to 350°F and grease a 9×13-inch baking pan with cooking spray.
- Unroll one can of crescent rolls and press it into the bottom of the pan, smoothing and pinching all seams together to form a solid sheet.
Whip the cheesecake layer
- In a medium bowl, blend the room temperature cream cheese with 1 cup of the granulated sugar, the salt, and the vanilla extract using an electric mixer until fluffy and smooth.
- Spread the cream cheese filling evenly over the dough, leaving a small border at the edges.
Top, butter, and bake
- Unroll the second can of crescent rolls and lay it over the filling to cover the surface.
- Brown the butter in a small saucepan until it smells nutty and turns amber, then pour it over the top dough and brush it to cover evenly.
- Mix the remaining sugar with the cinnamon and sprinkle it across the buttered surface.
- Bake for 30 minutes until the top is deep golden brown and the edges are set.
- Let the bars cool for 20 minutes before slicing into triangles to ensure the cheesecake layer is fully set.
Notes
Conclusion
These cheesecake crescent rolls keep the nostalgic comfort, but the browned butter and lemon zest twist makes them taste grown-up and bakery-worthy. Once you see that deep golden top and smell the cinnamon hit the butter, you will understand why this pan disappears fast.
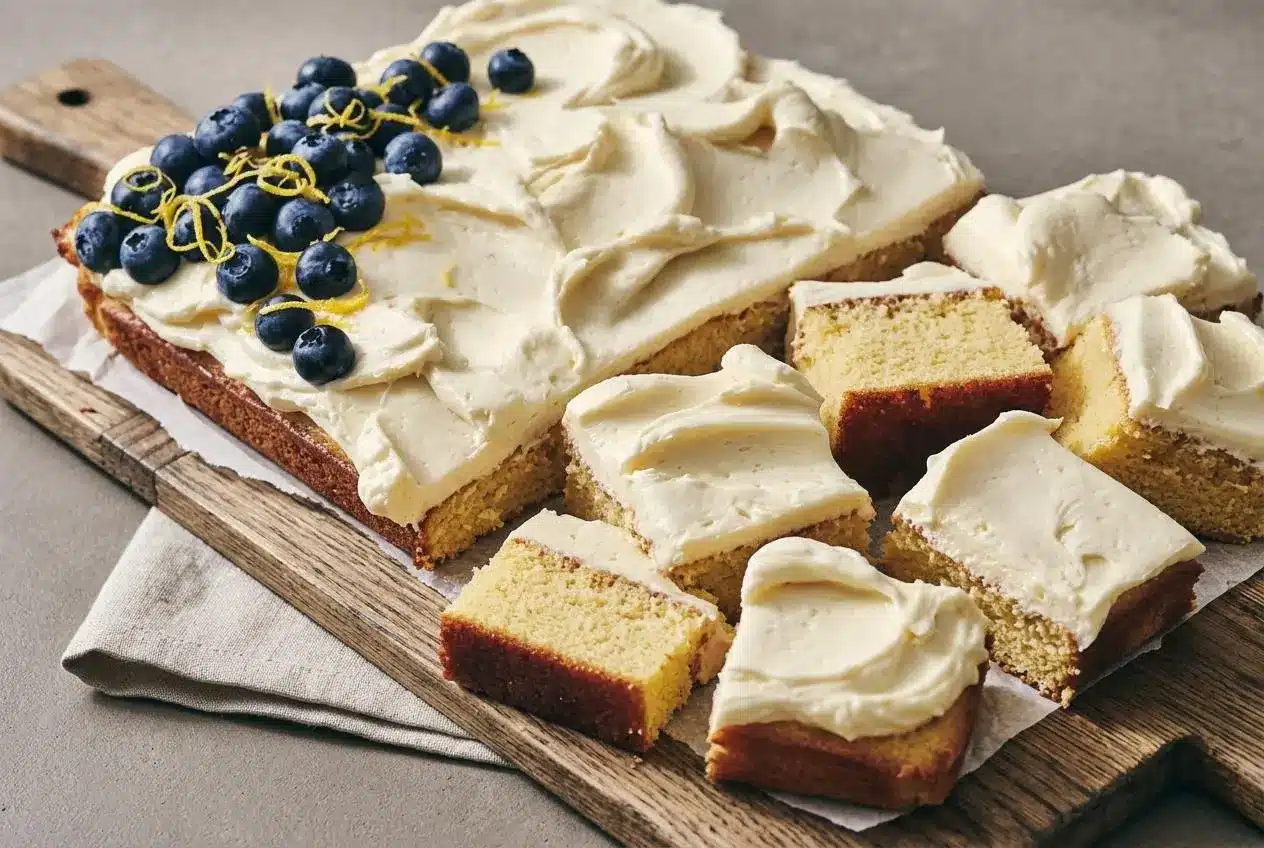
When I want the same bright-citrus mood in cake form, lemon cheesecake cake scratches that itch with a more celebratory slice. Either way, a little lemon and a little patience with cooling go a long way.