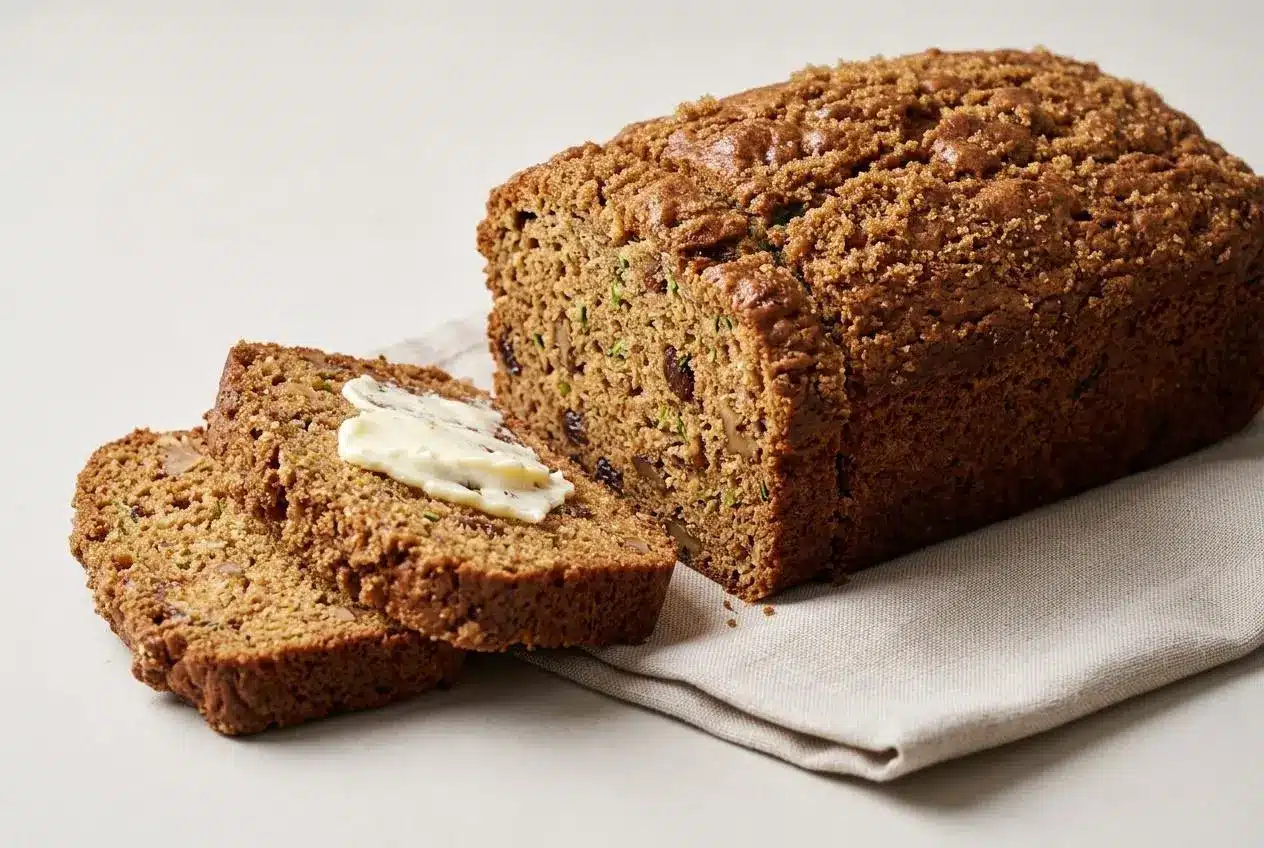
For a moist loaf, grate raw zucchini with the skin on, pat it lightly with a towel instead of squeezing it dry, and mix the batter gently so the crumb stays tender and the center bakes up evenly.
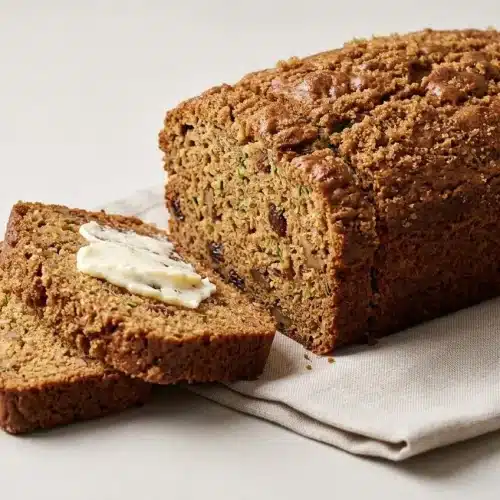
This zucchini bread recipe bakes into a warmly spiced loaf with a soft crumb, golden crust, and little green flecks throughout. It tastes classic, cozy, and just sweet enough for breakfast or a snack.
What makes it work so well is the balance of moisture and structure. Keep the zucchini juicy, but not wet on the surface, and the loaf rewards you with a tender slice that cuts cleanly.
Use a medium box grater for the zucchini so the shreds melt into the batter instead of leaving long stringy bits.
Ingredients for Classic Zucchini Bread
Each ingredient has a job here, from keeping the crumb moist and light to building warmth, nuttiness, and a loaf that slices neatly once cooled.
- 3/4 cup (159g) light brown sugar or dark brown sugar, packed
- 2 tablespoons (28g) apple juice, orange juice, milk, water, or the liquid of your choice; or 2 tablespoons (43g) boiled cider
- 1/2 cup (99g) vegetable oil
- 2 large eggs
- 1 teaspoon King Arthur Pure Vanilla Extract
- 1/4 teaspoon baking powder
- 1/2 teaspoon baking soda
- 1 teaspoon table salt
- 1 1/2 teaspoons ground cinnamon, optional
- 1 3/4 cups (210g) King Arthur Unbleached All-Purpose Flour
- 2 cups (242 to 300g) grated or shredded zucchini, somewhere between firmly and lightly packed
- 3/4 cup (85g) chopped walnuts, toasted until golden
- 3/4 cup (128g) raisins or currants, golden raisins preferred
- 2 tablespoons (28g) light brown sugar or dark brown sugar, for sprinkling on top, optional
Brown sugar does more than sweeten. Its molasses note gives the loaf a deeper flavor and helps create a softer, moister crumb than white sugar alone would.
Vegetable oil is the main reason this bread stays tender even after it cools. Butter brings great flavor in some bakes, but oil is better at holding moisture in a quick bread like this.
Eggs give the batter structure and help the loaf rise evenly. Vanilla rounds out the sweetness, while cinnamon adds that familiar warm bakery aroma.
The small amount of baking powder gives backup lift, but baking soda does especially important work here. It helps lighten a batter weighed down by grated zucchini and encourages a better rise instead of a heavy center.
Flour provides the frame, zucchini brings moisture and tenderness, walnuts add crunch, and raisins or currants tuck in little sweet pockets throughout the slice.
I like zucchini that feels fresh and firm but not oversized, because the shreds usually taste sweeter and hold a nicer moisture balance in the batter.
Step-by-Step Baker’s Method
- Heat the oven to 350 degrees F and lightly grease an 8 1/2′ x 4 1/2′ loaf pan.
The pan should be evenly coated so the loaf releases cleanly after its short rest. - In a medium bowl, combine the brown sugar, boiled cider or other liquid, vegetable oil, eggs, and vanilla, then beat until smooth.
The mixture should look glossy and unified, with no streaks of egg left behind. - Whisk the flour with the baking powder, baking soda, salt, and cinnamon, then add that dry mixture to the bowl and stir gently until smooth.
The batter should look thick and cohesive, and this is the moment to stop mixing before the crumb gets tough. - Pat the grated zucchini lightly with paper towels or a clean kitchen towel, then fold in the zucchini, walnuts, and raisins or currants.
The batter should loosen slightly and fall from the spoon in a thick, slow flow rather than splash or pour. - Transfer the batter to the prepared pan, smooth the top if needed, and finish with the brown sugar topping.
An even top helps the loaf rise more uniformly and gives the crust a nicer finish. - Bake for 55 to 65 minutes.
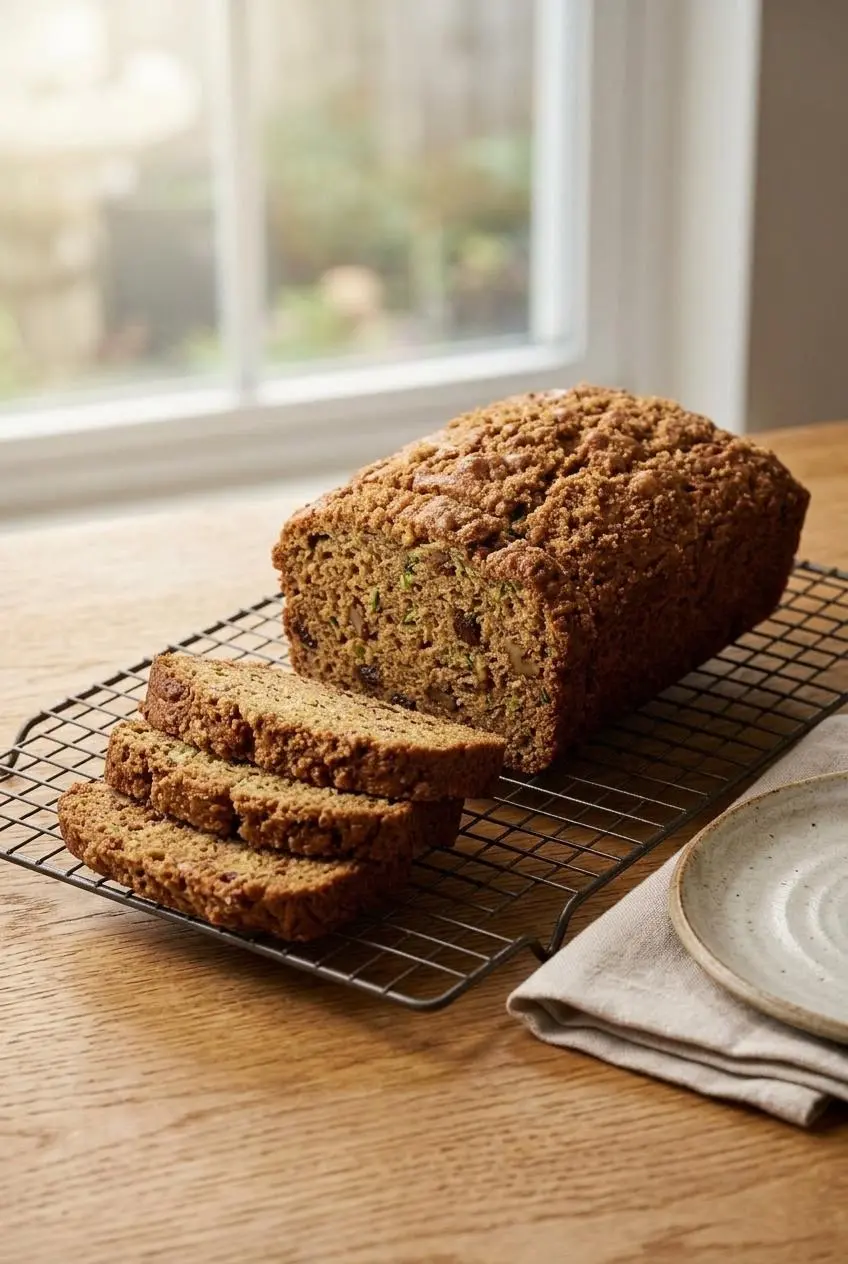
The loaf is ready when a toothpick inserted into the center comes out free of wet batter, even if the area just under the crust still feels a little sticky. - Cool the bread in the pan for 10 minutes, then turn it out onto a rack and let it cool completely before slicing.
The crust should feel lightly springy, and the loaf will cut much more neatly once the crumb sets. - Keep the bread well wrapped at cool room temperature, or freeze it for longer storage.
Wrapping after the loaf has fully cooled helps protect the crumb from drying out or turning tacky.
A well-mixed batter here should be thick but not stiff. It should mound a little when spooned into the loaf pan, then settle with a few nudges from a spatula.
Near the end of baking, the kitchen starts to smell warmly spiced and nutty, and the top feels gently springy when tapped. That aroma is a very good sign, but trust the toothpick over the clock.
Secrets to the Best Moist Zucchini Bread
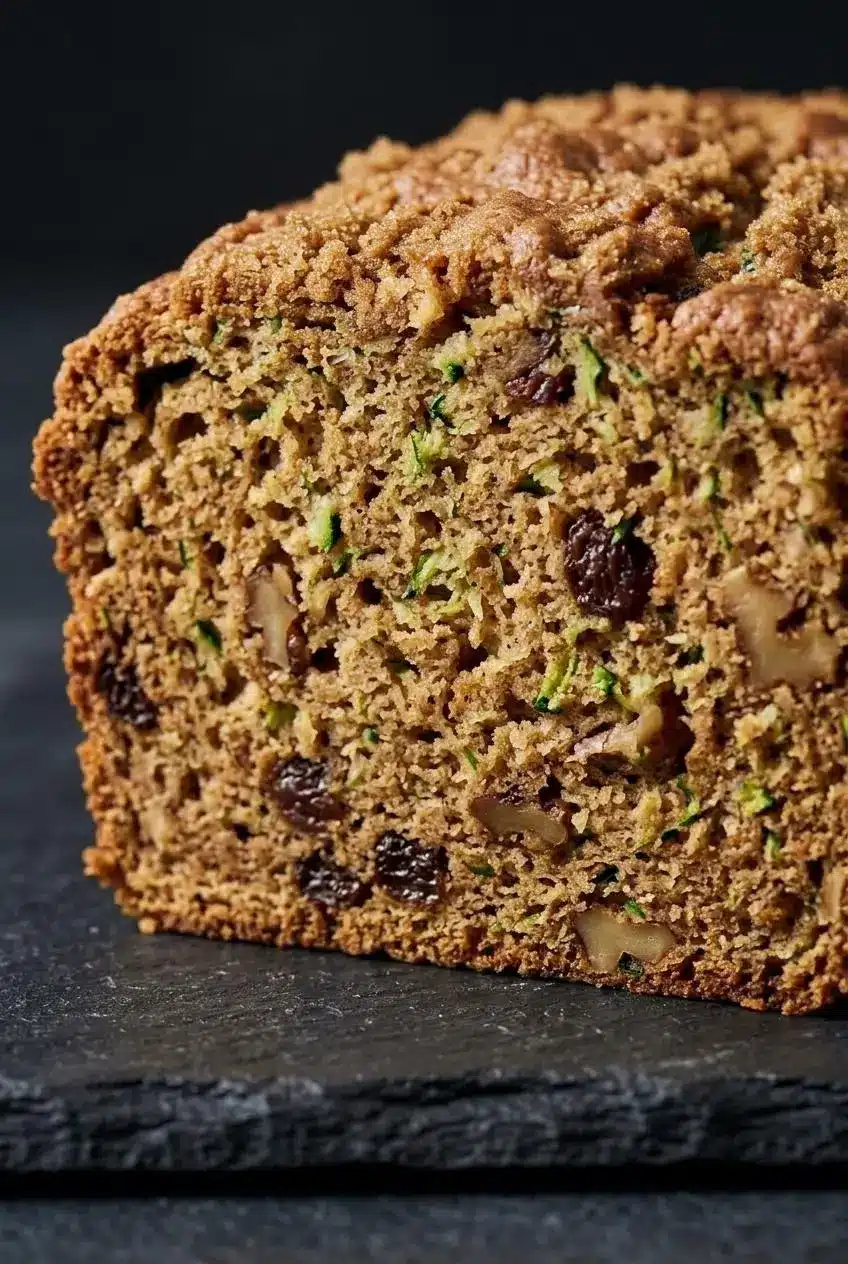
If you want a loaf that stays tender instead of turning dry or heavy, this is where the little choices matter most. Moist zucchini bread comes from balanced fat, smart sugar, and careful mixing.
The Role of Fat: Oil vs Butter
Vegetable oil is the better choice for lasting moisture in this style of quick bread. Because it stays fluid at room temperature, the crumb keeps a softer feel instead of firming up as it cools.
Butter contains water, and that water can cook off during baking. Oil does a better job of coating the flour and helping the loaf stay plush the next day, which is exactly what you want in a snackable slice.
This is also why the batter should be mixed gently once the flour goes in. The oil keeps the crumb soft, but overworking the flour can still build too much gluten and leave the loaf dense.
Sugar and Spice Synergy
Brown sugar brings more than sweetness. It adds a faint caramel note, a little extra moisture, and a darker, warmer crumb that suits zucchini and cinnamon beautifully.
The optional cinnamon gives the loaf its classic cozy smell, especially in the last stretch of baking. If you love the spice profile of a pumpkin bread recipe, you can borrow that same warm direction here by stirring a little freshly grated lemon zest into the wet mixture and adding a tiny pinch of nutmeg to the flour.
That small tweak brightens the loaf without changing its identity. The zucchini still tastes like zucchini bread, just with a slightly livelier finish.
How to Prepare Zucchini: Peeling and Moisture Guidelines
Zucchini prep is one of the biggest success points in this loaf. Done right, it gives you moisture, color, and a tender crumb without soggy pockets.
There is no need to peel the zucchini before grating. The skin is soft, bakes down easily, and leaves pretty green flecks throughout the loaf, which also helps the slices look more vibrant.
Wash the zucchini well before grating. For fresh produce, clean running water and clean prep tools are the safest habit to follow for home baking with vegetables when washing and handling fresh produce.
Moisture Control: The Towel-Patting Secret
After grating, spread the zucchini loosely on a clean kitchen towel or paper towels and pat it gently. You are only removing surface water, not draining away all the natural moisture inside the shreds.
This matters because zucchini moisture can vary a lot. If the shreds are dripping, the center of the loaf can bake up gummy. If you wring the zucchini out hard, the loaf can swing the other way and turn dry or tight.
The best texture comes from a middle ground. The shreds should feel damp and fresh, not wet enough to puddle and not dry enough to feel stringy.
Troubleshooting Sinking and Heavy Quick Breads
If your loaf sinks, stays wet in the middle, or feels dense, the cause is usually mechanical rather than mysterious. Quick breads are forgiving, but they do not love rough handling.
- Sunken center: Vigorous mixing can whip excess air into the batter, especially once the flour is added. Those air pockets rise fast, then collapse as the loaf sets. Mix just until smooth.
- Heavy texture: Over-mixing also develops too much gluten. That makes the crumb tighter and less tender, even when the loaf looks nicely browned on top.
- Wet middle: Zucchini with too much surface water can overload the center of the loaf. Pat the shreds lightly before folding them in so the batter stays balanced.
- Sticky top confusion: The top under the crust can seem a bit tacky even when the bread is done. Check the middle with a toothpick, and look for no wet batter rather than a perfectly dry top surface.
- Bottom too damp: Pulling the loaf too early can leave a soggy lower crumb. Keep baking until the center passes the toothpick test, even if the loaf already smells done.
- Messy slices: Cutting while the loaf is still warm compresses the crumb and makes it seem underbaked. Let it cool completely so the structure can finish setting.
If you use a hand mixer for the wet ingredients, keep it controlled. Wild mixing sounds energetic, but the loaf does not need that kind of drama.
Simple Variations and Ingredient Swaps
This loaf is easy to customize as long as the changes stay optional and you keep the main batter gentle.
- For a sweeter, dessert-like spin, fold in chocolate chips or try this chocolate zucchini bread.
- For another way to use garden produce, swap the zucchini for shredded carrots for a warmly spiced carrot-style loaf.
- If you have ripe bananas to use up too, a zucchini banana bread variation makes a softer, fruitier quick bread.
Gluten-Free Zucchini Bread
To make this gluten-free, use a high-quality 1-to-1 gluten-free baking blend that already contains xanthan gum. That kind of blend is the closest match for structure and sliceability in a loaf like this.
The batter may look a little different, but it should still be thick and spoonable. Be especially careful not to overwork it, because gluten-free quick breads can go from tender to gummy if mixed too aggressively.
Self-Rising Flour Quick Bread
Yes, self-rising flour can work here. If you use it, replace the all-purpose flour with self-rising flour and completely omit the baking powder, baking soda, and salt.
That swap keeps the leavening balanced. If you leave the extra baking agents in, the loaf can rise unevenly and then fall back on itself.
Storage and Reheating Best Practices
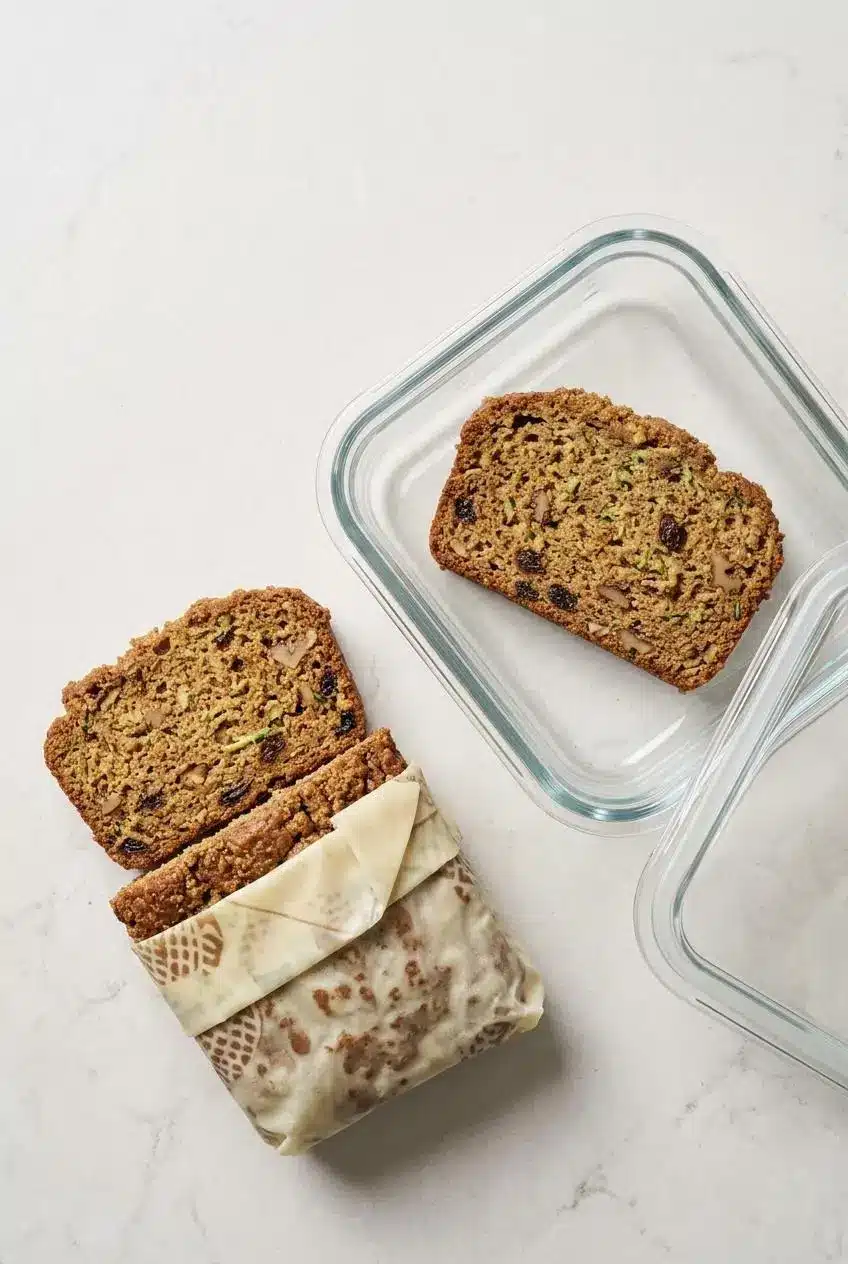
Once the loaf has cooled completely, wrap it well to protect the crumb. Plastic wrap, foil, or a snug reusable food wrap all work, as long as the bread is covered from exposed air.
For everyday snacking, slice only what you need and keep the rest of the loaf wrapped so the cut surface does not dry out. If you prefer grab-and-go portions, slice the loaf first, then wrap the slices individually before storing them for longer keeping.
You can also freeze the baked bread for longer storage because that step is part of the recipe method. For the best texture, freeze fully cooled slices or a fully cooled loaf wrapped tightly to reduce dryness and surface ice.
To thaw, leave the wrapped bread at room temperature until the crumb no longer feels cold in the center. For a fresh-baked feel, warm a slice gently in a toaster oven just until the edges are lightly crisp and the middle softens.
If you are storing slices that contain eggs, good handling still matters from the start, including keeping eggs refrigerated before baking and cooking them thoroughly in the loaf to reduce the risk linked to shell eggs.
Conclusion
This is the kind of loaf that earns a regular spot on the counter: moist, warmly spiced, and sturdy enough for breakfast but cozy enough for an afternoon snack.
The biggest trick is also the simplest one: pat the zucchini instead of squeezing it dry, then mix gently and let the loaf cool before slicing. That small bit of restraint makes a very good slice.
Frequently Asked Questions
Do you peel zucchini before grating for bread?
No. The skin is tender and softens as the loaf bakes. It adds those nice green flecks that make the slices look more appealing. Keeping it on also helps preserve the zucchini’s natural texture in the batter.
Should you squeeze the water out of grated zucchini?
No, do not squeeze it completely dry. Pat it gently with a clean towel to remove excess surface moisture only. Wringing out all the juice can leave the finished loaf dry and dense.
Why did my zucchini bread sink in the middle?
The most common reason is over-mixing, which creates too much air and weakens the loaf as it rises. Too much surface moisture left on the zucchini can also weigh down the center. Check doneness with a toothpick in the middle so you do not pull it out before the crumb has set.
Can I use self-rising flour instead of all-purpose flour?
Yes, you can. Use self-rising flour in place of the all-purpose flour. Completely omit the baking powder, baking soda, and salt so the loaf stays balanced.
Zucchini Bread Recipe

Equipment
- 8 1/2′ x 4 1/2′ loaf pan
- Medium bowl
- Whisk
- Cooling Rack
Ingredients
- 3/4 cup light brown sugar or dark brown sugar (159g), packed
- 2 tablespoons apple juice, orange juice, milk, water, or the liquid of your choice; or 2 tablespoons (43g) boiled cider (28g)
- 1/2 cup vegetable oil (99g)
- 2 large eggs
- 1 teaspoon King Arthur Pure Vanilla Extract
- 1/4 teaspoon baking powder
- 1/2 teaspoon baking soda
- 1 teaspoon table salt
- 1 1/2 teaspoons ground cinnamon optional
- 1 3/4 cups King Arthur Unbleached All-Purpose Flour (210g)
- 2 cups grated or shredded zucchini (242 to 300g), somewhere between firmly and lightly packed
- 3/4 cup chopped walnuts (85g), toasted until golden
- 3/4 cup raisins or currants (128g), golden raisins preferred
- 2 tablespoons light brown sugar or dark brown sugar (28g), for sprinkling on top, optional
Instructions
- Heat the oven to 350 degrees F and lightly grease an 8 1/2′ x 4 1/2′ loaf pan. The pan should be evenly coated so the loaf releases cleanly after its short rest.
- In a medium bowl, combine the brown sugar, boiled cider or other liquid, vegetable oil, eggs, and vanilla, then beat until smooth. The mixture should look glossy and unified, with no streaks of egg left behind.
- Whisk the flour with the baking powder, baking soda, salt, and cinnamon, then add that dry mixture to the bowl and stir gently until smooth. The batter should look thick and cohesive, and this is the moment to stop mixing before the crumb gets tough.
- Pat the grated zucchini lightly with paper towels or a clean kitchen towel, then fold in the zucchini, walnuts, and raisins or currants. The batter should loosen slightly and fall from the spoon in a thick, slow flow rather than splash or pour.
- Transfer the batter to the prepared pan, smooth the top if needed, and finish with the brown sugar topping. An even top helps the loaf rise more uniformly and gives the crust a nicer finish.
- Bake for 55 to 65 minutes. The loaf is ready when a toothpick inserted into the center comes out free of wet batter, even if the area just under the crust still feels a little sticky.
- Cool the bread in the pan for 10 minutes, then turn it out onto a rack and let it cool completely before slicing. The crust should feel lightly springy, and the loaf will cut much more neatly once the crumb sets.
- Keep the bread well wrapped at cool room temperature, or freeze it for longer storage. Wrapping after the loaf has fully cooled helps protect the crumb from drying out or turning tacky.