Walk into almost any Japanese bakery right now, and you’ll spot trays of glossy, golden Shio Pan disappearing fast. Korean bakeries know the magic too, where Sogeum-ppang has become the kind of savory bread you buy once, then dream about for days.
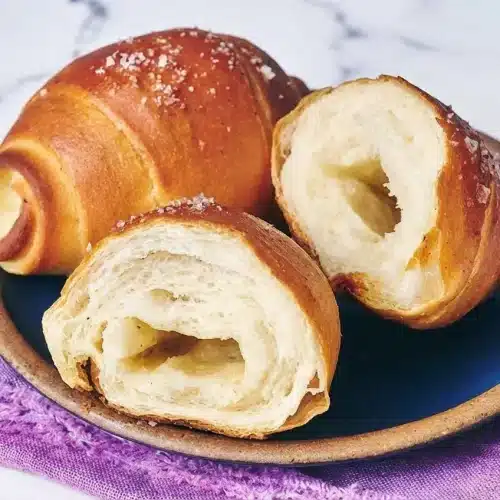
This Shio Pan Recipe is my home-kitchen blueprint for that irresistible contrast, a crisp, butter-fried bottom and a fluffy, milky center with that signature hollow pocket inside. If you love bakery projects with big payoff, this one is pure joy.
Why You’ll Love This Recipe
Bakery texture at home: In my kitchen, the blend of bread flour and cake flour creates that pillowy Asian bakery crumb that feels light as a cloud but still has enough structure to rise beautifully.
The secret twist: The Tangzhong idea changes everything here. By pre-gelatinizing starches through this high-hydration approach, the dough holds onto more moisture, so your Salt Bread stays soft longer instead of going stale by evening.
A better butter hole: I discovered that pairing this ultra-tender dough with high-fat cultured butter gives a cleaner hollow center and a richer fried bottom, because there is less excess water steaming off and muddying the shape.
That dramatic contrast: You get a delicate, fluffy interior, a deeply golden crust, and flakes of salt on top. It is the kind of bread that tastes fancy but still feels wonderfully cozy.
Ingredients and Substitutions
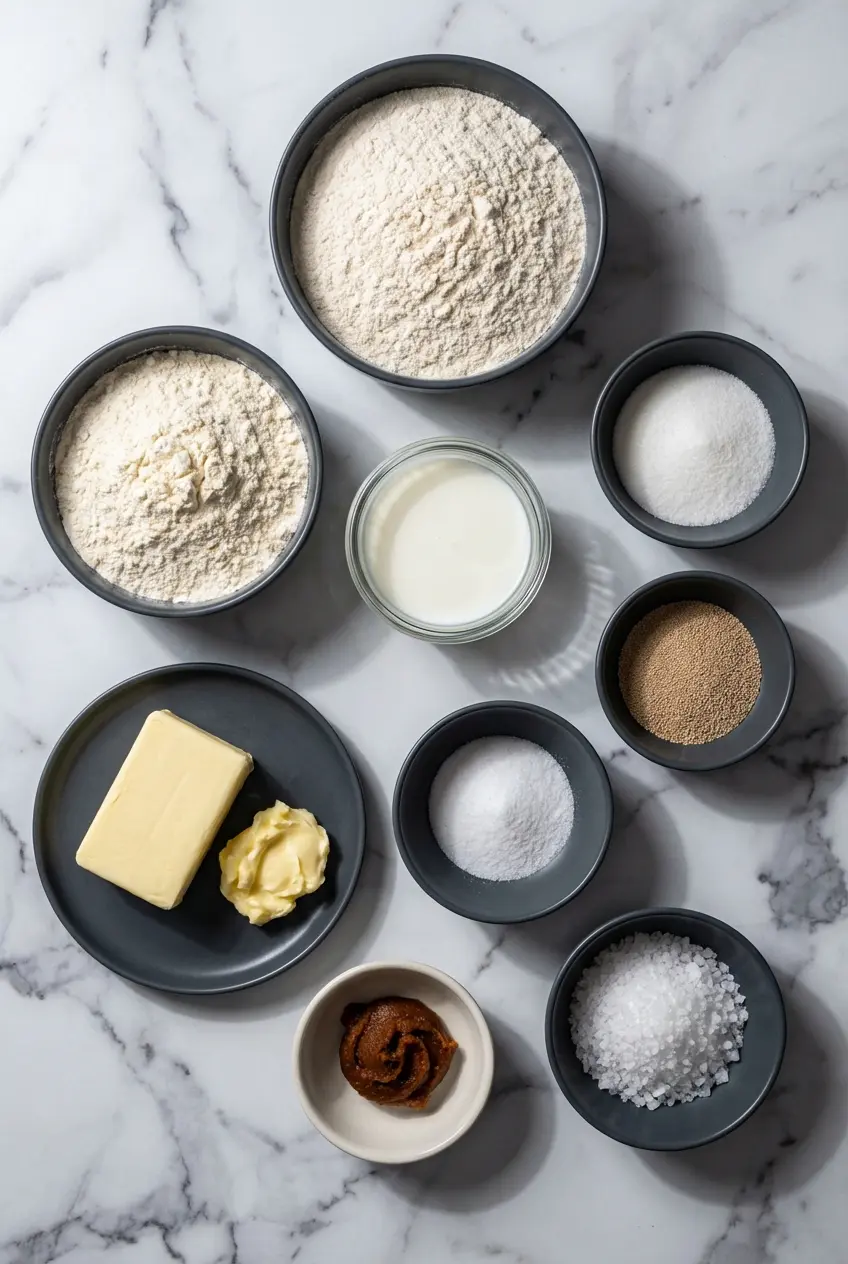
These ingredients are simple, but each one plays a very specific role in building the soft crumb, strong gluten network, and crisp buttery finish that make Shio Pan so memorable.
Ingredients
Dough:
- 218g King Arthur Unbleached Bread Flour (1 3/4 cups plus 1 tablespoon)
- 80g King Arthur Unbleached Cake Flour (2/3 cup)
- 227g cold milk (1 cup)
- 1 tablespoon granulated sugar
- 1 teaspoon instant yeast
- 1 tablespoon unsalted butter, at room temperature
- 6g table salt or 1 teaspoon red miso
For assembly and finishing:
- 170g very cold unsalted butter (12 tablespoons)
- Flaky sea salt or pretzel salt
Ingredient Notes & Substitutions
Bread flour and cake flour: This combination is the sweet spot for authentic Japanese bakery softness. Bread flour gives you the Gluten development needed to support oven spring, while cake flour keeps the crumb tender instead of chewy.
Cold milk: The milk helps create that gentle, plush milk bread texture. It also keeps the dough temperature in a controlled range at the start, which is especially helpful when you want fermentation to stay steady and not race ahead.
Red miso: If you choose the miso option, it adds a quiet depth that makes the butter taste even richer. It does not turn the bread into “miso bread,” it simply gives the saltiness more character.
Cultured butter: This is the ingredient I would not compromise on if you want the cleanest Butter hole. High-fat cultured European butter, ideally 82% or higher, has less water, so it melts more neatly and gives you a more pronounced, aromatic fried bottom.
Flaky sea salt: A delicate flaky salt gives the prettiest finish and a clean pop of salinity. Pretzel salt works too if you want more obvious crunch and classic bakery sparkle.
Variations: Once you master the base dough, this recipe adapts beautifully to Sourdough, Ube, Truffle, or Garlic Bread Shio Pan. For filled versions, keep the butter concept in mind, because too much soft filling can interfere with the hollow center.
How to Make Shio Pan Recipe
Mix and develop the dough
- Start by weighing your flour, or measure it gently by spooning it into the cup and leveling off the top. This dough is hydration-sensitive, so accuracy makes the difference between a supple, airy dough and one that feels stubborn or dry.
- In the bowl of a stand mixer fitted with the dough hook, add all of the dough ingredients and mix on low speed for about 5 minutes, until the mass comes together into a smooth, cohesive dough. This is where the Tangzhong-style benefit starts to show up, because the high hydration helps the starches bind water early and gives the dough that soft, silky feel.
- Cover the bowl and let the dough rest for 10 minutes. Then mix again on low speed for about 10 minutes, until the dough looks smooth, elastic, and strong enough to stretch thin for a proper Windowpane test. If it still tears too easily, mix on medium speed for another 2 to 3 minutes before testing again.
First rise and butter prep
- Move the dough to a 4-cup measuring cup or another straight-sided container, cover it, and let it rise for 70 to 90 minutes, until it looks puffy and nearly doubled. You want it airy and lively, not collapsed or overblown.
- While the dough rises, line a rimmed baking sheet with parchment. Cut the butter for shaping into seven equal pieces, a scant 2 tablespoons or 24g each, then place them on a parchment-lined plate or small pan and freeze them until needed. Very cold butter is what helps create that signature cavity instead of simply soaking into the dough.
Shape the rolls
- Turn the dough out onto a clean or lightly floured surface and gently press out the large gas pockets without smashing all the life out of it. Divide it into seven equal portions, about 80g each.
- Shape each portion into a rough triangle, set them on the parchment-lined baking sheet, cover, and let them relax for 15 minutes. This short rest makes rolling much easier and keeps the dough from springing back.
- Working with one piece at a time on a lightly floured surface or a silicone mat, roll the dough into a long, thin teardrop or carrot shape about 16 inches long with a 2-inch-wide base. Keep the remaining pieces covered so their surfaces stay soft and do not dry out.
- Set one piece of frozen butter at the wide base, then roll toward the tip. As you roll, gently stretch the dough so the shape stays even, much like forming a croissant. Do not pinch the ends shut, it is perfectly fine if the butter is still slightly visible inside.
- Place the shaped rolls on the prepared baking sheet with at least 2 inches between them, and keep the tips tucked underneath so they stay anchored during oven spring. Cover and let them proof for 1 1/2 to 2 hours, until they feel puffy and marshmallow-like.
Bake until deeply golden
- About 20 minutes before baking, heat the oven to 400F with a rack in the center. If you want steam, place an empty cast iron skillet on the lower rack while the oven preheats.
- Right before the tray goes in, lightly spray or brush the tops with water and scatter over flaky sea salt or pretzel salt. If using steam, carefully pour about 1 cup of warm water into the hot skillet and close the oven door quickly.
- Bake for 18 to 20 minutes, until the rolls are deeply golden brown and the bottoms are crisp from the butter pooling underneath. Your kitchen should smell rich, toasty, and intensely buttery.
- Take the pan from the oven and brush the tops with the melted butter on the tray. Let the rolls sit on the baking sheet for 5 minutes, then turn each one upside down, sprinkle a little salt on the bottom, flip back over, and move them to a wire rack to cool slightly before serving.
Chef’s Secrets for Perfection
The first time I made Shio Pan, I thought I had ruined it because so much butter flooded the pan. In truth, that butter pool is exactly what you want, because it effectively fries the base and creates the signature Fried bottom that sets this bread apart from an ordinary milk roll.
If your kitchen is humid, the dough may feel softer and looser, so a light dusting of flour on the bench is often enough instead of adding more flour to the mixer. In a dry climate or at altitude, dough can tighten up faster, so understanding adjusting flour hydration helps keep the texture balanced.
The second proof is where many bakers either nail the hollow center or lose it. I use what I call the marshmallow poke test, when you touch the shaped dough lightly, it should feel airy and cushiony, and the indentation should rise back slowly without snapping back fast or staying sunken.
If the dough is under-proofed, the crust can tear and the interior may stay dense. If it is over-proofed, the butter can break through too early, leaving you with greasy bread and very little structure around the cavity.
The Science Behind the Signature Hollow Center
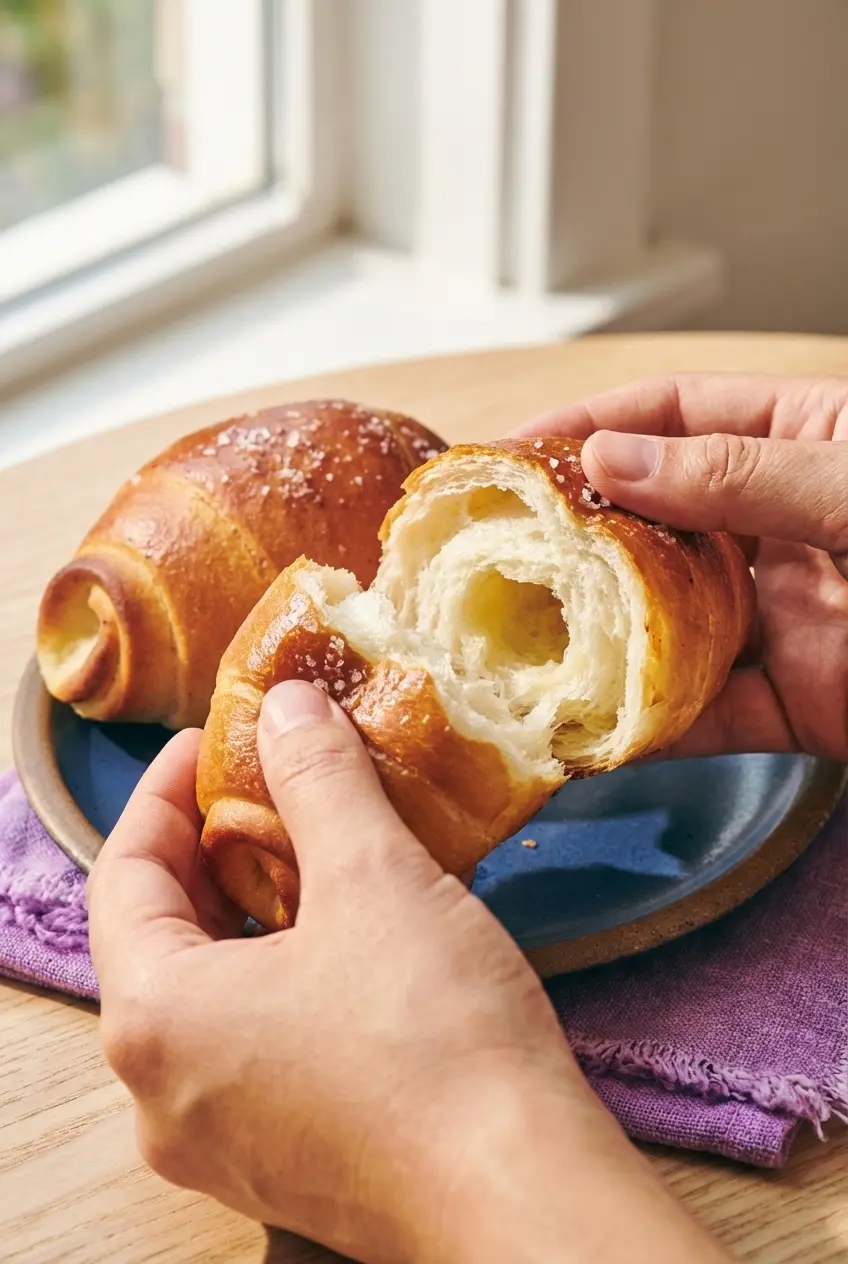
The famous butter hole comes down to timing. The dough needs enough Gluten development to stretch and trap expanding steam during oven spring, while the butter melts inside the roll and leaves behind that open pocket.
High-fat butter matters because it melts at the precise moment with less excess water splashing around inside the dough. That cleaner melt is one reason cultured butter often produces a more defined cavity and a crisper crust.
Shio Pan is very different from laminated pastries, even though both rely on butter behavior in the oven. Unlike viral cookie croissants, which build structure through many butter layers, this bread uses one central butter baton to create a single dramatic hollow center.
The dough itself also needs strength without heaviness. That is why the bread flour and cake flour blend works so well, because it gives you enough structure to hold shape while preserving the tender crumb associated with the best Japanese bakery breads.
Pro Tips & Troubleshooting
Expert Baking Tips
- Let the flour and liquid rest briefly when possible, because techniques that build gluten passively help the dough strengthen without overheating in the mixer.
- Keep the butter batons in the freezer until the exact moment you need them for shaping. Cold butter gives you the best shot at a clean cavity and a dramatic oven spring.
- Aim for a final dough temperature of 75-78F, or 24-26C. In my kitchen, this keeps fermentation active but controlled, which is ideal for soft, workable dough.
- If you love an extra thin, crackly crust, use steam for the first 5 minutes of baking. That little burst helps the exterior expand before it fully sets.
- The windowpane test really matters here. Stretch a small piece of dough until it turns thin and translucent, because that strength is what keeps the butter in place long enough to create the hollow center.
Common Mistakes to Avoid
- Do not proof the shaped rolls in a hot environment. Warm proofing can soften the butter too soon and ruin the interior structure before the dough even reaches the oven.
- Skip the silicone mat for the actual bake if you want the crispiest bottom. A parchment-lined metal pan allows the leaked butter to fry the underside instead of insulating it.
- Do not roll the dough too tightly around the butter. A tight wrap can choke the horizontal expansion and cause tearing along the surface.
- Avoid under-mixing the dough. If it fails the windowpane test, the gluten network may not be strong enough to support the Butter hole.
- If you are exploring naturally leavened versions, a good understanding of sourdough bread fermentation helps when adapting this formula into a sourdough Shio Pan.
Serving & Storage
Creative Serving Ideas
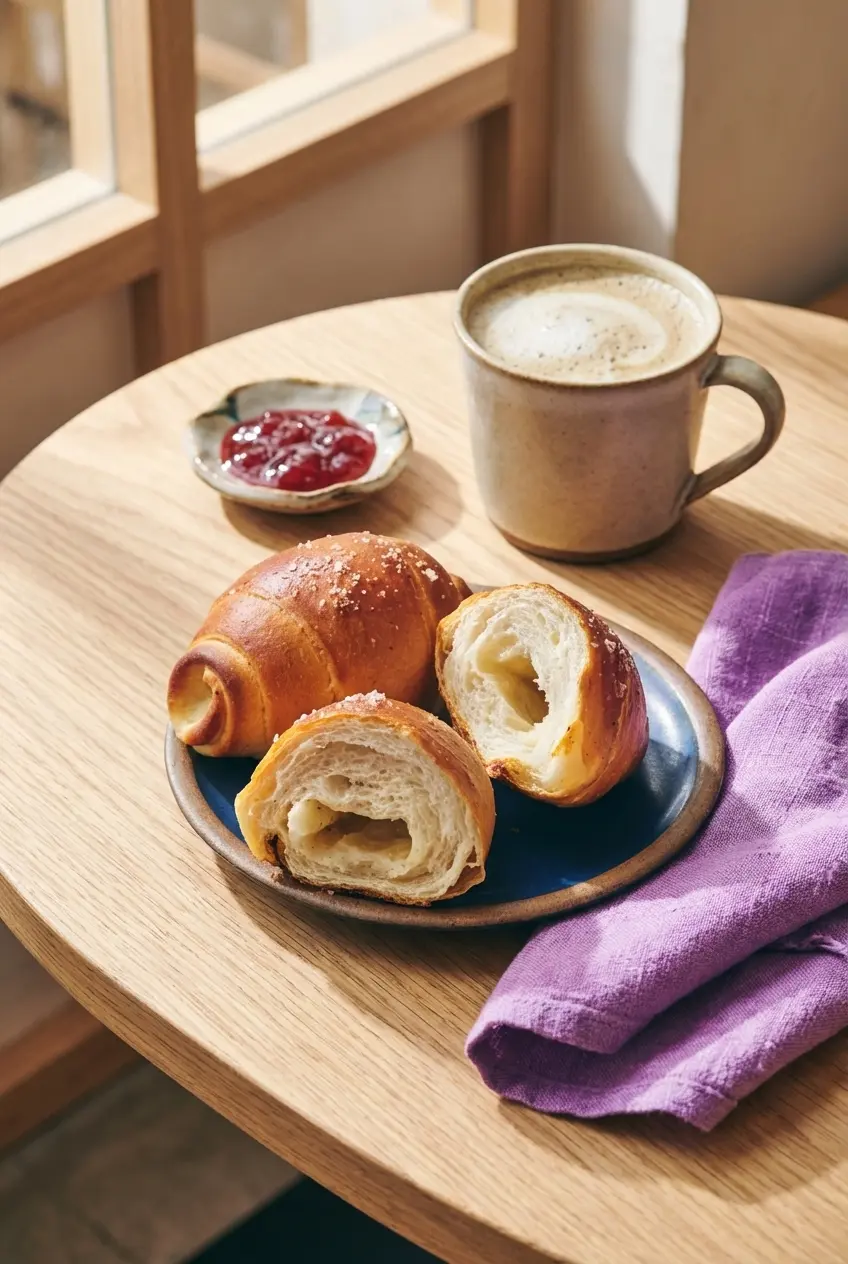
Shio Pan is best eaten warm, when the contrast between the crisp fried base and fluffy buttery center is at its peak. That first bite, still slightly steamy, is the whole reason people line up at the bakery.
I love slicing one horizontally and filling it with Japanese egg salad, or pairing it with fruit jam for a sweet-salty contrast. A warm hojicha latte makes the whole experience feel like a quiet afternoon in a Tokyo cafe.
Once you know the base method, you can branch into Sourdough, Ube, Truffle, or Garlic Bread versions. Bakers who enjoy wild yeast projects often borrow techniques from sourdough bread to build a deeper, tangier variation.
Storage & Make-Ahead Guidance
Leftover Salt Bread keeps best at room temperature in a loosely covered container for a day or two. Avoid sealing it while still warm, or the trapped steam will soften that prized crispy bottom.
For make-ahead baking, shaped or portioned dough can be frozen before baking if wrapped well and kept very cold. Guidance on how to properly freeze the dough is especially useful if you like baking in batches.
To reheat, a quick oven toast or a few minutes in an air fryer brings the bottom back to life far better than a microwave. The goal is dry, direct heat so the underside re-crisps and the interior turns warm and soft again.
Shio Pan Recipe

Equipment
- Stand mixer
- Baking Sheet
- Parchment Paper
Ingredients
Dough
- 218 g King Arthur Unbleached Bread Flour (1 3/4 cups plus 1 tablespoon)
- 80 g King Arthur Unbleached Cake Flour (2/3 cup)
- 227 g cold milk (1 cup)
- 1 tablespoon granulated sugar
- 1 teaspoon instant yeast
- 1 tablespoon unsalted butter, at room temperature
- 6 g table salt or 1 teaspoon red miso
For assembly and finishing
- 170 g very cold unsalted butter (12 tablespoons)
- Flaky sea salt or pretzel salt
Instructions
Mix and develop the dough
- Start by weighing your flour, or measure it gently by spooning it into the cup and leveling off the top. This dough is hydration-sensitive, so accuracy is important.
- In the bowl of a stand mixer fitted with the dough hook, add all of the dough ingredients and mix on low speed for about 5 minutes, until the mass comes together into a smooth, cohesive dough.
- Cover the bowl and let the dough rest for 10 minutes. Then mix again on low speed for about 10 minutes, until the dough looks smooth, elastic, and strong enough to stretch thin for a proper windowpane test. If it still tears too easily, mix on medium speed for another 2 to 3 minutes before testing again.
First rise and butter prep
- Move the dough to a 4-cup measuring cup or another straight-sided container, cover it, and let it rise for 70 to 90 minutes, until it looks puffy and nearly doubled.
- While the dough rises, line a rimmed baking sheet with parchment. Cut the 170g of butter for shaping into seven equal pieces, a scant 2 tablespoons or 24g each, then place them on a parchment-lined plate or small pan and freeze them until needed.
Shape the rolls
- Turn the dough out onto a clean or lightly floured surface and gently press out the large gas pockets without smashing all the life out of it. Divide it into seven equal portions, about 80g each.
- Shape each portion into a rough triangle, set them on the parchment-lined baking sheet, cover, and let them relax for 15 minutes.
- Working with one piece at a time on a lightly floured surface or a silicone mat, roll the dough into a long, thin teardrop or carrot shape about 16 inches long with a 2-inch-wide base. Keep the remaining pieces covered so their surfaces do not dry out.
- Set one piece of frozen butter at the wide base, then roll toward the tip. As you roll, gently stretch the dough so the shape stays even. Do not pinch the ends shut.
- Place the shaped rolls on the prepared baking sheet with at least 2 inches between them, and keep the tips tucked underneath so they stay anchored during oven spring. Cover and let them proof for 1 1/2 to 2 hours, until they feel puffy and marshmallow-like.
Bake until deeply golden
- About 20 minutes before baking, heat the oven to 400F with a rack in the center. If you want steam, place an empty cast iron skillet on the lower rack while the oven preheats.
- Right before the tray goes in, lightly spray or brush the tops with water and scatter over flaky sea salt or pretzel salt. If using steam, carefully pour about 1 cup of warm water into the hot skillet and close the oven door quickly.
- Bake for 18 to 20 minutes, until the rolls are deeply golden brown and the bottoms are crisp from the butter pooling underneath.
- Take the pan from the oven and brush the tops with the melted butter on the tray. Let the rolls sit on the baking sheet for 5 minutes, then turn each one upside down, sprinkle a little salt on the bottom, flip back over, and move them to a wire rack to cool slightly before serving.
Notes
Nutrition
Final Thoughts on Your Homemade Salt Bread
This recipe brings together the best of both worlds, Tangzhong-inspired softness and the deep flavor of high-fat butter, for bakery-level Shio Pan at home. Once you see that golden butter-fried base and airy hollow center, the process feels completely worth it.
I hope you lean into the buttery mess and enjoy every warm, salty bite. If you are in the mood for another laminated-style baking project after this, cinnamon sugar cruffins are a very fun next stop.