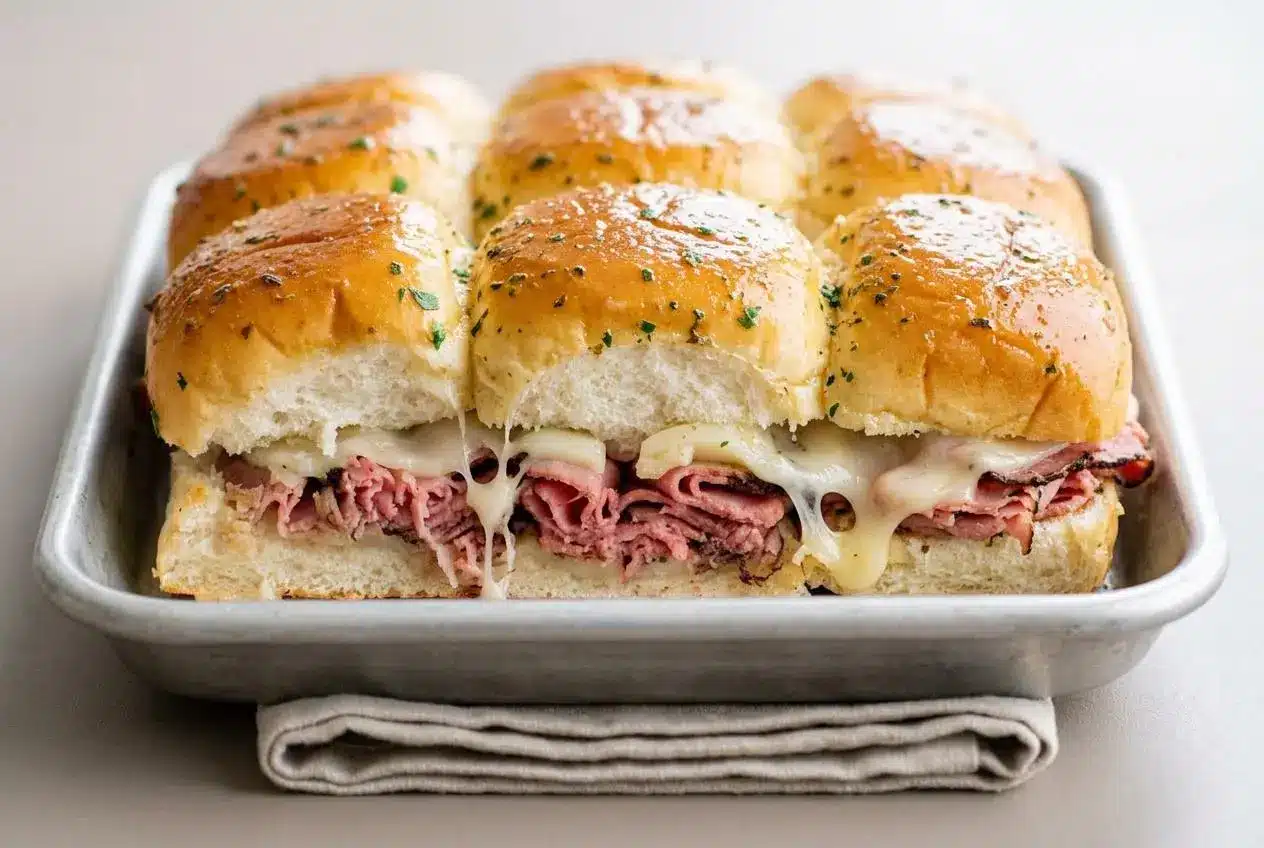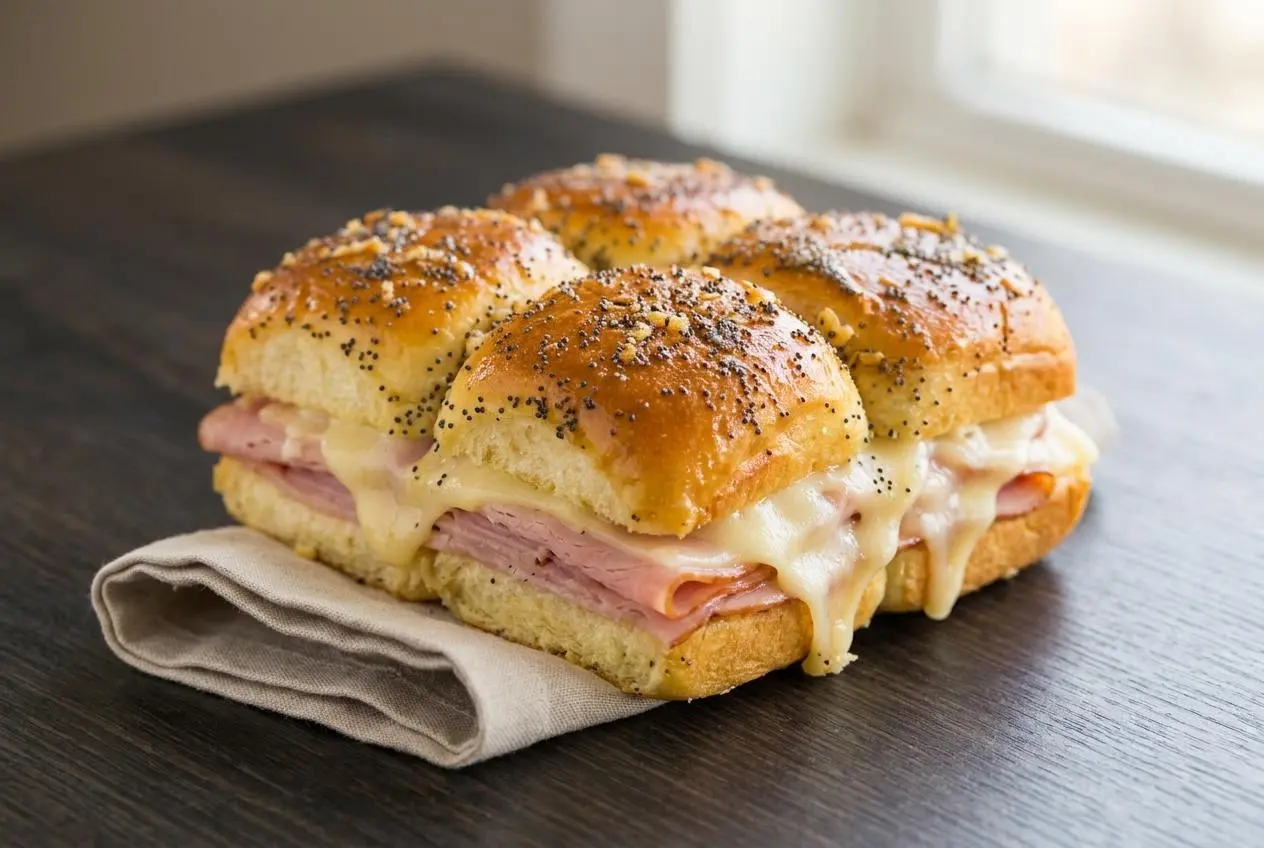
Ham and cheese sliders are sweet Hawaiian rolls layered with deli ham and Swiss cheese, brushed with a buttery poppy seed glaze, then baked until warm, melty, and golden.
These ham and cheese sliders hit that perfect sweet salty balance, with soft pull-apart rolls and a glossy butter topping that soaks into every seam. They’re a classic party pan for good reason.
The best part is how forgiving they are once you know the small details that matter, especially how to keep the bottoms from turning soggy. That little fix changes everything.
Keep the rolls connected as one slab while assembling so the layers stay neat and the finished sliders slice cleanly.
The Essential Slider Ingredients
Each ingredient has a job here, from the soft structure of the rolls to the savory depth in the glaze and the stretchy melt from the cheese.
- 1 package Hawaiian sweet rolls (12 rolls), sliced in half
- 3/4 pound cooked deli ham, thinly sliced
- 3/4 pound Swiss cheese, thinly sliced
- 1/2 cup unsalted butter, melted
- 1 tablespoon dijon mustard
- 1 tablespoon poppy seeds
- 2 teaspoons dried minced onion
- 2 teaspoons Worcestershire sauce
- 1/4 teaspoon salt, or to taste
- 1/4 teaspoon pepper, or to taste
The ingredient list looks straightforward, but the balance is what makes these sliders work. Sweet rolls soften under the glaze without collapsing, ham brings salt and richness, and Swiss melts into smooth layers that hold the stack together instead of sliding out.
Dijon mustard cuts through the butter so the sliders taste lively instead of heavy. Worcestershire adds a deep savory note that makes the glaze feel fuller, while dried minced onion and poppy seeds give that classic baked slider aroma and texture on top.
I always pat deli ham dry before layering it on the rolls, especially if it looks glossy straight from the package, because extra surface moisture can soak into the bottom buns.
The Magic of Hawaiian Rolls
Hawaiian sweet rolls are the reason these sliders taste so familiar and comforting. Their soft, slightly sweet crumb plays off the salty ham in a way plain dinner rolls usually don’t. They also absorb the melted butter glaze well, so the tops turn glossy and flavorful while the inside stays tender.
If you like this soft sweet bread style, Hawaiian roll sliders are a great next stop for trying the same roll base with different fillings.
Selecting the Best Ham
Thinly sliced deli ham works better than thick ham slices here. It drapes over the rolls in loose folds, which helps heat move through the layers so the cheese melts evenly instead of getting trapped between dense slabs of meat.
Honey ham brings a sweeter edge, while black forest ham gives a slightly smokier flavor. Either works well as long as the slices are tender and not wet. For the cleanest bite, use cooked deli ham that folds easily rather than carved chunks.
The Perfect Butter Glaze Base
This glaze is where the sliders get their signature flavor. Melted unsalted butter carries everything across the tops, Dijon adds tang, Worcestershire brings savory depth, and dried minced onion toasts as the sliders bake so the kitchen smells buttery, oniony, and a little sweet from the rolls.
Poppy seeds add light crunch and that old-school baked slider finish. Salt and pepper round it out, but go lightly at first since the ham and cheese already bring plenty of seasoning.
How to Bake Ham and Cheese Sliders
- Heat the oven to 350 °F, then line a 9×9-inch or 9×13-inch pan with aluminum foil and coat it with cooking spray.
The lined pan makes cleanup easier and helps the sliders release cleanly after baking. - Use a large serrated knife to cut the entire package of rolls horizontally into one connected top slab and one connected bottom slab.
Keeping the rolls attached gives you the classic pull-apart shape and makes layering much easier. - Set the bottom slab into the prepared pan and spread half of the ham evenly over the cut surface.
A flat first layer helps support the cheese so the sliders stay stacked instead of shifting around. - Add the Swiss cheese in an even layer, then cover it with the remaining ham.
The ham cheese ham order helps the filling stay stable and keeps the cheese tucked into the middle where it melts best. - Place the top slab of rolls over the filling and press very lightly to settle everything into place.
The slab should look even and compact, not squashed. - Put the butter in a medium microwave-safe bowl and heat it on high power until melted, about 1 minute.
You want fully melted butter so the seasonings whisk in smoothly. - Whisk the Dijon mustard, poppy seeds, dried minced onion, Worcestershire sauce, salt, and pepper into the butter until well combined.
The glaze should look speckled and glossy, with the onion and seeds suspended throughout. - Pour the butter mixture slowly over the tops of the rolls and spread it across the surface with a spatula.
Some of the glaze should pool lightly around the base of the rolls, which helps the bread absorb flavor as it rests. - Cover the pan with aluminum foil and let the assembled sliders stand at room temperature for 5 to 10 minutes.
This short rest is important because the glaze sinks into the tops and the rolls start to smell buttery and savory before they even bake. - Bake the covered sliders for about 20 minutes.
When ready for the next step, the cheese should be fully melted and starting to bubble inside the layers. - Remove the foil and continue baking for about 3 to 5 minutes, watching closely.
The tops should turn golden brown with a slight bounce when tapped, and the toasted onion aroma will really bloom. - Slice the sliders into individual portions and serve right away while warm.
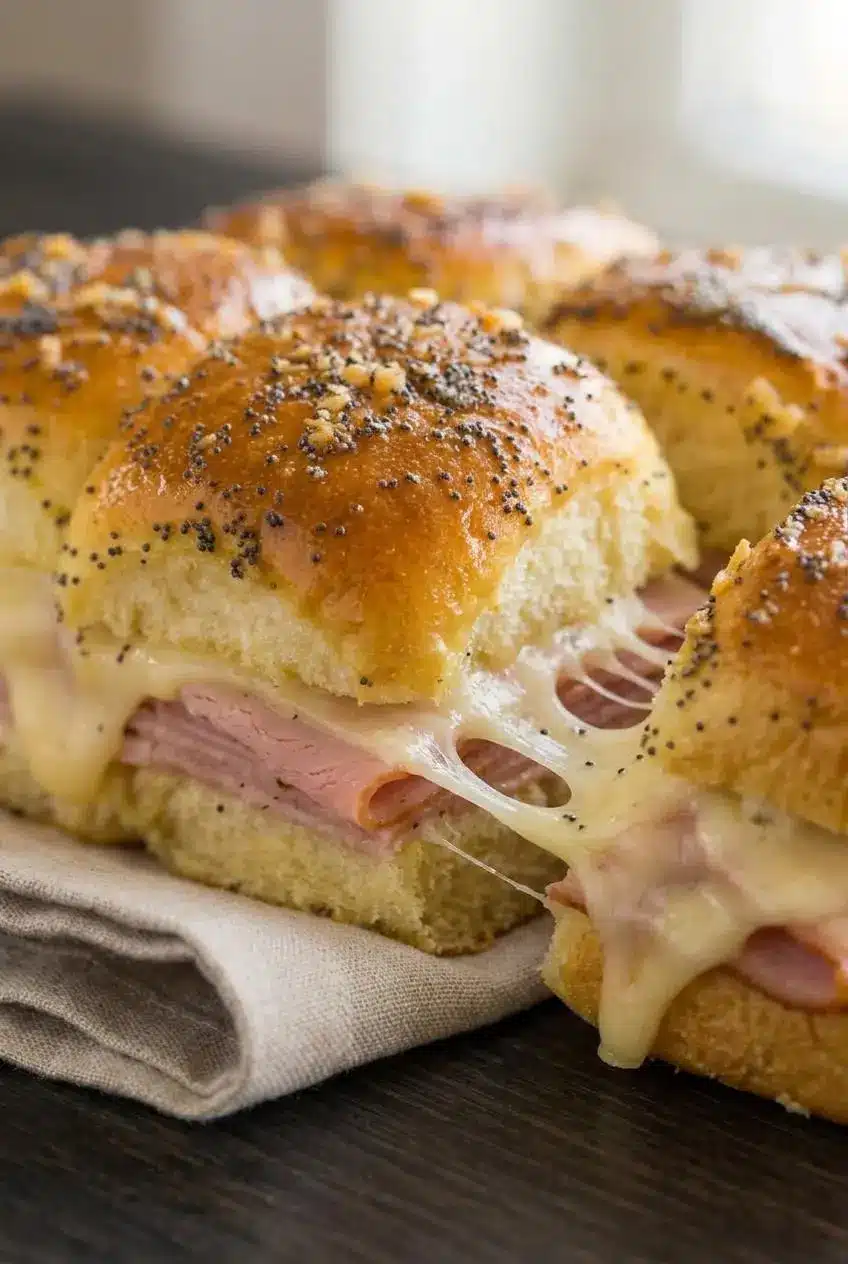
The best texture is fresh from the pan, when the cheese is stretchy and the tops are still lightly crisp.
If you want especially clean pulls, score the tops along the roll lines while the slab is still in the pan, then finish the full cuts after baking. It keeps the layers from dragging.
How to Prevent Soggy Bottom Sliders
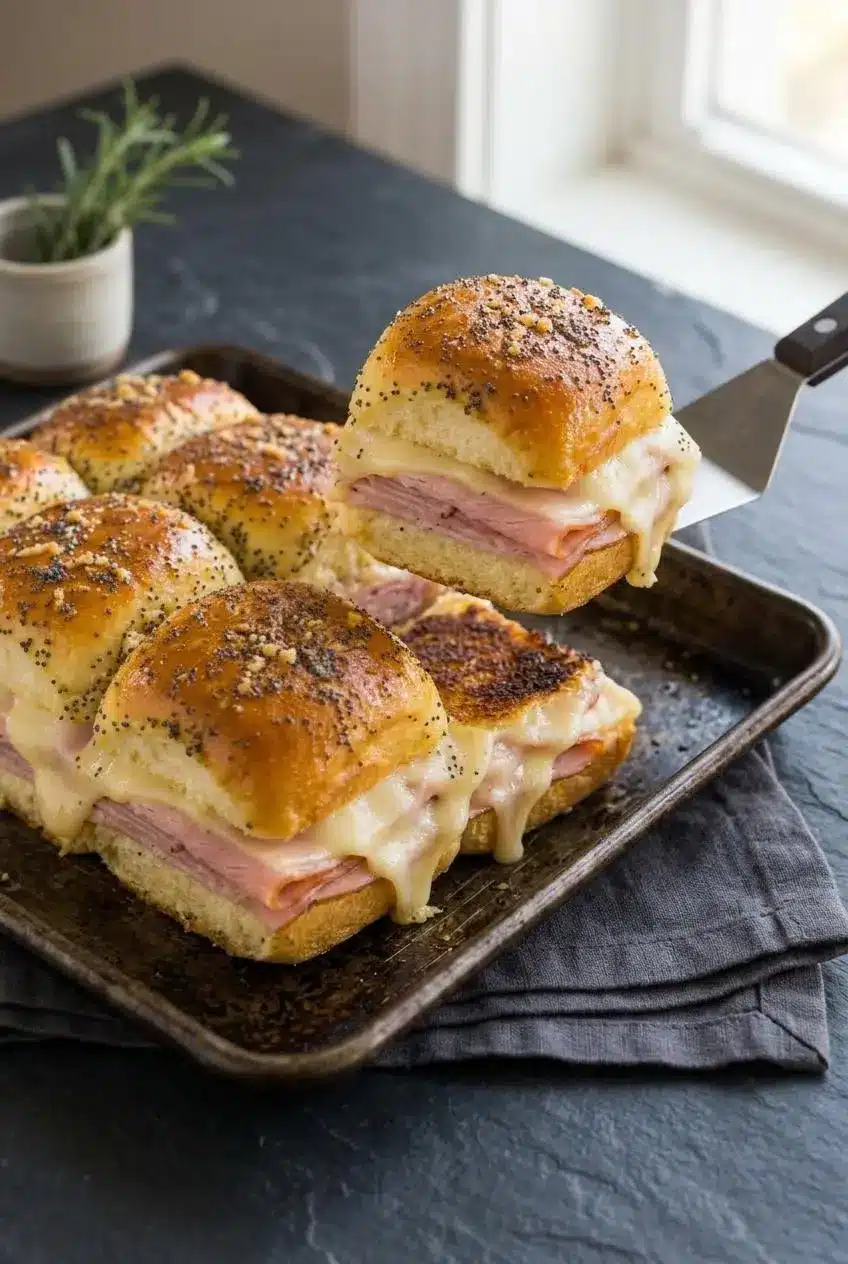
This is the biggest slider complaint, and it usually comes down to moisture plus slow bottom heat. The fix is physical, not mysterious: dry the ham, protect the bread, and help the base brown faster.
- Toast the bottom slab first: Before adding the filling, broil the bottom half of the rolls cut-side up for 1 to 2 minutes. That quick toast creates a drier surface so the ham and cheese sit on a sturdier base.
- Choose a dark metal pan when you can: Metal heats faster than glass, so the underside of the rolls gets a better shot at browning before the tops finish. A parchment-lined dark baking sheet also works well if you want more direct bottom heat.
- Use a thin mayonnaise barrier if needed: Spread a very light layer of mayonnaise over the cut side of the bottom slab before the ham goes on. The fat helps block moisture and adds a subtle savory richness. Garlic-herb mayo is especially nice here.
- Keep the glaze where it belongs: Pour it over the top, not into the center. You want a little pooling at the edges, not a flood running through the middle.
- Start with dry deli meat: Wet ham releases moisture into the bread as it heats. Patting it dry takes seconds and makes a noticeable difference.
If your sliders have gone soft before, the pan is often the hidden issue. Glass dishes hold heat well, but they usually don’t crisp the bottom fast enough for this kind of buttery bread.
Make-Ahead and Freezing Instructions
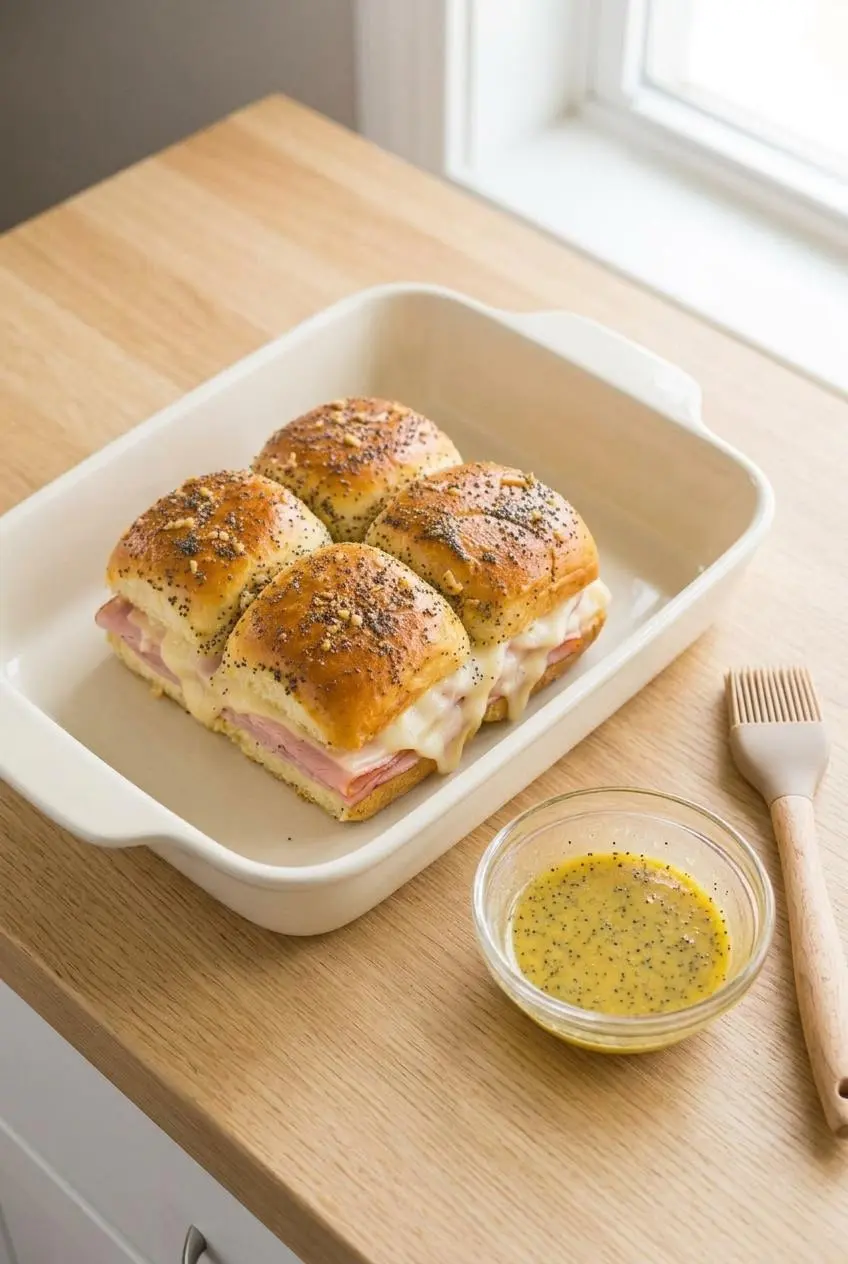
These sliders are great for party prep, but timing the glaze correctly matters. You can assemble the rolls, ham, and cheese in the pan up to 24 hours ahead, cover tightly, and refrigerate. Wait to add the warm butter glaze until just before baking so the tops stay soft and the bottoms have a better chance to crisp.
For freezing, assemble the sliders unbaked, then wrap the pan tightly with plastic wrap and aluminum foil. They can be frozen for up to 3 months. Thaw them completely in the refrigerator overnight, add the glaze just before baking, and plan on about 5 extra minutes in the oven if the pan is still quite cold when it goes in.
That same prep strategy works nicely for other party sandwiches too. If you like having a second make-ahead option ready for brunch, breakfast sliders fit the same easy bake-and-serve rhythm.
Avoid freezing fully baked glazed sliders if texture is your priority. The bread tends to soften too much once it has already absorbed the butter topping.
Slider Glaze and Cheese Variations
The classic version is hard to beat, but a few optional changes can push the flavor sweeter, bolder, or creamier without changing the core method.
Brown Sugar Butter Glaze
- Add brown sugar to the butter glaze if you want a sweeter, more caramelized top. It gives the sliders that sweet savory finish often associated with funeral sandwiches.
- Keep the glaze warm and whisked, but don’t simmer it for too long. If the sugar cooks down too far, it can turn sticky and hard instead of buttery and pourable.
- This variation works especially well with smoky or black forest ham because the extra sweetness balances the deeper flavor.
Everything Bagel Glaze Option
- Swap the poppy seeds for everything bagel seasoning when you want more garlic and onion punch on top.
- This version gives the sliders a bolder savory edge and a little more crunch in the crust.
- If you’re building a game day spread with different fillings, cheeseburger sliders make a fun second tray beside this variation.
Best Cheese for Sliders
- Swiss: The classic choice. It melts smoothly, tastes gently nutty, and pairs naturally with ham and sweet rolls.
- Havarti: Extra creamy with an especially lush melt. If you want the softest, smoothest cheese pull, Havarti is excellent.
- Provolone: Mild, stretchy, and a little firmer than Havarti. It gives a clean melt without overpowering the ham.
- Mild white Cheddar: A little sharper and saltier. It’s good if you want more bite, though it won’t taste as traditional.
For this recipe, Swiss stays the most balanced because it lets the buttery glaze and ham stay in the spotlight. Havarti is my favorite when the goal is pure melt.
Conclusion
These sliders are warm, buttery, sweet, and savory in all the right ways, which is exactly why they disappear so fast at parties, lunches, and casual dinners. The pull-apart rolls, melty cheese, and glossy glaze do a lot of work for very little fuss.
Serve them with a crisp green salad, dill pickle spears, chips, or warm tomato soup to balance the richness. Once you know the soggy-bottom fix, this is the kind of tray you’ll want to make again and again.
Frequently Asked Questions
Can I make these sliders ahead of time?
Yes. Assemble the rolls, ham, and cheese in the pan up to 24 hours ahead. Cover tightly and refrigerate until you’re ready to bake. Wait to pour on the warm butter glaze until right before baking so the bread doesn’t get soggy. If the pan is going into the oven cold, expect the bake to need a little extra time.
How do I prevent my sliders from getting soggy?
Broil the bottom slab cut-side up for 1 to 2 minutes before layering the filling. Use a dark metal pan or baking sheet if possible so the bottom browns faster. Spread a very thin layer of mayonnaise or butter on the bottom slab to create a moisture barrier. Pat the ham dry and keep the glaze mainly on top of the rolls.
Can I freeze assembled ham and cheese sliders?
Yes, as long as they are unbaked. Wrap the assembled pan tightly with plastic wrap and aluminum foil, then freeze for up to 3 months. Thaw completely in the refrigerator overnight before adding the glaze and baking. Add about 5 extra minutes to the bake if the sliders are still quite cold.
What is the best cheese to use for melting?
Swiss is the traditional pick and gives the most classic flavor. Havarti melts beautifully if you want a richer, creamier texture. Provolone is another great choice for a mild, stretchy melt. Mild white Cheddar works too if you prefer a slightly sharper finish.
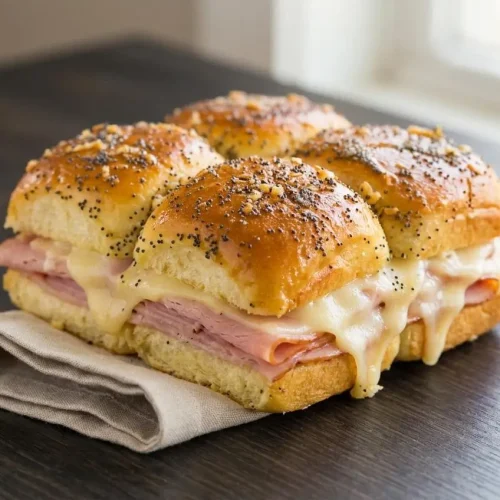
Ham and Cheese Sliders

Equipment
- 1 9×13-inch baking pan
- 1 Medium Microwave-Safe Bowl
- Serrated bread knife
- Spatula
Ingredients
- 1 package Hawaiian sweet rolls (12 rolls) sliced in half
- 3/4 pound cooked deli ham thinly sliced
- 3/4 pound Swiss cheese thinly sliced
- 1/2 cup unsalted butter melted
- 1 tablespoon dijon mustard
- 1 tablespoon poppy seeds
- 2 teaspoons dried minced onion
- 2 teaspoons Worcestershire sauce
- 1/4 teaspoon salt or to taste
- 1/4 teaspoon pepper or to taste
Instructions
- Heat the oven to 350 °F, then line a 9×9-inch or 9×13-inch pan with aluminum foil and coat it with cooking spray. The lined pan makes cleanup easier and helps the sliders release cleanly after baking.
- Use a large serrated knife to cut the entire package of rolls horizontally into one connected top slab and one connected bottom slab. Keeping the rolls attached gives you the classic pull-apart shape and makes layering much easier.
- Set the bottom slab into the prepared pan and spread half of the ham evenly over the cut surface. A flat first layer helps support the cheese so the sliders stay stacked instead of shifting around.
- Add the Swiss cheese in an even layer, then cover it with the remaining ham. The ham cheese ham order helps the filling stay stable and keeps the cheese tucked into the middle where it melts best.
- Place the top slab of rolls over the filling and press very lightly to settle everything into place. The slab should look even and compact, not squashed.
- Put the butter in a medium microwave-safe bowl and heat it on high power until melted, about 1 minute. You want fully melted butter so the seasonings whisk in smoothly.
- Whisk the Dijon mustard, poppy seeds, dried minced onion, Worcestershire sauce, salt, and pepper into the butter until well combined. The glaze should look speckled and glossy, with the onion and seeds suspended throughout.
- Pour the butter mixture slowly over the tops of the rolls and spread it across the surface with a spatula. Some of the glaze should pool lightly around the base of the rolls, which helps the bread absorb flavor as it rests.
- Cover the pan with aluminum foil and let the assembled sliders stand at room temperature for 5 to 10 minutes. This short rest is important because the glaze sinks into the tops and the rolls start to smell buttery and savory before they even bake.
- Bake the covered sliders for about 20 minutes. When ready for the next step, the cheese should be fully melted and starting to bubble inside the layers.
- Remove the foil and continue baking for about 3 to 5 minutes, watching closely. The tops should turn golden brown with a slight bounce when tapped, and the toasted onion aroma will really bloom.
- Slice the sliders into individual portions and serve right away while warm. The best texture is fresh from the pan, when the cheese is stretchy and the tops are still lightly crisp.