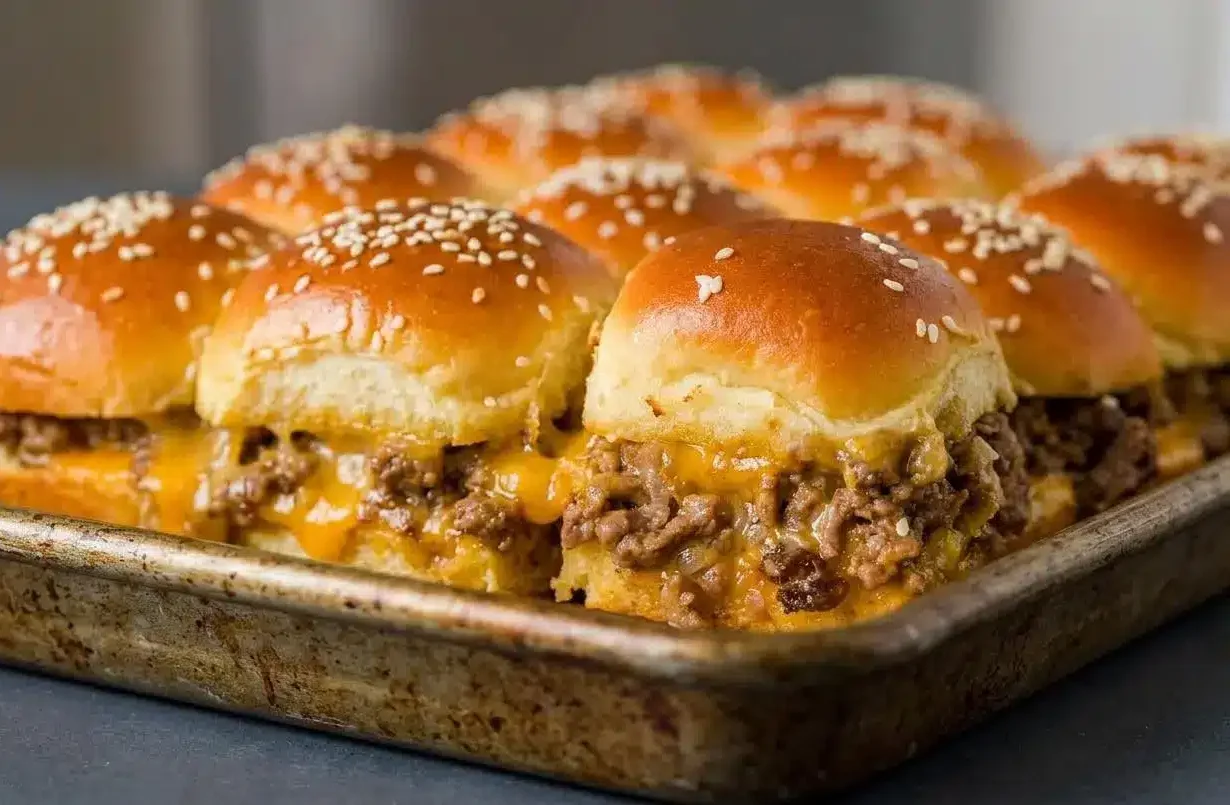
To make easy baked cheeseburger sliders, cook seasoned beef with onion, drain the fat well, stir in mayo, layer it over cheese-lined rolls, top with more cheese, then bake at 350°F until melted and golden.
These cheeseburger sliders are built for real life: weeknight dinner, game day snack, or a party tray that disappears fast. You get the flavor of a classic burger without shaping a single patty.
The best part is how practical the method is. A cheese layer protects the bottom buns, the beef stays juicy, and the tops bake up buttery and golden. That first gooey pull is worth it.
Drain the beef thoroughly before it goes on the rolls, because that one step makes the biggest difference between crisp-bottom sliders and soggy ones.
Why This Cheeseburger Slider Recipe Works
This method keeps things fast and crowd-friendly without giving up classic burger flavor. Instead of shaping individual patties, you cook the beef as a seasoned crumble, which is much easier when you need enough sliders for a full pan.
It also solves the soggy bun problem in a smart way. The sliced cheddar goes directly on the bottom buns first, so it creates a barrier between the bread and the beef. As the sliders bake, that layer melts into the buns and helps block extra moisture.
Draining the fat is the non-negotiable part. Even lean beef gives off some grease, and if it stays in the skillet, it ends up soaking into the rolls. Once the onions smell sweet and the beef is cooked through, spoon off the excess before you add the mayo and build the sliders.
The mayo matters too. It binds the crumbled beef mixture just enough to keep it moist and cohesive, so the filling slices cleanly instead of spilling everywhere.
Ingredients for Cheeseburger Sliders
Each ingredient pulls its weight here, from savory beef and sweet onion to cheese for melt, mayo for moisture, and butter for that golden finish.
- 2 lb lean ground beef ((90/10 or 93/7 fat content))
- 1/2 Tbsp olive oil
- 1 tsp salt
- 1 tsp black pepper
- 1 tsp garlic powder
- 1/2 large yellow onion (finely diced)
- 1/4 cup mayonnaise
- 8 slices medium cheddar cheese
- 6 oz medium cheddar (shredded (or used more sliced cheese))
- 24 dinner rolls ((or use 2 packs of 12))
- 2 Tbsp unsalted butter (melted, plus more to grease baking sheet)
- 1 Tbsp sesame seeds
Lean ground beef is the best fit because it still tastes like a proper burger but gives off less grease than higher-fat blends. That helps the filling stay savory instead of oily.
Mayonnaise works as a binder in the beef mixture. It softens the texture a bit and helps the meat hold together once sliced, which is especially useful with the crumbled method.
Soft dinner rolls, including Hawaiian rolls, work beautifully here because their light sweetness balances the beef and cheddar. They also press together well, so you get neat pull-apart sliders instead of messy stacks.
I always reach for 90/10 beef here because it gives you plenty of burger flavor without turning the baking sheet greasy.
How to Make Cheeseburger Sliders
- Heat the oven to 350°F and grease the bottom of a rimmed baking sheet with butter.
The pan should have a light, even coating so the bottom buns release easily after baking. - Warm the olive oil in a large skillet over medium-high heat, add the diced onion and ground beef, then season with salt, black pepper, and garlic powder while breaking up the meat with a spatula.
Cook until the beef is just done and no pink remains, and look for the onions to smell sweet and the skillet to sound less wet and more sizzly. - Tilt the skillet and spoon off the excess fat, then stir the mayonnaise into the hot beef mixture.
This is the key step for avoiding soggy sliders, and the finished meat should look moist and cohesive rather than greasy. - Slice the dinner rolls in half and set the bottom half on the prepared baking sheet, then cover them with the sliced cheddar, spread the beef evenly over the cheese, and finish with the shredded cheddar.
The filling should reach the edges in an even layer so every slider gets the same amount of meat and that gooey top cheese melt. - Set the top buns cut-side down over the filling, brush the tops with melted butter, and sprinkle on the sesame seeds right away before baking for 12 to 15 minutes at 350°F.
The sliders are ready when the tops are golden brown and the cheese underneath looks fully melted and lava-like.
Tips for Perfect Cheeseburger Sliders
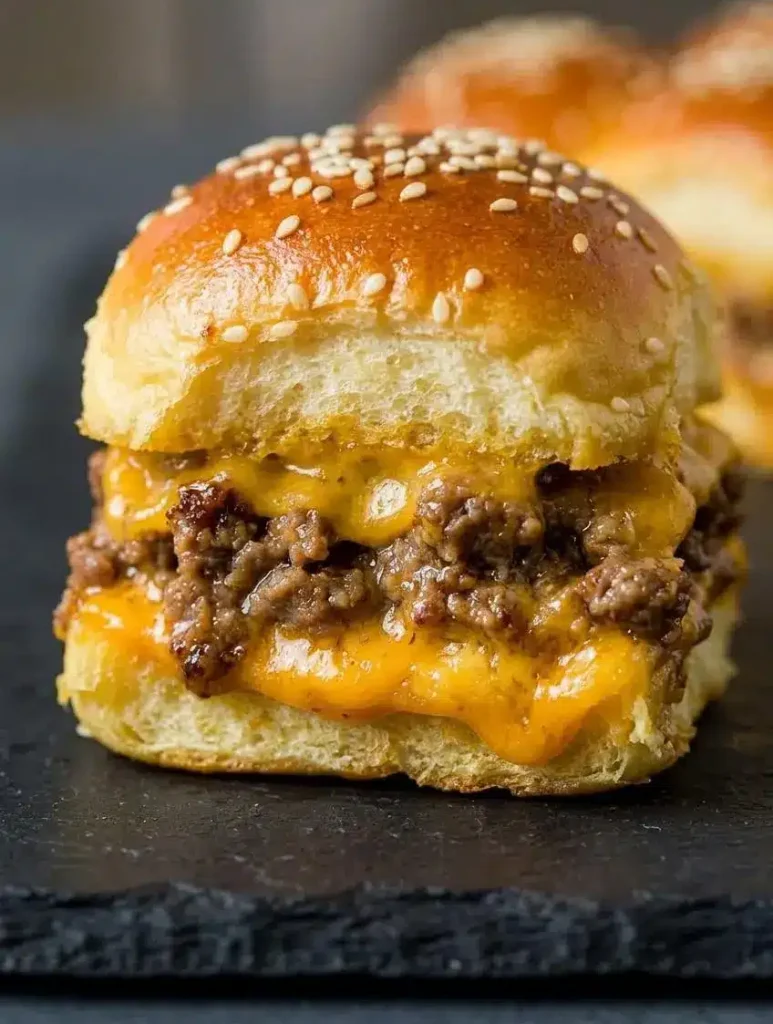
A few small choices make a big difference here, especially if you want juicy filling, clean slices, and buns that stay pleasantly soft instead of damp.
Use the Right Beef
Go with lean ground beef, ideally 90/10 or 93/7. You still get plenty of beefy flavor, but there is much less grease to deal with. Higher-fat beef can taste rich, but it also makes the pan oily fast, which is one of the main causes of soggy bottoms.
Get the Best Cheese Melt
Using two forms of cheese gives you a better result than relying on one alone. Sliced cheese on the bottom acts like insulation for the rolls, while shredded cheddar on top melts into the beef more evenly. If you want an even softer melt, swap the bottom slices to American and keep cheddar on top.
| Cheese | Best use | What it adds |
|---|---|---|
| American | Bottom layer | Ultra-smooth melt and strong moisture barrier |
| Cheddar | Bottom or top | Classic burger flavor with a sharper finish |
| Provolone | Bottom layer | Milder flavor and stretchy melt |
| Pepper Jack | Top or bottom | Extra heat and creamy melt |
Don’t Cover While Baking
Bake the sliders uncovered. Foil traps steam, and steam softens the tops instead of letting them toast. Brushed butter helps the rolls brown evenly, while the open oven heat keeps the tops lightly crisp instead of pale or damp.
Let Them Rest Before Slicing
Give the pan a minute or two once it comes out of the oven. That short rest helps the melted cheese settle and the meat layer firm up slightly, so the sliders cut more cleanly and hold together better on the plate.
| Problem | Likely cause | Fix |
|---|---|---|
| Soggy bottom buns | Grease left in the skillet or no cheese barrier | Drain the beef well and line the bottom buns with sliced cheese first |
| Dry filling | Beef cooked too long before baking | Stop cooking as soon as the meat is done since it finishes warming in the oven |
| Pale tops | Not enough butter or covering the pan | Brush evenly with melted butter and bake uncovered |
| Messy slices | Cutting too soon | Let the sliders rest briefly before slicing |
Cheeseburger Slider Variations
Once you have the base method down, it is easy to change the flavor without making the recipe fussy. Keep these as optional add-ons or swaps, not required changes.
Bacon Cheeseburger Sliders
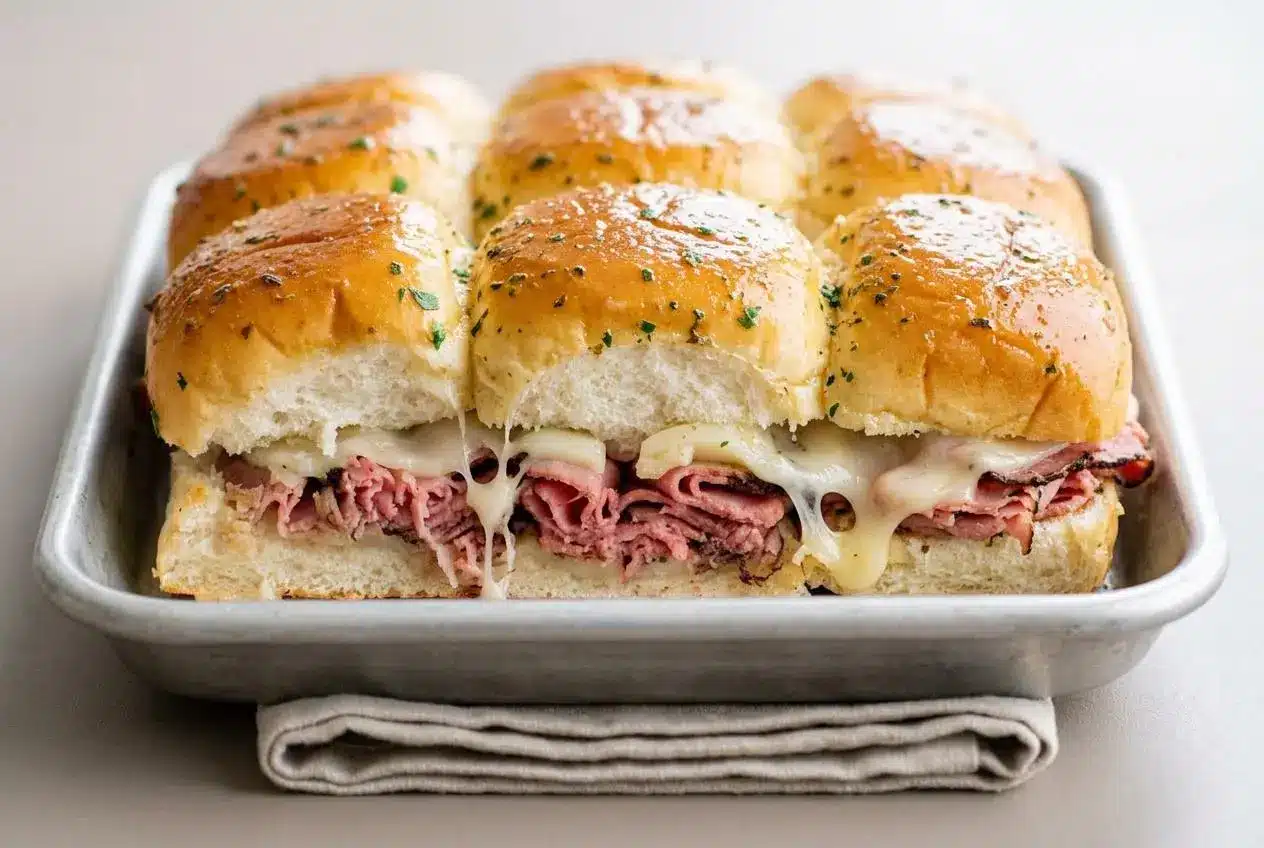
For a bacon version, stir cooked crumbled bacon into the beef mixture when you add the mayonnaise. It adds smoky crunch and makes the sliders feel a little more diner-style. If you like party foods in this format, French Dip sliders are another great tray-bake option.
Add a Savory Butter Glaze
Instead of brushing the tops with plain melted butter, whisk in Worcestershire sauce, onion powder, and garlic powder first. This gives the buns a deeper savory edge and a little steakhouse flavor without changing the core recipe.
For Extra Flavor: Garlic Herb Butter Topping
Mix garlic powder and dried parsley into the melted butter before brushing the rolls. It gives the tops a gentle garlic bread feel, which works especially well if you want the pan to smell amazing the second it comes out of the oven.
Classic Burger ‘Special Sauce’
Stir together mayonnaise, ketchup, sweet pickle relish, and vinegar for a quick burger sauce. You can spread a little on the buns after baking or serve it on the side for dipping so the rolls stay in better shape.
For a Deeper, Savory Flavor
If you want the filling to taste more like a griddled burger, add Worcestershire sauce and Dijon mustard to the beef while seasoning it in the skillet. That small change adds more umami and a slightly sharper finish.
| Variation | What to change | Best for |
|---|---|---|
| Bacon cheeseburger | Mix cooked crumbled bacon into the beef | Smoky, hearty party sliders |
| Savory butter glaze | Brush the tops with seasoned butter instead of plain butter | Deeper baked flavor |
| Garlic herb topping | Add garlic powder and dried parsley to the butter | Extra aroma and golden tops |
| Special sauce | Serve a mayo-ketchup-relish sauce on the side | Dipping and burger-shop flavor |
| Pepper Jack swap | Use pepper jack in place of cheddar | A spicier batch |
If you enjoy baked handheld dinners, cheeseburger bombs are another fun way to use the same kind of savory filling.
What to Serve with Sliders
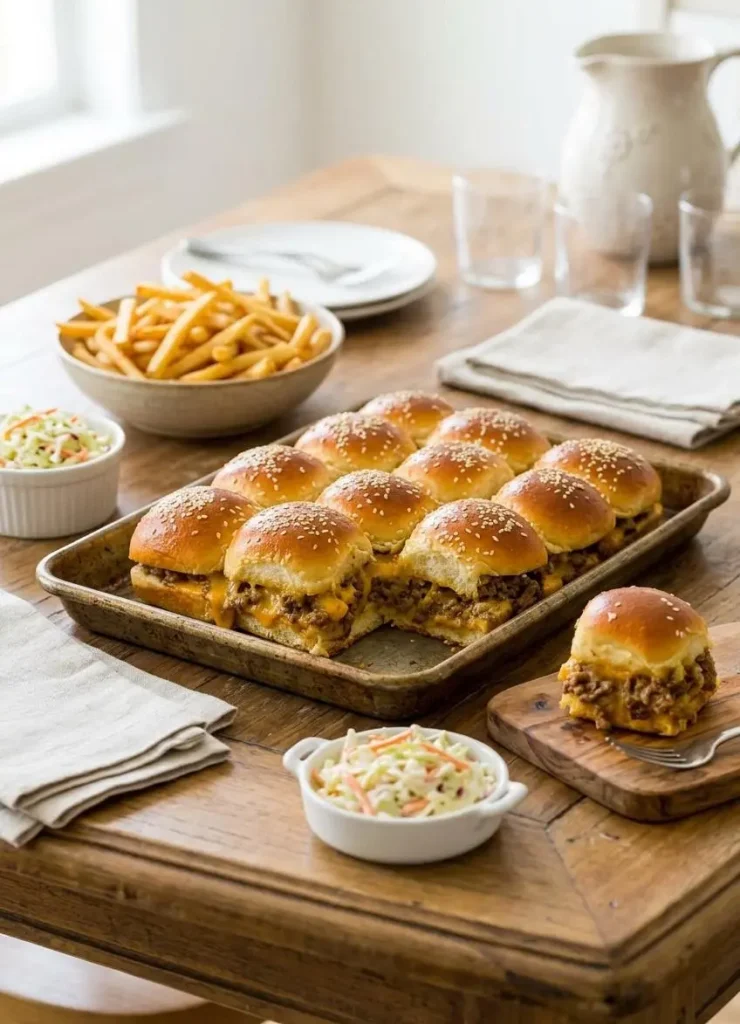
These sliders fit just as easily on a party buffet as they do on a weeknight dinner plate. Classic sides work best because the sliders already bring plenty of richness.
- French fries or tater tots for a full diner-style meal
- Dill pickle chips for crunch and acidity
- Creamy coleslaw if you want something cool and crisp
- A simple green salad to lighten the plate
If you are building out a comfort-food menu, a cheeseburger soup recipe keeps the same flavor theme going in a cozier direction.
Make-Ahead, Storage, and Reheating Guide
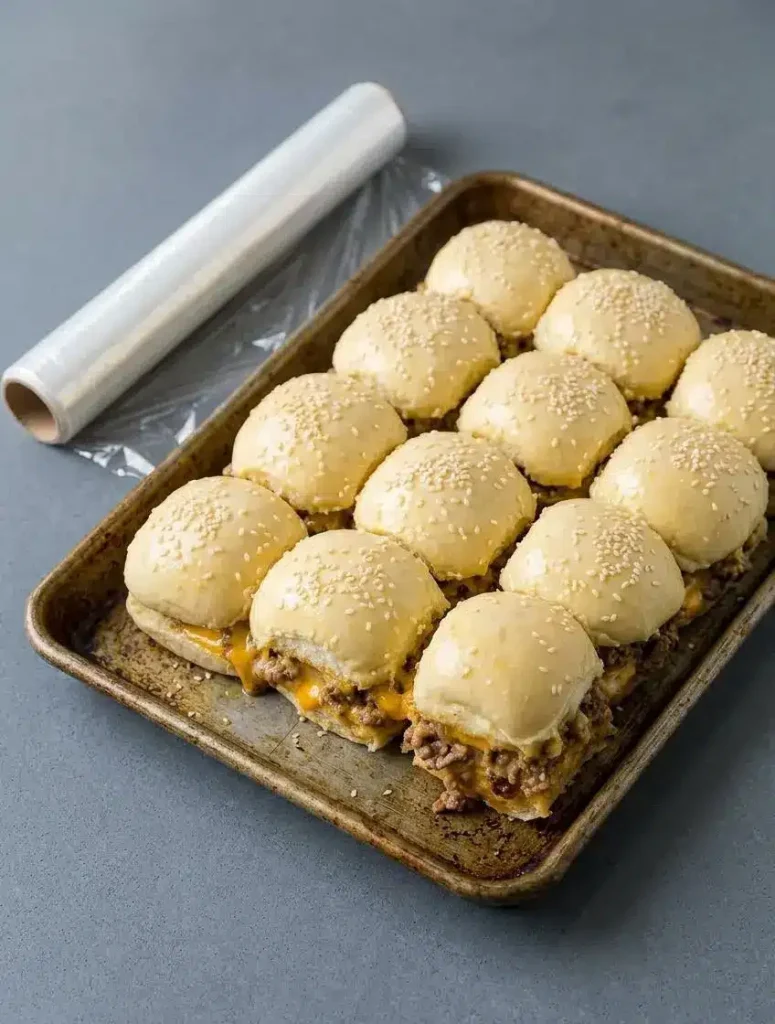
These sliders are a good party food because most of the work can happen before serving time. The trick is protecting the bread from moisture and reheating in a way that wakes the tops back up.
| Option | How to do it | What to expect |
|---|---|---|
| Assemble ahead and chill | Build the sliders, cover the pan, and refrigerate before baking | You may need a few extra minutes in the oven |
| Freeze unbaked | Wrap the assembled pan tightly in two layers of foil | Bake straight from frozen with extra oven time |
| Store leftovers | Cool, cover, and refrigerate promptly | The buns soften a bit but crisp up again in the oven |
Making Sliders Ahead of Time
You can fully assemble the sliders in the pan before baking, which is handy if you are cooking for guests. Cover the pan and refrigerate it for up to 24 hours, then bake when needed. Because the filling and bread are starting cold, plan on adding a few extra minutes in the oven.
This make-ahead format also works well for other baked slider meals, including make-ahead breakfast sliders, if you like prepping food before a busy day.
Storing Leftovers
Let leftover sliders cool before transferring them to a covered container, then refrigerate them promptly. Ground beef should reach 160°F for safe cooking, and cooked leftovers should not sit out for long before chilling, as outlined here on ground beef cooking and leftover storage.
For the best texture, keep the sliders in a single layer if you can. That helps the tops stay from getting too compressed and soft.
The Best Way to Reheat Sliders
The oven is the best choice when you want the buns to perk back up. Reheat the sliders at 350°F for 10 to 15 minutes, or until the centers are hot and the cheese is melty again. The microwave is quicker, but it tends to soften the bread more than most people want.
If you are reheating just one or two sliders, place them on a small sheet pan rather than stacking them. They warm more evenly that way.
How to Freeze Sliders
Yes, you can freeze these sliders. For the best result, assemble them but do not bake them yet, then wrap the whole pan tightly in two layers of foil and freeze for up to 3 months.
Bake them straight from frozen and add 15 to 20 minutes to the original baking time. Check that the centers are heated through before serving.
Conclusion
These sliders work because they are easy, fast, and built to avoid the biggest problem baked sliders usually have. You get juicy beef, gooey cheese, and golden rolls without the hassle of making individual patties.
If you want a dependable party tray or a fun dinner that actually slices cleanly, this is the one to make. Keep the cheese on the bottom, drain the beef well, and dinner is in very good shape.
FAQ
How do I prevent my cheeseburger sliders from getting soggy?
Use lean ground beef so there is less grease to start with. Drain the cooked beef thoroughly before you build the sliders. Then line the bottom buns with sliced cheese first, which helps shield the bread from the meat juices.
Can I use different rolls besides Hawaiian rolls?
Yes. Any soft pull-apart dinner rolls work well here, and brioche slider buns are an especially good option if you want a richer, more buttery flavor. Just avoid rolls that are very crusty or dry, since they do not press together as neatly.
Can I freeze cheeseburger sliders?
Yes, and unbaked is the best way to do it. Assemble the sliders in the pan, wrap tightly, and freeze them before baking so the rolls hold their texture better. When you are ready to cook, bake them from frozen and allow extra time in the oven.
What’s the best cheese for sliders?
A combination usually gives the best result. Sliced American or mild cheddar works especially well on the bottom because it melts smoothly and helps protect the buns, while shredded sharp cheddar on top brings more flavor. Provolone is great for a milder bite, and pepper jack adds heat.
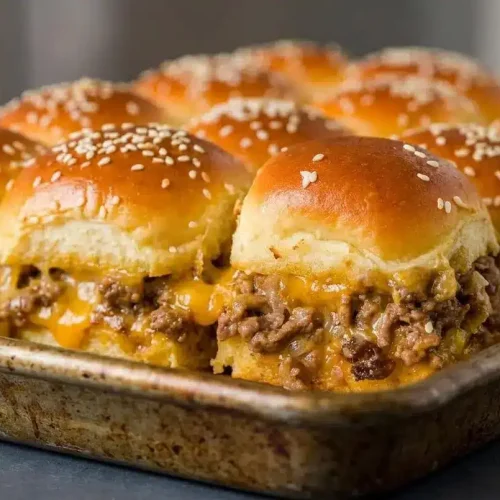
Cheeseburger Sliders

Equipment
- Baking Sheet
- Large Skillet
- Spatula
Ingredients
- 2 lb lean ground beef (90/10 or 93/7 fat content)
- 1/2 Tbsp olive oil
- 1 tsp salt
- 1 tsp black pepper
- 1 tsp garlic powder
- 1/2 large yellow onion finely diced
- 1/4 cup mayonnaise
- 8 slices medium cheddar cheese
- 6 oz medium cheddar, shredded (or used more sliced cheese)
- 24 dinner rolls (or use 2 packs of 12)
- 2 Tbsp unsalted butter, melted plus more to grease baking sheet
- 1 Tbsp sesame seeds
Instructions
- Heat the oven to 350°F and grease the bottom of a rimmed baking sheet with butter. The pan should have a light, even coating so the bottom buns release easily after baking.
- Warm the olive oil in a large skillet over medium-high heat, add the diced onion and ground beef, then season with salt, black pepper, and garlic powder while breaking up the meat with a spatula. Cook until the beef is just done and no pink remains, and look for the onions to smell sweet and the skillet to sound less wet and more sizzly.
- Tilt the skillet and spoon off the excess fat, then stir the mayonnaise into the hot beef mixture. This is the key step for avoiding soggy sliders, and the finished meat should look moist and cohesive rather than greasy.
- Slice the dinner rolls in half and set the bottom half on the prepared baking sheet, then cover them with the sliced cheddar, spread the beef evenly over the cheese, and finish with the shredded cheddar. The filling should reach the edges in an even layer so every slider gets the same amount of meat and that gooey top cheese melt.
- Set the top buns cut-side down over the filling, brush the tops with melted butter, and sprinkle on the sesame seeds right away before baking for 12 to 15 minutes at 350°F. The sliders are ready when the tops are golden brown and the cheese underneath looks fully melted and lava-like.