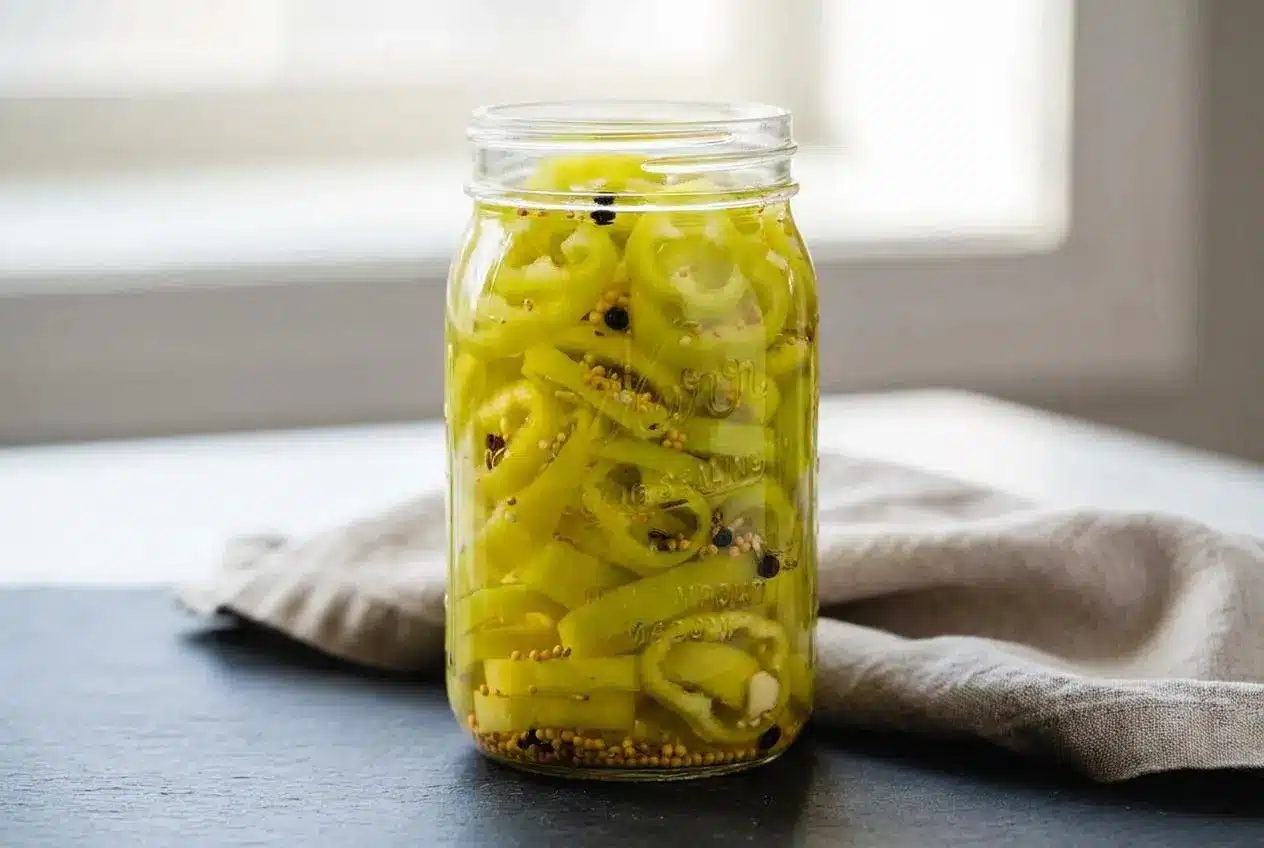
Make quick pickled banana peppers by packing sliced peppers into clean jars, covering them with a boiling vinegar brine, cooling them, and refrigerating until the flavor settles in.
Tangy pepper rings on pizza, subs, or eggs are one of the easiest homemade condiments to pull off well. Pickled banana peppers give you fresh crunch, bright acidity, and control over the heat.
They’re faster than full canning, easier to tweak, and much livelier than most store jars. The little tricks that keep them crisp make all the difference.
Wear gloves before you slice, especially if you want to keep the seeds and ribs from turning the whole jar hotter than planned.
Why Home Pickled Banana Peppers Beat Store Bought
Homemade jars win on texture first. The peppers keep a cleaner snap, the brine tastes fresher, and you can stop the batch from drifting too sweet, too salty, or too soft.
You also get to choose how much heat stays in the jar. Leave in more seeds and ribs for a punchier batch, or remove them for a milder, sandwich-friendly pickle.
Another big perk is the spice profile. Garlic, mustard seed, celery seed, and peppercorns give the brine a savory edge that tastes fuller than a flat vinegar pickle.
Pickled Banana Peppers vs Pepperoncini
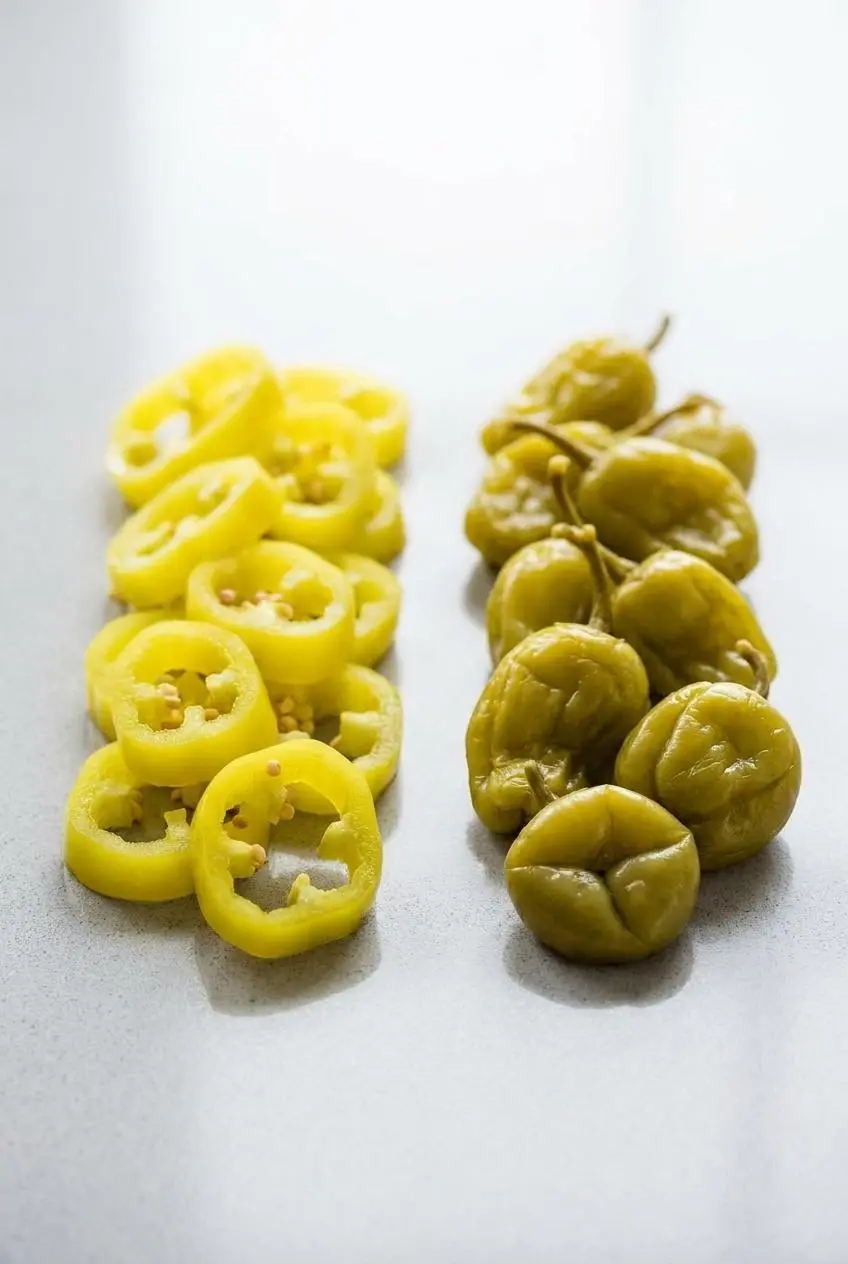
These two get mixed up all the time, but they are different peppers and they taste different once pickled.
- Banana peppers are usually smoother, slightly thicker-walled, and more pointed at the tip.
- Pepperoncini tend to look a little wrinkled, with thinner skins and a rounder shape.
- Banana peppers are generally milder and cleaner in flavor.
- Pepperoncini usually taste tangier, a touch more bitter, and a bit more assertive.
If you want mellow rings for pizza, nachos, and subs, banana peppers are usually the better fit. If you like a sharper, brinier bite, pepperoncini lean that way.
Ingredients: Crucial Elements for Brine and Crunch
Each ingredient shapes the jar in a specific way, from acidity and clarity to aroma, color, and that crisp bite you want to keep.
- 10 Banana peppers
- 2 cups White vinegar (5%)
- 1 cup Water
- 1 tbsp Pure salt (Kosher, pickling, sea salt)
- 1/2 tbsp Sugar
- 1 tsp Mustard seed
- 1 tsp Black peppercorn
- 1/2 tsp Celery seed
- 3 cloves Garlic (crushed)
The white vinegar does the heavy lifting here, and 5% acidity matters for proper pickling strength. Water softens the sharpness so the peppers stay bright rather than harsh. Salt seasons the brine and helps the flavor taste rounder, while a little sugar smooths the edges without making the peppers sweet.
Mustard seed, celery seed, black peppercorn, and garlic build the savory backbone that makes these taste deli-style instead of one-note. Using kosher, pickling, or pure sea salt also helps the brine stay clearer than standard iodized table salt.
I always look for firm banana peppers with glossy skin and a clean yellow to pale green-yellow color, because soft spots show up fast once they hit the brine.
Choosing Your Peppers: Banana Peppers vs Hungarian Wax
This matters more than it seems, because banana peppers and Hungarian wax peppers can look nearly identical in the produce bin.
Banana peppers are usually mild. Hungarian wax peppers can range much hotter, so an accidental swap can change the entire jar. If you want a gentle pickle, choose peppers labeled clearly as banana peppers and avoid guessing by color alone.
When you have extra fresh peppers and want another use for them, a banana pepper recipe is handy beyond pickling.
The Perfect Vinegar Acid Balance
Use vinegar labeled 5% acidity for this brine. That level gives the pickle its sharp, clean flavor and the acidity expected for proper pickling.
Reduced-acid vinegars are not a good choice here. They can throw off the balance of the brine, and the flavor tends to taste duller too. White vinegar keeps the color bright and the taste direct, which works especially well with mild peppers.
Why Salt Choice Matters
Salt changes both flavor and appearance. Pure pickling salt, kosher salt, or pure sea salt dissolves cleanly and gives the brine a clearer finish.
Iodized table salt often contains anti-caking agents that can make the liquid look cloudy. If your water is very mineral-heavy, that can also muddy the brine, so filtered water is a smart move when clarity matters.
Selecting Spice Profiles
This spice mix is aromatic without overpowering the peppers. Mustard seed adds a warm pickled flavor, celery seed brings a subtle savory note, black peppercorn adds gentle bite, and crushed garlic deepens the whole jar.
Together they make the brine taste fuller and more layered, while still letting the banana peppers stay the star.
How to Make Quick Pickled Banana Peppers
- Boil the jars for 10 minutes without the lids, then set them aside carefully.
The jars should be hot and clean when you fill them, with no cracks or chips. - Wash the peppers well, check for blemishes, and roll each one gently on a cutting board before trimming off the tops.
That light pressure loosens the seeds inside so they slide out more easily later. - Use a chopstick to remove the seeds and inner ribs as needed, then slice the peppers into 1/4 inch to 1/2 inch rings.
The rings should stay mostly intact, and removing more seeds will give you a milder jar. - Pack the pepper rings into the hot jar, settling them as you go.
A gentle tap on the counter helps the slices drop into place and reduces large empty gaps. - Bring the white vinegar, water, pure salt, sugar, mustard seed, black peppercorn, celery seed, and crushed garlic to a rolling boil in a saucepan, then take the pan off the heat.
The brine should smell sharp and savory, with the spices moving briskly in the bubbling liquid. - Pour the hot brine over the peppers, leaving about 1/2 inch of headspace at the top of the jar, then release trapped air bubbles and wipe the rim with a paper towel dipped in vinegar.
The peppers will begin shifting from pale yellow-green toward a more translucent olive-yellow as the hot brine hits them. - Seal the jar, let it cool at room temperature, and then refrigerate it to infuse before eating.
The flavor gets deeper as the peppers sit, and these refrigerator pickles should be consumed within a month.
Step 1: Prep and De-Seed Your Peppers
Start carefully here, because pepper oils can linger on your hands for hours. Wear kitchen gloves before slicing, especially if you are sensitive to capsaicin or you tend to touch your face without thinking.
Seed removal also controls the final heat. The more seeds and ribs you leave behind, the more kick the brine takes on.
The Chopstick Method for Easy Seed Removal
This is the cleanest way to keep those classic pepper rings intact. After rolling the whole pepper on the board, cut off the stem end and slide a chopstick through the center to loosen and pull out the seed core.
Because the pepper stays whole during that step, you can slice it into neat rings afterward instead of fighting torn pieces and scattered seeds.
Step 2: Pack Jars Efficiently
Pack the rings snugly, but do not mash them. A tight fill helps the peppers stay submerged and keeps the jar from looking half empty once the brine settles.
Tap the jar lightly on the counter to settle the slices. That simple step helps release big air pockets before the brine goes in.
Step 3: Boil and Pour the Brine
Bring the brine all the way to a rolling boil, then pour it over the peppers while it is still hot. That heat helps soften the skins just enough for the peppers to absorb the seasoning evenly.
Leave about 1/2 inch of headspace so the jar seals cleanly and the brine has room to settle. If you spot trapped bubbles along the sides, nudge them free before closing the jar.
If you want to keep the yellow color looking extra vivid, you can add a tiny pinch of ground turmeric to the boiling brine. Use a light hand so it brightens the jar without taking over the flavor.
How to Keep Pickled Peppers Perfectly Crisp
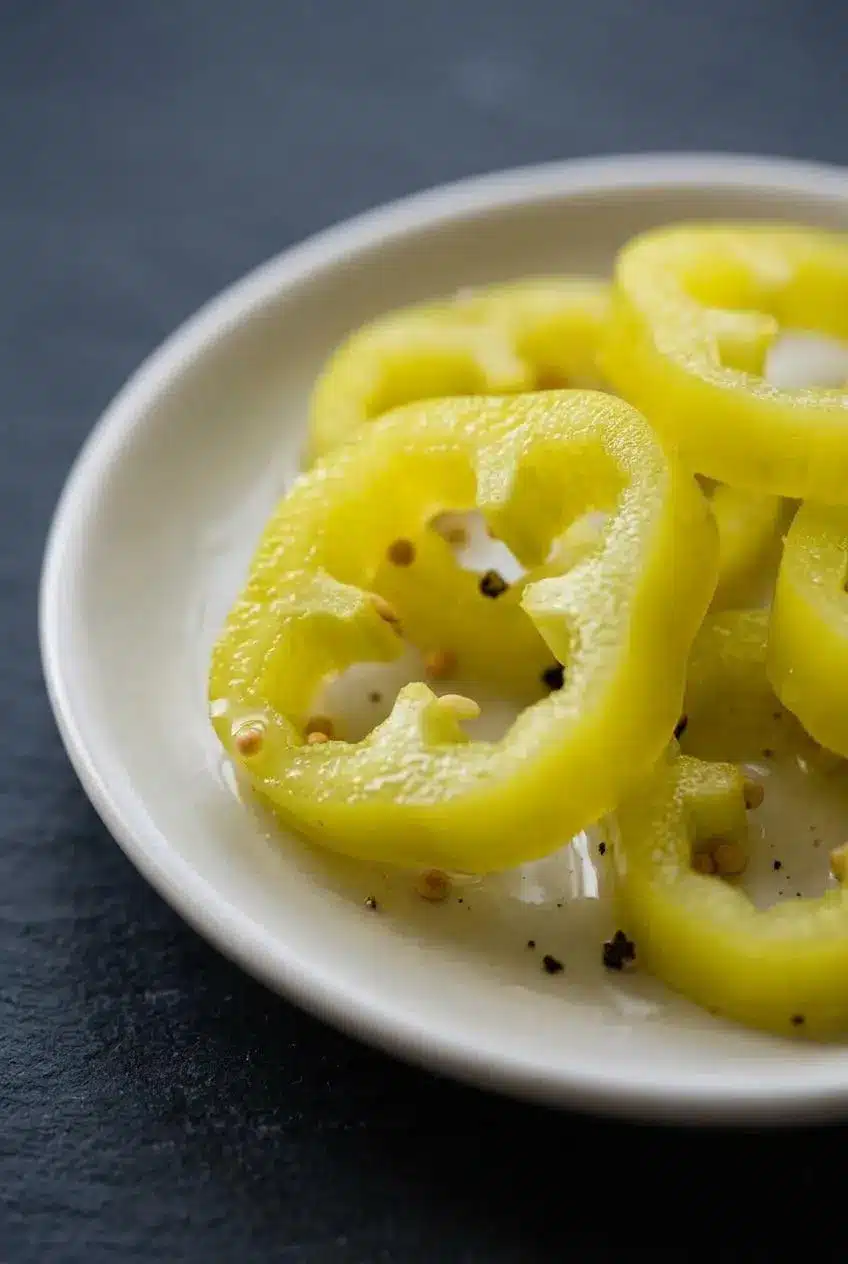
If mushy peppers are your main fear, the biggest factor is heat. The more processing the peppers go through, the more their cell walls and pectin soften, which means less crunch in the final jar.
- For the firmest bite, keep these as refrigerator pickles instead of boiling the filled jars for long preservation.
- Use very fresh peppers with firm walls. Older peppers start soft and rarely recover in brine.
- Slice the rings evenly so they pickle at the same pace.
- If maximum crunch matters most to you, let the brine sit just briefly off the heat before pouring so it is still very hot but not aggressively bubbling.
- An optional pinch of calcium chloride pickle crisp granules can help the peppers stay firmer without changing the flavor much.
- Avoid table salt if you want a cleaner-looking jar and a better overall result.
Quick refrigerator pickling usually keeps a sharper bite than water bath canning. Canning is useful for storage, but it softens the rings more, and there’s really no way around that texture trade-off.
Safe Water Bath Canning Instructions
If you want shelf storage instead of a refrigerator jar, use a proper water bath canning method and expect a softer texture afterward.
- Prepare the peppers and boiling brine as written, and fill hot jars with the pepper rings and brine.
- Leave about 1/2 inch of headspace and remove visible air bubbles before sealing.
- Process the filled jars in a boiling water bath for 10 minutes.
- If you live at higher altitude, increase processing as required for your area.
- Let the jars cool undisturbed and check that they have sealed before storing them.
Properly processed jars can be kept on the shelf for up to a year, but the peppers will be softer than the refrigerator version. Avoid oven canning and open-kettle canning here, since they are not the right methods for this kind of pickle.
Vinegar Blending: White vs Apple Cider Vinegar
White vinegar gives you the cleanest, brightest pickle flavor. It lets the pepper taste come through sharply and keeps the color from turning muddy.
Apple cider vinegar shifts the flavor in a fruitier, rounder direction. It can make the jar taste a little deeper and less sharp, which some people love on sandwiches.
If you blend the two, keep every vinegar you use at 5% acidity. That way you get the flavor change without weakening the brine.
Creative Flavor Variations and Swaps
Once you like the base method, it is easy to nudge the flavor in a new direction without changing the core process.
- Add a pinch of dried oregano for a more Italian-style jar that works especially well on subs and antipasto plates.
- A small splash of olive oil can give the brine a softer edge right before serving, but keep it out of the main stored jar.
- If you enjoy hotter pickled peppers, pickled jalapenos are a great next batch to try.
Sweet and Spicy Pickled Banana Peppers
For a sweeter deli-style profile, double the sugar and use organic cane sugar if you like its slightly fuller flavor. The peppers stay tangy, but the sharp edges mellow and the mild heat reads more gently.
Spicy Kick: Swapping in Hungarian Wax Peppers
You can use Hungarian wax peppers with the same brine if you want a much hotter batch. Just remember that their heat can vary a lot, so one jar may come out pleasantly punchy while the next one really means business.
Delicious Ways to Use Your Pickled Peppers
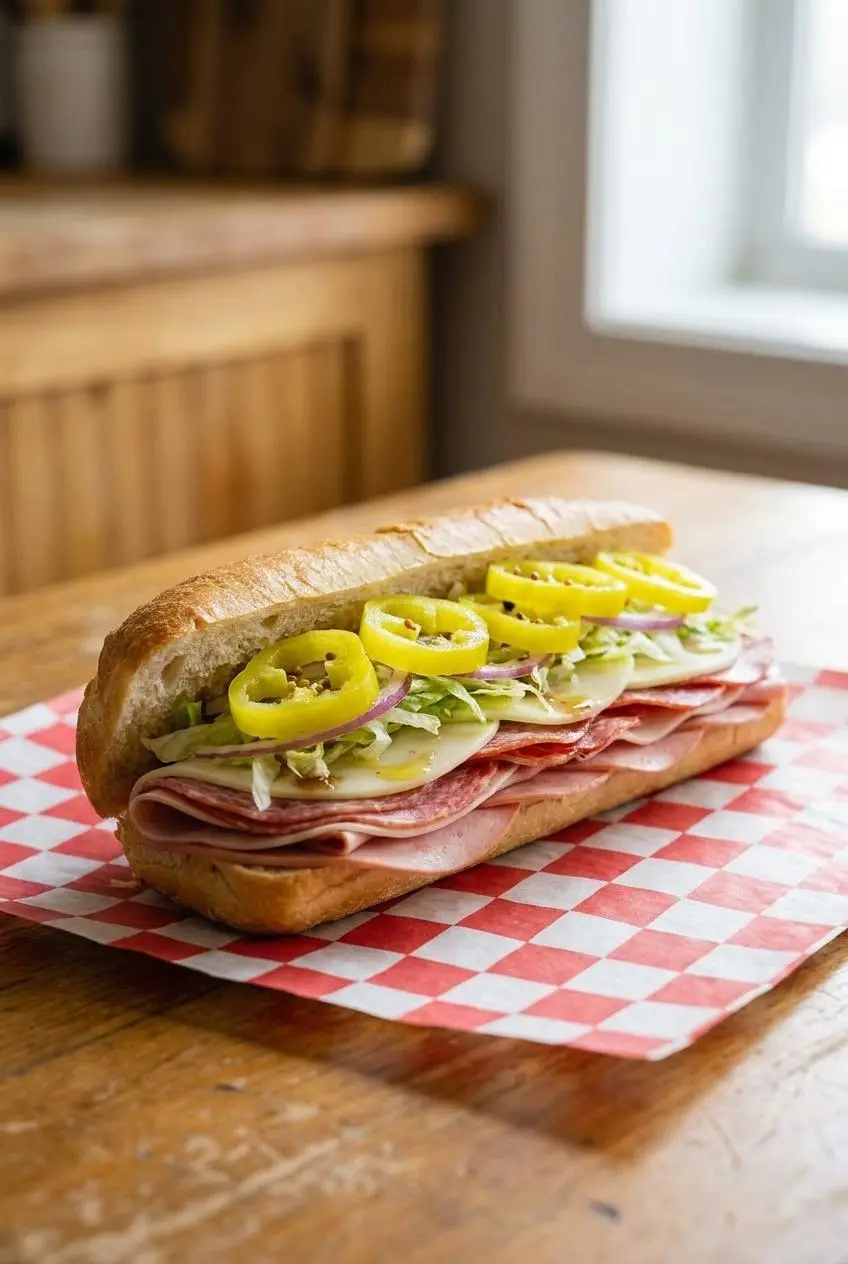
These peppers shine when a dish needs acidity, crunch, and a little wake-up call.
- Pile them onto classic Italian sub sandwiches for bite and brightness.
- Scatter them over pepperoni pizza while it is still hot so the edges warm slightly but stay crisp.
- Spoon them over warm nachos for a tangy contrast to melted cheese.
- Fold them into scrambled eggs or a spicy omelet to cut through richness.
- Add a few rings to burgers, wraps, grain bowls, or chopped salads when the meal feels heavy.
Conclusion
Making these at home gives you a brighter brine, fresher crunch, and much better control over sweetness and heat than most store jars can offer.
Keep the gloves handy, use pure salt instead of table salt, and the batch gets a whole lot easier. Once that first jar hits a sandwich, you’ll want another in the fridge.
Frequently Asked Questions
Are pickled banana peppers the same as pepperoncini?
No. They are different peppers. Banana peppers are smoother, thicker, and usually more pointed. Pepperoncini are more wrinkled, thinner-skinned, and often taste tangier with a slightly bitter edge. Banana peppers are usually the milder pickled option.
How long do quick pickled banana peppers last?
In the refrigerator, they keep their best crispness and flavor for up to two months. They are usually at their peak within the first four weeks. Keep them in a tightly sealed jar and make sure the peppers stay covered with brine.
Why did my pickling brine turn cloudy?
The most common cause is iodized table salt with anti-caking agents. Mineral-heavy tap water can also dull the brine. Use pure pickling salt, kosher salt, or pure sea salt for a clearer jar. Filtered water helps if your tap water runs hard.
Can I reuse the pickling brine after the peppers are gone?
It’s better not to use it for a new batch of raw peppers, since the balance has already been diluted. You can still use the leftover brine for salad dressing, potato salad, or a quick splash in marinades. It also works well stirred into tuna salad or drizzled lightly over chopped cucumbers.
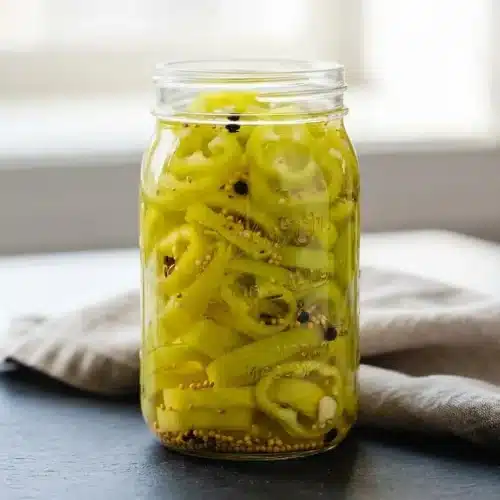
Pickled Banana Peppers

Equipment
- Saucepan
- Mason jars
- Tongs
- Chopstick
Ingredients
- 10 Banana peppers
- 2 cups White vinegar (5%)
- 1 cup Water
- 1 tbsp Pure salt (Kosher, pickling, sea salt)
- 1/2 tbsp Sugar
- 1 tsp Mustard seed
- 1 tsp Black peppercorn
- 1/2 tsp Celery seed
- 3 cloves Garlic (crushed)
Instructions
- Sterilize your jars by boiling them for 10 minutes (without the lid).
- Clean and inspect your banana peppers. Gently roll them on a cutting board to loosen the seeds. Slice the tops off the banana peppers and use a chopstick to de-seed them.
- Slice your banana peppers into 1/4 inch to 1/2 inch saucers. Fill your sterilized jar with the peppers.
- Prepare your brine by bringing the vinegar, water, garlic, sugar, salt, and spices to a rolling boil. Remove the brine from the heat when it comes to a boil.
- Carefully pour the hot brine into the jar of peppers. Use a paper towel dipped in vinegar to wipe around the jar lid and clean up any spillage.
- Seal the jars and allow to cool before placing in the fridge. Allow them to infuse for a couple of days before digging in. These are refrigerator pickles and should be consumed within a month.