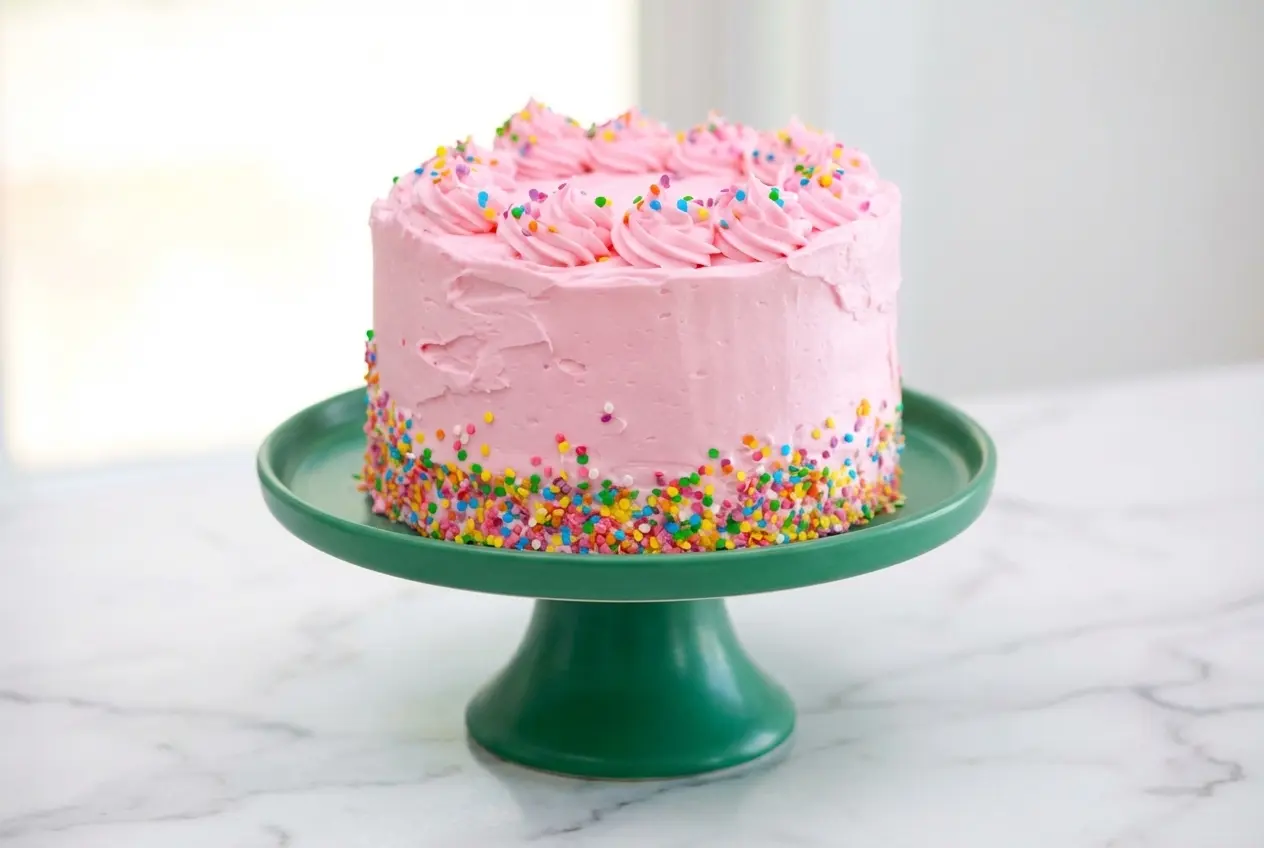
It happens on a random weeknight, you’re craving a cheerful, bakery-style funfetti slice, but the idea of preheating the oven (and heating up the whole kitchen) feels like a hard no.
This is exactly where a Microwave Layer Cake earns its keep, fast layers, real cake texture, and that party-sprinkle joy without the wait. In my kitchen, this method turns a standard microwave into a surprisingly legit baking tool, with a few chef tricks that keep the crumb soft instead of rubbery.
Why You’ll Love This Recipe
Weeknight-fast, party-pretty: You get three fluffy layers with barely any downtime, and the microwave-safe silicone molds release cleanly without that heartbreaking tear.
Microwave-proof tenderness: I learned quickly that microwave baking can punish a cake’s moist crumb, so this batter is built for speed and softness, not toughness.
The secret twist: Swap 2 tablespoons of the melted butter for a neutral oil like canola or avocado, then brush each warm layer with a simple vanilla syrup the moment it exits the microwave. That one-two move keeps batter consistency silky and the crumb plush for days.
Old-school comfort, clever method: It reminds me of how a good mock apple pie can taste like the real thing, the technique feels unconventional, but the payoff is deeply familiar and bakery-worthy.
Ingredients and Substitutions
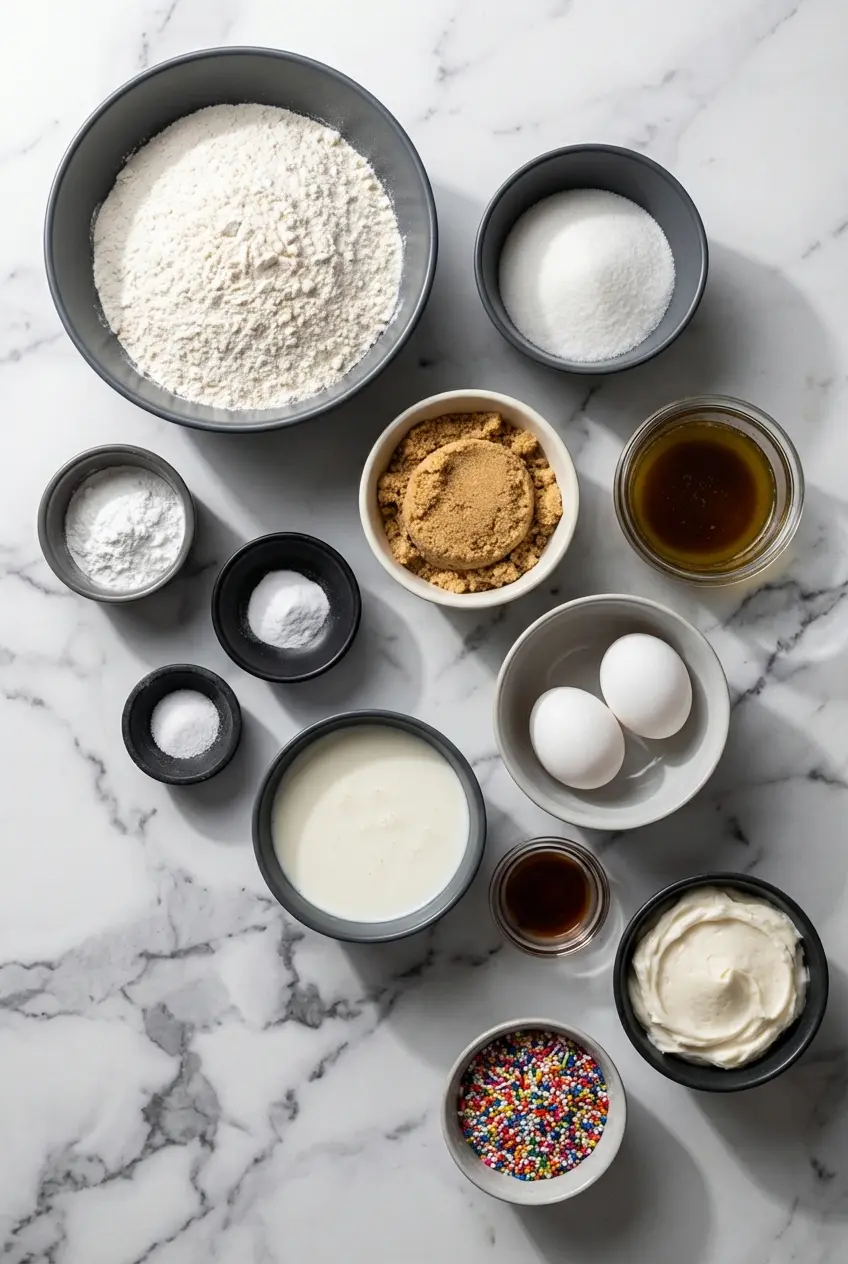
These pantry basics do the heavy lifting, flour structure, buttermilk tenderness, and sprinkles for that classic funfetti cake look. Keep your measurements steady and your layers will bake evenly in the microwave.
Ingredients
- 3 ⅓ cups (500g) all purpose flour
- 1 teaspoon baking powder
- ½ teaspoon baking soda
- ½ teaspoon salt
- 1 ½ cups (355g) sugar
- ½ cup (90g) light brown sugar
- 1 cup (240g) butter, melted
- 2 large eggs
- 2 cups (480g) buttermilk
- 1 tablespoon vanilla extract
Buttercream Frosting:
- ⅔ cup (90g) sprinkles
Ingredient Notes & Substitutions
Buttermilk: This is the backbone of the tender bite, the acid and fat balance plays beautifully with baking powder and baking soda. If you want an even denser, richer cake, full-fat sour cream or plain Greek yogurt can stand in, and you’ll notice a more velvety slice.
Dutch-processed cocoa powder: A chocolate version is easy without rewriting the whole recipe. High-quality Dutch-processed cocoa powder can replace 1/2 cup of flour for a darker, more grown-up layer cake vibe.
Flavor boosts: A tiny splash of almond extract makes the vanilla taste “louder,” and lemon zest gives the crumb a bright, bakery-case aroma. Either one makes the sprinkles taste less sugary and more like a finished dessert.
How to make Microwave Layer Cake
Mix the Batter Until Silky
- In a large bowl, whisk the all purpose flour, sugar, light brown sugar, baking powder, baking soda, and salt until the color looks even and you don’t see any brown sugar pockets. This quick whisk helps prevent bitter little “hot spots” of leavening in the microwave.
- In a large microwave-safe bowl, melt the butter in the microwave until fully liquid and glossy. For the twist, hold back 2 tablespoons of that melted butter and replace it with a neutral oil, then stir so it looks like one smooth, golden pool.
- In a separate jug, whisk the eggs, buttermilk, and vanilla extract until the mixture looks uniform and creamy, with no streaks of egg white sliding around.
- Pour the buttermilk mixture into the dry ingredients and stir, then follow with the melted butter and oil mixture. Whisk thoroughly until the batter consistency is thick but satiny, and you can’t find any dry flour hiding on the bottom or sides of the bowl.
- Fold in the sprinkles gently, just until they’re evenly scattered. Stop early rather than late, because overmixing makes the colors bleed and your funfetti cake turns dull and muddy.
Microwave the Layers One at a Time
- Divide the batter evenly into three microwave-safe silicone molds, and smooth the tops so they’re as level as you can get them. A smooth surface helps the layers cook evenly and stack neatly later.
- Microwave one layer at a time for 2 minutes and 30 seconds (based on a 1200W microwave). It’s done when the center feels firm to the touch and the cake is pulling away from the sides, and it should smell sweet and vanilla-forward, not eggy.
- As soon as each layer comes out warm, brush it generously with a simple vanilla syrup so it soaks in instead of sitting on top. Let the layers cool completely before turning out, they set as they cool and release more cleanly.
Level, Crumb Coat, and Finish
- Once the cakes are cool, level the tops if they look lumpy so the stack sits straight. Even a small trim makes the final layer cake look like it came from a bakery box.
- Spread on a thin crumb coat of buttercream frosting, just enough to trap loose crumbs and create a smooth base. Chill for 30 minutes until the frosting feels set and slightly firm to the touch.
- Finish with a thicker layer of buttercream frosting, then decorate as desired with sprinkles. Cover the cake and store at room temperature for up to 7 days.
Secrets to a Bakery-Quality Texture
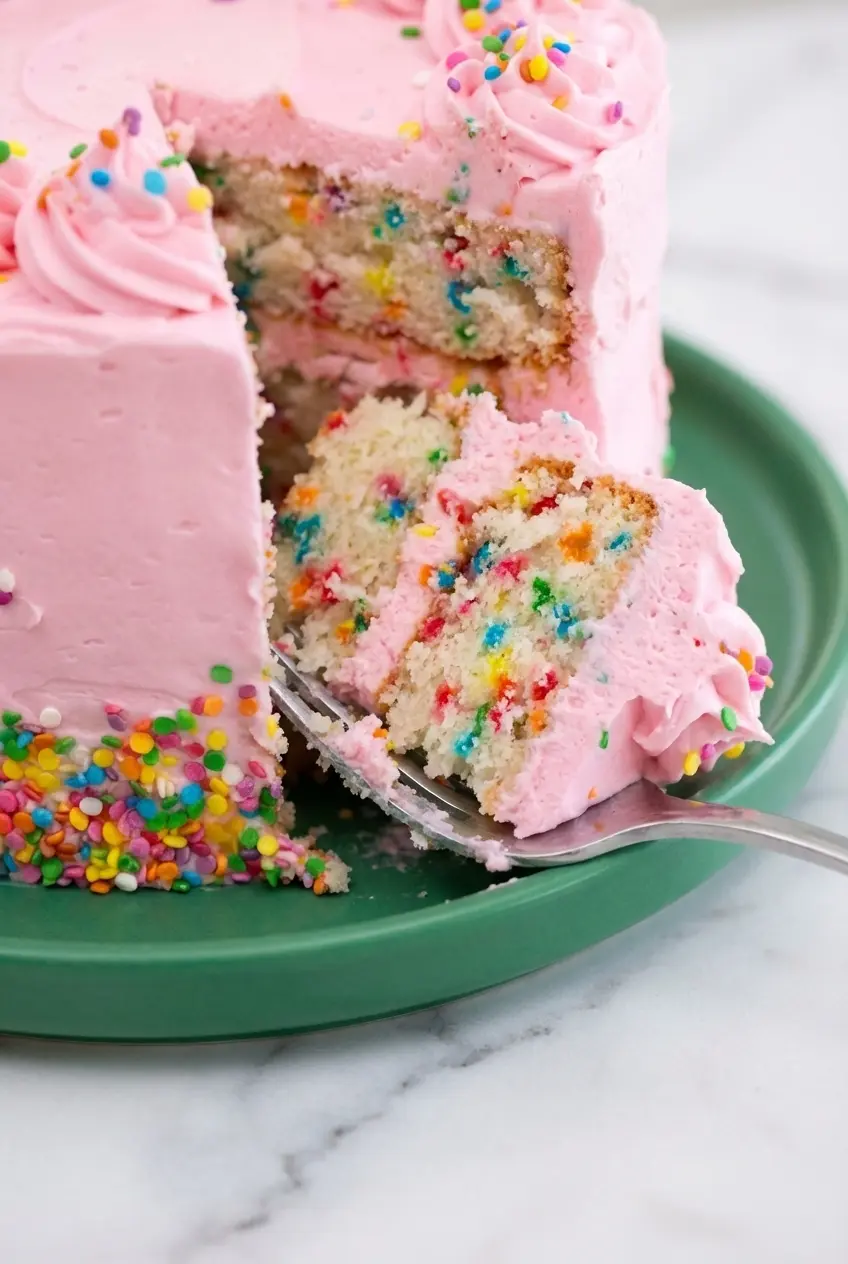
Microwaves heat by exciting water molecules fast, which is why cake can go from “soft” to “rubbery” in what feels like a blink. That rapid heating can drive off moisture and speed up starch retrogradation, the same staling mechanism that makes baked goods firm up as they sit.
The butter-and-oil combo is the quiet hero here, because oil stays liquid at room temperature and helps keep the crumb from tightening. The vanilla syrup does the other half of the job, it replaces some of the water that evaporates during microwaving, so the cake stays plush instead of spongy.
If you love the nerdy why behind “rubbery and dense” cake, that staling research is a fascinating rabbit hole. The practical takeaway is simple, keep moisture in the system, and don’t overcook.
Use this microwave wattage guide for one layer, and adjust in small increments if your microwave runs hot or cool.
- 1200W: ~2.5 minutes
- 900W: ~3 minutes
- 700W: ~3.5 to 4 minutes
For containers, microwave-safe silicone molds are my first choice because they insulate gently and release like a dream. Glass can work beautifully too, but it must be thoroughly greased, and you’ll want to watch the edges since glass can cook a touch more assertively.
Pro Tips & Troubleshooting
Pro Tips
- Whisk the batter extremely well before the sprinkles go in, a smooth batter helps prevent uneven microwave hot spots.
- Microwave one layer at a time, baking multiple layers at once almost guarantees uneven cooking.
- Let the layers cool completely before frosting, warm cake will melt buttercream frosting and make it slide.
- Smooth the batter level in the molds, a flat top now means less trimming later.
- When in doubt, add a few seconds, not a full minute, microwave baking rewards small adjustments.
Common Mistakes to Avoid
- Sunken centers, opening the microwave door too early can collapse the structure, and underbaking is common with lower microwave wattage.
- Muddy batter, aggressive stirring after adding sprinkles makes the colors bleed and the cake lose that confetti pop.
- Sticking layers, skipping proper greasing in glass dishes or rushing the cool-down can tear the cake on release.
- Sliding frosting, frosting before the crumb coat is chilled for 30 minutes makes the finish messy.
Serving & Storage
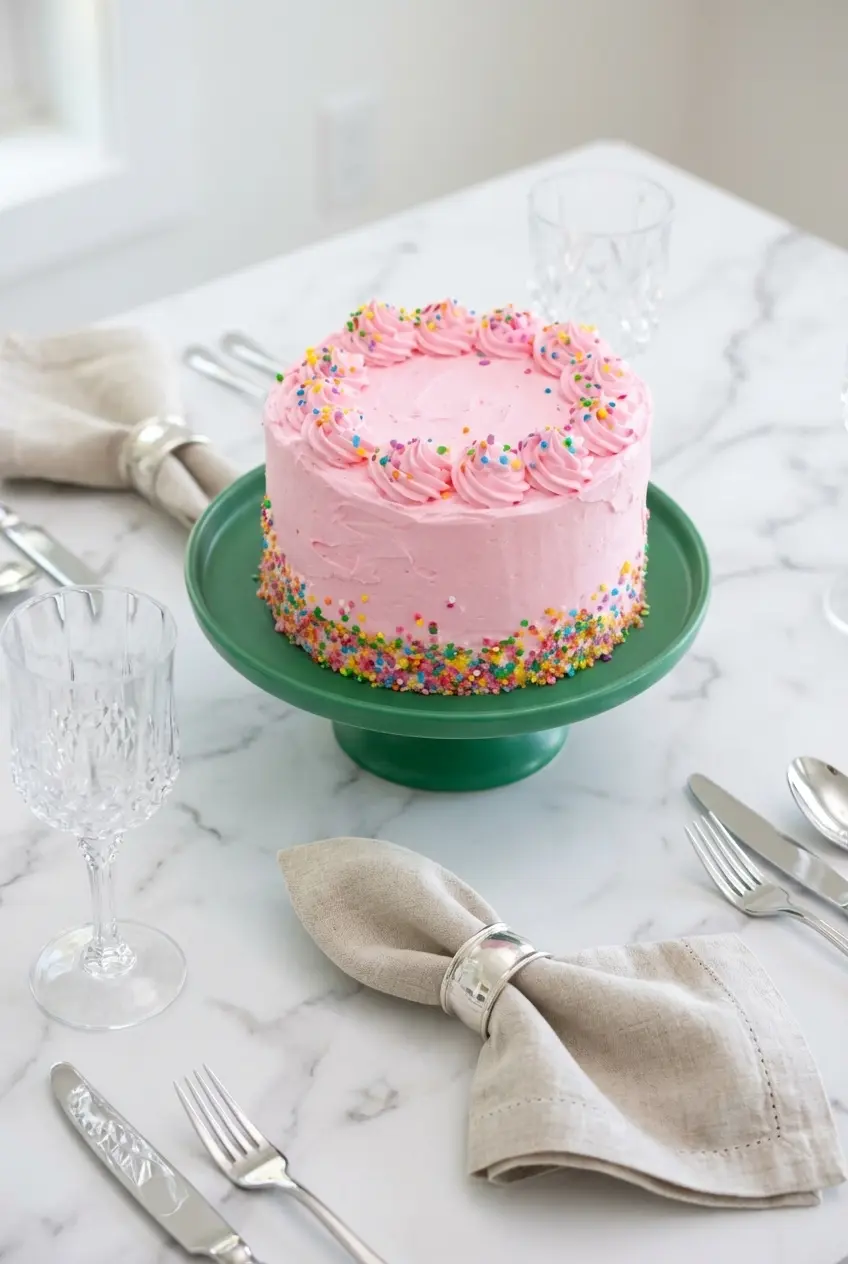
Serving Ideas
A scoop of premium vanilla bean ice cream next to a slice is pure Americana, cold cream against sweet buttercream is the best kind of balance. Fresh berries tucked between the tiers add a bright, juicy bite that cuts through the sweetness.
For a more grown-up finish, a thin drizzle of miso caramel brings a salty-sweet depth that makes the sprinkles taste even more “birthday cake,” not just sugar. Keep it light, you want a ribbon of flavor, not a flood.
Storage Instructions
Cover the cake securely with a cake dome or an airtight container so the frosting doesn’t crust over. Stored at room temperature for up to 7 days, it stays incredibly moist, and that syrup soak is exactly why.
Microwave Layer Cake

Equipment
- Microwave
- Microwave-safe silicone molds
- large bowl
- Whisk
Ingredients
- 3 ⅓ cups all purpose flour 500g
- 1 teaspoon baking powder
- ½ teaspoon baking soda
- ½ teaspoon salt
- 1 ½ cups sugar 355g
- ½ cup light brown sugar 90g
- 1 cup butter, melted 240g
- 2 large eggs
- 2 cups buttermilk 480g
- 1 tablespoon vanilla extract
Buttercream Frosting
- ⅔ cup sprinkles 90g
Instructions
Mix the Batter Until Silky
- In a large bowl, whisk the all purpose flour, sugar, light brown sugar, baking powder, baking soda, and salt until the color looks even and you don’t see any brown sugar pockets. This quick whisk helps prevent bitter little hot spots of leavening in the microwave.
- In a large microwave-safe bowl, melt the butter in the microwave until fully liquid and glossy. For the twist, hold back 2 tablespoons of that melted butter and replace it with a neutral oil, then stir so it looks like one smooth, golden pool.
- In a separate jug, whisk the eggs, buttermilk, and vanilla extract until the mixture looks uniform and creamy, with no streaks of egg white sliding around.
- Pour the buttermilk mixture into the dry ingredients and stir, then follow with the melted butter and oil mixture. Whisk thoroughly until the batter consistency is thick but satiny, and you can’t find any dry flour hiding on the bottom or sides of the bowl.
- Fold in the sprinkles gently, just until they’re evenly scattered. Stop early rather than late, because overmixing makes the colors bleed and your funfetti cake turns dull and muddy.
Microwave the Layers One at a Time
- Divide the batter evenly into three microwave-safe silicone molds, and smooth the tops so they’re as level as you can get them. A smooth surface helps the layers cook evenly and stack neatly later.
- Microwave one layer at a time for 2 minutes and 30 seconds (based on a 1200W microwave). It’s done when the center feels firm to the touch and the cake is pulling away from the sides, and it should smell sweet and vanilla-forward, not eggy.
- As soon as each layer comes out warm, brush it generously with a simple vanilla syrup so it soaks in instead of sitting on top. Let the layers cool completely before turning out, they set as they cool and release more cleanly.
Level, Crumb Coat, and Finish
- Once the cakes are cool, level the tops if they look lumpy so the stack sits straight. Even a small trim makes the final layer cake look like it came from a bakery box.
- Spread on a thin crumb coat of buttercream frosting, just enough to trap loose crumbs and create a smooth base. Chill for 30 minutes until the frosting feels set and slightly firm to the touch.
- Finish with a thicker layer of buttercream frosting, then decorate as desired with sprinkles. Cover the cake and store at room temperature for up to 7 days.
Notes
Nutrition
Conclusion
A microwave can absolutely pull off a layer cake moment, fast, festive, and far more sophisticated than most people expect. That small butter-to-oil swap and the warm vanilla syrup brush are the two moves that keep the crumb tender and the slices soft for days.
If this kind of clever dessert cooking makes you happy, the same cozy, indulgent energy shows up in a good Biscoff cheesecake. Your kitchen doesn’t need a blazing oven to feel like a little bakery.