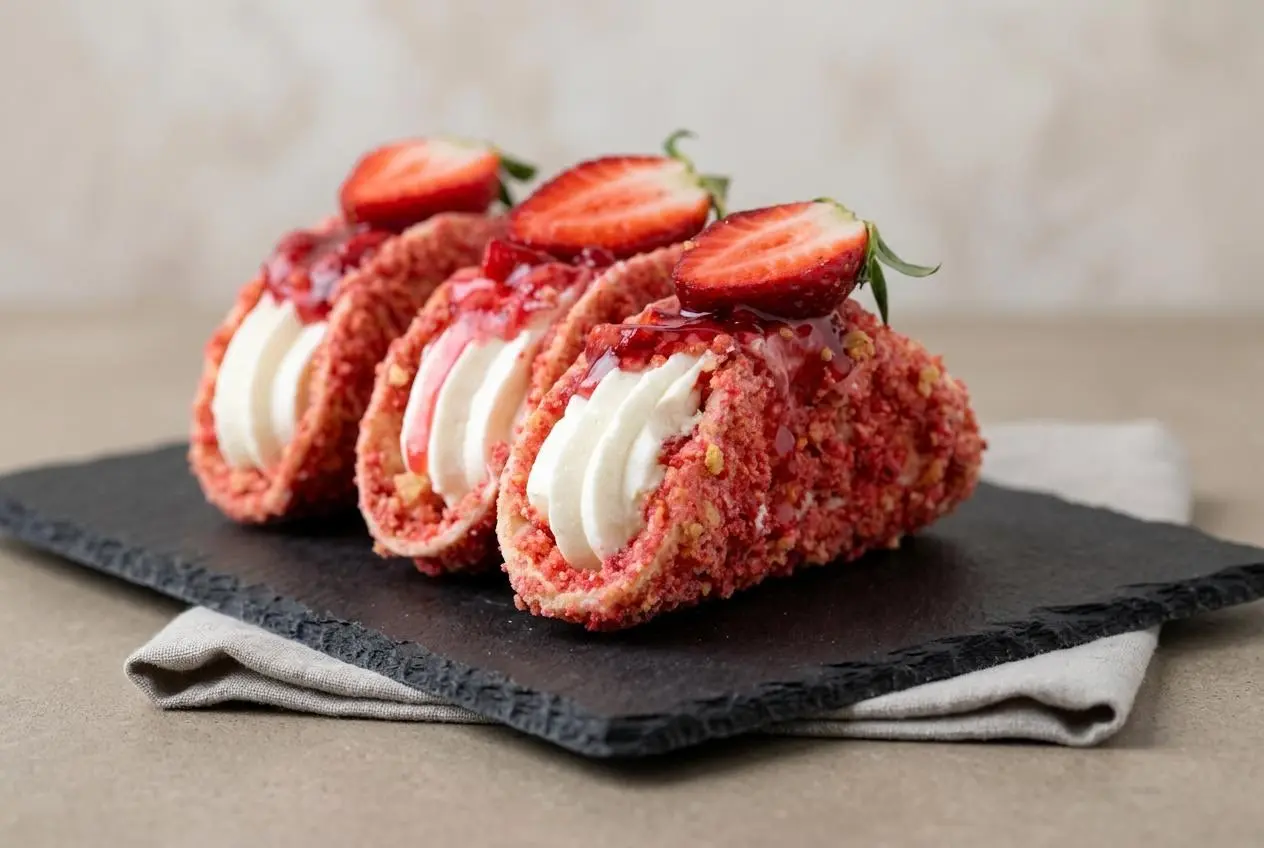
Strawberry Crunch Cheesecake Tacos are crisp baked flour tortilla shells coated in white chocolate and strawberry crunch, filled with a velvety no-bake cheesecake mixture, then topped with fresh strawberries and syrup.
Strawberry Crunch Cheesecake Tacos give you that great mix of crunchy shell, creamy filling, and juicy fruit in one hand-held dessert. They look playful, but the method is very doable with a muffin tin and a little patience.
The trick that makes them work is simple: bake the shells until lightly golden, cool them fully, then seal them with white chocolate before filling. That one step keeps the texture right where you want it.
Have your muffin tin, parchment, and pastry brush ready before you melt the chocolate, because assembly moves more smoothly once the shells are baked.
Essential Ingredients for Strawberry Crunch Tacos
Each ingredient has a real job here, from building crisp shell structure to keeping the filling smooth, rich, and stable enough to pipe neatly.
TACO SHELLS
- 5 large flour tortillas
- 1 tablespoon unsalted butter (melted)
- 13 ounces white chocolate
- Strawberry Crunch
CHEESECAKE FILLING
- 8 Oz cream cheese (softened)
- 1/2 cup powdered sugar
- 1 teaspoon vanilla extract
- 1 cup heavy whipping cream
TOPPING
- 2/3 cup Strawberry syrup
- 2 cups fresh strawberries
The flour tortillas are the sturdy base here. Once cut, buttered, and baked over an upside-down muffin tin, they turn into shells that hold their shape much better than a fragile crumb mold. White chocolate matters for more than sweetness too. It forms a thin moisture barrier so the creamy filling and strawberry topping do not soften the shell too quickly.
The filling depends on real cream cheese for body and clean cheesecake flavor. Use a full-fat block style cream cheese, not a whipped tub, so the filling holds a piped shape instead of slumping. Heavy whipping cream lightens the mixture and gives it that mousse-like texture.
I always let the cream cheese sit at room temperature until it loses its chill, because fully softened cream cheese blends much more smoothly and saves you from tiny lumps later.
The Perfect Tortilla Base
Flour tortillas are ideal because they bend easily before baking, then crisp as they bake into taco shape. They are also easier to cut neatly with a 4 inch cookie cutter and sturdy enough to handle the chocolate coating without crumbling. That sturdiness is what makes these feel bakery-worthy instead of fussy.
Selecting Your Cream Cheese
For the best texture, use block cream cheese with full fat content. It gives the filling enough structure to stay fluffy and pipeable, especially after whipped cream is folded in by mixing briefly at the end. A softer spread can make the filling loose and harder to hold inside the shells.
The Magic Moisture Seal
White chocolate is doing real kitchen work here. Brushed inside and outside the shell, it seals the crisp tortilla from the wetter cheesecake filling and strawberry topping. That coating also helps the strawberry crunch stick evenly, so every bite gets that buttery, fruity crackle.
Step-by-Step Guide to Dessert Taco Success
This method is all about timing and texture cues. Once you know what golden shells, smooth chocolate, and properly whipped cream should look like, the whole dessert becomes much easier to nail.
Preparation
- Cut the tortillas with a 4 inch cookie cutter to make 15 rounds, brush them with the melted butter, and drape them over an upside-down muffin tin so they form taco shells.
The butter should lightly coat the surface, and the rounds should curve naturally without tearing. - Bake the tortilla rounds at 350 °F for 5 to 6 minutes, then leave them on the muffin tin briefly before moving them to a parchment-lined baking sheet to cool completely.
Watch closely in the last minute, because the shells go from pale to golden very fast and the edges should look lightly browned, not dark. - Melt the white chocolate over a double boiler by heating 1 inch of water in a pan, setting a heatproof bowl over it without letting the bowl touch the water, and stirring the chocolate until smooth over low heat.
The chocolate should turn glossy and fluid, and even a little water can make it seize, so keep the bowl bottom dry. - If you prefer the microwave, heat the white chocolate in a microwave-safe bowl in bursts of no more than 20 seconds, stirring well after each round until it finishes melting.
Stop as soon as the last bits melt into the warm chocolate, because white chocolate scorches quickly. - Brush each cooled shell with melted white chocolate on the inside and outside, then coat it all over with strawberry crunch and set it on parchment until the coating firms up.
Try not to leave bare patches, because those exposed spots are where moisture can sneak in later. - Beat the cream cheese, powdered sugar, and vanilla until smooth, whip the heavy whipping cream in a separate bowl to stiff peaks, then add it to the cream cheese mixture and beat just until smooth before transferring the filling to a piping bag.
Stiff peaks should stand upright with a firm tip when you lift the beaters, and the finished filling should look fluffy, thick, and not grainy. - Stand the coated shells upright on the upside-down muffin tin or in a 9×13 inch dish, snip the end of the piping bag, and pipe in the filling.
The shells should stay balanced and the filling should mound neatly without running. - Finish each taco with diced strawberries or strawberry halves and drizzle with strawberry syrup.
The topping should sit lightly on the filling so the shells stay crisp as long as possible.
Mastering the Homemade Strawberry Crunch Coating
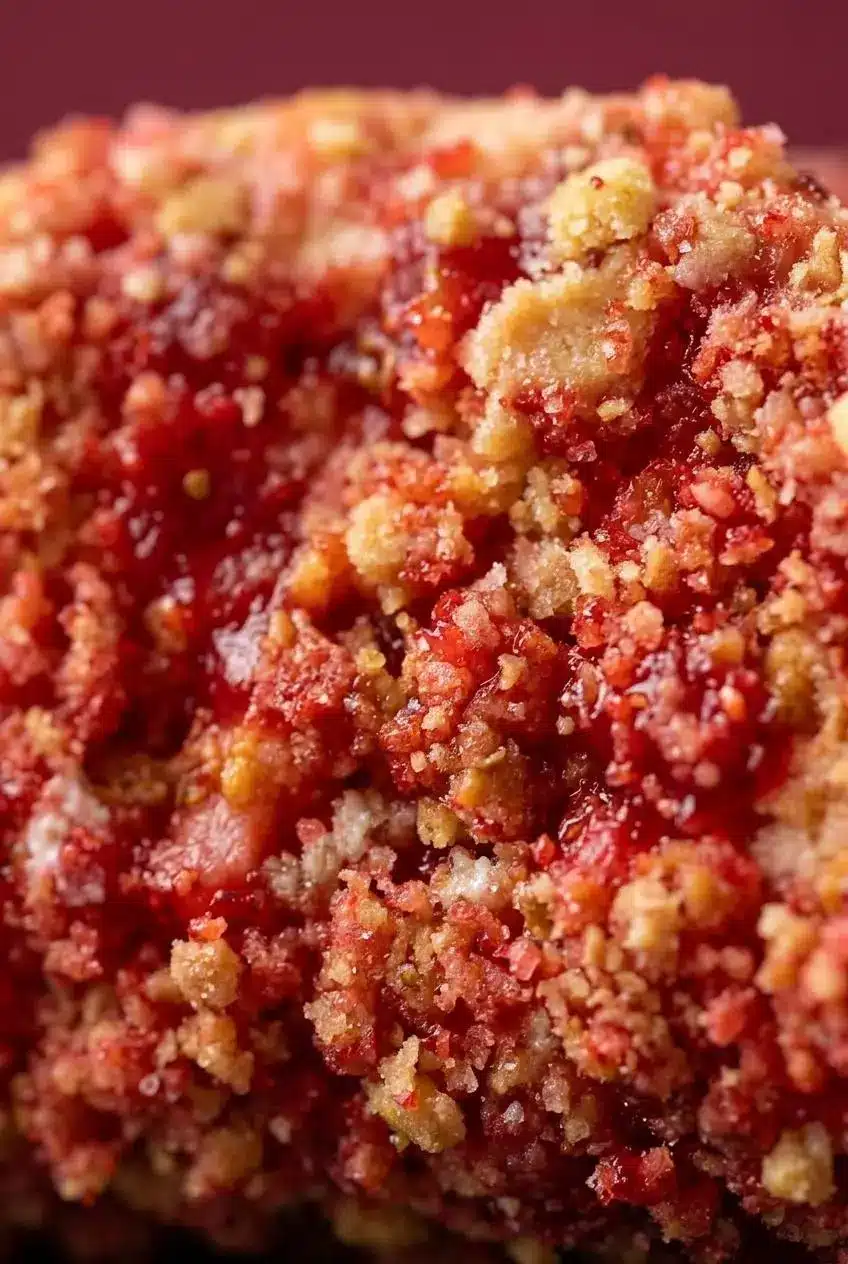
If your Strawberry Crunch is store-bought, you can use it as is. If you want to make your own, crush vanilla sandwich cookies, mix them with strawberry gelatin powder and a little melted butter, and stir until the mixture looks like wet sand. That texture helps the crumbs cling well and gives the finished shell a more even coating.
Spread the crumble out briefly to dry and set before using it if it feels too damp. You want crumbs that press together lightly in your hand but still break apart easily. That balance gives you crisp coverage instead of sticky clumps. If you love this flavor combo in a sliced dessert too, strawberry crunch cheesecake is a great next bake.
Pro Tips for Keeping Dessert Tacos Crispy
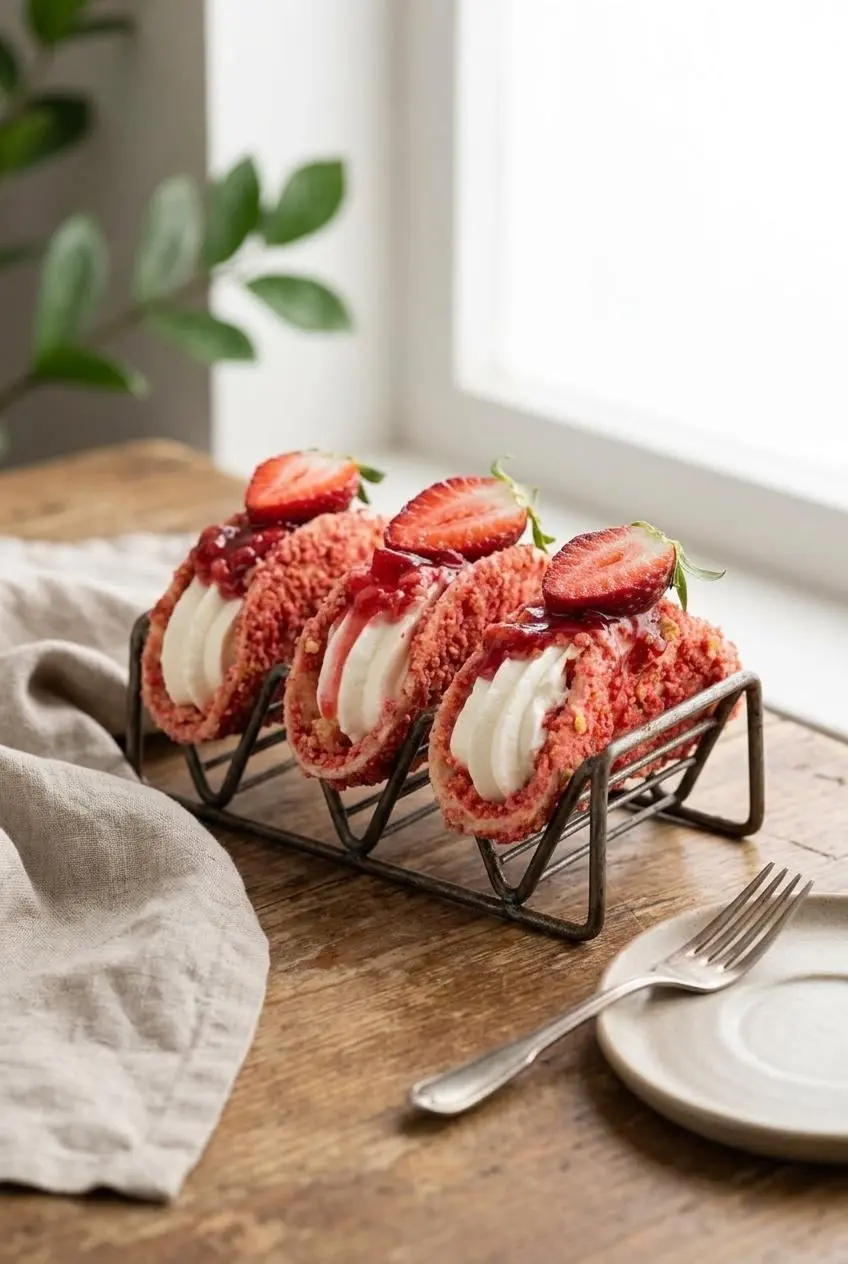
This is the section that saves the crunch. The biggest texture problems come from trapped steam, bare spots in the chocolate coating, or filling the shells too early.
The Chocolate Coating Technique
Brush the melted white chocolate over the entire shell, inside first, then outside. Work into the curve and along the edges instead of painting only the easy flat spots. If part of the shell stays uncovered, that area can soften much faster once the filling goes in.
Use good white chocolate if you can. It melts more smoothly, brushes on more evenly, and sets into a cleaner shell. Thick, stubborn chocolate makes coating harder and can pull at delicate shells.
Assembling at the Right Moment
For the best texture, fill and top the shells as close to serving time as possible. You can prepare the parts ahead, but the final assembly should wait until near the end so the shells keep their snap. That is especially helpful if you are setting these out for a party or dessert board.
If you want a fun spread, you can set out the shells, filling, strawberries, and syrup and let everyone build their own. It keeps the shells crisper and makes the dessert feel a little festive without extra work.
Preventing Air Bubbles in Shells
Poke the tortilla rounds lightly with a fork before setting them on the upside-down muffin tin. That small step helps release steam, so you are less likely to get large bubbles that distort the taco shape.
- If the shells crack, they were likely baked a little too long. Pull them as soon as the edges turn golden.
- If the filling looks curdled, the whipped cream was probably taken too far. Stop whipping once stiff peaks stand up firmly.
- If the crunch falls off, the chocolate may have started setting before the crumbs were added. Coat and dip while the chocolate is still fluid.
- If the tacos soften fast, check for missed chocolate spots and assemble later next time.
Alternate Methods and Dietary Adjustments
These options keep the main recipe intact while giving you a few practical ways to adapt the dessert for different needs or preferences.
Gluten-Free Crunch Tacos
To make a gluten-free version, use gluten-free flour tortillas in place of standard flour tortillas and choose a gluten-free crunchy coating. If you make your own strawberry crunch, use gluten-free vanilla cookies. The shells may brown a little differently, so watch closely during baking and pull them once they are crisp and lightly golden.
Tortilla Shells vs Graham Cracker Molds
Baked tortilla shells are easier to shape, easier to fill, and usually less fragile to handle than chilled graham cracker molds. A graham-based shell can be delicious, especially for a fully no-bake dessert, but it tends to crack more easily and does not give quite the same crisp taco snap.
If you want the no-bake route anyway, press a graham crumb mixture into taco-shaped molds and chill until firm, then handle gently during filling. For a dessert taco lineup with another flavor profile, apple cheesecake tacos use a similar fun format.
Quick Strawberry Jam Topping Shortcut
If you do not want to use syrup, toss the fresh strawberry halves with a spoonful of jam for a glossy shortcut topping. It gives you a fruitier finish with less dripping than syrup alone. Using homemade strawberry jam makes it taste a little brighter.
How to Store Strawberry Crunch Cheesecake Tacos
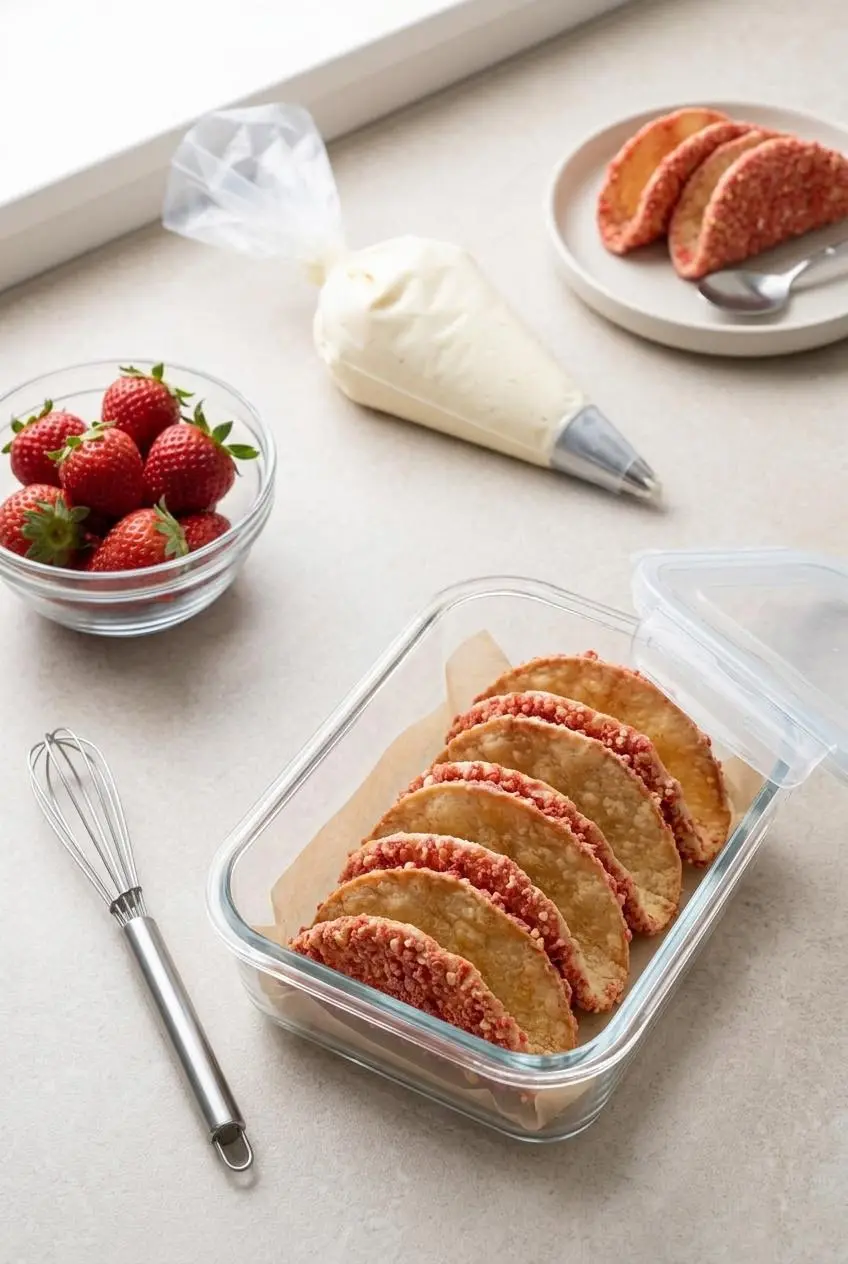
Store the components separately if you want the best texture later. Keep the baked, chocolate-coated shells in an airtight container at room temperature for up to 2 days. Keep the filling chilled in the refrigerator and the strawberries separate until you are ready to serve.
Once dairy ingredients are in play, keep them properly refrigerated. For general dairy handling, store cream cheese and cream at 40 °F or below for safer cold storage at 40 °F or below.
The easiest make-ahead plan is to bake and coat the shells first, prepare the filling and transfer it to a piping bag, then wash and cut the strawberries separately. Assemble the tacos on serving day just before putting them out. Try not to hold fully assembled tacos for more than 2 hours, because the shells will gradually lose their crispness.
Do not refrigerate the empty shells, and skip freezing them. Cold humidity works against the crisp texture you worked for.
Conclusion
These tacos are all about contrast: crisp shell, creamy cheesecake filling, and bright strawberries on top. When the shell is baked well and fully coated in white chocolate, the whole dessert feels neat, crunchy, and a little bit extra in the best way.
If you make them for a party, keep the parts separate until the last minute and let that chocolate barrier do its job. The result is a dessert people reach for fast.
Frequently Asked Questions
How do I keep the tortilla shells from getting soggy?
Brush the inside and outside of each shell completely with melted white chocolate. Make sure there are no uncovered spots where moisture can soak in. Let the chocolate set before adding the filling. Assemble the tacos right before serving.
Can I make these dessert tacos ahead of time?
Yes, but keep the shells, filling, and topping separate. Bake and coat the shells first, then chill the filling and prep the strawberries on their own. Pipe and top the tacos just before serving for the best crunch.
What is the easiest way to melt white chocolate?
A double boiler gives you the gentlest control and is the easiest way to avoid scorching. The microwave also works if you heat in very short bursts and stir every time. Keep water away from the chocolate, because even a little can make it seize.
Can I use store-bought strawberry crunch?
Yes, store-bought strawberry crunch works well and saves time. Use it exactly as you would homemade crumbs by coating the chocolate-covered shells. You can usually find it near baking toppings, cookies, or seasonal dessert mixes.
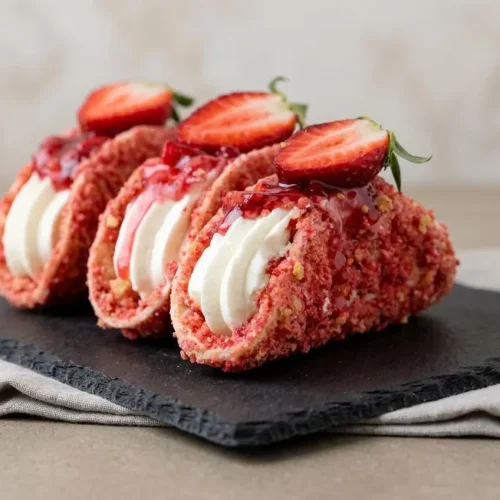
Strawberry Crunch Cheesecake Tacos

Equipment
- 4 inch cookie cutter
- Muffin Tin
- Double boiler or microwave-safe bowl
- Pasting brush
- Electric Mixer
- Piping bag
Ingredients
TACO SHELLS
- 5 large flour tortillas
- 1 tablespoon unsalted butter (melted)
- 13 ounces white chocolate
- Strawberry Crunch
CHEESECAKE FILLING
- 8 Oz cream cheese (softened)
- 1/2 cup powdered sugar
- 1 teaspoon vanilla extract
- 1 cup heavy whipping cream
TOPPING
- 2/3 cup Strawberry syrup
- 2 cups fresh strawberries
Instructions
Preparation
- To make tortilla shells – Start by cutting the tortillas with a 4 inch cookie cutter. You need 15 circles. Cover them with melted butter and place them on a muffin tin turned upside down, so that they get shell shape.
- Bake at 350 F for 5-6 minutes or until the edges are golden. When they are done, take them out of the oven and leave to cool for a minute in the muffin tin, then transfer them to a baking sheet lined with parchment paper, to cool completely.
- While tortilla shells are cooling, you can melt white chocolate. The best way to do it is by using double boiler. Pour 1 inch water in a deep pan and heat it. Place a glass dish with chopped or crumbled white chocolate over the pan with water. Make sure the dish with chocolate is not touching the water. When the water starts boiling, lower the heat. Stir the chocolate constantly with spatula and once it is melted, take the dish off the pan and wipe its bottom part, so that there’s not any water left on the outside. Make sure the water doesn’t mix with chocolate.
- Chocolate can also be melted in the microwave. Put the chocolate in a microwave bowl and heat for 20 seconds maximum, take it out, stir and repeat the same procedure until the chocolate is melted. Be careful, white chocolate can easily burn.
- Spread melted white chocolate over each shell both outside and inside with a brush, then transfer them to a bowl with strawberry crumbs and coat the shells well inside and out. Finally, place the coated shells in a baking sheet lined with parchment paper and leave for the chocolate to become solid.
- To make the cheesecake filling – First, beat cream cheese, powdered sugar and vanilla until smooth. In a separate bowl, whip heavy whipping cream until stiff peaks form, then add to the bowl with cream cheese and beat some more, until smooth. Do not overmix! Transfer the filling in the piping bag and when the chocolate on the shells is solid enough, you can fill them.
- To assemble tacos – Place the shells in a muffin tin turned upside down or a 9×13 inch dish where they can stand upright – it’s easier to fill them that way. Cut the top of the piping bag and pipe the shells.
- Top with diced or strawberry halves and strawberry syrup.