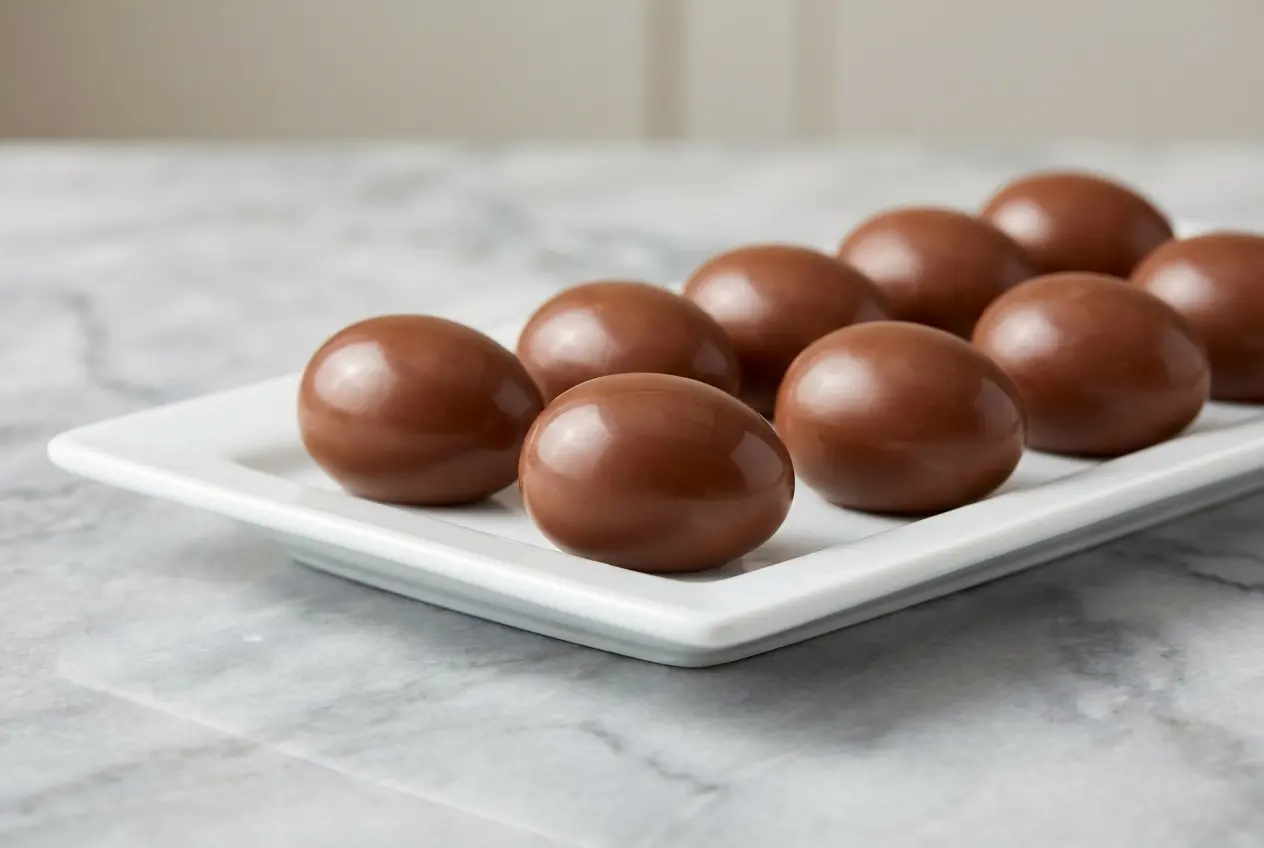
Every spring, I end up chasing the same memory, that first bite into a chocolate peanut butter egg from an Easter basket, where the shell gives a clean snap and the center has that unmistakable sweet, salty grain. A good Peanut Butter Egg Recipe should bring all of that back, not just the shape.
In my kitchen, this version is the one I reach for when I want homemade candy that feels polished and tastes like the real thing. It is perfect for Easter trays, edible gifts, or anyone who loves that classic chocolate and peanut butter pairing with a little more finesse.
Why You’ll Love This Recipe
That classic candy texture: I wanted more than a soft peanut butter truffle, so I lean on toasted graham cracker crumbs to create that slightly sandy, satisfying bite you expect from great Easter candy.
The secret twist: A teaspoon of malt powder may sound small, but in my kitchen it adds the missing depth that makes the filling taste fuller and more nostalgic, almost like a factory-fresh peanut butter fudge center.
A glossy finish: When you pair this filling with properly tempered chocolate, or good couverture chocolate, you get clean edges, a neat seal, and a beautiful shine that looks gift-shop worthy.
Made for peanut butter lovers: If you adore the rich chocolate-peanut butter balance found in gooey cookie bars, this candy hits that same comfort-food note, only with a firmer snap and a more polished confectionery feel.
Ingredients and Substitutions
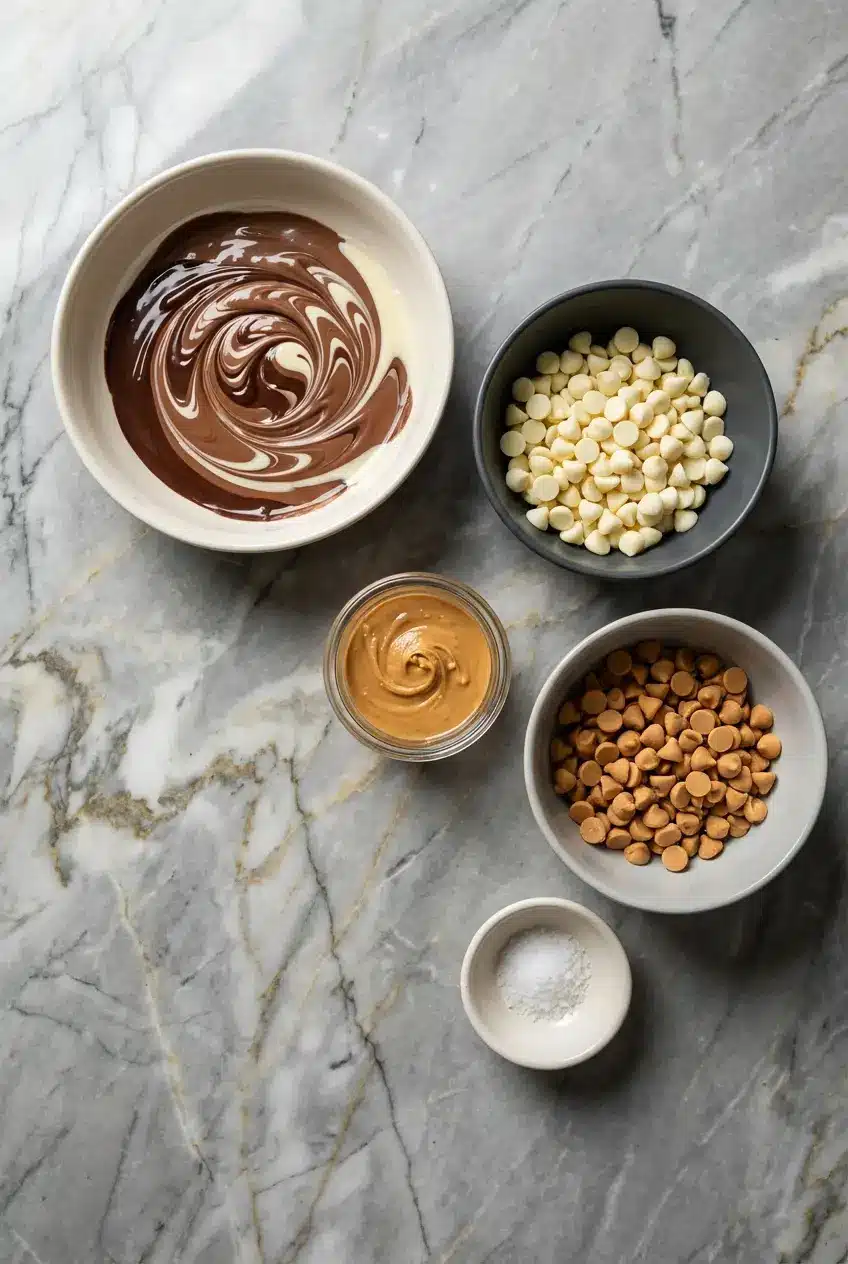
These ingredients keep the filling rich and stable while giving the shell that signature snap. The list is short, but each piece plays an important role in texture and finish.
Ingredients
Chocolate Egg Shells:
- 16 ounces melted and tempered dark, milk, or white chocolate
Peanut Butter Fudge Filling:
- 8 ounces white chips
- 4 ounces Reese’s peanut butter chips
- 8 ounces creamy peanut butter
- 1 pinch salt
Ingredient Notes & Substitutions
Chocolate: For the best shell, I prefer real chocolate with cocoa butter, especially couverture chocolate if you want a thin shell, crisp snap, and glossy finish. Dark chocolate gives the strongest contrast against the sweet filling, while milk chocolate lands closest to classic candy-counter flavor.
Peanut Butter: Commercial, creamy peanut butter is the right choice here because it is emulsified and far more predictable than natural peanut butter. The texture standards behind commercial, emulsified peanut butter help explain why brands like Jif or Skippy set more reliably in candy fillings and stay smoother without oily separation.
White Chips and Peanut Butter Chips: These melt into a stable candy-style base that firms up better than a simple peanut butter and powdered sugar mixture. If you swap brands, choose chips that melt smoothly and do not turn pasty after heating.
Graham Cracker Crumbs: Although they are part of my preferred twist for that true store-bought mouthfeel, use gluten-free graham crackers if needed and toast the crumbs lightly first. That quick toast brings out a warm, nutty aroma and keeps the texture from tasting flat.
Malt Powder: A little goes a long way, and it deepens the flavor without making the candy taste obviously malty. If you skip it, the eggs will still work, but you lose some of that hard-to-name depth that makes homemade candy taste more professional.
Diet-Friendly Swaps: If you want a lower-sugar version, sugar-free peanut butter, an erythritol-based sweetener, and stevia-sweetened chips can work, though the texture may set a bit differently. For a crunchier variation, a small amount of crisped rice can stand in for part of the graham crumb texture.
How to Make Peanut Butter Egg Recipe
Prepare the Chocolate Shells
- Fill each egg cavity in a polycarbonate mold, plastic mold, or silicone mold with melted and tempered pure chocolate, or use melted confectionery coating if that is what you have on hand. Make sure the chocolate reaches every corner so the finished shell is even and strong.
- Tap the mold firmly against the counter a few times to knock out hidden air bubbles. You should see tiny bubbles rise and pop, which helps the shells look smooth instead of pitted.
- Turn the mold upside down over your bowl of chocolate and let the extra drip away, leaving behind a thin coating on the walls of each egg. This is what creates that delicate shell rather than a thick block of chocolate.
- Run an offset spatula or bench scraper across the flat top of the mold to clean away excess chocolate. A tidy surface here makes the edges crisp and helps the eggs seal neatly later.
Chill and Make the Filling
- Place the mold in the refrigerator if you are using pure chocolate, or in the freezer if you are using compound chocolate, and let it harden for about 5 to 15 minutes. The shells should look fully set and feel firm before you move on.
- For the filling, combine the white chips and peanut butter chips in a microwave-safe bowl. Heat them on high in 30-second bursts, stirring after each round, until the mixture is melted and smooth rather than lumpy or scorched.
- Stir in the creamy peanut butter and pinch of salt until the mixture is fully blended and silky. This is also the moment I fold in my toasted graham cracker crumbs and malt powder, which give the center its signature grain and deeper candy-shop flavor.
- Let the filling cool to about 90 degrees Fahrenheit before it goes anywhere near the shells. If it is warmer than that, it can soften or melt the chocolate and ruin the clean layers.
Fill and Seal the Eggs
- Pipe or spoon the peanut butter fudge filling into each shell, stopping about 1/16 inch below the top edge. That small gap matters because it leaves room for the final chocolate seal.
- Tap the mold gently so the filling settles into an even layer, then let it set at room temperature or in the refrigerator for at least 1 hour, until firm. When ready, the top should look matte and feel set instead of soft or sticky.
- Pour a final layer of melted chocolate over the filling to close the eggs completely. Use your scraper again to smooth the surface so the bottoms finish flat and clean.
Unmold and Finish
- Chill the sealed eggs until the top layer of chocolate is completely hardened. The mold should feel cold and the chocolate should no longer look wet or tacky.
- Carefully release the eggs from the mold. When the temper is right, you get that wonderfully satisfying pop, plus a glossy shell that looks ready for foil wrappers or a holiday candy tray.
The Secret to Professional Texture and Shine
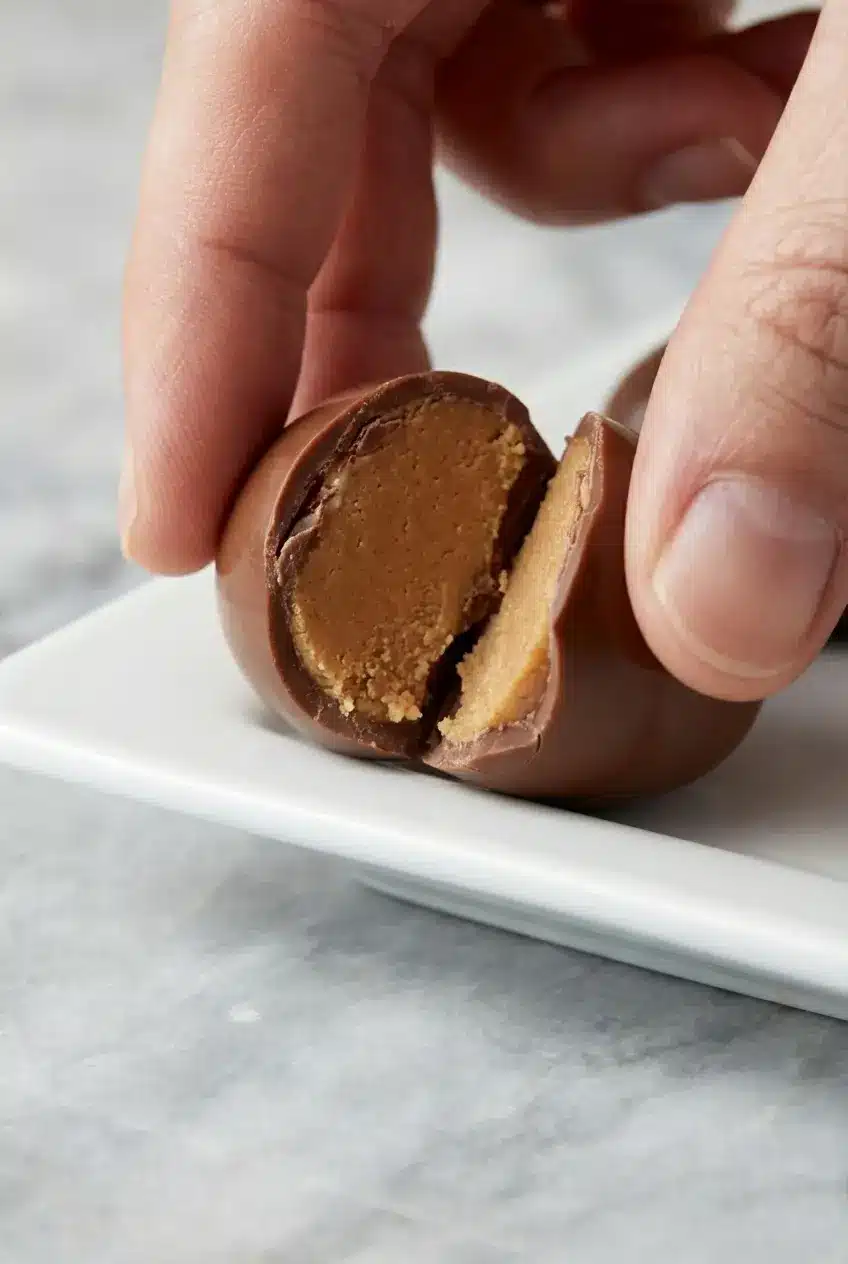
The biggest difference between decent homemade candy and truly convincing candy-shop eggs comes down to density and structure. I strongly prefer weighing ingredients in grams for the filling, especially when making peanut butter fudge, because even a little extra peanut butter or melted chips can shift the set from sliceable and neat to too soft for molding.
The toasted graham cracker crumbs are the missing link for texture. They create a subtle grit that breaks up the smoothness of the filling, which is exactly why the center feels more authentic and less like frosting.
Shine is all about stable crystals and clean handling. If the chocolate is sealed while too warm, or if the mold edges are messy, you are more likely to get dull spots, streaks, or bloom instead of that sleek candy-case finish.
The Science of Chocolate Tempering and Bloom
When people say their chocolate turned white, they are usually talking about bloom. Fat bloom happens when cocoa butter rises and recrystallizes on the surface, while sugar bloom shows up when moisture dissolves sugar on the outside and leaves a dusty coating behind once it dries.
For this Peanut Butter Egg Recipe, tempering chocolate matters because cocoa butter forms different crystal structures, and only the stable ones give you shine, snap, and easy release from the mold. The science behind the ‘bloom’ is rooted in cocoa butter polymorphism, which is why temperature control is not fussy perfectionism, it is what makes the candy look and feel right.
If your chocolate loses its temper, do not toss it. I usually remelt it gently over a double boiler or in short microwave bursts, then bring it back through the proper tempering range before using it again, stirring often so the texture stays smooth and fluid.
Moisture control matters just as much as heat. Keep bowls dry, avoid steam touching the chocolate, and never move cold molds into a humid room too quickly, because condensation can trigger sugar bloom even if your temper was perfect.
Polycarbonate vs. Silicone: Choosing Your Mold
Polycarbonate molds are my first pick when I want a professional look. They give sharper edges, a better release, and the kind of glossy finish that makes each egg look polished straight out of the mold, but they work best with properly tempered chocolate.
Silicone molds are friendlier for beginners because they flex, which can make unmolding feel less intimidating. The trade-off is that the finish is often a little softer-looking, so I like to fill carefully, tap well, and chill thoroughly to keep the shells smooth.
Before adding chocolate, I polish the mold cavities with a cotton ball. That tiny extra step helps with professional shine and sharp details, especially when you want the shells to catch the light and look gift-worthy.
Pro Tips & Troubleshooting
Expert Confectionery Tips
- Use a bench scraper or putty knife to level the mold surface cleanly, this is the easiest way to get flat bottoms and crisp edges.
- If your melted chocolate feels too thick to flow neatly around the mold, stir in 1 teaspoon of coconut oil to loosen it slightly without making it greasy.
- Polish molds with a cotton ball before filling them, especially if you are using a polycarbonate mold and want a high-gloss shell.
- Let the filling cool to 90 degrees Fahrenheit before adding it to the shells so the chocolate stays intact and glossy.
- If you love this flavor combination in softer desserts too, the same sweet-salty richness shows up beautifully in a gooey butter cake, which makes a nice contrast to the snap of molded candy.
Common Mistakes to Avoid
- Do not use natural peanut butter for the filling, because the oil separation and looser texture make the centers too soft to handle well.
- Never add warm filling to delicate shells or dip room-temperature centers into warm chocolate, since the shape can slump and the coating can streak.
- Avoid overheating the chocolate, which can make it thick, grainy, and prone to losing its temper.
- Do not skip the chilling step after forming the shells, because soft shells are more likely to crack or deform when filled.
Serving & Storage
Serving Ideas
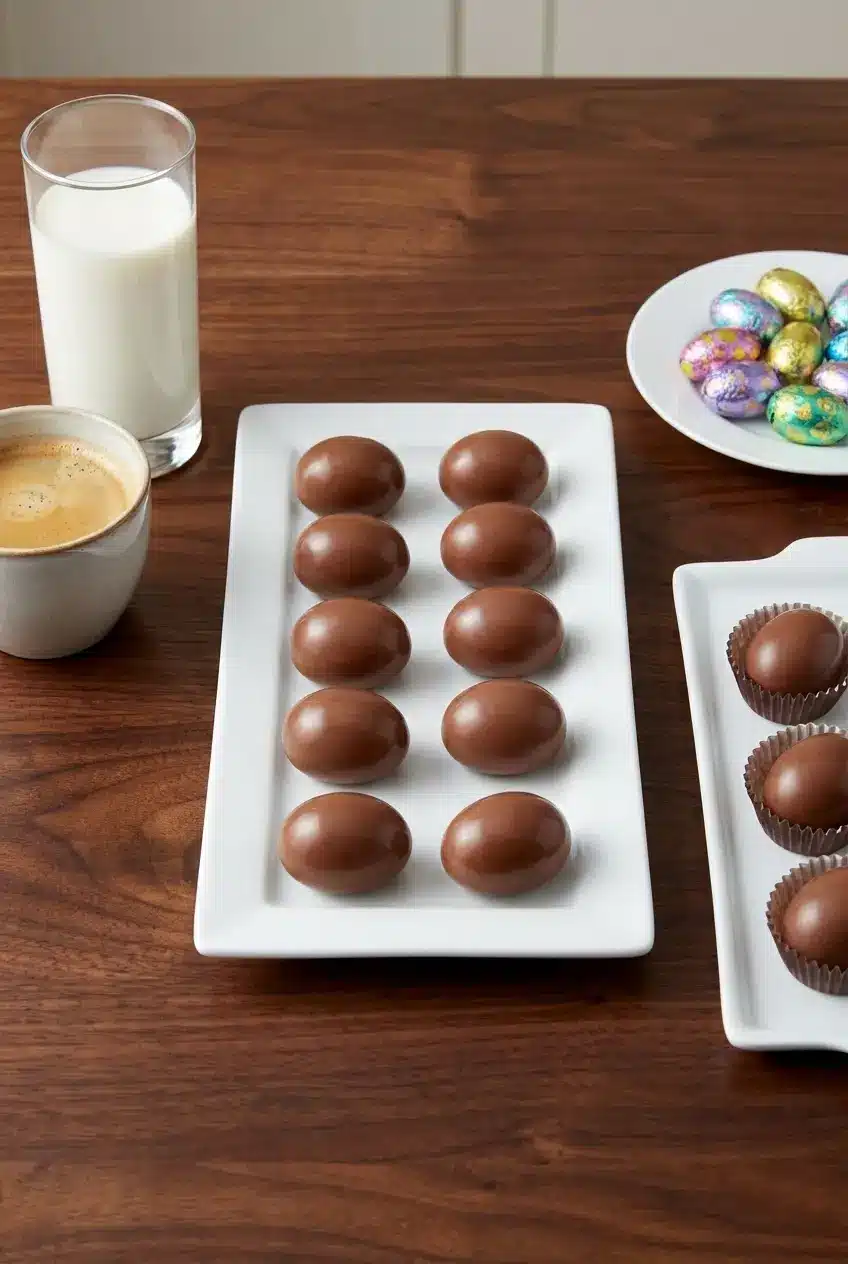
For that old-school Easter basket look, wrap each egg in a 6×6 inch square of colorful foil. If I am putting together a dessert platter, I nestle them into small paper candy cups so the glossy shells stay neat and easy to pick up.
They pair beautifully with other holiday sweets, especially when you want contrast in texture. On a spring dessert board, I like setting them beside cadbury egg cookies so you get chewy cookies, crisp chocolate shells, and plenty of Easter color on one tray.
Storage & Shelf Life
If the eggs are sealed correctly, they are shelf-stable for up to 2 weeks at cool room temperature. Keep them in an airtight container away from direct sunlight, warm spots, and humidity so the chocolate stays firm and shiny.
For longer storage, refrigerate them for up to 1 month. I like to let them sit at room temperature for a few minutes before serving so the filling softens just slightly and the peanut butter flavor comes through more fully.
They also freeze well if you pack them carefully. Arrange them in a single layer until solid, then transfer to a well-sealed container with parchment between layers, and thaw them gradually in the refrigerator before bringing them to room temperature to protect the finish from condensation.
Professional Peanut Butter Egg Recipe

Equipment
- Polycarbonate or Silicone Egg Mold
- Microwave-safe Bowl
- Offset spatula or bench scraper
- Piping bag or spoon
Ingredients
Chocolate Egg Shells:
- 16 ounces melted and tempered dark, milk, or white chocolate
Peanut Butter Fudge Filling:
- 8 ounces white chips
- 4 ounces Reese’s peanut butter chips
- 8 ounces creamy peanut butter
- 1 pinch salt
Instructions
Prepare the Chocolate Shells
- Fill each egg cavity in your mold with melted and tempered chocolate, ensuring the chocolate reaches every corner for a strong, even shell.
- Tap the mold firmly against the counter to remove hidden air bubbles, then invert it over your bowl to let excess chocolate drip away, leaving a thin coating.
- Use a bench scraper to clean the flat surface of the mold for tidy edges, then chill for 5 to 15 minutes until the shells are fully set.
Make the Filling
- Combine white chips and peanut butter chips in a microwave-safe bowl. Heat in 30-second bursts, stirring in between, until the mixture is smooth.
- Stir in the creamy peanut butter and pinch of salt until silky. Let the filling cool to 90 degrees Fahrenheit to prevent melting the chocolate shells.
Fill and Seal the Eggs
- Pipe or spoon the filling into each shell, stopping 1/16 inch below the top edge. Chill for at least 1 hour until the filling is firm and matte.
- Pour a final layer of melted chocolate over the filling to seal the eggs. Scrape the surface flat and chill until the bottom layer is completely hardened.
Unmold
- Carefully release the eggs from the mold. If tempered correctly, they should pop out easily with a high-gloss finish.
Notes
Nutrition
Conclusion
This is the Peanut Butter Egg Recipe I make when I want that true candy-shop bite, glossy shell, sweet-salty center, and that little bit of grain from the graham cracker and malt powder twist. It takes a bit of patience, especially with tempering chocolate, but the payoff is absolutely worth it.
Once you make a batch, it is easy to play with dark chocolate, extra crunch, or festive wrapping for gifts. A tray of these has a way of disappearing fast, especially when family gets the first snap of the shell.
Frequently Asked Questions
How do I prevent the chocolate from blooming or turning white?
Can I make these peanut butter eggs without a mold?
Why is my peanut butter filling too soft to handle?
What is the difference between candy melts and real chocolate?
How long do homemade peanut butter eggs stay fresh?