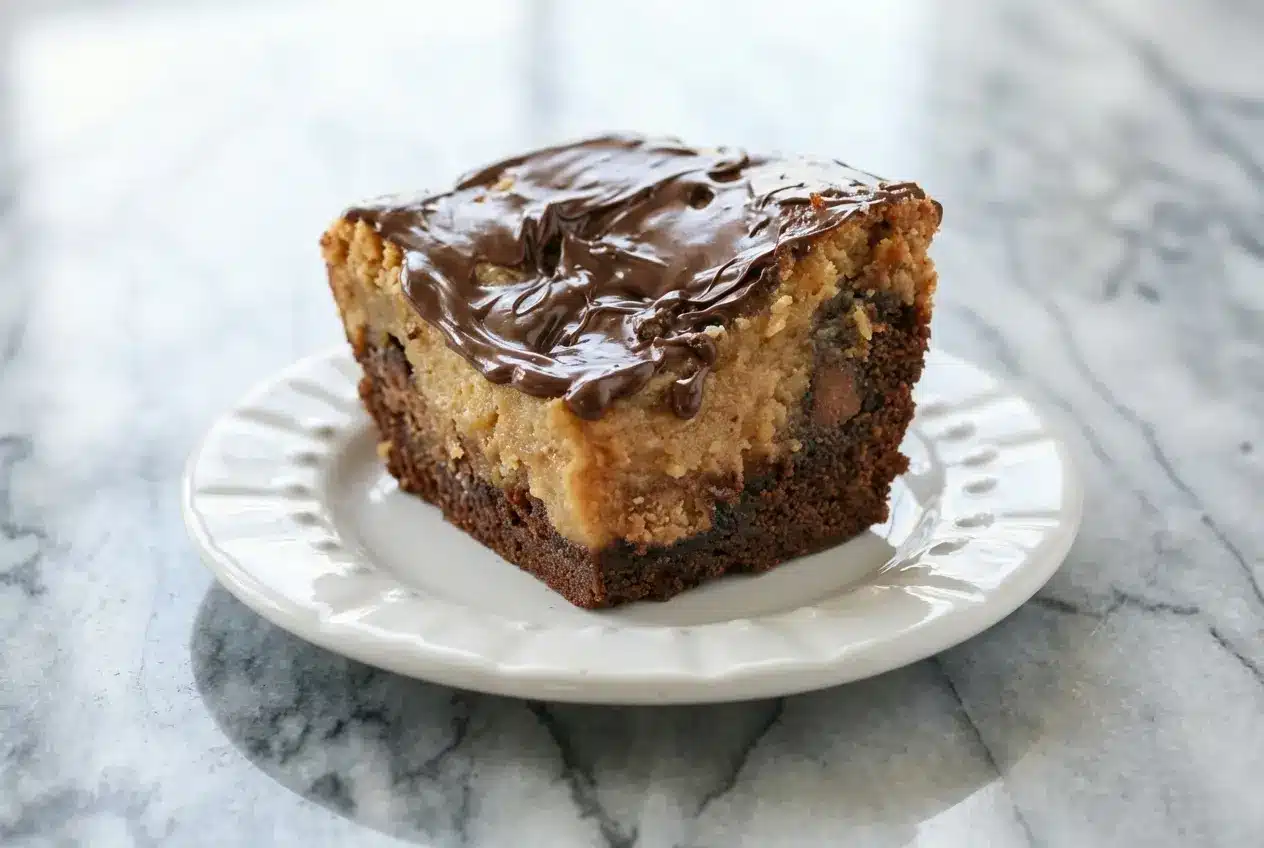
St. Louis gooey butter cake has always had a way of winning people over, but this version feels like it dressed up for a special occasion. In my kitchen, this Chocolate Peanut Butter Ooey Gooey Butter Cake is the one I bake when I want that irresistible contrast of a dense chocolate base, a velvety peanut butter filling, and little pockets of candy bar crunch in every bite.
What makes it worth your oven time is how reliably it turns out rich and fudgy instead of raw in the middle or cloyingly sweet. The brown butter deepens the flavor, and a few precise doneness cues take the guesswork out of getting that signature gooey center just right.
Why You’ll Love This Recipe
Brown butter magic: I discovered that taking a few extra minutes to brown the butter changes the whole personality of this cake. Those toasty, nutty notes tie the peanut butter and chocolate together so it tastes far more polished than a standard cake mix dessert.
True fudgy texture: This is not just sweet, soft cake. The cream cheese filling bakes into a plush, almost truffle-like layer, while the base stays sturdy enough to hold every luscious bite.
Candy bar crunch: Chopped peanut butter cups and Butterfinger pieces bring that candy-counter excitement you want in a celebration dessert. If you love playful mix-ins, this family of gooey cakes also works beautifully in a pecan version, and it shares the same anything-goes spirit you see in fun candy recipes.
Foolproof doneness: In my kitchen, the secret is trusting the internal temperature and the look of the center, not a dry toothpick test. That is how you keep the middle luxuriously gooey without slipping into underbaked territory.
Ingredients and Substitutions
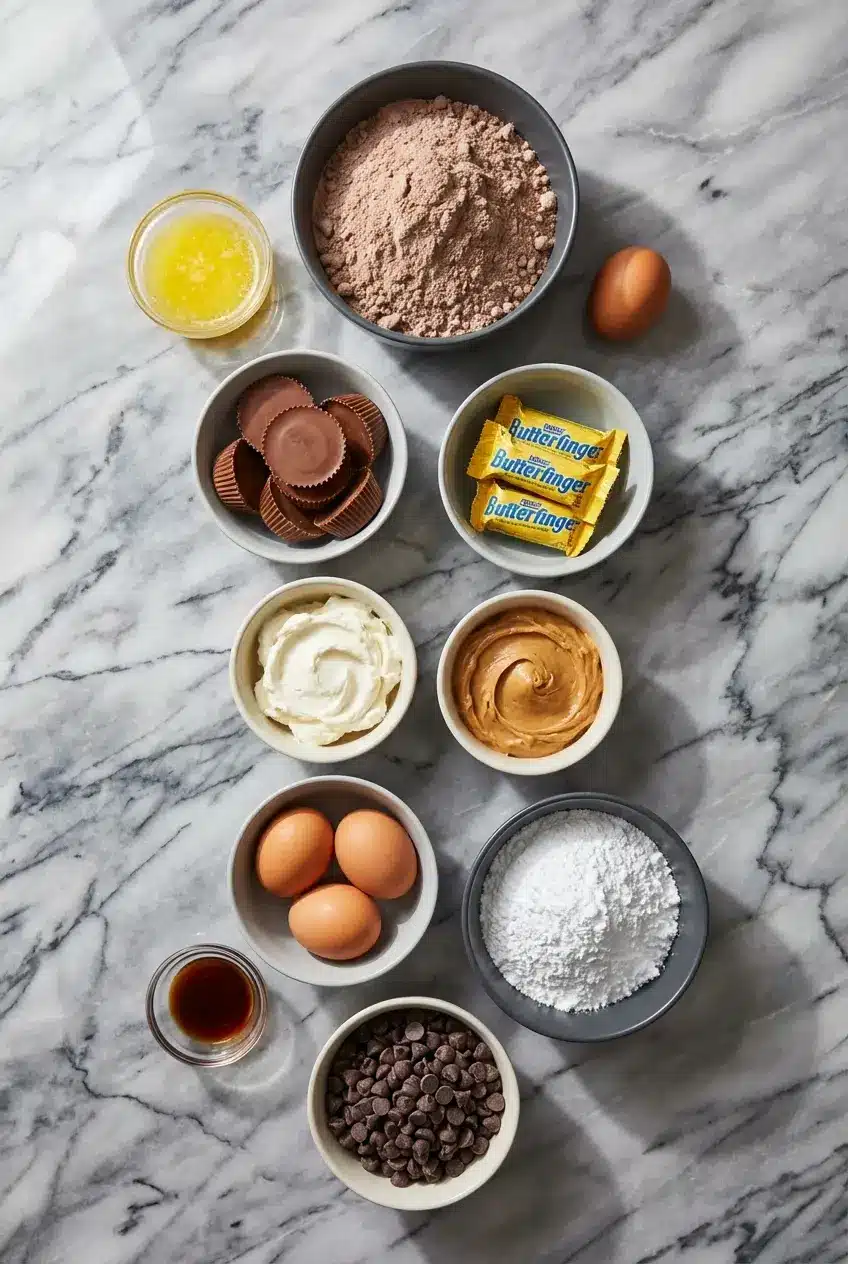
These ingredients build the cake in layers, starting with a chocolatey base and ending with a silky peanut butter topping and glossy chocolate finish.
Ingredients
Cake:
- 1 German Chocolate Cake Mix
- 1/2 cup butter, melted
- 1 egg
2nd Layer:
- 8 Peanut Butter Cups, large
- 3 small Butterfinger Candy Bars
Cream Cheese Layer:
- 1 (8-ounce) package cream cheese, softened
- 1 cup peanut butter
- 3 eggs
- 1 teaspoon vanilla
- 1/2 cup butter, melted
- 4 cups confectionery sugar
Chocolate topping:
- 1/2 cup chocolate chips
- 1 tablespoon vegetable or canola oil
Ingredient Notes & Substitutions
Cake mix: German chocolate cake mix gives the base a mellow cocoa flavor that works beautifully with the peanut butter. If you cannot find it, Devil’s food cake mix is my first swap, and a brownie mix will give you an even denser, more intense bottom layer.
Peanut butter: Stick with a creamy commercial peanut butter for this recipe. Natural styles that separate tend to throw off the structure of the filling, and during a long bake they can make the top layer look greasy instead of smooth.
Cream cheese: Use full-fat cream cheese and let it soften fully before mixing. Cold cream cheese stays lumpy, and no amount of baking will magically smooth those bits out later.
Butter: Even though the ingredient list says melted butter, I brown it first for extra flavor. That browned, aromatic butter gives you the effect of softened butter meeting toasted hazelnut notes, and it makes the whole cake taste deeper and less one-note sweet.
Candy bars: Peanut butter cups and Butterfinger bring crunch and creamy pockets throughout the cake. Dark chocolate peanut butter cups are lovely if you want a less sweet finish, and leftover holiday candy works just fine as long as it is chopped into small, even pieces.
Confectioners’ sugar: This is what gives the cream cheese layer its classic ooey gooey body. I would not reduce it too aggressively, because it affects the texture as much as the sweetness.
Variation idea: For a nut-free spin, cookie butter can stand in for peanut butter, though the flavor will lean warmly spiced rather than salty-sweet. If you need gluten-free, a 1:1 gluten-free cake mix is the easiest place to adapt the recipe.
How to Make Chocolate Peanut Butter Ooey Gooey Butter Cake
Brown the Butter and Prep the Pan
- Set your oven to 350°F if you are using a metal pan, or 325°F if your pan is glass. Grease a 9 x 12 pan well with cooking spray, then place 1 cup of butter in a saucepan over medium heat and let it melt, foam, and turn golden with tiny browned bits at the bottom. When it smells nutty and toasted, pull it off the heat and divide it so you have 1/2 cup for the base and 1/2 cup for the filling.
Build the Base and Candy Layer
- In a mixing bowl, combine the cake mix, 1 egg, and 1/2 cup of the prepared brown butter. Stir until everything comes together into a thick, dough-like mixture, then press it evenly into the bottom of the greased pan.
- Cut each large peanut butter cup into 4 pieces and give the Butterfinger bars a rough chop. Scatter the candy evenly over the chocolate base so every square gets a little crunch and melted candy in the middle.
Mix the Gooey Filling and Bake
- Beat the softened cream cheese with the vanilla and peanut butter until the mixture looks smooth and creamy. Add the 3 eggs one at a time, mixing just until each disappears, then blend in the remaining 1/2 cup of brown butter and gradually add the confectionery sugar until the filling turns silky, thick, and pale golden.
- Spread the filling gently over the candy layer, reaching all the way to the corners. Bake for about 50 minutes, or a little over an hour if you are using a glass pan, until the center is puffed, the edges are set, and the middle still jiggles slightly when the pan is nudged. The most reliable sign is an internal temperature of 210°F.
Cool and Finish with Chocolate
- Let the cake cool completely in the pan, which usually takes 4 to 5 hours. This waiting time matters, because the center firms into that signature fudgy texture as it rests.
- Microwave the chocolate chips for 1 minute, stir in the oil until the mixture is smooth and glossy, then drizzle or spread it over the cooled top layer. Once the chocolate settles, the cake is ready to slice.
Secrets for the Perfect Gooey Texture
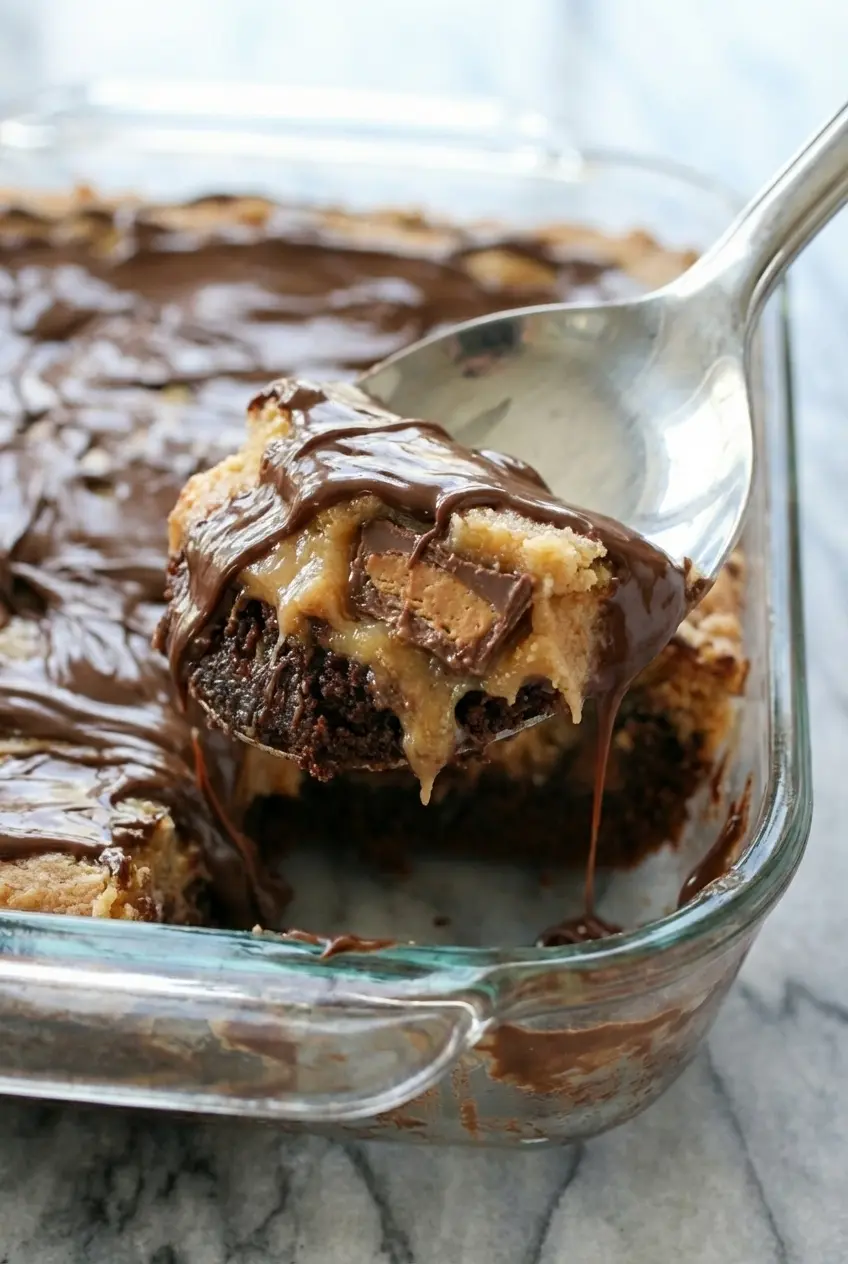
Temperature is everything. A gooey butter cake should not bake like a regular sheet cake, so the toothpick test will steer you wrong every time. I rely on a digital thermometer, and that target internal temperature of 210°F is what gives you a center that is safely baked, soft, and gloriously fudgy.
The jiggle test matters. When the cake is ready, the edges will look set and the middle will have just a slight wobble, almost like a soft cheesecake. If the whole pan ripples, it needs more time, but if the center is completely stiff, it has likely gone a little too far.
Pan material changes the bake. I strongly prefer metal for this recipe because it heats more efficiently and gives cleaner edges before the center overcooks. There is good baking science behind why metal pans are superior for even heat transfer, especially with dense batters like this one.
Cooling finishes the job. The oven sets the structure, but the long rest is what transforms the filling from loose and molten into sliceable, rich bars. Residual heat continues to settle the fats, starches, and sugar, which is why cutting early almost always turns a gorgeous cake into a messy puddle.
The Science of Creamy vs. Natural Peanut Butter in Baking
Creamy peanut butter is one of those ingredients that behaves very differently depending on the brand. In a baked filling like this one, the stabilizers in shelf-stable brands help the peanut butter stay emulsified with the cream cheese, eggs, and brown butter, so the top layer bakes up smooth instead of oily.
Natural peanut butter often carries a loose layer of separated oil, and that extra fat can cause the filling to break during a 50-minute bake. You may see greasy patches on top or a filling that never quite sets properly, which is frustrating after all that anticipation.
Softened butter and softened cream cheese also matter more than people think. When those fats are at the right temperature, they blend into a silky base without lumps, and that gives the confectioners’ sugar an even mixture to dissolve into instead of a heavy batter with stubborn pockets of cream cheese.
Pro Tips & Troubleshooting
Pro Tips
- If the edges are coloring too fast before the center is ready, loosely tent the pan with foil for the rest of the bake.
- For the cleanest squares, chill the fully set cake briefly or use a hot knife, wiping it clean between every cut.
- A pinch of flaky sea salt over the chocolate topping balances the sweetness and makes the peanut butter pop.
- For the smoothest drizzle, the chocolate should be glossy and fluid, not stiff or grainy. In my kitchen, careful heat makes all the difference, and this guide to melting chocolate pairs well with the simple chip-and-oil topping used here.
Common Mistakes to Avoid
- Overbeating the eggs into the cream cheese layer can whip in too much air, causing the cake to puff up dramatically and then collapse into the center as it cools.
- Using cold cream cheese almost guarantees lumps in the filling, and they will not melt away neatly in the oven.
- Baking at 350°F in a glass pan can overcook the edges and bottom before the middle reaches the proper texture.
- Skipping the cooling time leads to messy slices and a filling that seems underdone even when the bake itself was correct.
Serving & Storage
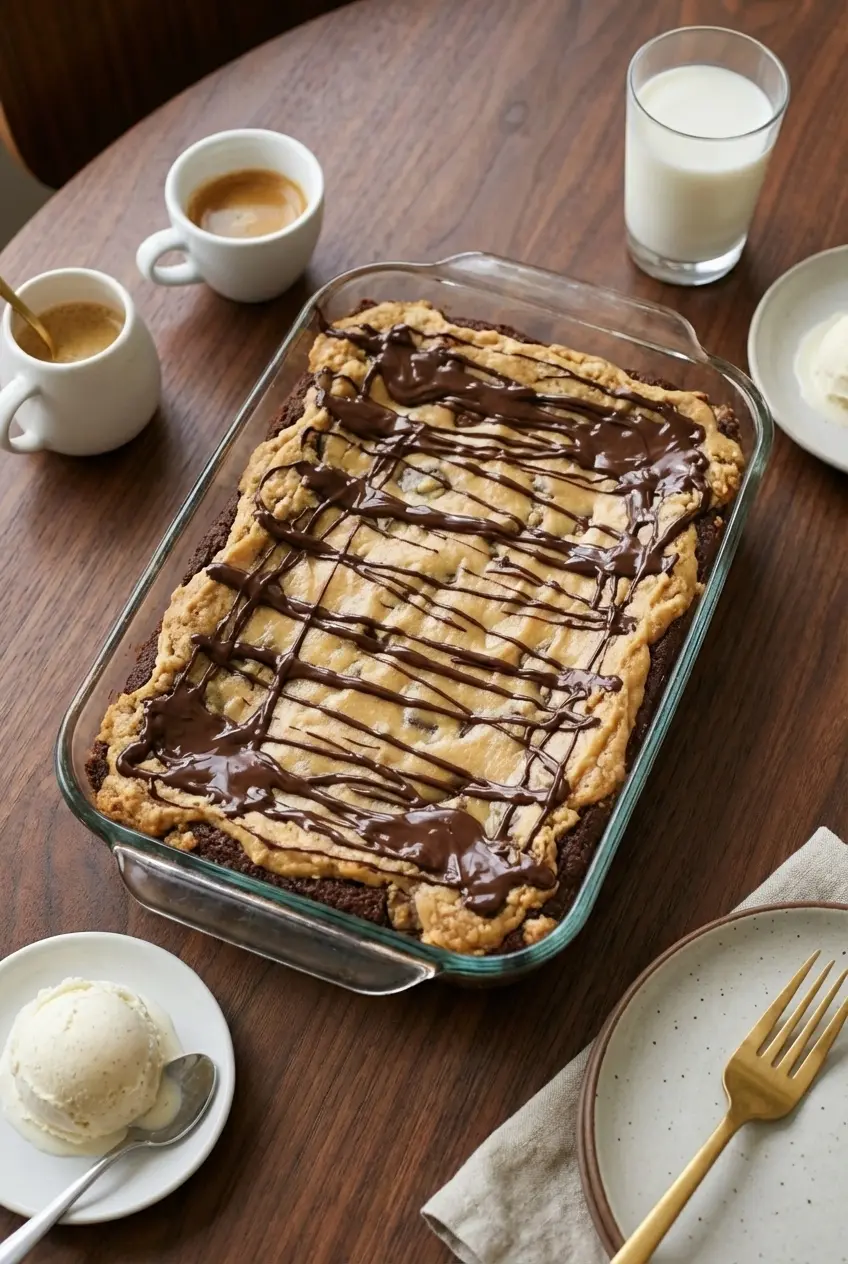
Serving Ideas
This cake is unapologetically rich, so I love serving it with something that pushes back a little, like a bitter espresso or a cold glass of milk. If you warm a slice for just a few seconds and add vanilla bean ice cream, the filling turns extra luscious and the contrast is downright dreamy.
If chilled desserts are your weakness, this recipe has the same make-ahead appeal as a good eclair cake. Both rely on patience in the fridge, and both reward you with that creamy, bakery-case texture that slices best after a proper rest.
Storage & Freezing
Because of the cream cheese filling, this cake must be stored in the fridge. Cover the pan tightly or transfer slices to an airtight container, and it will stay fresh for several days while keeping that dense, fudgy texture intact.
For leftovers, a quick 10 to 15 seconds in the microwave brings back that just-baked ooey feel without turning the chocolate topping into a complete melt. I like to warm only one slice at a time so the rest of the cake stays neatly chilled.
This cake also freezes beautifully for up to 3 months. Wrap individual squares or the whole slab tightly, thaw overnight in the refrigerator, and give each piece a short warm-up if you want that soft center to feel fresh from the oven again.
Chocolate Peanut Butter Ooey Gooey Butter Cake

Equipment
- 9X13 baking pan
- Saucepan
- Mixing Bowl
- Electric hand mixer
- Digital thermometer
Ingredients
Cake:
- 1/2 cup butter melted
- 1 egg
2nd Layer:
- 8 Peanut Butter Cups large
- 3 small Butterfinger Candy Bars
Cream Cheese Layer:
- 1 (8-ounce) package cream cheese softened
- 1 cup peanut butter
- 3 eggs
- 1 teaspoon vanilla
- 1/2 cup butter melted
- 4 cups confectionery sugar
Chocolate topping:
- 1/2 cup chocolate chips
- 1 tablespoon vegetable or canola oil
Instructions
Brown the Butter and Prep the Pan
- Preheat your oven to 350°F (use 325°F for a glass pan). Grease a 9 x 12 or 9 x 13 pan thoroughly with cooking spray. In a saucepan over medium heat, melt 1 cup of butter and continue cooking until it foams and develops toasted, nutty bits at the bottom. Once golden brown, remove from heat and divide into two 1/2 cup portions.
Build the Base and Candy Layer
- In a mixing bowl, stir together the German chocolate cake mix, 1 egg, and 1/2 cup of the prepared brown butter. Mix until a thick dough forms, then press it evenly into the bottom of the prepared baking pan.
- Roughly chop the peanut butter cups and Butterfinger bars. Scatter the candy pieces evenly over the top of the chocolate dough base.
Mix the Gooey Filling and Bake
- Beat the softened cream cheese with vanilla and peanut butter until smooth. Add the 3 eggs one at a time, mixing briefly after each addition. Blend in the remaining 1/2 cup of brown butter, then gradually mix in the confectionery sugar until the filling is silky and thick.
- Gently spread the peanut butter filling over the candy layer. Bake for approximately 50 minutes (slightly longer for glass pans) until the edges are set and the center reaches an internal temperature of 210°F. The middle should still have a slight jiggle when moved.
Cool and Finish with Chocolate
- Allow the cake to cool completely in the pan for 4 to 5 hours. This rest period is essential for the gooey center to firm up into its signature fudgy texture.
- Melt the chocolate chips in the microwave for 1 minute. Stir in the oil until smooth and glossy, then drizzle the mixture over the top of the cooled cake before slicing.
Notes
Nutrition
Conclusion
Brown butter turns this one-pan dessert into something that tastes far more luxurious than the effort suggests. You still get the easy charm of a cake mix recipe, but the final result lands somewhere between a candy bar, a cheesecake bar, and a bakery-style butter cake.
If you trust the 210°F rule and give the cake its full cooling time, the texture rewards you every single time. After that, all that is left is deciding whether you want flaky salt, extra candy, or an even richer scoop of ice cream on top.
Frequently Asked Questions
Why did my gooey butter cake collapse in the middle?
Can I use a regular chocolate cake mix instead of German chocolate?
How do I know if it’s done if the middle is still jiggly?
Can I make this gluten-free?
Does this cake need to be refrigerated?
How do I prevent the cake from being too runny?
Can I use natural peanut butter in the filling?
How long does this cake stay fresh in the fridge?
What is the best way to get clean slices?