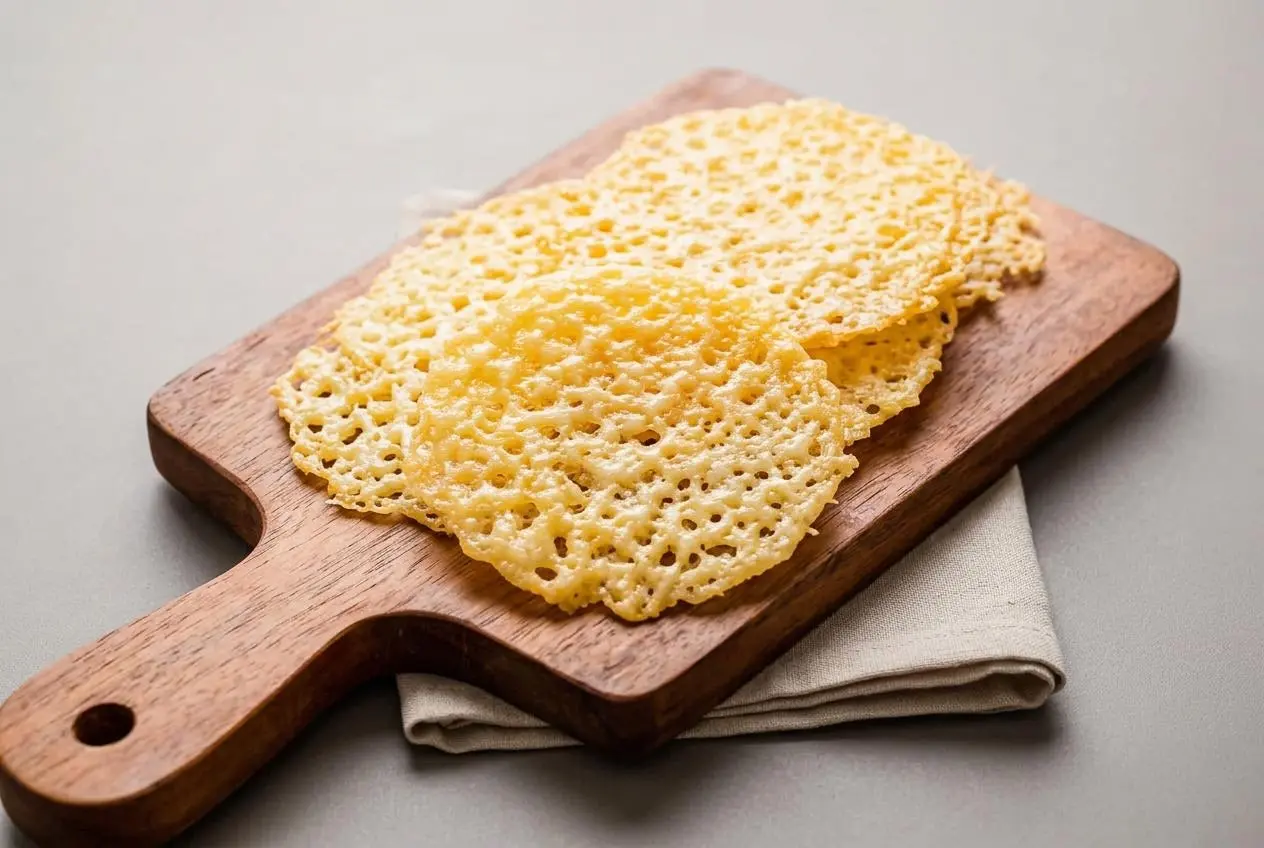
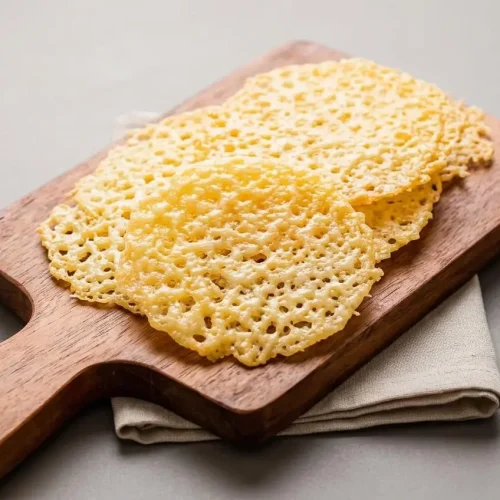
Parmesan crisps are golden, crunchy cheese wafers made by baking grated Parmesan at 400°F until melted and bubbling, then cooling until firm.
These parmesan crisps fill the kitchen with the toasted, nutty aroma of browned aged cheese and deliver a lacy snap without flour or binders.
They work as a quick snack, a soup topper, or a salty little finishing touch for salads. The cooling step makes all the difference.
Use a dry baking sheet lined with parchment paper or a silicone baking mat. Skip cooking spray because the cheese releases enough fat on its own.
Ingredients for Parmesan Crisps
The Parmesan provides savory depth, structure, and the natural fat needed to melt into crisp, golden wafers as it cools.
- 3/4 cup grated parmesan cheese
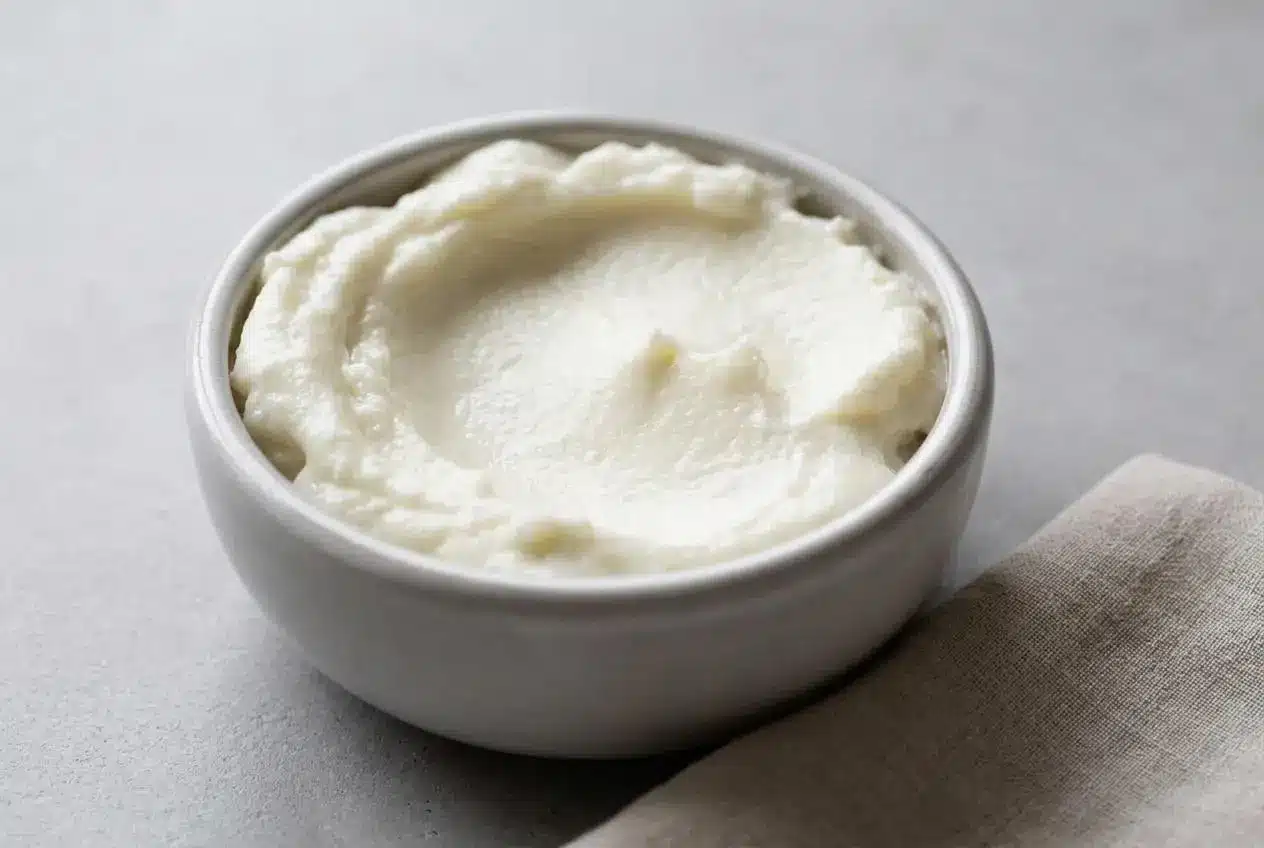
Choose a well-aged wedge of Parmesan for the cleanest melt and deepest nutty flavor. The cheese becomes the structure here, forming delicate edges and a sturdy center without flour, starch, or another binder.
I run a wedge of aged cheese over the small holes of a box grater so the shreds fall light and airy, which helps them melt evenly without holding extra moisture.
How to Make Parmesan Crisps
- Heat the oven to 400°F and line a baking sheet with parchment paper or a silicone baking mat.
A dry lined surface lets the cheese release cleanly without extra oil. - Stir the grated cheese with any optional dry herbs or spices in a small bowl.
Keep additions light so the cheese remains the ingredient that binds each crisp. - Arrange the cheese in four evenly spaced mounds on the prepared sheet.
Leave room around each mound so the melting cheese forms separate rounds instead of one large sheet. - Bake for 3 to 5 minutes.
Look for fully melted cheese with bubbling centers and golden, lace-like edges. - Take the sheet from the oven and leave the rounds in place for at least 1 minute.
They may look shiny and bubbly at first, then begin to settle and firm as the bubbling quiets. - Lift the cooled crisps with a thin metal spatula and serve.
A properly cooled round should release in one piece and feel rigid rather than bendy.
The Science of Selecting and Grating Parmesan
Cheese choice determines whether you get a fragile, shattering wafer or a limp, greasy round. Freshly grated aged cheese melts into an even layer, while added powders can interrupt that clean melt.
Block Parmigiano Reggiano vs Pre-Shredded Blends
Parmigiano Reggiano has a concentrated, savory character and melts beautifully when grated from a wedge. Domestic Parmesan can also work well if it is firm, dry, and sold in a block.
Bagged shredded cheese and shelf-stable grated tubs often contain anti-caking ingredients such as cellulose or starch. Those coatings can keep the shreds from flowing together smoothly, leaving a patchy texture or a chewy center. Avoid green-can powdered Parmesan for this method.
Look for a dry, hard cheese with a clean aroma and no dampness on the cut surface. If you choose Parmigiano Reggiano, the marked rind is a useful sign that you are buying that named style of cheese, but a good wedge of domestic Parmesan still makes a fine crisp.
Microplane Fine Powder vs Medium Box Grate
A Microplane creates a very fine, nearly translucent crisp with delicate edges. A medium box grater makes a thicker wafer with more texture and a heartier crunch.
For the most even results, keep the shreds similar in size. Large, thick strips melt at different speeds and can leave a damp middle while the edges darken too quickly.
Mastering Texture and the Science of Cooling
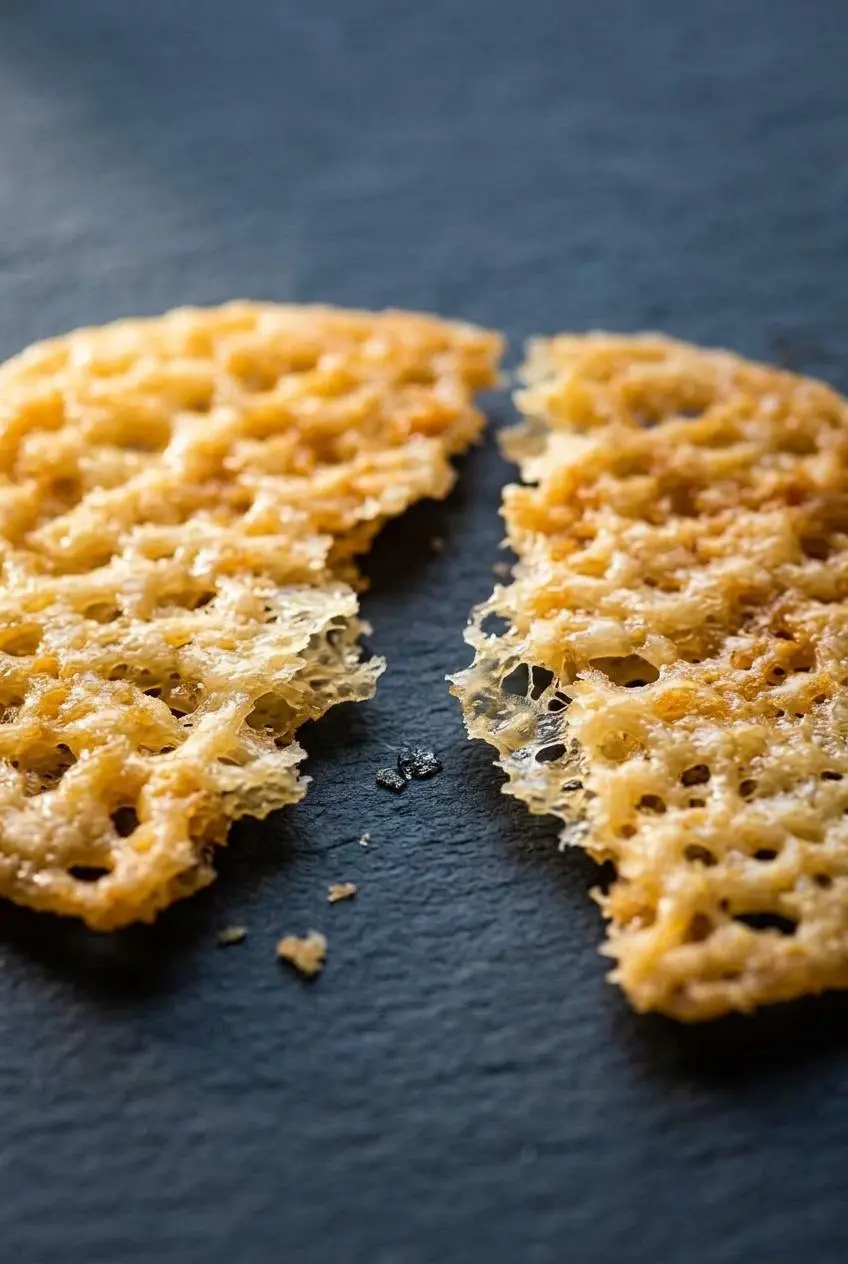
The crispness happens after the baking sheet leaves the oven. Fresh from the heat, each round is molten and fragile, often with a light oily sheen across the surface.
Leave the rounds undisturbed while the cheese settles. As the fat reabsorbs and firms, the proteins set into a rigid lattice. Trying to lift a molten crisp turns it into a greasy tear instead of a neat wafer.
The best test is the break: a fully cooled crisp gives a clean, hollow snap. If it bends like warm rubber, leave it on the sheet a little longer before moving it.
Stovetop Skillet Cooking for Small Batches
For a small snack without heating the oven, use a dry nonstick skillet over medium-low heat. Keep the heat gentle because cheese can brown fast in a pan.
Drop heaping tablespoons of grated Parmesan into the skillet with plenty of space between them. Let the cheese cook undisturbed until the bottom turns pale gold, the edges look dry, and the center has melted into one round.
Ease a thin spatula underneath and turn each round gently to set the top side. Move the crisps to a flat plate and let them cool completely before eating. The first side should release easily, not fight the pan.
Troubleshooting Common Texture Mistakes
- Bitter or scorched edges: The oven may run hot, or the crisps stayed in too long. Bake at 400°F and remove the sheet when the edges are golden rather than dark brown.
- Chewy centers: The cheese mound was likely too thick or the center had not fully melted. Spread the cheese into a lower, wider mound and wait for the middle to bubble before removing the sheet.
- Greasy pooling: Young, moist cheese or an oiled pan can leave excess fat around the rounds. Use a dry parchment-lined pan and a firm, aged wedge of cheese.
- Soft crisps after sitting out: Humidity can soften the snap. Return them to a parchment-lined sheet in a low oven just until dry and firm again, then cool fully before storing.
- Crisps that stick: The cheese was moved before it had set, or the pan was unlined. Let it firm on parchment or a silicone baking mat, then slide a thin metal spatula underneath.
Flavor Variations and Serving Suggestions
Keep the main batch focused on Parmesan, then season a portion for a different mood. Dry seasonings work best because wet toppings soften the crisp surface.
Cracked Peppercorn and Fresh Thyme
Mix coarse cracked black pepper and finely minced fresh thyme into the grated cheese before shaping the mounds. The pepper adds a sharp bite, while thyme brings a woodsy aroma that cuts through the cheese’s richness.
Savory Spices and Everything Seasoning
- Smoked paprika and garlic powder: Sprinkle lightly over the mounds for warm, barbecue-like flavor without changing the crisp’s structure.
- Everything bagel seasoning: Add a light dusting before baking for sesame, garlic, and onion crunch.
- Za’atar: Use a restrained sprinkle for a tangy, herbal edge that pairs especially well with vegetable soups.
- Toasted coriander and lemon zest: Add these after baking while the crisps are still warm for bright citrus-pepper flavor.
Shaped Appetizer Cheese Cups
For party-ready cups, let baked rounds stand only until they are pliable enough to move without tearing. Drape each one over the rounded underside of an upturned mini muffin tin, then let it cool into a small edible cup for Caesar salad bites or roasted vegetables.
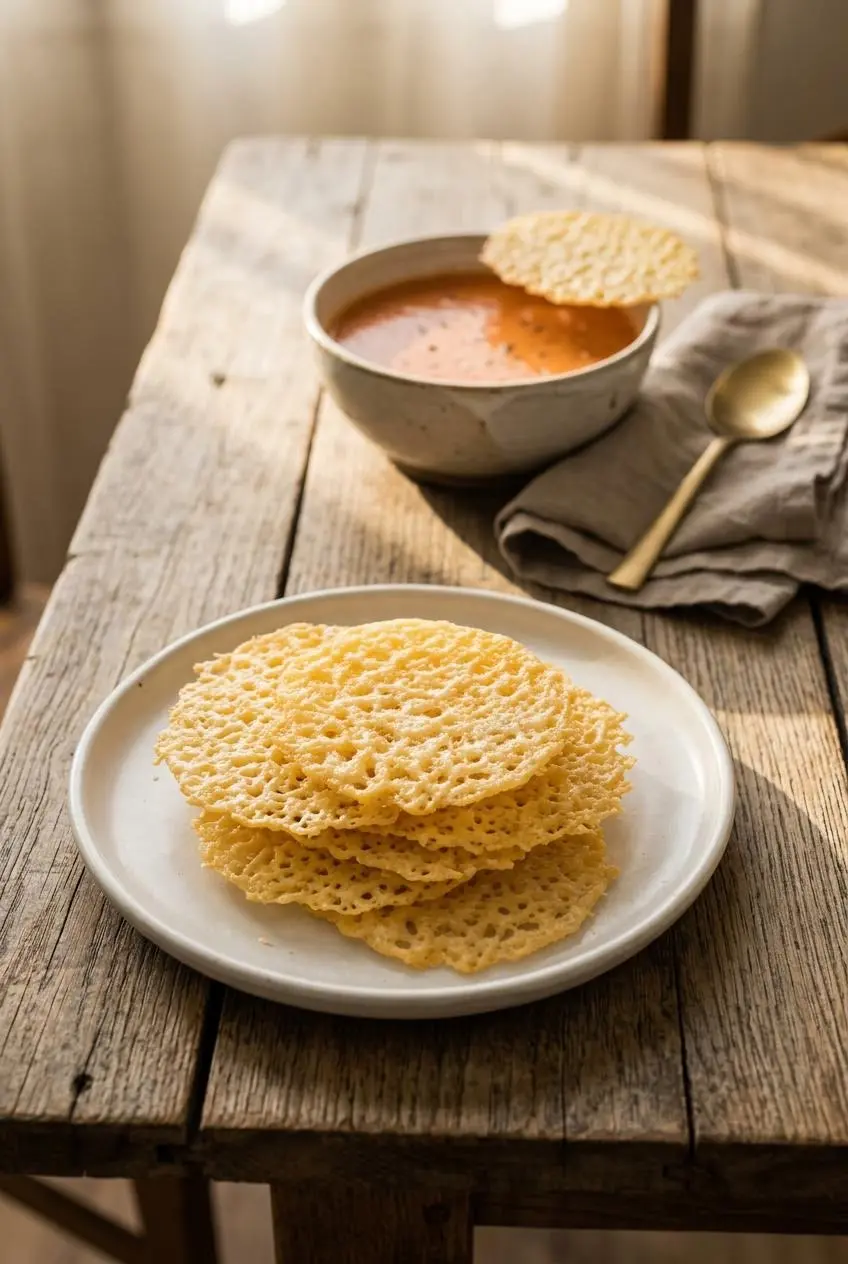
Serve flat crisps over tomato soup or vegetable bisque in place of croutons. They are also excellent crumbled over Caesar salad or arranged on a charcuterie board with cured meats, olives, and fruit preserves. For a richer bowl-and-crunch pairing, try one alongside parmesan sausage soup.
Storage and Make-Ahead Best Practices
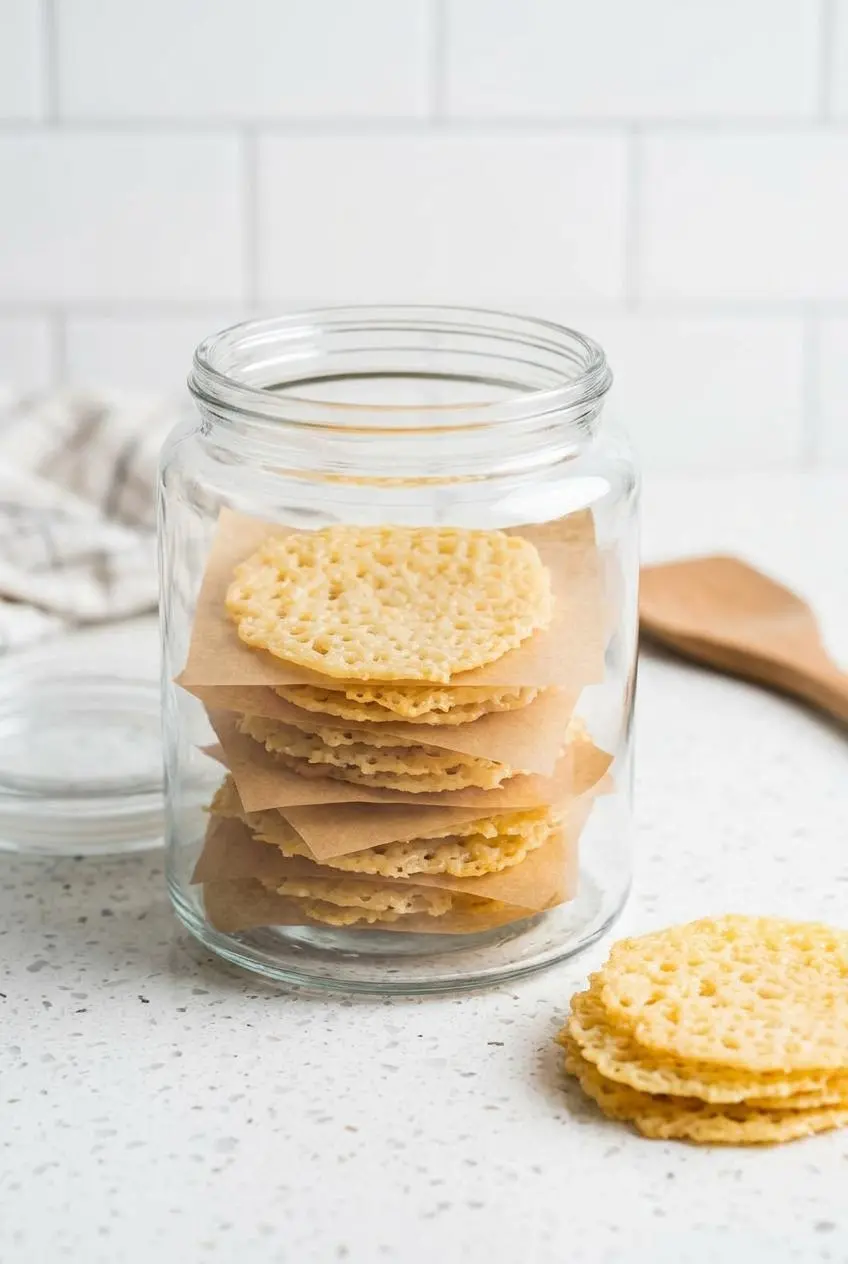
Cool the crisps completely before storing them, since trapped warmth creates moisture and steals their crunch. Stack them in a rigid airtight container with dry parchment between layers to protect the delicate edges.
Keep the container at room temperature and away from steam, humidity, and the refrigerator. Refrigeration can create condensation on the cheese, which makes the wafers soft and chewy.
If the crisps lose their snap, spread them on a parchment-lined baking sheet and warm them briefly in a low oven. Let them cool on the counter before returning them to the container, because the final cooling is what restores the brittle texture.
Why Homemade Beats Store-Bought Cheese Crisps
Freshly baked cheese crisps offer something packaged versions cannot quite match: warm toasted aroma and a just-cooled snap. You control the cheese, the thickness, and the seasoning, so every batch can stay focused on the flavor you want.
Some packaged cheese snacks include starches or other ingredients to help them hold up during distribution. Homemade rounds rely on grated Parmesan alone, which keeps the taste direct, nutty, and deeply savory.
Conclusion
Golden Parmesan wafers come down to three habits: grate a firm wedge of cheese, bake at 400°F until the rounds bubble and turn golden at the edges, and give them time to set on the hot sheet.
Once you hear that clean snap, use the crisps wherever a little salty crunch belongs, from soup bowls to appetizer platters. A pinch of herbs or a shaped cheese cup can make them feel especially festive.
Frequently Asked Questions
Are Parmesan Crisps a Healthy Snack?
Parmesan crisps are made entirely from cheese, so they are naturally gluten-free and contain dairy protein. They can fit low-carb or keto-style eating patterns, but they are also rich and salty, so serving size still matters.
Why Did My Parmesan Crisps Turn Out Chewy Instead of Crunchy?
Chewy crisps usually need more melting time or more cooling time. Make the mounds thinner, wait until the centers are fully melted, and leave the rounds on the baking sheet until they feel firm enough to lift cleanly.
Can I Use Pre-Shredded Store-Bought Parmesan Cheese?
Freshly grated cheese from a block gives the most reliable result. Pre-shredded cheese often contains anti-caking powders that interfere with melting, which can leave the crisps rubbery, uneven, or overly browned in spots.
How Do You Re-Crisp Parmesan Crisps If They Get Soft?
Arrange the softened crisps on a parchment-lined baking sheet and warm them briefly in a low oven. Cool them completely on the counter before storing, since they need that cooling time to regain their firm snap.
Parmesan Crisps

Equipment
- Baking Sheet
- parchment paper or silpat
- Metal Spatula
- Small bowl
Ingredients
- 3/4 cup grated parmesan cheese
Instructions
- Heat the oven to 400°F and line a baking sheet with parchment paper or a silicone baking mat. A dry lined surface lets the cheese release cleanly without extra oil.
- Stir the grated cheese with any optional dry herbs or spices in a small bowl. Keep additions light so the cheese remains the ingredient that binds each crisp.
- Arrange the cheese in four evenly spaced mounds on the prepared sheet. Leave room around each mound so the melting cheese forms separate rounds instead of one large sheet.
- Bake for 3 to 5 minutes. Look for fully melted cheese with bubbling centers and golden, lace-like edges.
- Take the sheet from the oven and leave the rounds in place for at least 1 minute. They may look shiny and bubbly at first, then begin to settle and firm as the bubbling quiets.
- Lift the cooled crisps with a thin metal spatula and serve. A properly cooled round should release in one piece and feel rigid rather than bendy.