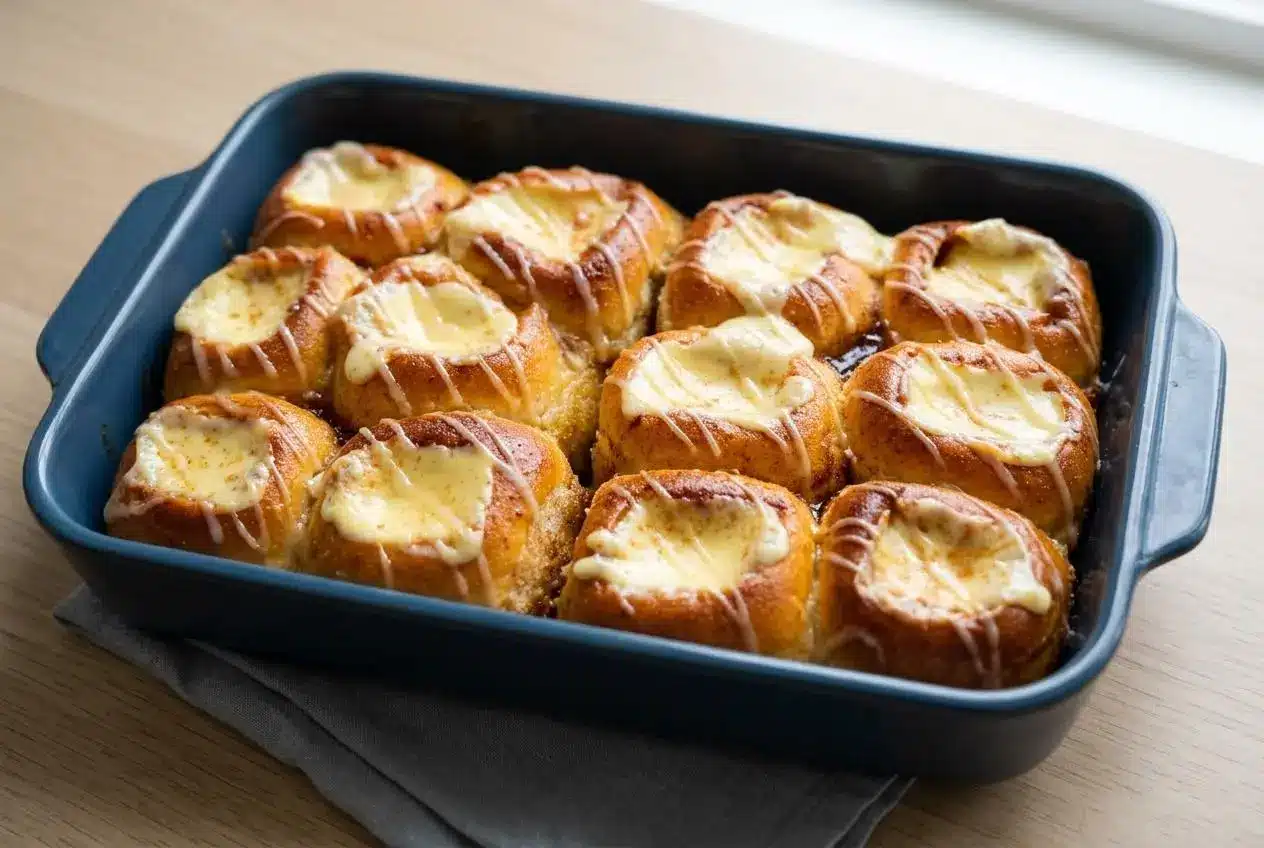
King’s Hawaiian Cheesecake Danish is made by hollowing sweet rolls, coating them in cinnamon butter, filling them with sweetened cream cheese, and baking at 375 °F until golden with a lightly set center.
King’s Hawaiian Cheesecake Danish turns soft King’s Hawaiian rolls into a warm brunch dessert with a creamy cheesecake filling and a buttery cinnamon glaze. It bakes quickly and feels a little like a danish, a cheesecake bite, and a pull-apart breakfast all at once.
The best part is how much texture you get from one pan: crisp edges, fluffy rolls, and a center that can stay gooey or set up a bit more as it rests. The knife depth is the trick that makes it work.
Soften the cream cheese before you start, and keep the knife shallow when you hollow the rolls.
Essential Ingredients and Roles
Each ingredient has a job here, from helping the filling bake smoothly to building the caramelized crust and soft center that make these danishes so satisfying.
- 12 King’s Hawaiian Rolls
- 1/2 cup unsalted butter
- 2 tbsp brown sugar
- 2 tsp cinnamon
- 8 oz cream cheese
- 3 tbsp granulated sugar
- 1 egg
The sweet rolls matter more than they seem. King’s Hawaiian rolls already bring sweetness, softness, and that signature pull-apart texture, so they bake up more like a shortcut danish than a standard bread base. Their sugar content also helps the outside brown and caramelize once the cinnamon butter hits the crust. If you have extra rolls after making this, Hawaiian roll French toast is another great use for them.
Butter, brown sugar, and cinnamon create the coating that gives these rolls their warm aroma and glossy finish. Brushing the mixture inside the hollowed centers and all over the outside makes a difference, because it seasons both the crust and the cavity that holds the filling.
Cream cheese is the heart of the recipe. It gives the danish that tangy richness and the soft cheesecake bite in the middle. Room temperature cream cheese is non-negotiable if you want a smooth filling instead of little lumps that never quite melt into place.
I always soften cream cheese first, either with a quick 20-second microwave burst or by setting the wrapped block in warm water, because it whisks into a much silkier filling.
The granulated sugar sweetens the filling without making it heavy, and the egg does more than stretch the mixture. As the danishes bake, the egg helps bind the cream cheese and sugar together so the center sets into a soft custard-like cheesecake texture instead of staying loose and runny. Without it, the filling can still taste good, but it stays softer and less structured.
Step-by-Step Preparation Guide
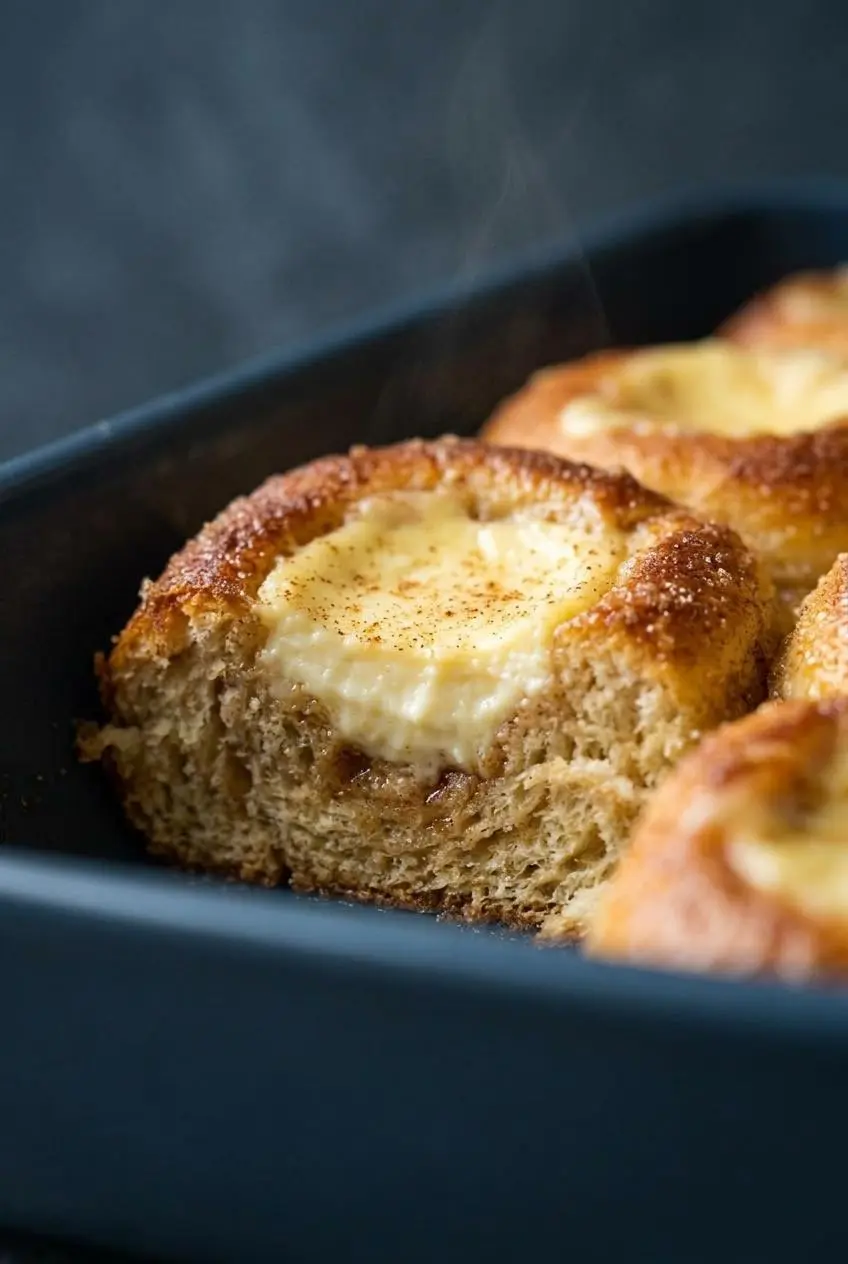
This is a fast recipe, but the details matter. A careful cut, a generous coating of cinnamon butter, and a smooth filling make the difference between bakery-style danishes and a leaky pan of sweet rolls.
- Arrange the 12 King’s Hawaiian Rolls snugly in an oven-safe pan, then use a small steak knife to cut a well into the center of each roll about 3/4 of the way down.
Angle the knife slightly inward, about 45 degrees, so the opening is wide at the top while a sturdy layer of bread stays intact on the bottom. - Melt the 1/2 cup unsalted butter in the microwave, then stir in the 2 tbsp brown sugar and 2 tsp cinnamon until evenly combined.
The mixture should look glossy and smell strongly of cinnamon, with the sugar starting to dissolve into the warm butter. - Brush the cinnamon butter generously inside each hollowed center and over the tops and sides of the rolls.
A thorough coating helps the crust brown evenly and creates those caramelized edges instead of leaving pale dry spots. - In a medium mixing bowl, combine the 8 oz cream cheese, 3 tbsp granulated sugar, and 1 egg until smooth.
The filling should look creamy and mostly lump-free, so pause and soften the cream cheese for about 20 seconds in the microwave if it still feels too firm. - Spoon the cream cheese filling into the center of each roll, dividing it as evenly as you can without overfilling.
Fill each cavity to the top edge, since the mixture will puff slightly and settle as it bakes. - Heat the oven to 375 °F and bake the rolls for 12 minutes.
They are ready when the tops look golden, the kitchen smells like caramelized cinnamon sugar, and the cheesecake centers show only a slight wobble. - Remove the pan from the oven and sprinkle a little cinnamon over the tops before serving warm or letting them rest for 15 minutes.
Serve right away for a gooier middle, or wait for the filling to firm up into more of a classic danish texture.
Troubleshooting Common Danish Mistakes
Most problems come from one of two things: cutting too deep or starting with cold cream cheese.
- If the filling leaked out, the bottom of the roll was probably cut through. Keep the knife at a slight angle and stop at about 3/4 depth so the bread can hold the filling like a little bowl.
- If the filling looks clumpy, the cream cheese was too cold. Warm it briefly, then whisk again before spooning it into the rolls.
- If the tops are browning too fast, the sugar in the butter coating is catching color quickly. Loosely tent the pan with foil during the last 3 minutes so the centers can finish setting without the edges getting too dark.
- If the rolls seem dry, they likely did not get enough butter mixture on the outer crust. Brush the coating generously inside and out so the bread stays rich and flavorful as it bakes.
- If the centers seem overbaked, look for a slight wobble instead of waiting for them to go fully firm in the oven. They continue to set as they rest.
Flavor Variations Beyond the Classic
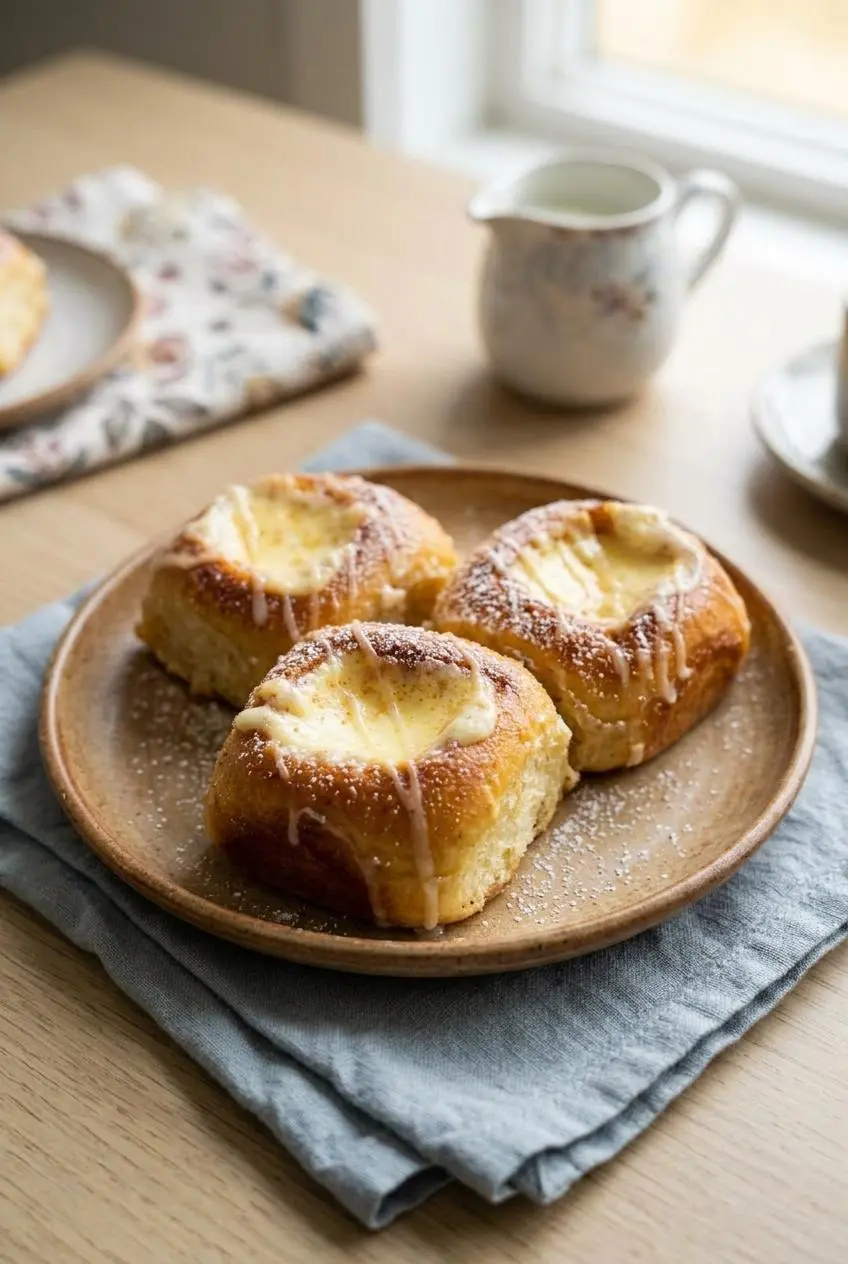
The classic version is rich and cozy, but these optional twists work well when you want a fruitier or more bakery-style finish.
Tropical Pineapple Danish
- Fold well-drained pineapple tidbits into the cream cheese filling for a brighter, tropical bite.
- A tiny bit of extra moisture can make the filling loose, so drain the fruit very well before adding it.
- If you want the flavor to lean more sunny than sweet, stir a little orange zest and a pinch of cardamom into the butter mixture before brushing the rolls.
Berry Cheesecake Twist
- Spoon a small dollop of strawberry or raspberry preserves over the filling just before baking for a jammy contrast.
- This version gives you more of that pastry-shop fruit-and-cream-cheese feel with almost no extra work.
- If you love berry pastries, raspberry cheese danish has a more traditional route to the same flavor profile.
Warm Cinnamon Roll Style
- Whisk powdered sugar with a little milk until pourable, then drizzle it over the warm baked rolls.
- This adds a sweeter finish and makes the tops feel more like a cinnamon roll than a classic danish.
- For another quick cream cheese pastry idea, cheesecake crescent rolls scratch the same shortcut-baking itch.
Storage and Reheating Guidelines
Because the filling contains cream cheese and egg, leftovers should be cooled, covered, and refrigerated rather than left out. For U.S. home kitchens, egg-containing baked goods are best handled with chilled storage and prompt refrigeration, in line with safe handling and refrigerated storage of eggs.
Refrigerator Rules
Store the baked danishes in a single layer in an airtight container in the refrigerator for up to 3 days. Let them cool before covering so trapped steam does not soften the tops too much.
For serving, avoid leaving them at room temperature for more than 2 hours. That keeps the dairy-based filling in a better range for quality and safer handling.
Reheating Methods for the Best Texture
For the softest texture, reheat the danishes in a 350 °F oven until the centers are warmed through and the tops are lightly refreshed. This works especially well when you are warming several at once.
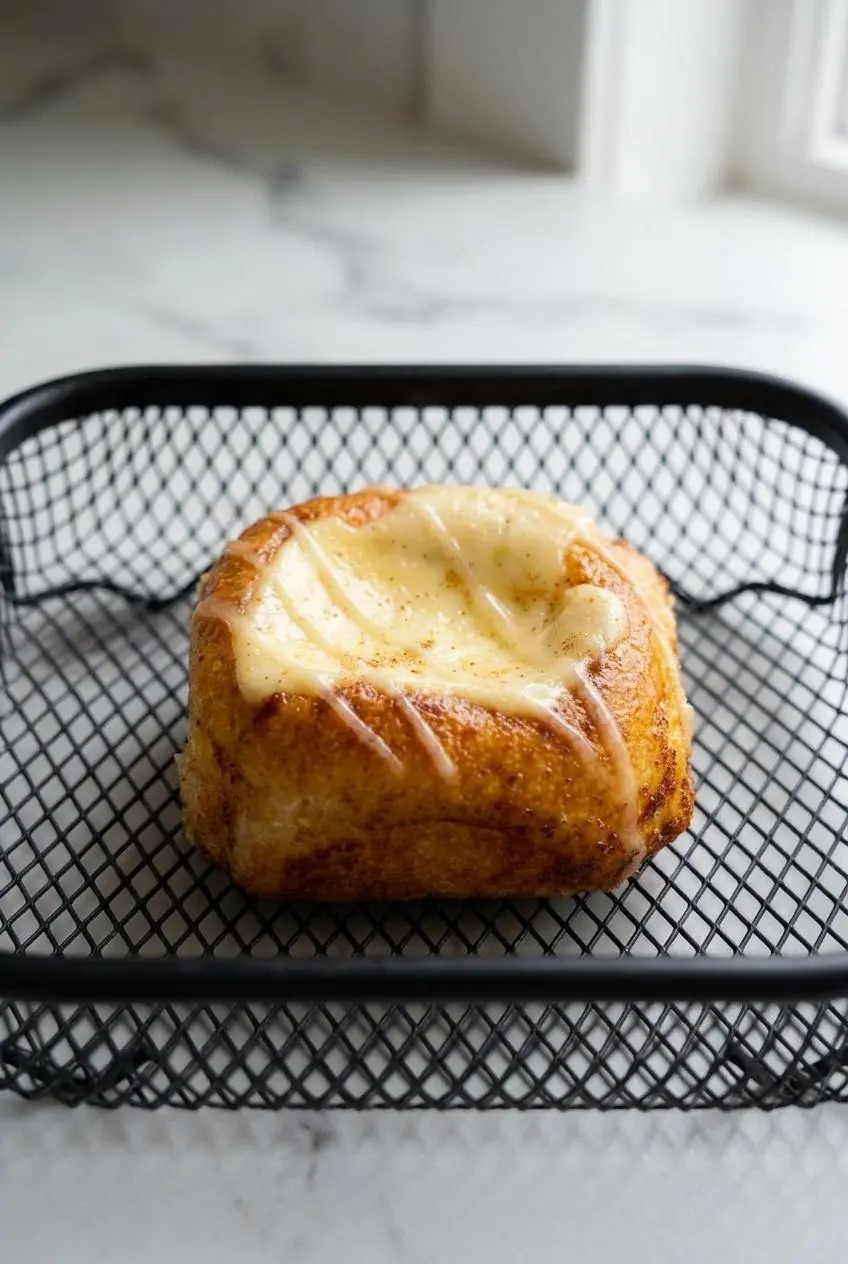
For one or two pieces, an air fryer at 320 °F for 2 to 3 minutes brings back the crisp outer edges very nicely. Check early, since the sugary glaze can darken fast.
The microwave will warm them too, but the crust softens more quickly. If you use it, keep the heating brief so the filling warms without turning the rolls soggy.
Conclusion
These danishes are quick, rich, and surprisingly easy to pull off once you keep two things in mind: soften the cream cheese and leave a sturdy bottom in each roll. That gives you a smooth filling and a pan full of sweet rolls that actually hold it.
Serve them hot for a gooier center or let them rest for a more set cheesecake bite. Either way, they bring a lot of brunch-table charm for very little fuss.
Frequently Asked Questions
Can I make these danishes ahead of time?
Yes. You can hollow the rolls, brush on the cinnamon butter, and add the filling before baking. Cover the pan tightly and keep it refrigerated, then bake it fresh the next morning. If the pan goes into the oven cold from the fridge, watch closely and bake until the centers look lightly set.
How do I prevent the sweet rolls from burning?
Watch the top edges closely, since the butter and sugar coating browns quickly. Make sure the rolls are well coated but not swimming in pooled butter around the pan. If the tops darken too fast, loosely tent the dish with foil during the last 3 minutes of baking.
Do I have to use an egg in the filling?
No, but the texture changes. The egg helps the cream cheese filling set into a soft cheesecake-style center. If you leave it out, expect a filling that stays softer and a little more runny after baking.
Can I use low-fat cream cheese?
Yes, it will work. Full-fat cream cheese gives the filling a richer texture and usually bakes up more smoothly. Low-fat cream cheese can taste a bit lighter and may set a little less firmly.

King’s Hawaiian Cheesecake Danish

Equipment
- Ceramic Baking Pans
- Basting Brush
- Measuring spoons
- Mixing Bowls
- Whisk
Ingredients
- 12 King’s Hawaiian Rolls
- 1/2 cup unsalted butter
- 2 tbsp brown sugar
- 2 tsp cinnamon
- 8 oz cream cheese
- 3 tbsp granulated sugar
- 1 egg
Instructions
- Arrange the 12 King’s Hawaiian Rolls snugly in an oven-safe pan, then use a small steak knife to cut a well into the center of each roll about 3/4 of the way down. Angle the knife slightly inward, about 45 degrees, so the opening is wide at the top while a sturdy layer of bread stays intact on the bottom.
- Melt the 1/2 cup unsalted butter in the microwave, then stir in the 2 tbsp brown sugar and 2 tsp cinnamon until evenly combined. The mixture should look glossy and smell strongly of cinnamon, with the sugar starting to dissolve into the warm butter.
- Brush the cinnamon butter generously inside each hollowed center and over the tops and sides of the rolls. A thorough coating helps the crust brown evenly and creates those caramelized edges instead of leaving pale dry spots.
- In a medium mixing bowl, combine the 8 oz cream cheese, 3 tbsp granulated sugar, and 1 egg until smooth. The filling should look creamy and mostly lump-free, so pause and soften the cream cheese for about 20 seconds in the microwave if it still feels too firm.
- Spoon the cream cheese filling into the center of each roll, dividing it as evenly as you can without overfilling. Fill each cavity to the top edge, since the mixture will puff slightly and settle as it bakes.
- Heat the oven to 375 °F and bake the rolls for 12 minutes. They are ready when the tops look golden, the kitchen smells like caramelized cinnamon sugar, and the cheesecake centers show only a slight wobble.
- Remove the pan from the oven and sprinkle a little cinnamon over the tops before serving warm or letting them rest for 15 minutes. Serve right away for a gooier middle, or wait for the filling to firm up into more of a classic danish texture.