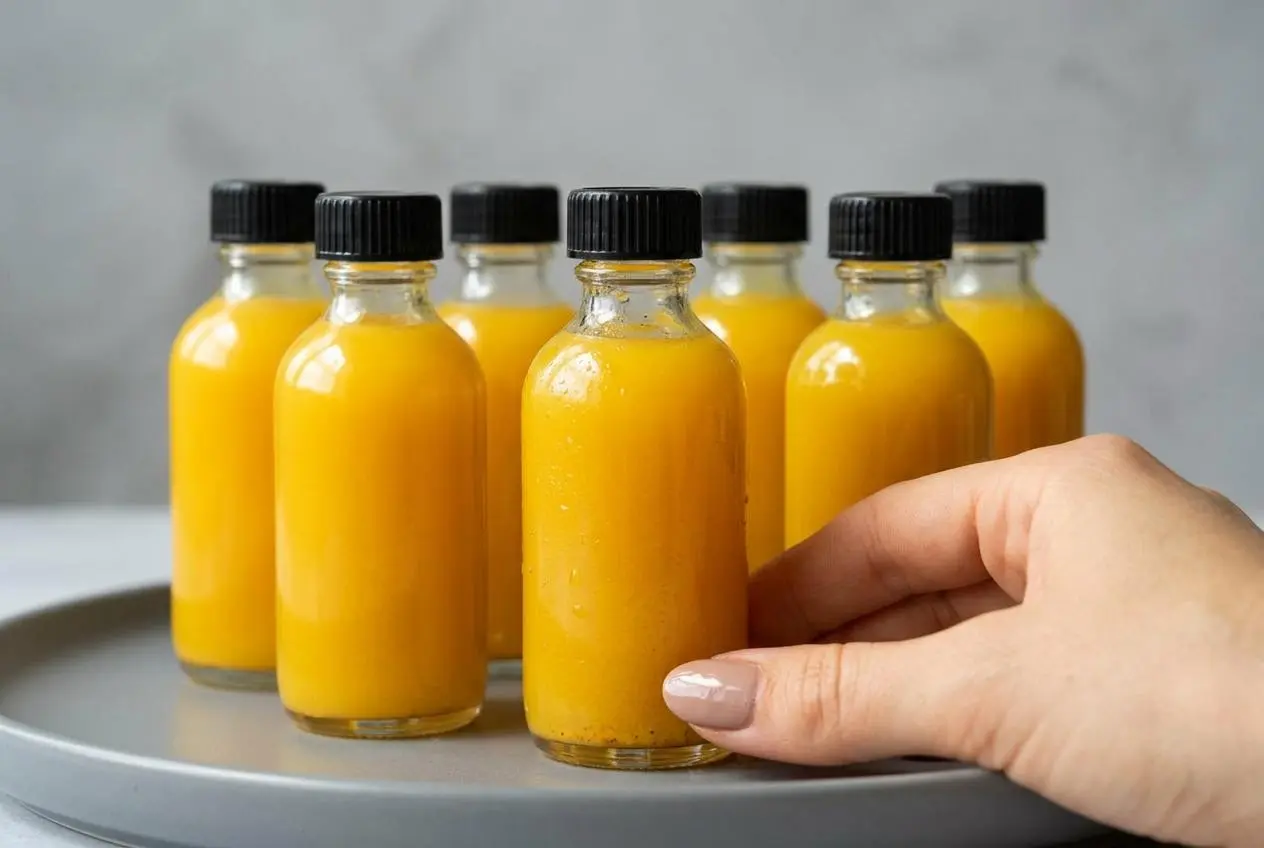
This Ginger Shot Recipe makes a spicy, zesty wellness shot with fresh ginger, lemon, turmeric, and cayenne in about 20 minutes using either a blender or a juicer.
It’s bold, earthy, and definitely wakes up your taste buds. You’ll also get clear storage tips, easy variations, and smart ways to use the leftover pulp.
If you’re new to ginger shots, start with a small pour first because the flavor has some real kick.
Why Make Your Own Ginger Shots? The Benefits
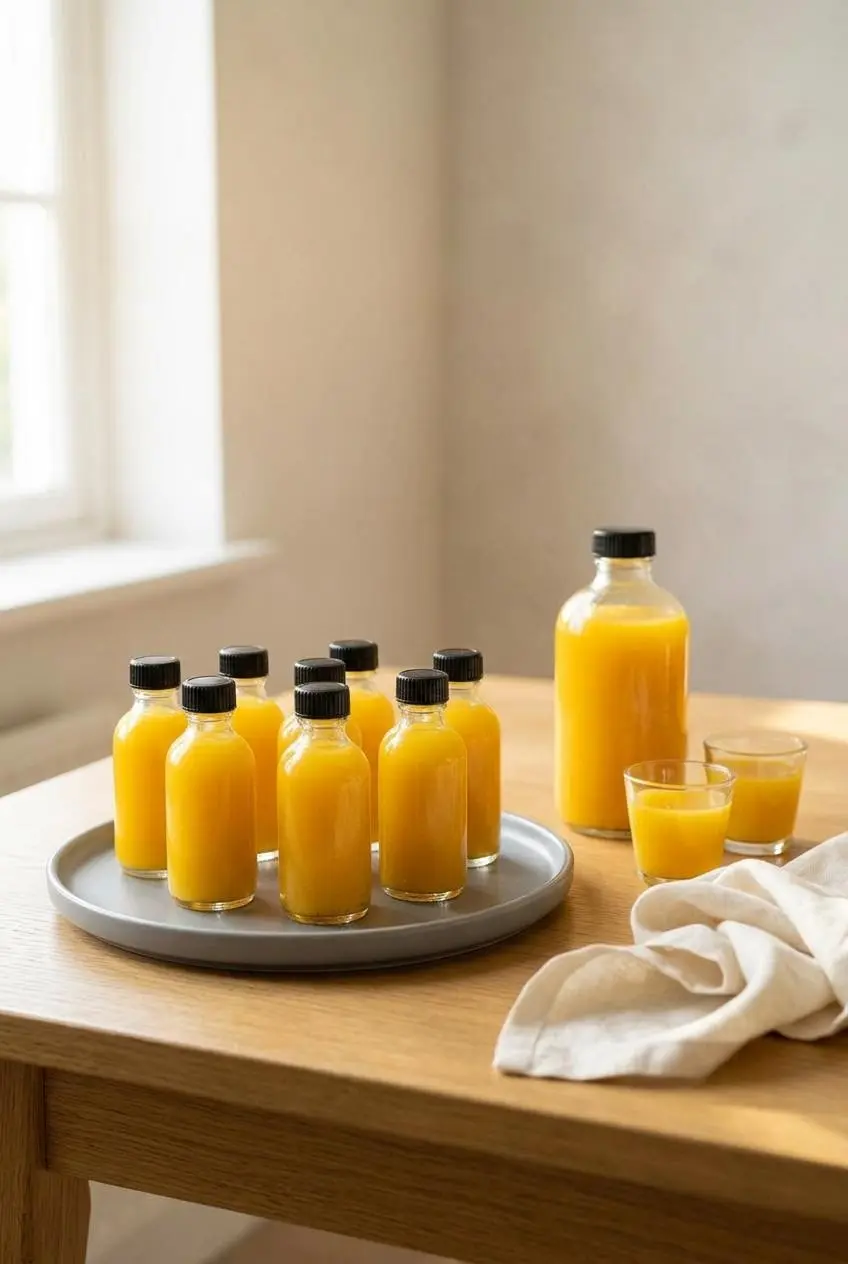
Making them at home gives you more control over the flavor, the texture, and how fiery you want each shot to be.
- Fresh, punchy flavor: fresh ginger, lemon, and turmeric taste brighter and more lively than bottled versions.
- May support your routine: many people enjoy ginger shots as part of a wellness habit for immune support, digestion, and the warming feel ginger brings. Turmeric and ginger are also commonly paired for their anti-inflammatory reputation.
- Easy to adjust: you can keep it intense, soften it with fruit, or make it lower in sugar with water or coconut water.
- More budget-friendly: homemade shots usually cost much less per serving than store-bought bottles, especially when you batch them.
This is still a food, not a medical treatment. If you’re pregnant, taking medication, or managing a health condition, it’s smart to check with a qualified professional before making strong ginger shots a daily habit.
Ingredients for Homemade Ginger Shots
Each ingredient pulls its weight here: ginger brings heat, lemon adds sharp brightness, orange rounds it out, turmeric gives earthy depth, cayenne boosts the kick, and water helps everything blend smoothly.
- 1 orange
- 3 lemons
- ½ lb fresh ginger
- 1 medium root of turmeric
- a pinch of cayenne pepper
- ½ cup coconut water or regular water
I always scrub the ginger and turmeric really well instead of peeling them, especially when they’re fresh and firm, because it saves time and the flavor stays extra bold.
Fresh produce matters most in this recipe. Powdered ginger or turmeric won’t give you the same sharp aroma, bright color, or clean, concentrated flavor.
How to Make Ginger Shots (2 Ways)
You can make these with whatever equipment you already have. A blender works beautifully, and a juicer gives you the smoothest finish with less straining.
Method 1: Using a Blender (No Juicer Needed)
- Wash the orange, lemons, ginger, and turmeric well, then peel the orange and lemons and chop the ginger into smaller pieces.
The pieces do not need to be tiny, but smaller chunks help the blender catch everything evenly. - Add the orange, lemons, ginger, turmeric, cayenne pepper, and coconut water or regular water to the blender.
Blend until the mixture looks fully broken down and the liquid turns bright, cloudy, and fragrant. - Set a fine sieve over a bowl or pitcher and pour the blended mixture through it.
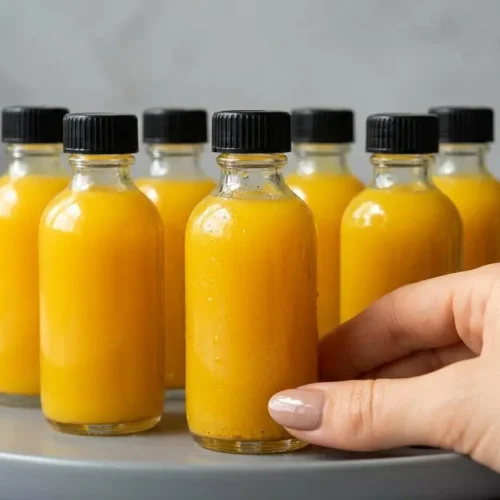
Press firmly so the juice runs through and the fibrous pulp stays behind. - Transfer the strained liquid to small glass bottles or one larger bottle for storage.
The finished shot should pour like a thin juice, not sit thickly like a smoothie.
A lot of home cooks ask if the blender method is worth the extra step. Honestly, yes. It’s the easiest no-juicer method, and it often tastes a little fierier because more of the ginger gets fully worked into the liquid before straining.
Method 2: Using a Juicer
- Wash all of the produce, peel the orange and lemons, and cut the ginger into pieces that fit your juicer chute.
Keeping the ginger unpeeled is fine as long as it has been scrubbed well. - Run the orange, lemons, ginger, turmeric, cayenne pepper, and coconut water or regular water through the juicer.
You should end up with a smooth, vivid liquid and very little texture in the final shot.
If you want the cleanest texture with the least effort after prep, the juicer method wins.
Blender vs. Juicer for Ginger Shots: Which Is Better?
Both methods work well, but they give you slightly different results. The best choice depends on whether you care more about smooth texture or using the equipment you already own.
| Method | Equipment Needed | Prep Time | Final Texture | Yield | Potency | Cleanup |
|---|---|---|---|---|---|---|
| Blender | Blender plus sieve | Quick prep, plus straining | Slightly fuller-bodied | Usually a bit higher | Often tastes stronger | Moderate |
| Juicer | Juicer | Quick once prepped | Smoother and cleaner | Very efficient liquid extraction | Clean, sharp flavor | Depends on the juicer |
Choose the blender if you don’t own a juicer or want a slightly more robust shot. Choose the juicer if you want a silky, pulp-free drink right away. For the smoothest blender result, strain patiently and press the pulp well instead of rushing it.
Tips for the Best Ginger Shots
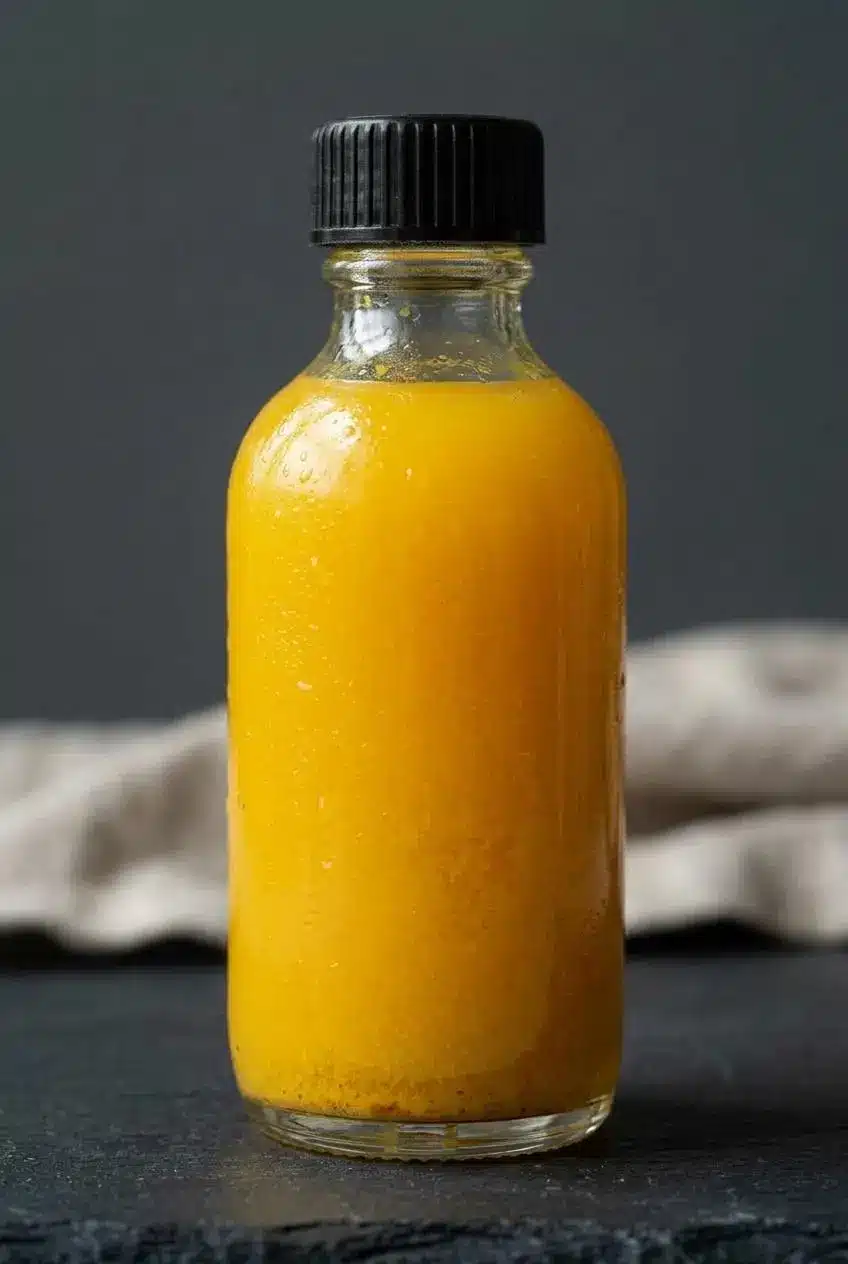
These little details make a big difference, especially with a recipe this concentrated.
- Pick firm ginger: look for roots that feel heavy, tight-skinned, and juicy inside. Avoid pieces that look shriveled or soft.
- Choose fresh turmeric: it should feel solid and moist, not dry or woody. Fresh turmeric gives better color and a cleaner earthy flavor.
- Skip peeling the ginger: once scrubbed, the skin blends or juices just fine and saves prep time.
- Use fresh roots, not powders: the finished shot tastes brighter, smells fresher, and has a much stronger zing.
- Shake before drinking: the solids settle as the shots sit, and that separation is totally normal.
- Expect intensity: this is a true shot, not a sipping juice. Keep some water nearby if you’re easing into it.
Popular Ginger Shot Variations
Once you’ve made the base version, it’s easy to tweak the flavor without changing the core method.
The Power of Turmeric and Black Pepper
This base recipe already includes fresh turmeric, which adds earthy depth and a gorgeous golden color. If you want to lean harder into that classic ginger turmeric shot profile, add a little black pepper as an optional variation. It’s a popular pairing because black pepper is commonly used alongside turmeric when people want a more functional wellness-style shot.
For a Sweeter Shot (Honey, Maple, or Fruit)
If the base recipe feels too sharp, soften it with a little honey or maple syrup after blending or juicing. You can also swap the water for apple juice, pineapple juice, or extra orange juice for a fruit-based version with a rounder, sweeter finish.
If you love that orange, ginger, and honey combination in other treats too, Orange Ginger Honey Cake is a very good next stop.
For a Lower-Sugar Shot
Use coconut water or plain water instead of fruit juice to keep the shot less sweet. You still get enough liquid for blending, but the ginger, lemon, and turmeric stay front and center.
You can also leave the cayenne very light if you want a cleaner, less aggressive finish without adding sweetness.
How to Store, Freeze, and Use Ginger Shots
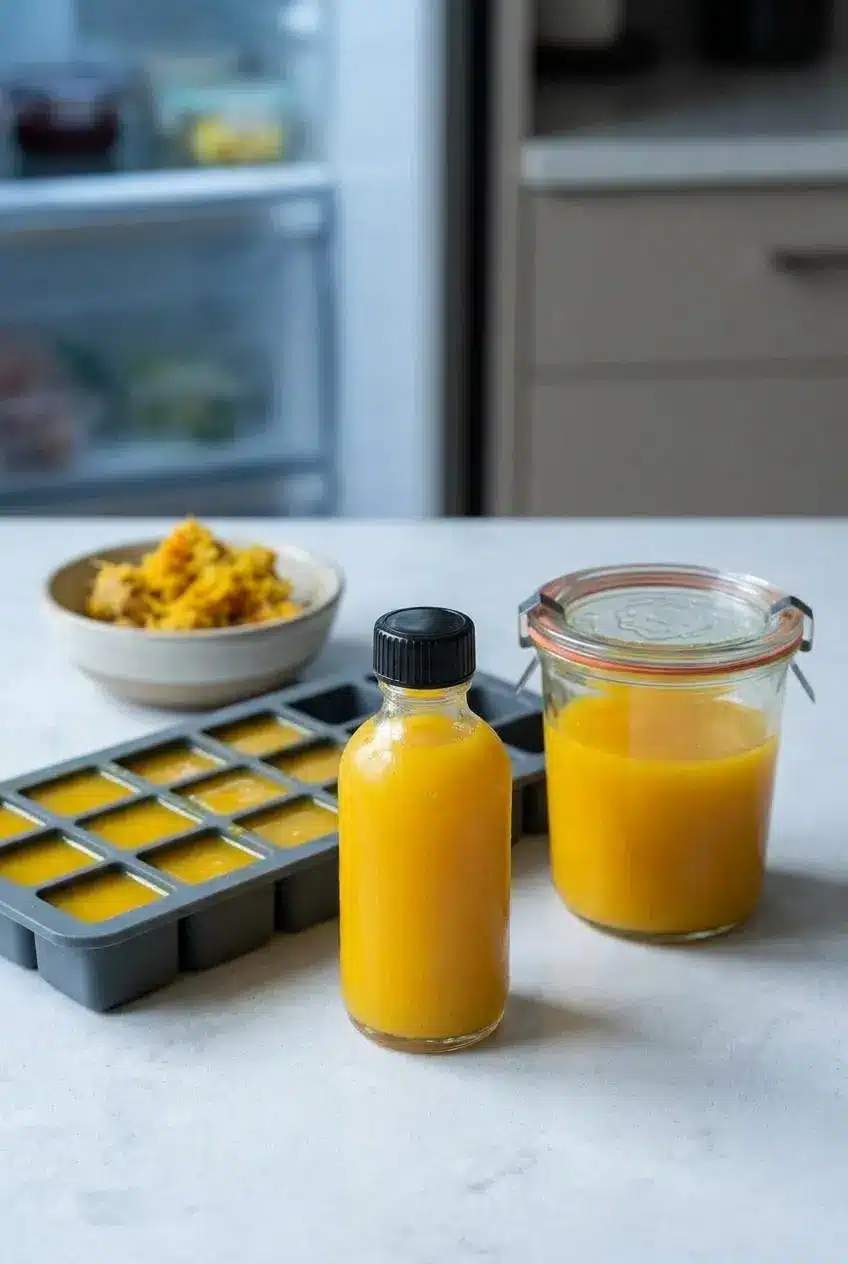
Batching these is practical, but proper storage matters because fresh juice changes quickly.
Refrigerating Your Shots
Pour the finished shots into a clean airtight glass bottle or jar and keep them refrigerated. They can be kept for up to 1 week, and using clean containers helps preserve quality and handling care.
Before pouring a shot, give the bottle a good shake so the settled solids mix back in.
Freezing for Long-Term Storage
For longer storage, freeze the liquid in an ice cube tray, then move the frozen cubes to a freezer bag once solid. They can be frozen for up to 3 months.
When you want one, thaw a cube in the refrigerator until liquid again, then shake or stir before drinking.
Don’t Throw Away the Pulp! 3+ Ideas for Leftovers
The leftover pulp still has plenty of flavor, so it’s worth saving.
- Steep it in hot water for a quick tea with a gingery bite. If you want a chilled version later, turn that idea into Ginger Iced Tea.
- Stir it into soups, stir-fries, or marinades where a little fiber won’t matter and the flavor absolutely will.
- Spread it out to dry, then grind or crumble it into a homemade seasoning blend.
- Mix a spoonful into muffin or quick bread batter for warmth and a little texture.
As for how much to drink, start with one small shot, about 1 to 2 ounces, and see how your stomach handles it. One a day is plenty for most people.
Troubleshooting Common Issues
Most problems here are easy to fix once you know what caused them.
| Problem | Cause | Solution |
|---|---|---|
| Shot is too spicy | The ginger is especially strong or the cayenne comes through too hard | Add a little orange juice, apple juice, pineapple juice, or an optional sweetener to round it out |
| Shot is too pulpy | The blended mixture was not strained enough | Strain again through a finer sieve and press more slowly |
| Shot is separating too quickly | Fresh juice naturally settles in storage | Shake well before serving and keep it chilled |
Conclusion
Homemade ginger shots are fresh, potent, and much easier on the budget than buying little bottles one by one. Once you know your favorite method, they become a very doable weekly prep.
Use fresh roots, shake before serving, and keep that pulp for something useful instead of tossing it. Small recipe, big payoff.
Frequently Asked Questions
How long do homemade ginger shots last?
They keep for up to 1 week in the refrigerator in an airtight container. For longer storage, freeze them for up to 3 months.
Do I need to peel ginger for shots?
No. You can leave the skin on as long as the ginger is washed well. If you use a blender, straining removes most of the fibrous texture anyway.
Is it better to use a blender or a juicer for ginger shots?
Both work well. A juicer gives you a smoother shot right away, while a blender needs straining. The blender version can taste a little bolder, and the juicer version feels cleaner and lighter.
What can I do with the leftover ginger pulp?
Steep it for tea, stir it into soups or stir-fries, or dry it for a homemade spice blend. You can also mix it into batters or marinades so none of that flavor goes to waste.
How much ginger shot should I drink per day?
Start with one shot, about 1 to 2 ounces, especially if you’re new to it. Morning is a popular time, but any time of day works if it feels good for you.
Ginger Shot Recipe

Equipment
- Juicer or Blender
- Sieve or Juice Press
- Small glass bottles
Ingredients
- 1 orange
- 3 lemons
- ½ lb fresh ginger
- 1 medium root of turmeric
- 1 pinch of cayenne pepper
- ½ cup coconut water or regular water
Instructions
Method 1: Using a Blender (No Juicer Needed)
- Wash the orange, lemons, ginger, and turmeric well, then peel the orange and lemons and chop the ginger into smaller pieces. The pieces do not need to be tiny, but smaller chunks help the blender catch everything evenly.
- Add the orange, lemons, ginger, turmeric, cayenne pepper, and coconut water or regular water to the blender. Blend until the mixture looks fully broken down and the liquid turns bright, cloudy, and fragrant.
- Set a fine sieve over a bowl or pitcher and pour the blended mixture through it. Press firmly so the juice runs through and the fibrous pulp stays behind.
- Transfer the strained liquid to small glass bottles or one larger bottle for storage. The finished shot should pour like a thin juice, not sit thickly like a smoothie.
Method 2: Using a Juicer
- Wash all of the produce, peel the orange and lemons, and cut the ginger into pieces that fit your juicer chute. Keeping the ginger unpeeled is fine as long as it has been scrubbed well.
- Run the orange, lemons, ginger, turmeric, cayenne pepper, and coconut water or regular water through the juicer. You should end up with a smooth, vivid liquid and very little texture in the final shot.