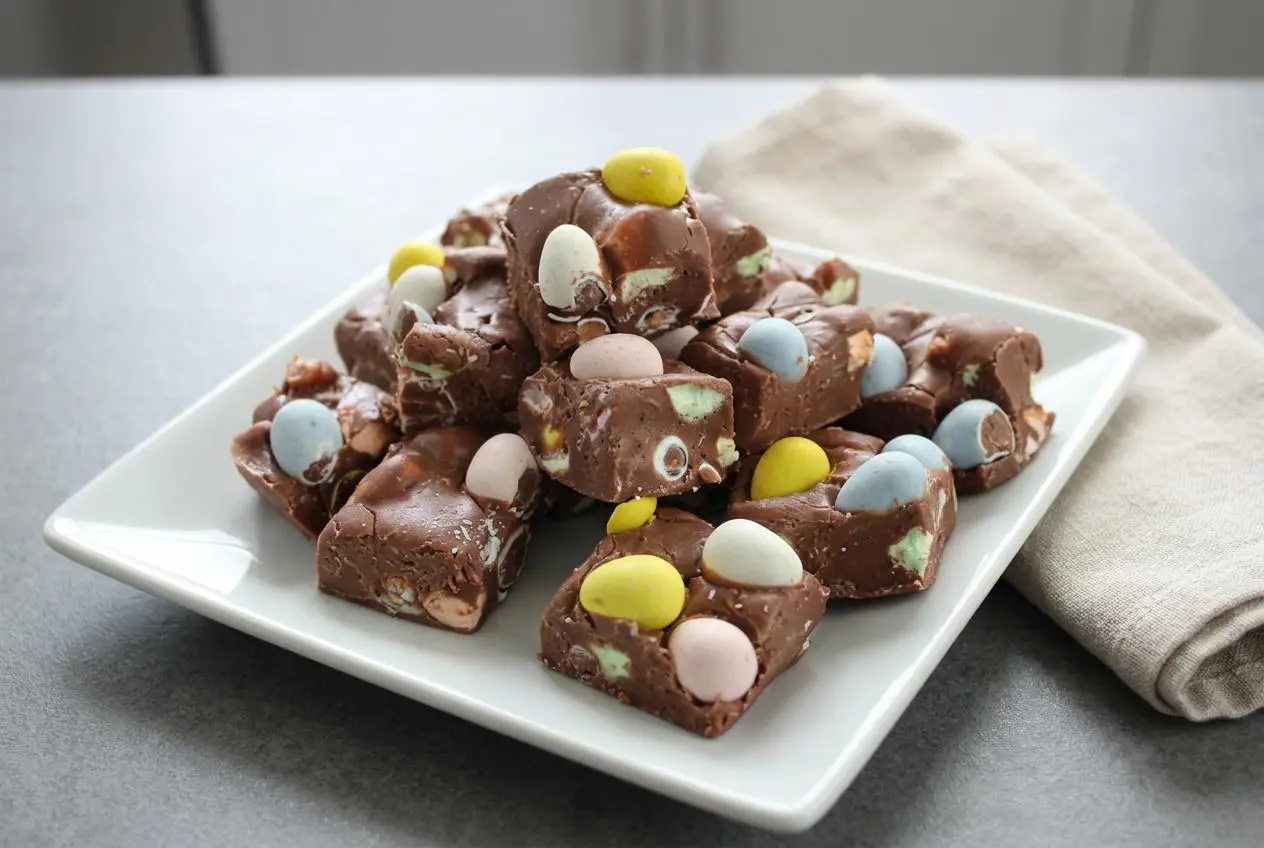
Easy Easter Fudge is a fast no-bake dessert made by melting chocolate chips with sweetened condensed milk, then folding in mini marshmallows and candy-coated eggs before chilling until firm.
Easy Easter Fudge brings together a velvety chocolate center, soft marshmallow bites, and colorful candy crunch in every square. It takes 5 minutes of active prep, with no candy thermometer or stovetop sugar syrup required.
Those bright little eggs make the pan feel instantly festive, and the fudge slices into a rich treat for sharing. The clean-cut trick is worth knowing.
Set the candy eggs beside the lined pan before melting the chocolate so they are ready when the warm fudge mixture comes together.
Ingredients for Easy Easter Fudge
Each ingredient supports the finished texture: chocolate provides structure, condensed milk creates creaminess, marshmallows add chew, and candy eggs bring color and crisp contrast.
- 12 oz bag chocolate chips
- 14 oz can sweetened condensed milk
- 1 1/2 cups marshmallows
- 1 1/3 cups mini candy-coated chocolate eggs (about a 10oz bag)
- 1 teaspoon vanilla (optional)
Chocolate chips form the rich, fudgy body of the candy. Sweetened condensed milk keeps the melted chocolate smooth and helps it firm into sliceable fudge as it chills. Mini marshmallows soften just enough to give the center little pockets of chew, while the candy-coated eggs add a satisfying snap.
I prefer to use candy eggs with intact shells and keep them close by before heating the chocolate, since the warm mixture moves quickly once it turns smooth.
The Role of Sweetened Condensed Milk
Use sweetened condensed milk, not evaporated milk. Sweetened condensed milk is thick and heavily sweetened, so it blends with melted chocolate into a dense mixture that firms without boiling sugar. Evaporated milk is much thinner and does not provide the same structure, leaving the fudge loose instead of set.
This is the ingredient most likely to derail the batch when swapped. Check the label before opening the can. The correct milk should pour slowly and look glossy, creamy, and thick.
Best Chocolate Chips to Use
Semi-sweet chocolate chips balance the sweetness of the condensed milk and candy eggs particularly well. Milk chocolate makes a sweeter, gentler square, while dark chocolate creates a deeper cocoa contrast. White chocolate chips also work as an optional variation, though they produce a much sweeter result.
Choose chocolate chips that melt smoothly and taste good on their own. If the chocolate separates into a greasy-looking mixture, it has likely overheated. Stop heating as soon as the chips soften, then stir to finish melting with the residual warmth.
How to Make Easy Easter Fudge Step-by-Step
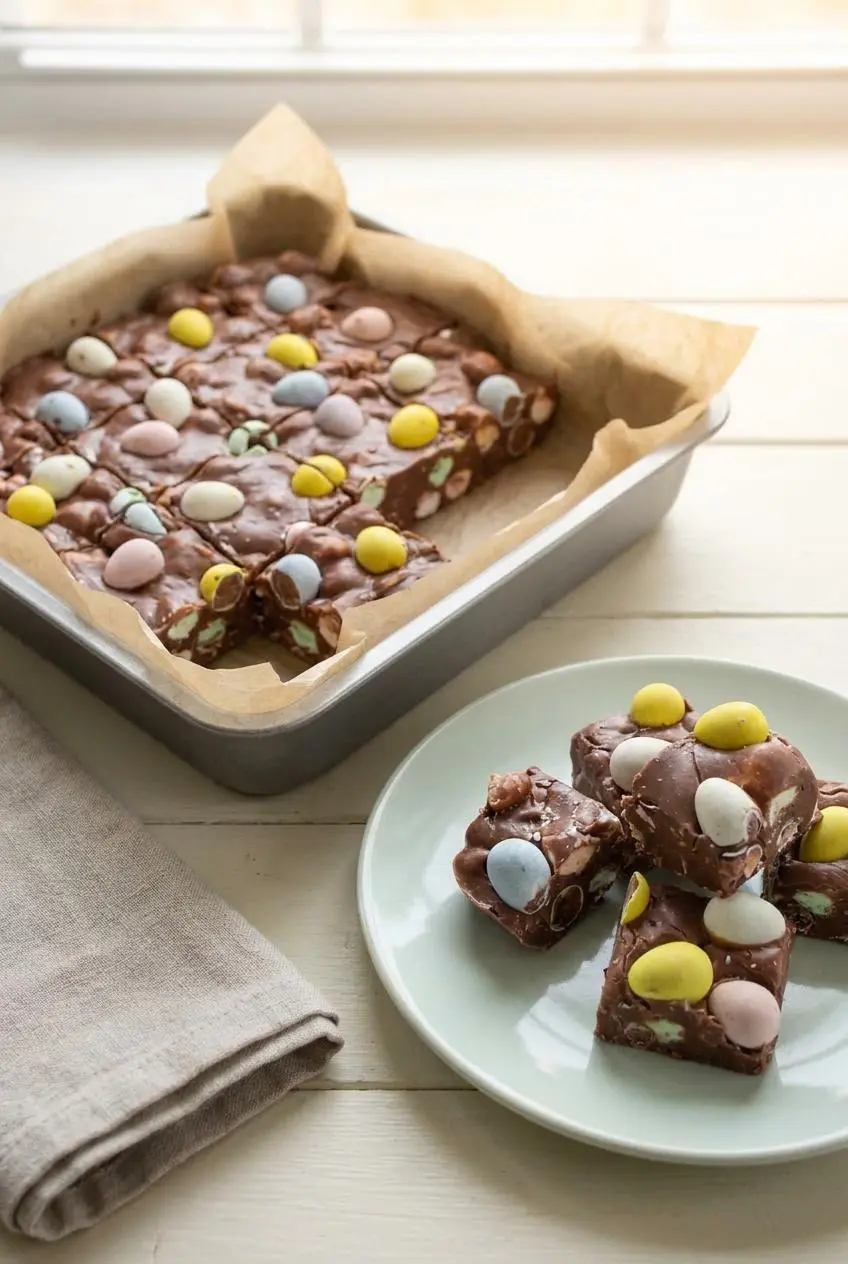
The key is melting the chocolate gently, then moving quickly enough to keep the marshmallows and candy eggs distinct. A lined 8 x 8-inch pan gives the fudge its thick, neat shape.
- Place the chocolate chips in a microwave-safe bowl and pour the sweetened condensed milk over them. Microwave on high for 2 1/2 to 3 minutes.
The chips should look softened and the condensed milk should be hot around the edges. - Stir the warm mixture thoroughly until the chocolate melts into a smooth, glossy fudge batter. It should fall from the spatula in a thick ribbon with no visible chips remaining.
- Fold in the marshmallows just until they are spread through the chocolate mixture. They will puff and soften slightly, but should still hold their shape rather than disappearing into the fudge.
- Line an 8 x 8-inch pan with waxed paper or parchment paper, leaving enough overhang to lift out the fudge later. Scatter 1/2 the mini candy-coated chocolate eggs across the bottom of the pan.
- Spoon the fudge mixture over the candy eggs and smooth the surface with a spatula. Press the remaining mini candy-coated chocolate eggs across the top while the mixture is still warm.
- Chill the pan for about 30 to 45 minutes, until the fudge feels firm with a slight give under a gentle fingertip press. Lift it out by the paper edges and cut into pieces.
For a microwave that tends to run hot, use 30-second bursts at 50 percent power and stir between each burst until the chocolate becomes smooth. This gentler approach helps prevent scorched spots and gives the cocoa fats less chance to separate.
Tips for Perfect Slicing and Troubleshooting
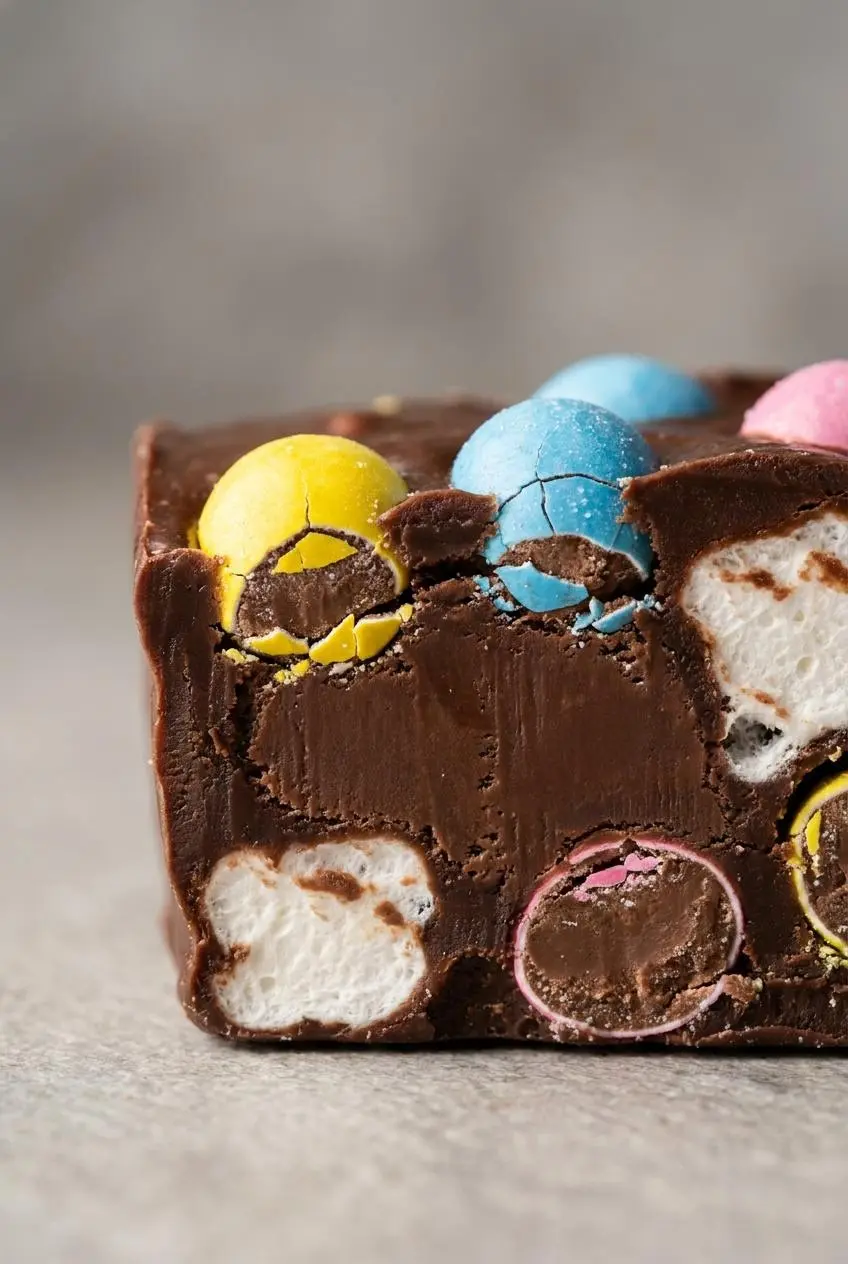
A few small handling choices make the difference between clean squares and a pan of smudged chocolate. Keep the fudge cold enough to hold its shape, but use warmth on the knife rather than forcing a cold blade through the candy shells.
Preventing Grainy or Seized Chocolate
- Grainy or oily fudge: Chocolate can separate when it gets too hot. Use shorter microwave bursts, stir often, and stop heating once the chips are mostly soft.
- Thick mixture that will not smooth out: Keep stirring while the bowl is warm. The residual heat often finishes melting the chips without another microwave cycle.
- Marshmallows vanished: The chocolate was very hot or the mixture was stirred too vigorously. Fold them in gently and stop as soon as they are evenly distributed.
- Fudge seems soft after chilling: Give it the full chilling window before cutting. The center should no longer look shiny or fluid when pressed lightly.
Keep water and steam away from the chocolate bowl. Even a damp utensil can interfere with melted chocolate and make the texture look rough.
Hot Knife Technique for Clean Cuts
Use parchment paper that extends above two sides of the pan, creating sturdy tabs for lifting out the chilled block. Set it on a cutting board before slicing instead of cutting directly in the pan.
Run a long sharp chef’s knife under very hot water, then wipe it completely dry. Press straight down in one firm motion rather than sawing through the candy shells. Wipe and rewarm the blade between cuts for tidy edges and intact candy pieces.
Easy Easter Fudge Variations
Keep the main method the same and treat these as optional ways to change the flavor or color. Each variation works best when the chocolate mixture is still smooth and easy to spread.
Two-Layer Chocolate and White Fudge
For a two-tone version, make a semi-sweet or dark chocolate layer and spread it into the lined pan. Let it chill for 10 minutes, then add a separately prepared white chocolate layer over the top. That brief pause helps the colors stay defined instead of swirling together.
If you enjoy colorful layers in candy-style desserts, this festive layered fudge is another fun option for practicing a clean stacked finish.
White Chocolate Bark and Pastel Sprinkle Fudge
Swap white chocolate chips or white vanilla bark for the semi-sweet chocolate to create a pale, creamy-looking fudge. Fold in the marshmallows as usual, then finish the top with pastel sprinkles and mini candy eggs for a bright Easter effect.
- Easter M&M and Whopper Egg Crunch: Swap half of the Cadbury eggs for malted Whopper eggs and colorful Easter M&Ms for more crunch and a malty chocolate flavor.
- Dark Chocolate Contrast: Choose dark chocolate chips when you want the candy eggs and marshmallows to taste less sweet against a more intense cocoa base.
- Marshmallow and Crunch Lovers: For another candy-packed chocolate idea, try rocky road fudge with its familiar marshmallow-and-crunch combination.
Storage and Make-Ahead Instructions
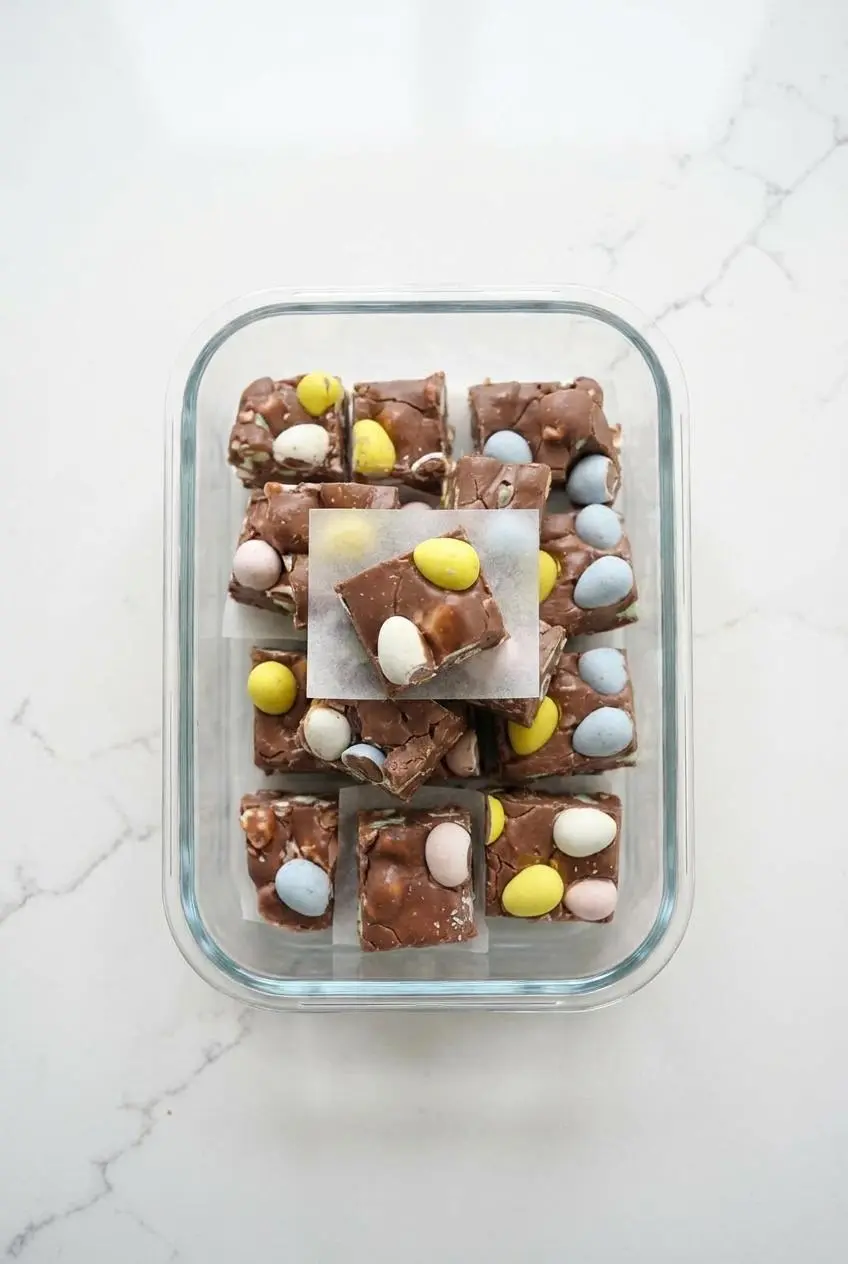
Keep cut fudge covered in an airtight container so the surface stays smooth and the candy shells remain crisp. Avoid leaving pieces uncovered, especially in a warm kitchen, where the chocolate can soften and pick up moisture.
For chilled storage, keep the container in a refrigerator maintained at 40 °F or below, a temperature that supports proper storage of perishable foods and dairy ingredients. Keep refrigerated foods at 40 °F or below and let the fudge sit briefly at room temperature before serving if you prefer a softer bite.
Make the fudge close enough to serving time that the candy coating stays crisp and the texture remains at its best. Keep the block whole until you are ready to cut it when possible, since the uncut surface is less likely to dry out.
Conclusion
This creamy candy-studded fudge delivers a rich Easter treat with only 5 minutes of active prep. Sweetened condensed milk and melted chocolate give it a reliable, sliceable texture, while the marshmallows and candy eggs keep every piece playful.
Arrange the squares on an Easter dessert platter or tuck them into small gift bags for basket treats. A colorful batch is always welcome at the table.
Frequently Asked Questions
Can I Use Evaporated Milk Instead of Sweetened Condensed Milk?
No. Evaporated milk is thinner and lacks the sugar concentration needed to create this fudge texture. Use sweetened condensed milk exactly as listed. With evaporated milk, the chocolate mixture is likely to remain loose and will not set into clean squares.
How Long Does It Take for Condensed Milk Fudge to Set?
Chill this fudge for about 30 to 45 minutes before cutting. The pan is ready when the center feels firm with a little give instead of soft or sticky. If the middle still looks glossy or shifts when you tilt the pan, continue chilling before lifting and slicing.
How Do I Cut Fudge Cleanly Without Crushing the Mini Eggs?
Lift the chilled block out with the parchment paper tabs, then place it on a cutting board. Use a long sharp knife warmed under hot water and dried completely. Make firm downward cuts rather than sawing. Wipe the knife clean between slices so melted chocolate does not smear the candy shells.
Can Easy Easter Fudge Be Frozen for Make-Ahead Prep?
For this version, rely on covered chilled storage rather than freezer timing that has not been established for the finished candy texture. The candy shells and marshmallows are at their best when the fudge is kept protected from moisture and served after chilling. If making it ahead, keep the block covered and wait to slice until closer to serving time for the neatest squares.
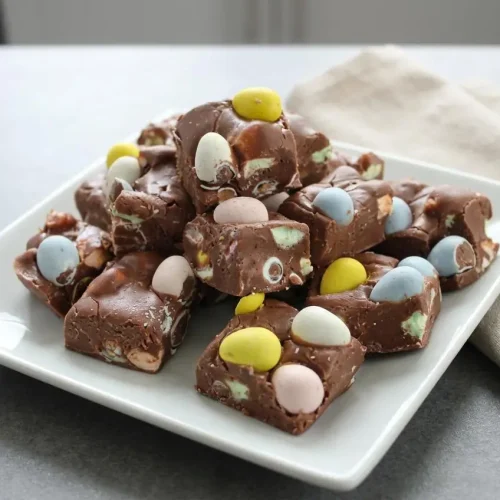
Easy Easter Fudge

Equipment
- Microwave-safe glass bowl
- 8 x 8-inch baking pan
- Parchment paper or waxed paper
- Rubber spatula
- Long sharp knife
Ingredients
- 12 oz chocolate chips 1 bag
- 14 oz sweetened condensed milk 1 can
- 1 1/2 cups marshmallows
- 1 1/3 cups mini candy-coated chocolate eggs about a 10oz bag
- 1 teaspoon vanilla optional
Instructions
- Place the chocolate chips in a microwave-safe bowl and pour the sweetened condensed milk over them. Microwave on high for 2 1/2 to 3 minutes. The chips should look softened and the condensed milk should be hot around the edges.
- Stir the warm mixture thoroughly until the chocolate melts into a smooth, glossy fudge batter. It should fall from the spatula in a thick ribbon with no visible chips remaining.
- Fold in the marshmallows just until they are spread through the chocolate mixture. They will puff and soften slightly, but should still hold their shape rather than disappearing into the fudge.
- Line an 8 x 8-inch pan with waxed paper or parchment paper, leaving enough overhang to lift out the fudge later. Scatter 1/2 the mini candy-coated chocolate eggs across the bottom of the pan.
- Spoon the fudge mixture over the candy eggs and smooth the surface with a spatula. Press the remaining mini candy-coated chocolate eggs across the top while the mixture is still warm.
- Chill the pan for about 30 to 45 minutes, until the fudge feels firm with a slight give under a gentle fingertip press. Lift it out by the paper edges and cut into pieces.