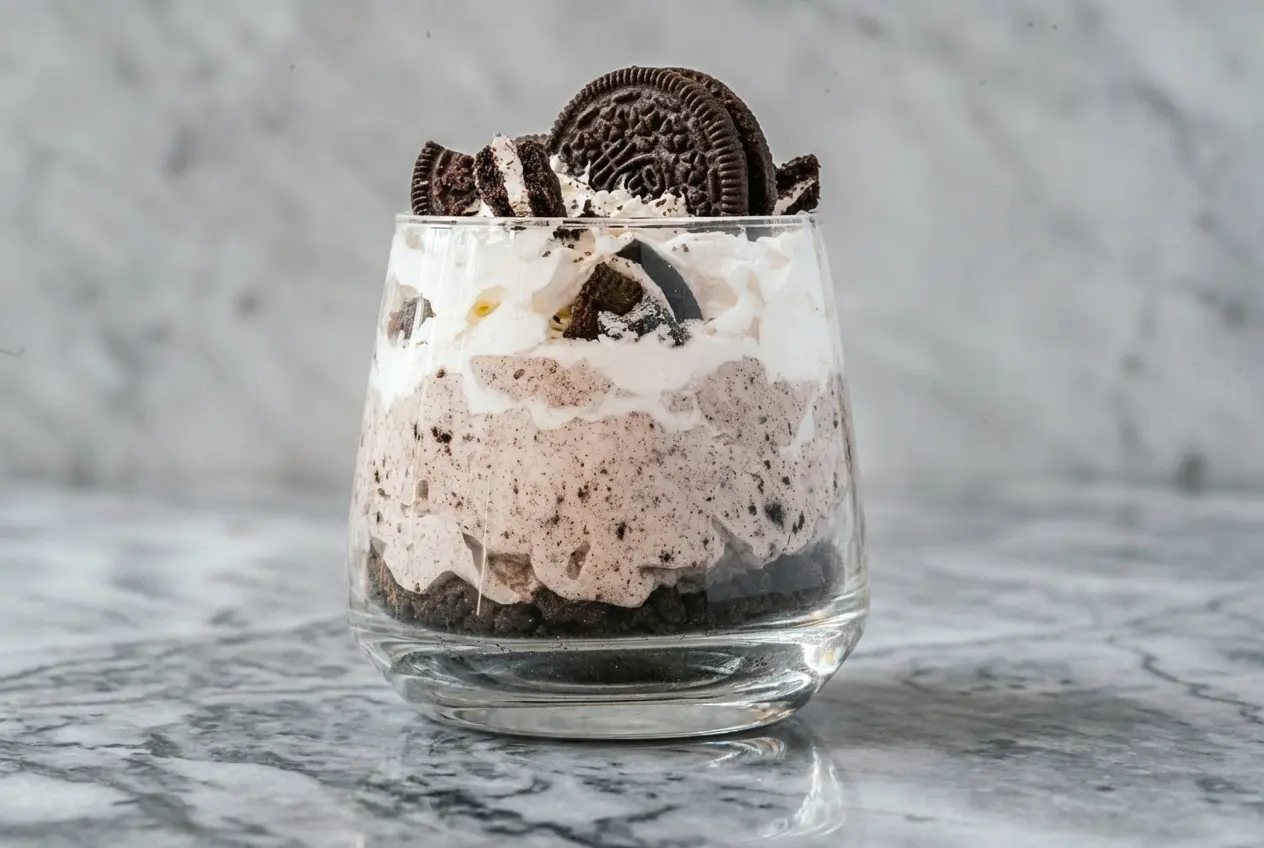
There is something about a chocolate sandwich cookie that sends almost everyone straight back to childhood, whether it showed up in a lunchbox or got dunked into a cold glass of milk after school. In my kitchen, that nostalgia turns into something a little more polished with these Cookies and Cream Mousse Cups, a chilled dessert that feels party-ready without asking you to turn on the oven.
This is the kind of no-bake dessert I lean on for summer cookouts, birthdays, or those random weeknights when you want something sweet and impressive in under half an hour. The texture is light, airy, and velvety, with just enough cookie crunch to keep every spoonful interesting.
Why You’ll Love This Recipe
Big flavor, little effort: These mousse cups come together fast, but they look like something you would spot in a bakery case. I love desserts that feel special without requiring baking, cooling racks, or a sink full of dishes.
The secret twist: A pinch of fine sea salt and 1/2 teaspoon of espresso powder quietly transform the filling. In my kitchen, that small addition makes the cocoa taste deeper and keeps the sweetness from becoming heavy.
A texture worth chasing: When Heavy whipping cream is whipped to stiff peaks and folded with crushed Oreo cookies, the result is soft and cloud-like with a satisfying cookie contrast. It is the kind of dessert that feels rich without being dense.
Perfect for easy entertaining: Because this recipe is served in individual servings, it is ideal for showers, cookouts, and casual dinner parties. If you already enjoy crowd-friendly no-bake cookies, this mousse has that same easygoing charm with a more elegant finish.
Ingredients and Substitutions
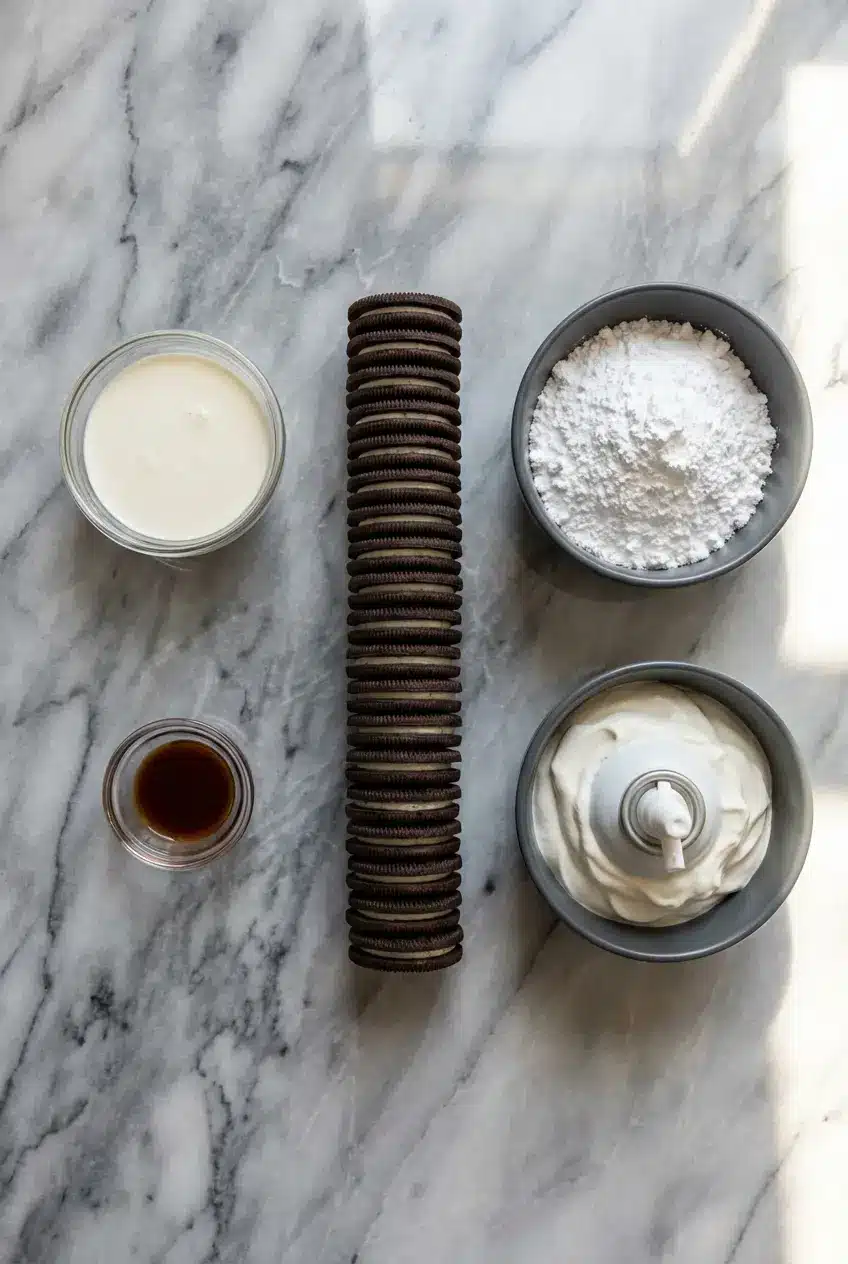
You only need a handful of familiar ingredients here, and each one earns its place. The cookies bring chocolate flavor and crunch, while the cream creates that signature mousse texture.
Ingredients
- 36 Oreo Cookies
- 2 cups heavy cream
- 1 teaspoon pure vanilla extract
- 1/2 cup powdered sugar (optional)
- Reddi-whip (optional)
Ingredient Notes & Substitutions
Heavy cream: Use heavy whipping cream with at least 36% milk fat if you want the mousse to whip up full and stable. Lower-fat cream does not hold Stiff peaks nearly as well, especially if your kitchen runs warm.
Oreo cookies: Standard Oreo cookies are the best fit for this recipe because the balance of cookie to filling keeps the mousse airy instead of oily. Double Stuf tends to throw off that ratio and can make the texture heavier than it should be.
Vanilla extract: Pure vanilla extract gives a clean, familiar flavor, but vanilla bean paste is a lovely swap when you want a slightly more upscale look and those little flecks throughout the mousse.
Powdered sugar: Since the cookie filling already brings plenty of sweetness, I usually treat the Confectioners’ sugar as optional and add it only after tasting. If you like a sweeter dessert table style mousse, it is an easy way to nudge the flavor in that direction.
Plant-based swaps: For a dairy-free version, chilled full-fat coconut cream can stand in for the cream, though the flavor will be a little different. In the US, many chocolate sandwich cookies are vegan-friendly, but I still check the label when cooking for guests with strict dietary needs.
How to Make Cookies and Cream Mousse Cups
Prep the Cookies
- Twist open each cookie and gently scrape out the white filling, then place that filling into a large mixing bowl. Take your time here so you keep the chocolate wafers fairly intact, which makes them easier to crush evenly later.
- Transfer the cookie wafers to a large zip-top bag, setting aside 4 cookie halves for garnish before you start crushing. Use a rolling pin or the bottom of a sturdy glass to crush them into fine crumbs, with a texture that looks sandy and uniform.
- Spoon 2 to 3 tablespoons of those crumbs into the bottom of each serving glass. This base gives the mousse cups a little structure and a nice bit of crunch under the creamy filling.
Whip the Mousse
- Add the heavy cream and vanilla extract to the bowl with the Oreo filling. For the flavor twist from my kitchen, add a pinch of fine sea salt and 1/2 teaspoon of espresso powder, then whip with a hand mixer or stand mixer until the mixture turns smooth, fluffy, and thick enough to hold stiff peaks.
- Once the cream is fully whipped, fold in the remaining crushed cookies with a spatula. Use broad, gentle strokes so the mousse stays light and airy instead of losing all that volume you just built.
Fill the Cups
Divide the mousse evenly among the prepared glasses, smoothing the tops or piping it in with a Piping bag if you want that neat bakery-style finish. The mixture should look billowy and speckled with cookie crumbs, not loose or runny.
Garnish and Chill
- Top each cup with Reddi-whip, then finish with the reserved crushed cookies or cookie halves. That final layer adds a little height and gives each serving a polished look.
- Serve right away if you like a fresher cookie crunch, or refrigerate until ready to enjoy for a slightly firmer, more set mousse texture. Either way, the flavor gets even better as the chocolate and vanilla settle together.
The Secret to the Perfect Mousse Balance
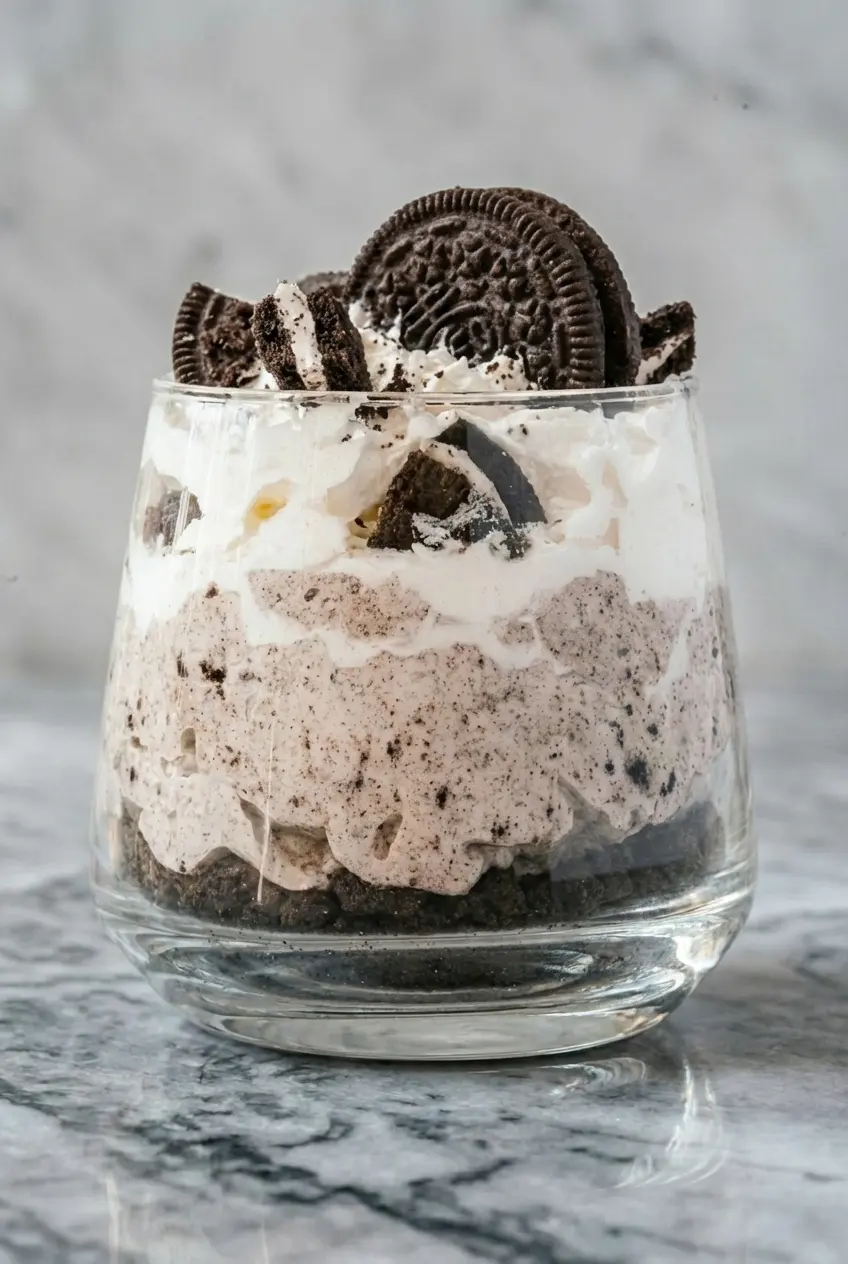
Cold tools make a bigger difference than most people realize. If you chill your bowl and whisk for 15 minutes before whipping, the cream traps air more efficiently and builds volume faster, which is exactly what gives mousse its soft, lofty body.
The stiff peak stage is your best visual cue. When you lift the beaters, the cream should stand tall with a smooth, firm tip that barely bends, not slump back into the bowl and not look curdled.
I also make sure the Oreo filling is fully loosened into the cream before I whip everything hard. If bits of filling stay stubborn and separate, you end up with tiny sweet lumps instead of a silky mousse, so I sometimes warm the filling for 10 seconds if it feels especially firm.
That tiny pinch of salt matters more than people think, especially in chocolate desserts. The same balancing effect shows up in well-made sea salt cookies, where salt sharpens the cocoa flavor and keeps sweetness from tasting flat.
Temperature matters because whipped cream is really an emulsion held together by chilled fat. When cream gets too warm, the structure weakens, and if you whip too far it can tip the other way and start to break, which is why it helps to understand what happens when overmixing ruptures the fat globule membranes inside the cream.
The Science of Stabilizing Homemade Whipped Mousse
Homemade mousse is simple, but it does rely on the structure of Heavy whipping cream. In the United States, the FDA standard of identity helps explain why heavy cream performs so well here, because that higher milk fat level is exactly what supports better whipping, better volume, and a more dependable finish.
If your mousse is too loose, the usual culprits are warm cream, under-whipping, or overmixing after the cookie crumbs go in. I stop as soon as I see Stiff peaks and fold gently, because that is the sweet spot where the mousse stays cloud-like but still holds its shape in the glass.
For warm-weather parties or desserts that need to sit out a bit longer, a small Stabilizer can help. One tablespoon of mascarpone or softened cream cheese whipped in with the cream gives the mousse extra backbone without making it taste heavy.
Texture-wise, this dessert lands somewhere between classic whipped cream and a pudding-style filling. If you enjoy spoonable desserts with that same creamy comfort, recipes like banana pudding cookies tap into a similar soft, nostalgic texture profile.
Plant-Based and Vegan Adaptations for Modern Desserts
A dairy-free version is absolutely possible if you start with full-fat coconut cream that has been chilled overnight. Scoop off the thick solid portion, whip it cold, and expect a slightly softer mousse with a gentle coconut note in the background.
In my experience, the espresso powder twist works even better in vegan versions because it pulls the chocolate flavor forward and helps mask some of that coconut aroma. Most standard Oreo-style chocolate sandwich cookies sold in the US are often suitable for plant-based baking, but I always tell friends to check labels carefully for current ingredient and certification details.
Coconut-based mousse will not behave exactly like dairy cream, but it can still be beautiful in individual servings if you keep everything very cold. Research on coconut cream and dairy alternatives often discusses differences in overrun and whipping properties, which is why patience and temperature control matter even more with plant-based versions.
When I am building a dessert table for guests who avoid dairy, I like pairing these mousse cups with other chocolate-forward treats so nobody feels like they are getting the backup option. Soft, rich dairy-free chocolate cookies fit beautifully alongside them and keep the whole spread cohesive.
Pro Tips & Troubleshooting
Pro Tips
- Chill your bowl and whisk attachment in the freezer for 10 to 15 minutes before whipping. That little head start helps the cream whip faster and hold more volume.
- If the Oreo filling feels stiff or stubborn, microwave it for 10 seconds before adding the cream. It blends much more smoothly and helps prevent tiny lumps in the mousse.
- Use a piping bag if you want clean, sharp layers in clear glasses. It keeps the sides neat and gives the finished cups a polished look.
- Wait until just before serving to add the Reddi-whip topping. It stays fluffier and prettier that way.
- If you use a food processor for the cookies, let the crumbs cool if they feel warm from friction. Warm crumbs can soften the mousse faster than you want.
Common Mistakes to Avoid
- Do not use Double Stuf cookies if you want the best texture. The extra filling can make the mousse greasy and overly sweet instead of light.
- Do not over-whip the cream. Once it looks grainy or starts clumping, it is on its way to butter and the mousse will lose its smooth finish.
- Do not stir the cookie crumbs in aggressively. Folding keeps the air in the mousse, while rough mixing knocks it flat.
- Do not fill the glasses carelessly if presentation matters. Smudged sides are harmless, but a neat fill makes these cups look far more special on the table.
Serving & Storage
Serving Ideas
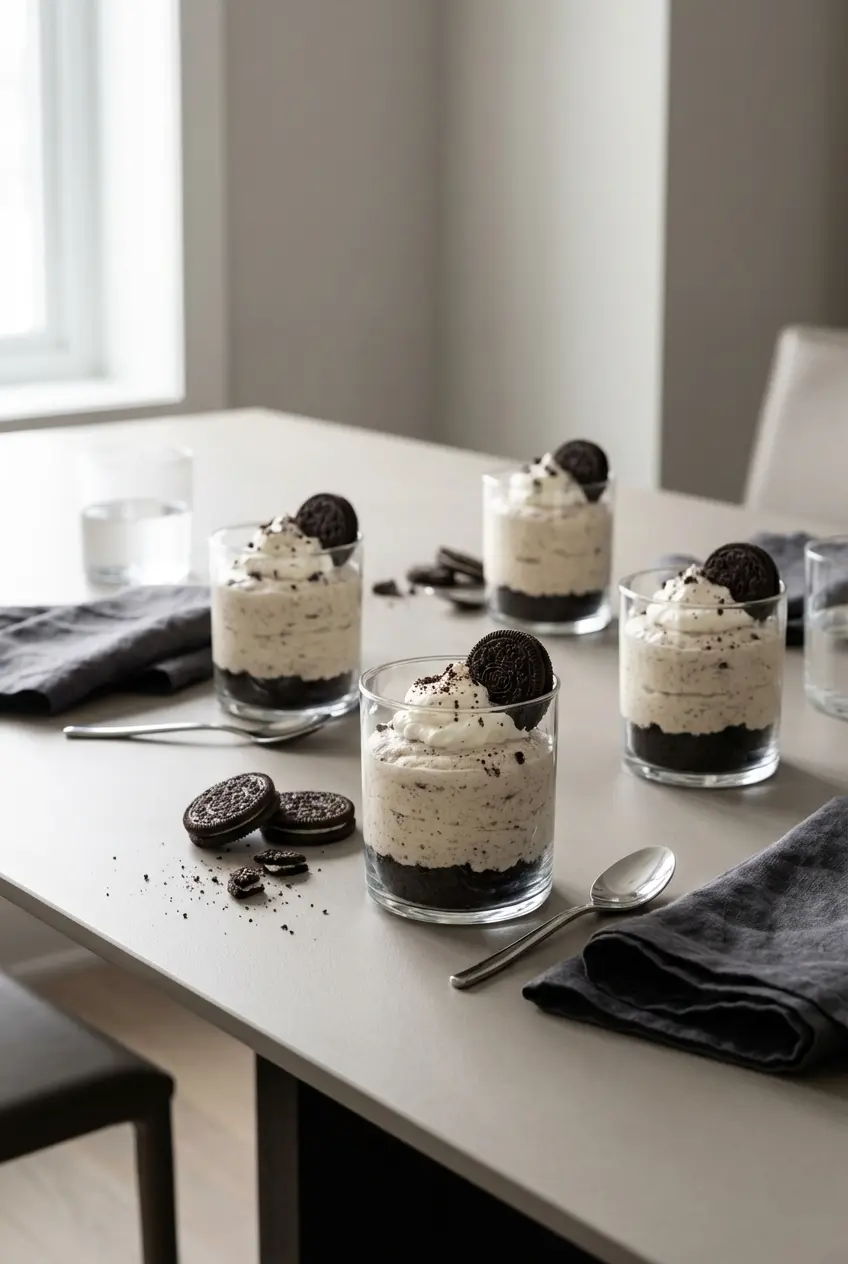
These mousse cups are lovely on their own, but I sometimes add a thin layer of chocolate ganache between the crumbs and mousse for a dessert that feels like a mini mousse cake. Served in clear glasses or mini mason jars, they look especially striking because you can see every layer.
A drop of peppermint extract turns them into a cool-weather variation with a familiar ice-cream-parlor feel. That minty version fits right in with the flavor profile of mint chocolate cookies, especially if you garnish with extra crushed cookies and a little whipped topping just before serving.
For parties, I like making these in small jars with lids so they are easy to stack, carry, and hand out. They are also a smart choice for potlucks because the individual servings save you from slicing or plating at the last minute.
Storage and Make-Ahead Instructions
These Cookies and Cream Mousse Cups keep well in the refrigerator for up to 3 days. The mousse stays stable, though the cookie crumbs folded into the filling will soften over time and create a tender, cake-like texture that many people actually love.
The crumb layer at the bottom tends to stay a little crunchier than the crumbs mixed into the mousse, especially during the first day. If crisp texture is your top priority, assemble the cups the same day you plan to serve them and add the Reddi-whip right before they hit the table.
I do not recommend freezing this dessert. Once thawed, whipped cream can lose its smooth structure and turn watery or grainy, which takes away the whole charm of a velvety mousse.
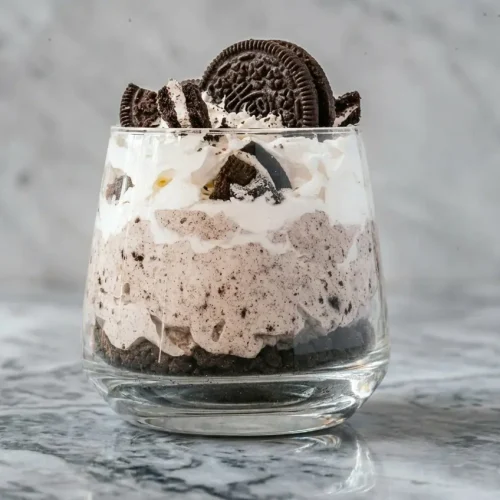
Cookies And Cream Mousse Cups

Equipment
- Mixing Bowl
- Zip-top bag
- Rolling pin or heavy glass
- Hand or stand mixer
- Spatula
- Serving glasses
- Piping bag (optional)
Ingredients
- 36 Oreo Cookies
- 2 cups heavy cream
- 1 teaspoon pure vanilla extract
- 1/2 cup powdered sugar (optional)
- Reddi-whip (optional)
Instructions
Prep the Cookies
- Twist open each Oreo cookie and gently scrape the white filling into a large mixing bowl, keeping the chocolate wafers intact.
- Place the chocolate wafers into a zip-top bag, setting aside 4 halves for garnish. Use a rolling pin to crush the remaining wafers into fine, sandy crumbs.
- Spoon 2 to 3 tablespoons of the cookie crumbs into the bottom of each serving glass to create a structured base.
Whip the Mousse
- Add the heavy cream and vanilla extract to the bowl with the Oreo filling. For a flavor boost, add a pinch of sea salt and 1/2 teaspoon of espresso powder, then whip until the mixture holds stiff peaks.
- Using a spatula, gently fold the remaining crushed cookies into the whipped cream using broad strokes to maintain the airy volume.
Fill the Cups
- Divide the mousse evenly among the prepared glasses. You can use a piping bag for a neater, bakery-style finish.
Garnish and Chill
- Top each cup with a dollop of Reddi-whip and the reserved cookie pieces.
- Serve immediately for a crunchy texture, or refrigerate until serving for a firmer, more set mousse.
Notes
Nutrition
Conclusion
These mousse cups prove that a handful of simple ingredients can turn into something that feels restaurant-worthy, especially when a pinch of sea salt and a touch of espresso powder deepen the chocolate and tame the sweetness. The result is light, creamy, and just a little more grown-up than the cookies-and-milk version many of us remember.
I come back to this recipe whenever I need a fast dessert that still gets that first-bite pause around the table. Once you make it once, it is easy to play with flavors, toppings, and serving glasses to make it your own.
Frequently Asked Questions
How long do these mousse cups last in the refrigerator?
Can I use Double Stuf Oreos for this recipe?
How do I get the mousse perfectly smooth?
Do I need to use powdered sugar?