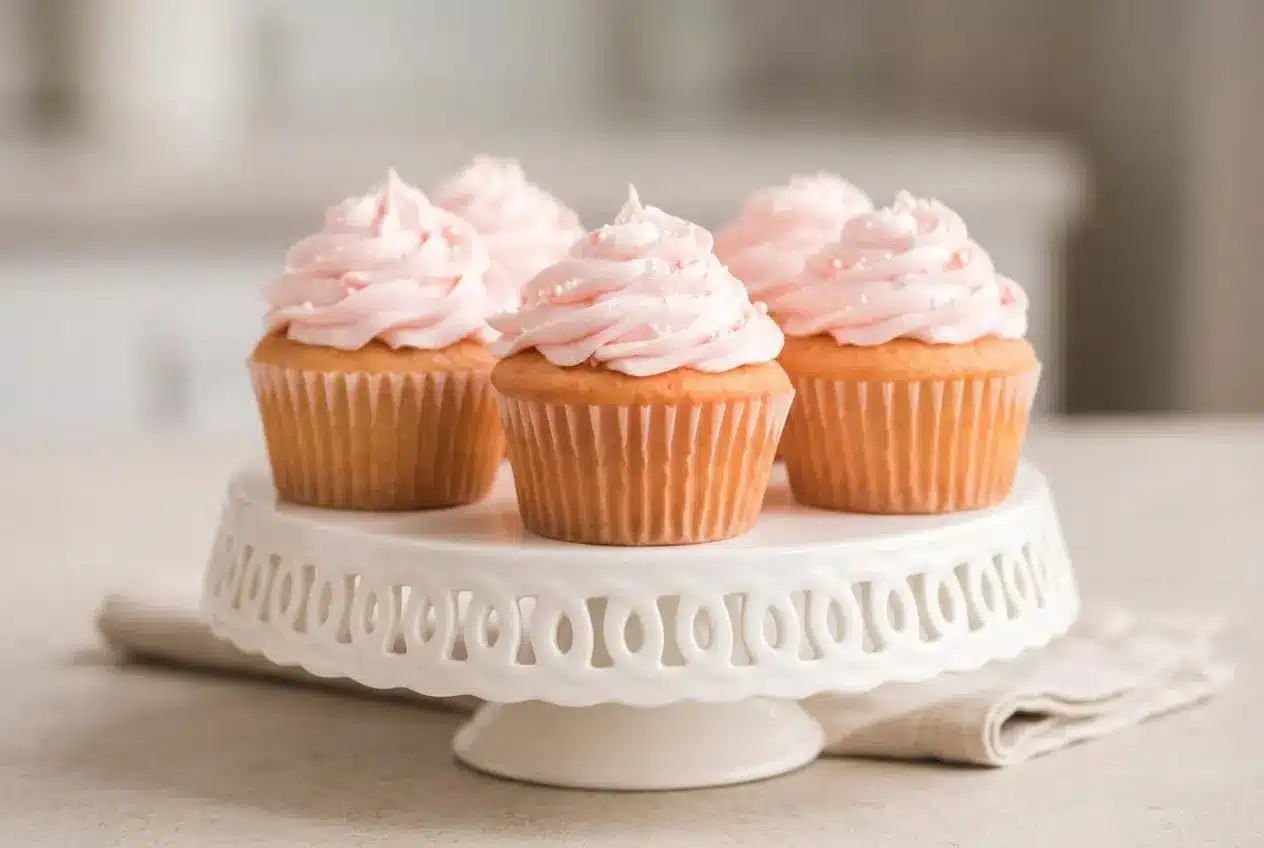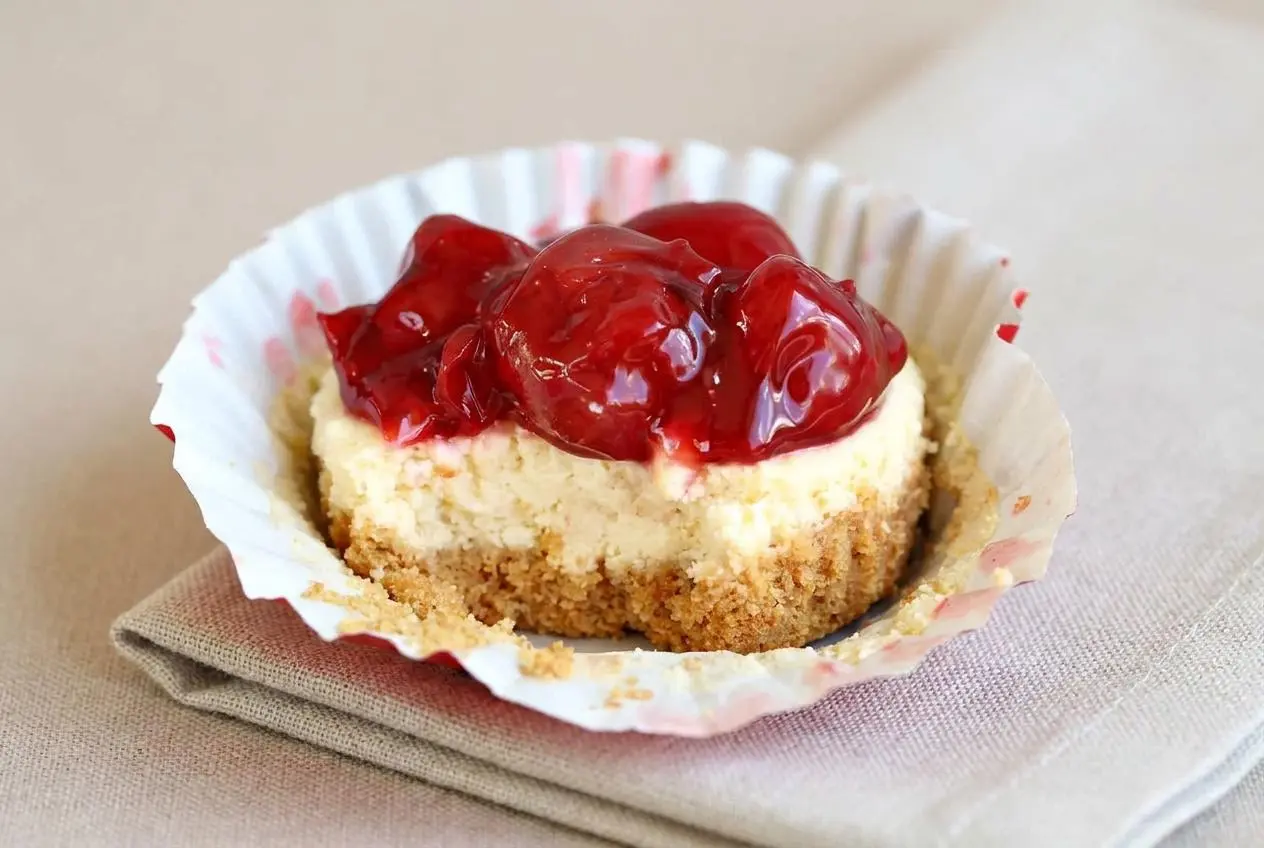
Cherry Cheesecake Cupcakes are individual mini cheesecakes baked in a muffin tin over a buttery crust, topped with cherry pie filling, and chilled until firm. They pair a crisp base with rich, creamy filling for a bakery-style dessert at home.
These Cherry Cheesecake Cupcakes deliver the classic contrast everyone wants: a buttery graham crust beneath a tangy, velvety cheesecake center and glossy cherries on top. They are made for sharing, but their individual portions also make serving wonderfully tidy.
Room-temperature cream cheese and a light hand with the eggs keep the filling smooth instead of puffy or cracked. The little center dip makes a perfect landing spot for cherries.
Set the cream cheese and eggs out about an hour before baking so they blend smoothly without extra mixing.
Ingredients and Role Explanations
Each ingredient contributes to the finished texture and flavor: graham crumbs provide crunch, butter binds the crust, cream cheese creates structure, and lemon brightens the rich filling.
Crust
- 1.5 cups graham cracker crumbs
- 1/2 cup butter, melted
- 1/4 cup sugar
- 24 cupcake liners
Filling
- 16 oz. cream cheese, at room temperature
- 1/4 cup sugar
- 2 large eggs, at room temperature
- 1 Tablespoon lemon juice
- 2 teaspoons vanilla extract
- 21 oz. cherry pie filling
Use full-fat cream cheese for the firm-yet-creamy structure that makes these mini cheesecakes hold their shape after chilling. It must be at room temperature before mixing, or small lumps can remain even after beating.
Room-temperature eggs blend into the cream cheese more easily, while lemon juice keeps the filling from tasting overly sweet. Melted butter coats the graham crumbs and helps the crust stay together when each cupcake is lifted from its liner.
I always let the cream cheese soften fully before starting because a smooth, fluffy base is much easier to achieve than trying to beat lumps out later.
How to Make Cherry Cheesecake Cupcakes Step-by-Step
The method works best when the crust is set first, the filling is mixed gently, and the baked cupcakes are allowed to cool before their cherry topping goes on.
Preparing and Pre-Baking the Crust
Press the crumb mixture firmly so it forms a compact base rather than loose sandy crumbs. A flat-bottomed measuring cup works well for making each crust level and sturdy.
Mixing the Cream Cheese Filling
Beat the softened cream cheese before adding sugar, then fold in the eggs rather than whipping them in. This keeps excess air out of the batter and helps the cupcakes bake with a smooth surface.
Baking and Chilling
Watch the centers near the end of baking. The edges should look settled, while the middle retains a faint jiggle that firms as the cheesecakes cool and chill.
- Heat the oven to 350 °F and place 24 cupcake liners in a muffin tin.
Have the pan ready before mixing so the crust can go straight into the liners. - Stir the graham cracker crumbs, melted butter, and sugar together in a large bowl, then divide the mixture among the liners and press it firmly into the bottoms.
The crumbs should form an even, compact layer with no loose patches around the edges. - Bake the crusts for 5 minutes, then leave them in the muffin tin until completely cool.
The crusts will look set and smell lightly buttery rather than wet or loose. - Use a hand mixer to beat the room-temperature cream cheese until light and smooth, then blend in the sugar.
The mixture should look fluffy and creamy with no visible white lumps. - Whisk the eggs in a small bowl, then fold them into the cream cheese with a silicone spatula just until combined; gently mix in the lemon juice and vanilla extract.
Stop as soon as the batter looks uniform to avoid adding excess air. - Fill each cooled crust about 2/3 full with the cheesecake batter.
Leave room at the top so the filling can rise gently without spilling over the liners. - Bake for 15 minutes.
The edges should appear set while the centers still give a slight, gentle jiggle when the pan is nudged. - Cool the cupcakes in the pan, spoon cherry pie filling over each one, and chill until completely cooled.
A shallow center indentation is normal and neatly holds the cherry topping.
Crust Options: Graham Cracker vs Vanilla Wafer Shortcut
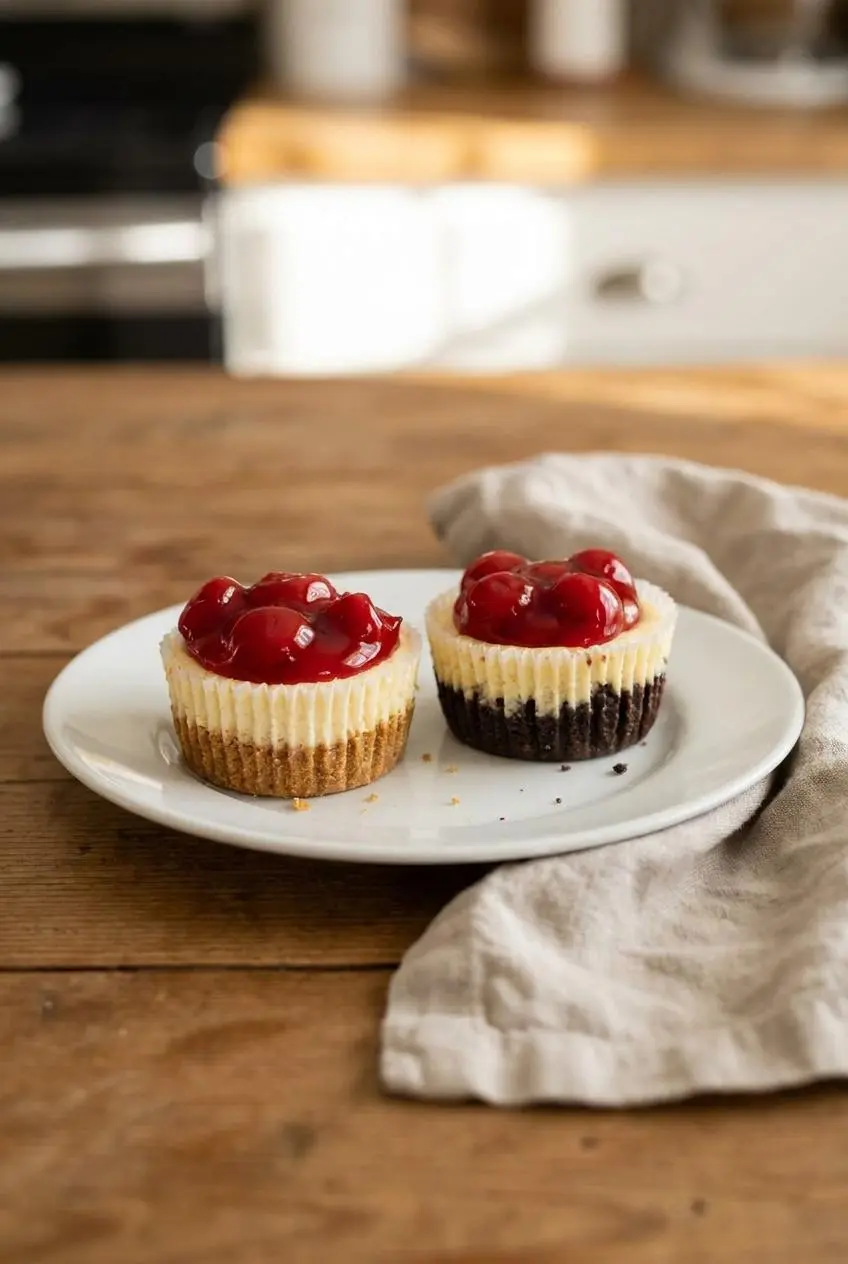
Both crust styles make a satisfying base, but they offer different flavors and prep styles. Choose the graham crust for buttery crunch or a vanilla wafer for an especially quick assembly.
Classic Graham Cracker Crust
The graham cracker crust in this recipe has a toasted, buttery flavor and a crisp texture that contrasts beautifully with the soft filling. Pressing it firmly and baking it for 5 minutes gives it enough structure to stay intact under the cheesecake batter.
This option also lets the butter and sugar coat every crumb, creating a more traditional cheesecake finish. It is the better pick when crust texture matters as much as the filling.
Quick Vanilla Wafer Base
For an optional shortcut, place one whole vanilla wafer in the bottom of each cupcake liner instead of making the graham cracker crust. The wafer becomes a sweet, sturdy base as the cupcakes bake, with no crushing, butter mixing, or pre-baking needed.
Vanilla wafers bring a softer cookie flavor, while graham crackers give a crunchier, more buttery bite. For another cookie-forward mini dessert, try these Oreo cheesecake cups.
Baking Tips and Troubleshooting
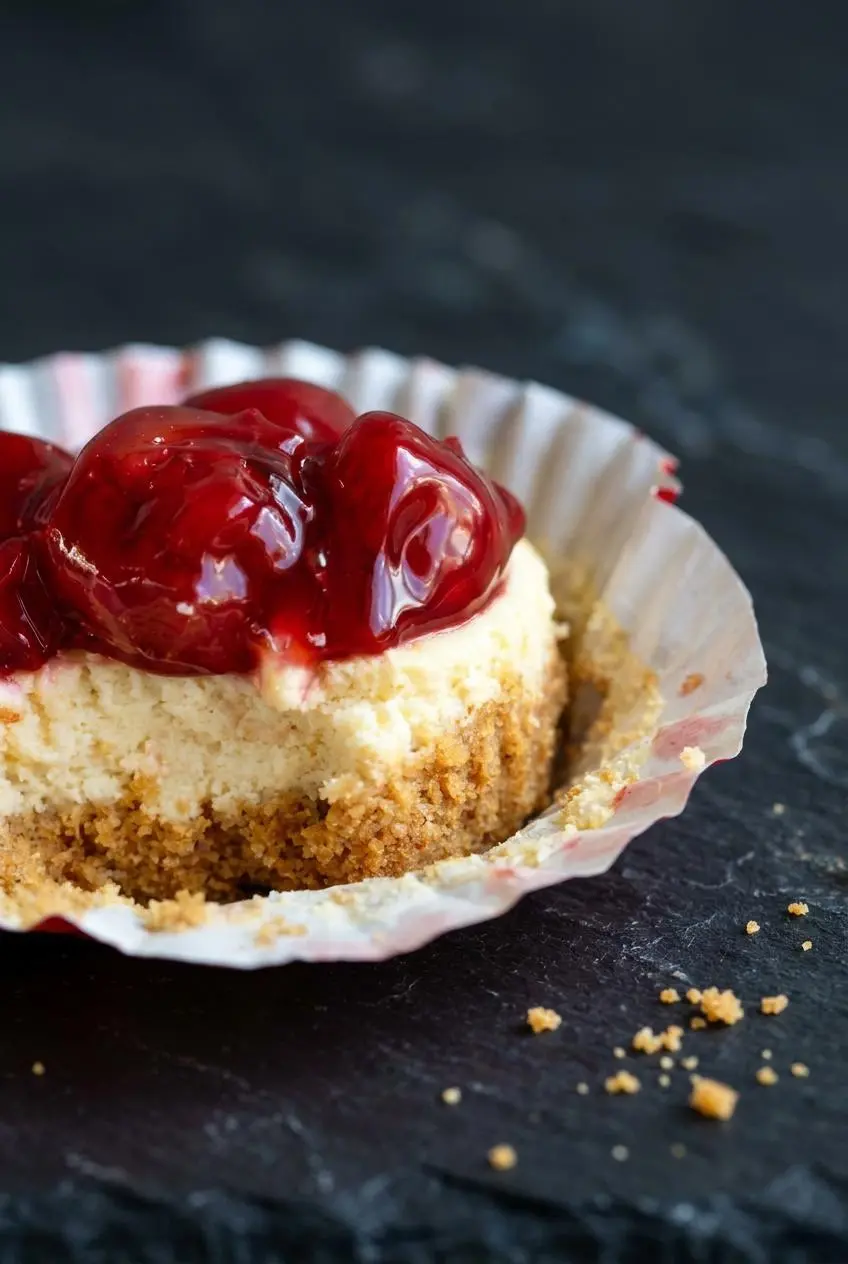
Small cheesecakes are forgiving when you know what to look for, especially when it comes to batter texture and the gentle jiggle that signals doneness.
- Lumpy filling: Cold cream cheese is the usual cause. Let it soften fully, then beat it smooth before adding sugar or any liquid ingredients.
- Too much puffing or cracking: Overmixed eggs introduce extra air. Whisk the eggs separately and fold them in only until the streaks disappear.
- A sunken center: A slight dip is normal as cheesecake contracts while cooling. It is actually useful here because it creates a natural well for the cherry pie filling.
- Dry texture: The cupcakes likely baked too long. Pull them when the edges are set but the centers still wobble faintly instead of looking completely firm.
- Eggs still feel cold: Place the uncracked eggs in warm water briefly while the cream cheese softens, then dry them before cracking.
Do not worry if the filling looks slightly underdone when it comes out of the oven. Cheesecake finishes setting as it cools, and baking until the centers are rigid can leave the texture dry.
Storage and Make-Ahead Tips
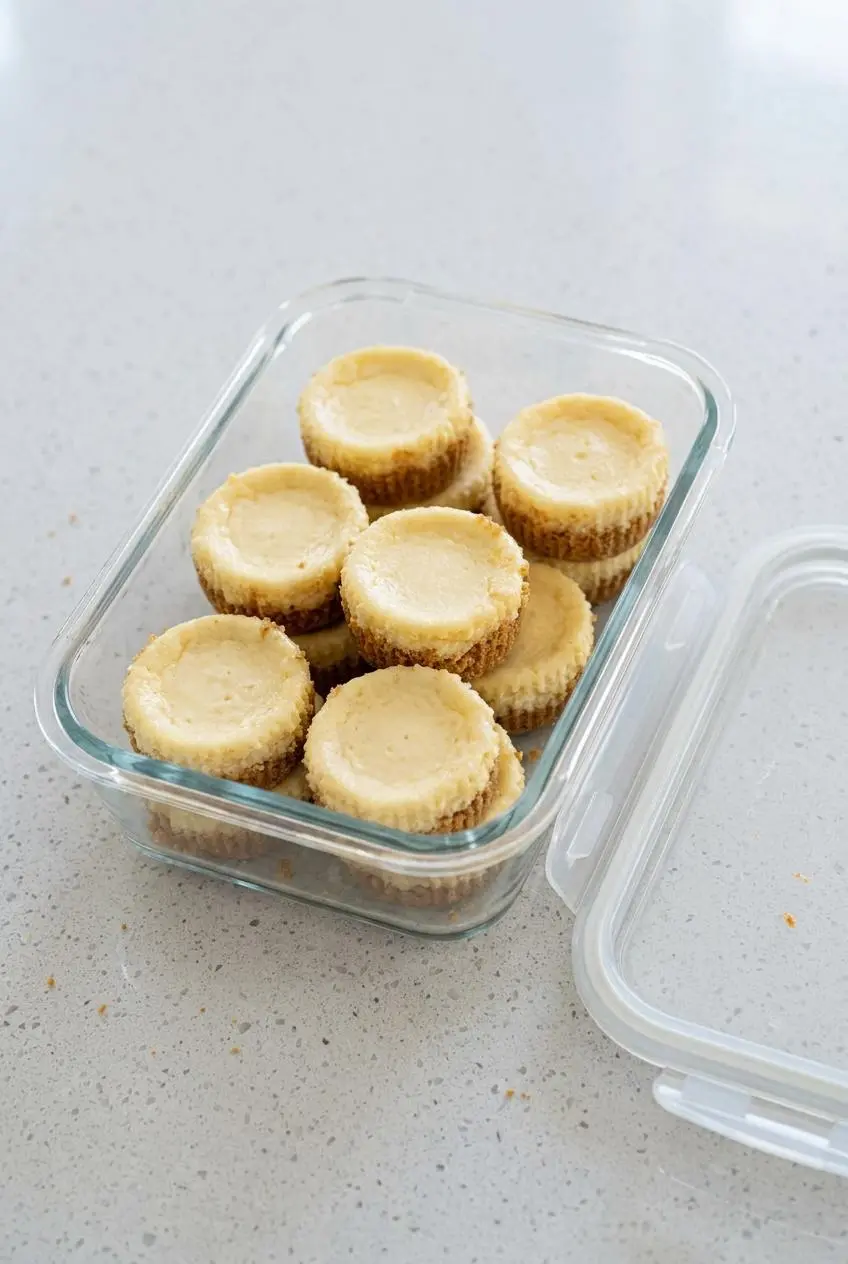
Keep the finished cupcakes covered in an airtight container in the refrigerator so the filling stays chilled and the topping does not dry out. The flavor becomes more blended after a longer rest in the refrigerator, making these a helpful dessert to prepare before a gathering.
For proper cold storage, keep the refrigerator at or below 40 °F for perishable foods. Keep the cupcakes covered, and add the cherry topping close to serving if you want the cleanest, glossiest finish.
Avoid freezing cupcakes already topped with cherry pie filling, since the fruit layer can release moisture as it returns to serving temperature. If you need more flexibility, keep the baked cheesecakes and topping separate until you are ready to serve them.
Flavor Variations and Topping Ideas
The creamy lemon-vanilla filling works with several fruit toppings, so you can change the finish without changing the main cheesecake method.
Alternative Fruit Toppings
- Blueberry pie filling: A mellow, jammy option with a deep berry flavor that pairs especially well with the vanilla.
- Strawberry topping: Brings a brighter, sweeter finish and a cheerful color for spring gatherings.
- Raspberry pie filling: Adds a sharper berry tang that cuts through the richness of the cream cheese.
For a party dessert spread built around cherries, add mini cherry pies alongside the cupcakes. On hot days, an oven-free no-bake cherry cheesecake offers the same flavor direction with a different texture.
Conclusion
These mini cheesecakes bring together a crisp buttery crust, a smooth tangy filling, and sweet cherry topping in a dessert that is easy to portion for celebrations and casual get-togethers alike.
Give them time to chill thoroughly before serving for the neatest texture and fullest flavor. That cool, creamy first bite is worth the wait.
Frequently Asked Questions
Can You Freeze Cherry Cheesecake Cupcakes With Pie Filling on Top?
It is better to avoid freezing cupcakes with cherry pie filling already on top. The fruit layer may become watery as it returns to serving temperature, so keep the topping separate and spoon it on before serving.
Can I Use Vanilla Wafers Instead of Graham Cracker Crust?
Yes. Place one whole vanilla wafer in each cupcake liner before adding the filling. This optional shortcut replaces the crumb crust and skips the pre-baking step.
Why Do Cheesecake Cupcakes Sink in the Middle as They Cool?
Cheesecake naturally contracts as it cools, so a slight center indentation is expected. For these cupcakes, that dip is useful because it creates a tidy spot for the cherry pie filling.
How Long Do Cherry Cheesecake Cupcakes Last in the Refrigerator?
Keep them covered in an airtight container and chilled until serving. For the best quality, protect the topping from drying out and keep the refrigerator properly cold.
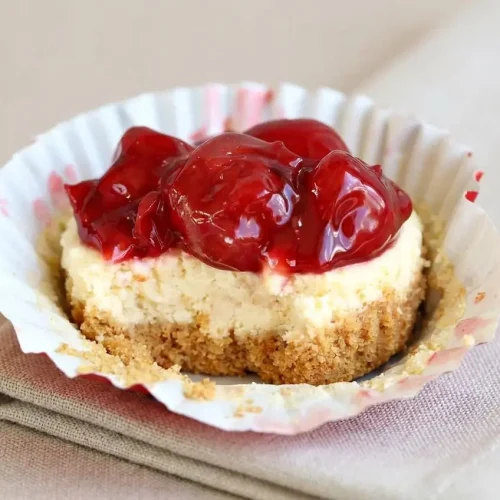
Cherry Cheesecake Cupcakes

Equipment
- Muffin Tin
- Cupcake liners
- Hand mixer
- Silicone spatula
- bowls
Ingredients
Crust
- 1.5 cups graham cracker crumbs
- 1/2 cup butter melted
- 1/4 cup sugar
- 24 cupcake liners
Filling
- 16 oz. cream cheese at room temperature
- 1/4 cup sugar
- 2 large eggs at room temperature
- 1 Tablespoon lemon juice
- 2 teaspoons vanilla extract
- 21 oz. cherry pie filling
Instructions
- Heat the oven to 350 °F and place 24 cupcake liners in a muffin tin. Have the pan ready before mixing so the crust can go straight into the liners.
- Stir the graham cracker crumbs, melted butter, and sugar together in a large bowl, then divide the mixture among the liners and press it firmly into the bottoms. The crumbs should form an even, compact layer with no loose patches around the edges.
- Bake the crusts for 5 minutes, then leave them in the muffin tin until completely cool. The crusts will look set and smell lightly buttery rather than wet or loose.
- Use a hand mixer to beat the room-temperature cream cheese until light and smooth, then blend in the sugar. The mixture should look fluffy and creamy with no visible white lumps.
- Whisk the eggs in a small bowl, then fold them into the cream cheese with a silicone spatula just until combined; gently mix in the lemon juice and vanilla extract. Stop as soon as the batter looks uniform to avoid adding excess air.
- Fill each cooled crust about 2/3 full with the cheesecake batter. Leave room at the top so the filling can rise gently without spilling over the liners.
- Bake for 15 minutes. The edges should appear set while the centers still give a slight, gentle jiggle when the pan is nudged.
- Cool the cupcakes in the pan, spoon cherry pie filling over each one, and chill until completely cooled. A shallow center indentation is normal and neatly holds the cherry topping.