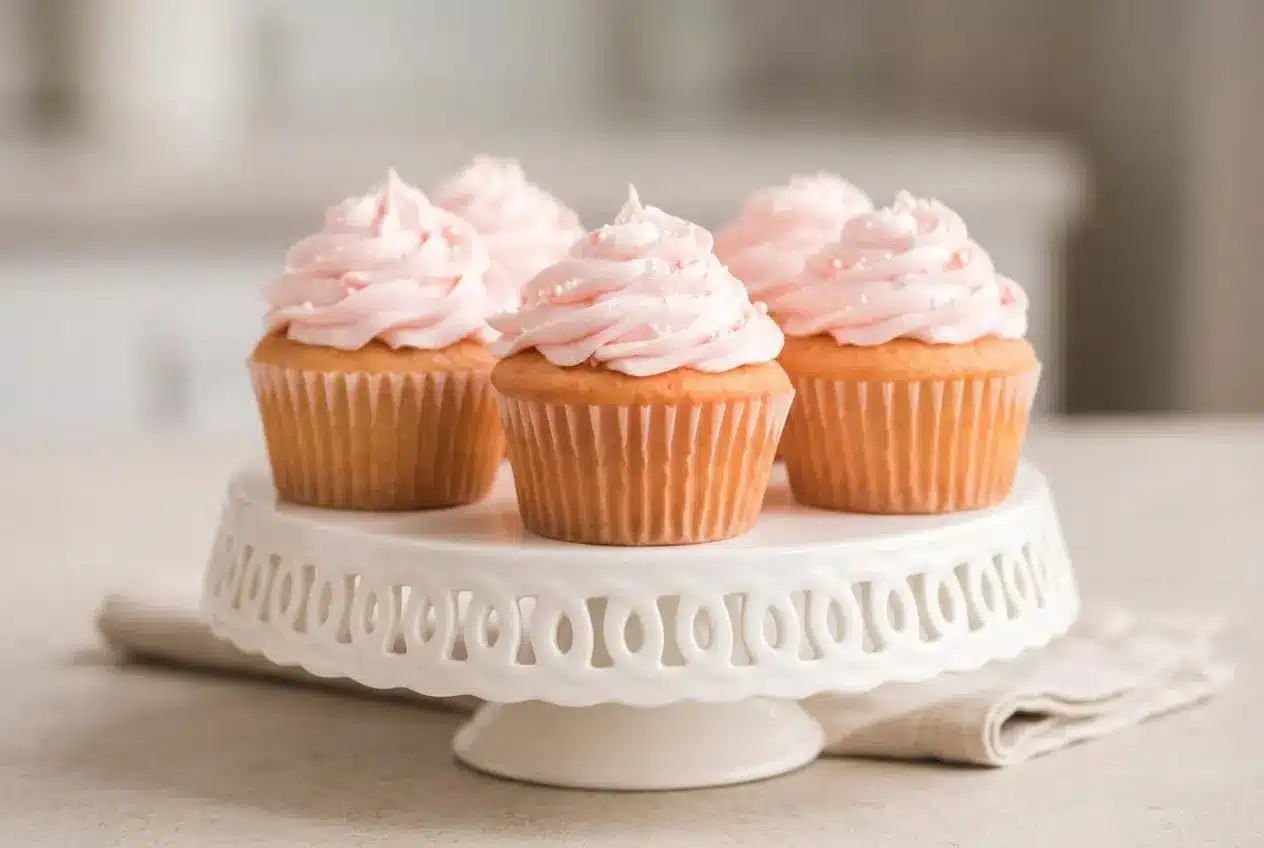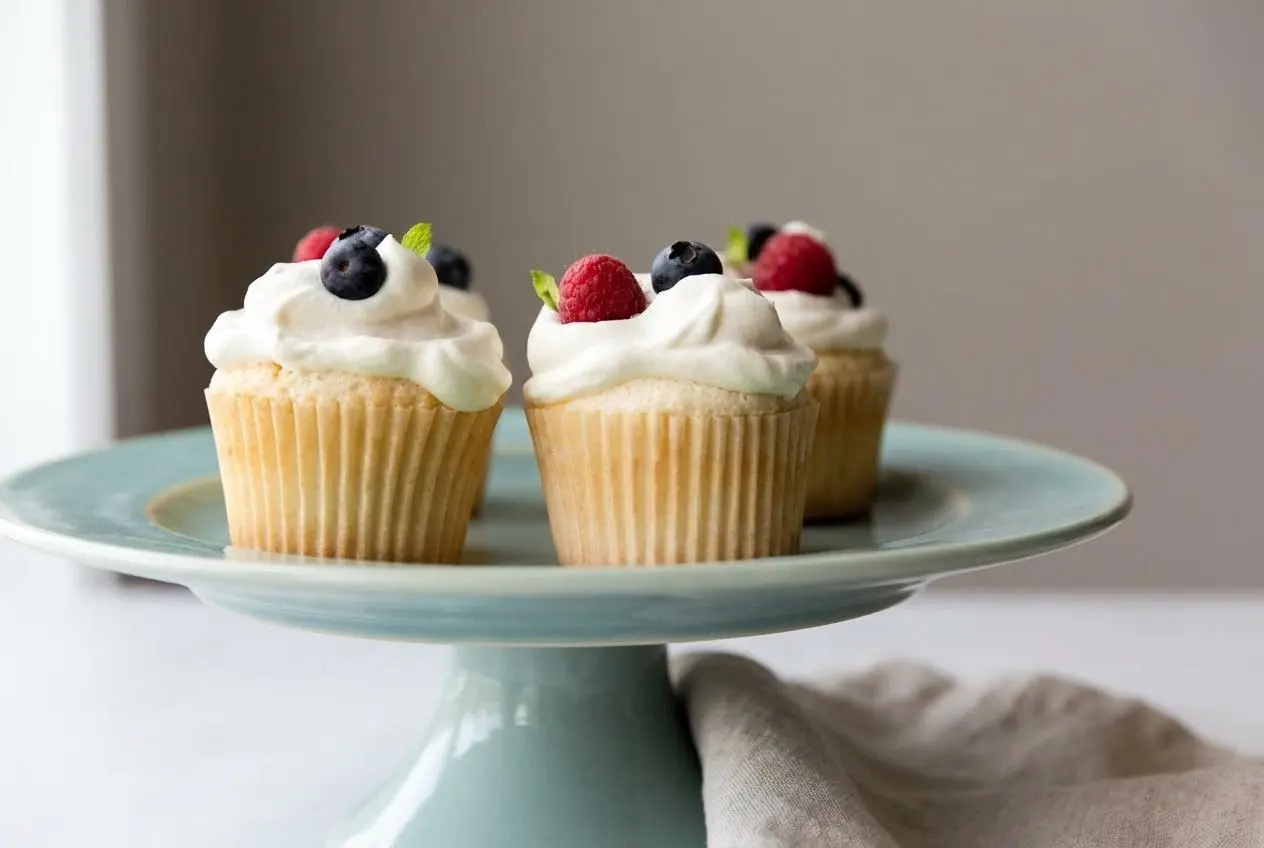
Perfect angel food cupcakes get their lift from whipped egg whites stabilized with cream of tartar, then gently folded with sifted cake flour and fine sugar so the batter stays airy instead of dense.
Angel Food Cupcakes are soft, springy little cakes with a delicate vanilla crumb and the lightness of a baked cloud. They bake up without butter, oil, or egg yolks, so every step is about protecting that whipped structure.
The reward is worth it. You get tender tops, a sweet toasted vanilla smell from the oven, and cupcakes that bounce back when lightly pressed. The grease-free bowl is the trick that makes everything click.
Set out your egg whites early so they lose their chill before you start whipping.
The Science of Angel Food: What Makes it Different?
These cupcakes behave nothing like classic vanilla cupcakes. There’s no butter, no oil, no yolks, and no baking powder doing the heavy lifting here.
Angel food batter rises because whipped egg whites trap thousands of tiny air bubbles. As the cupcakes bake, the egg white proteins stretch, set, and hold that airy shape. That foam is the structure, which means it needs careful handling from the first whisk to the final fold.
That’s also why texture can turn so quickly. A little grease can weaken the foam. Too much stirring can knock out the air. The lower baking temperature of 325 °F helps the inside set before the tops brown too fast, so the crumb stays soft instead of dry.
In practical terms, this is a foam cake. The egg whites build the height, the sugar supports the foam, and the flour gives just enough body to keep the cupcakes tender once cooled.
Essential Ingredients Explained
Each ingredient has a real job here, from building airy structure to keeping the crumb tender, sweet, and fragrant with vanilla.
- 3/4 cup (150g) granulated sugar
- 1/2 cup (59g) cake flour (spooned & leveled)
- 1/8 teaspoon salt
- 6 large egg whites, at room temperature
- 1 Tablespoon warm water
- 3/4 teaspoon cream of tartar
- 1 teaspoon pure vanilla extract
- Homemade Whipped Cream for topping
Granulated sugar gets pulsed until it turns fine and powdery, almost like superfine sugar. That matters because finer sugar dissolves more easily into the whites and the flour mixture, which helps the batter stay smooth instead of gritty or heavy.
Cake flour is the one ingredient that really should not be swapped casually. Its lower protein level keeps the crumb delicate and soft. All-purpose flour tends to build a tougher structure, which makes these cupcakes feel more bread-like than feathery.
Cream of tartar helps the egg whites hold their shape while you whip them. It supports a more stable foam, which gives you more time to build volume without the whites turning dry and clumpy.
Room temperature egg whites whip more easily and expand with less effort. The warm water helps loosen the whites slightly, and the vanilla rounds out the flavor so the cakes taste sweet and fragrant instead of plain.
I always wait until the egg whites are truly at room temperature, because cold whites can take longer to whip and often give a less billowy foam.
How to Make Angel Food Cupcakes From Scratch
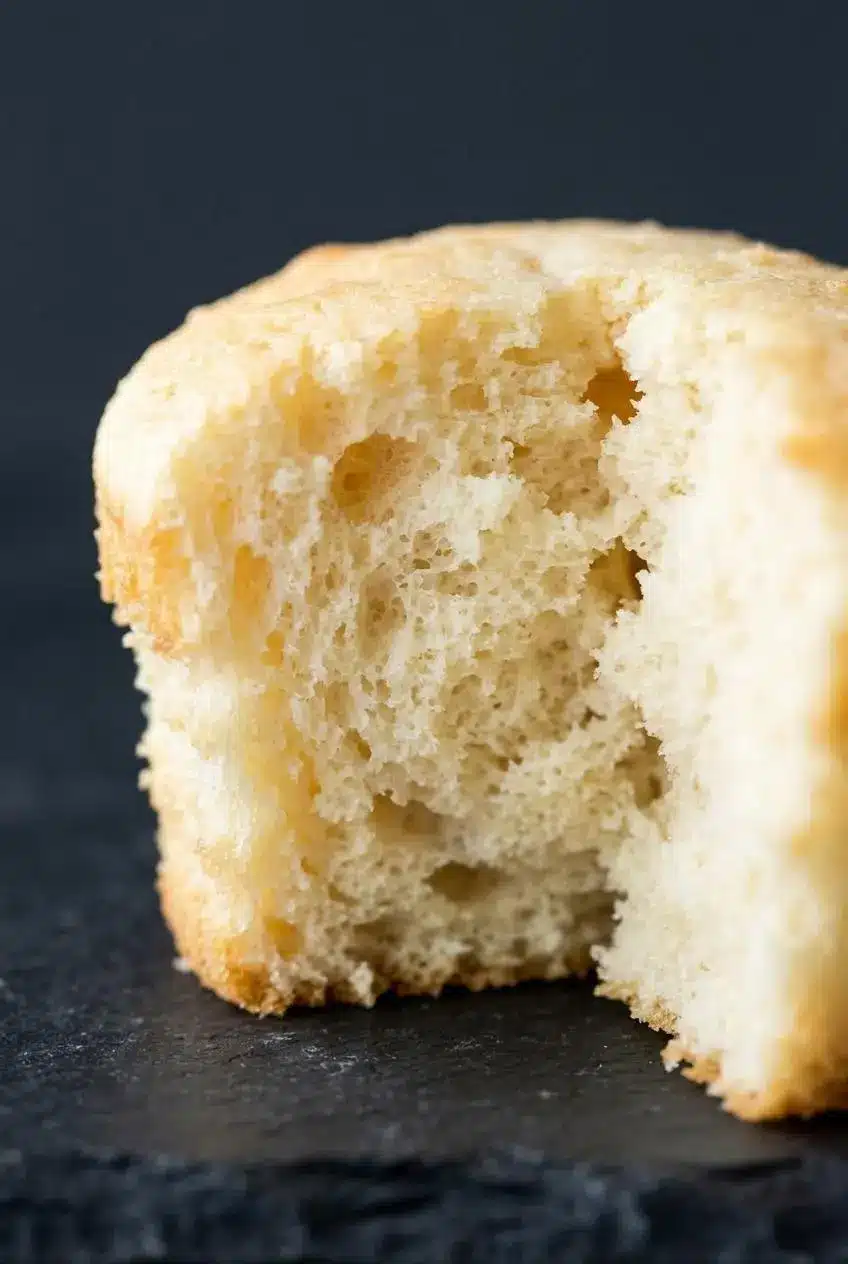
This method works best when you move in a calm, steady rhythm. The goal is to build volume first, then protect it all the way into the oven.
Cupcake Instructions
- Move an oven rack to the lower position and heat the oven to 325 °F (163 °C), then line a 12-count muffin pan and a second pan with 2 to 4 paper liners.
The dry liners help the batter climb as it bakes, which gives the cupcakes better height. - Pulse the sugar in a food processor or blender until it looks fine and powdery, then remove 1/2 cup for the meringue and leave the rest in the machine.
Add the cake flour and salt and pulse 5 to 10 times until the mixture looks light and well aerated. - Beat the egg whites, warm water, and cream of tartar in a large bowl on medium-low speed for about 1 minute, until foamy.
The mixture should look bubbly and loose before you increase the speed. - Raise the mixer to medium-high and slowly rain in the reserved 1/2 cup sugar, then keep whipping for 5 to 6 minutes until soft peaks form and add the vanilla just until mixed in.
When you lift the beaters, the peaks should curl over gently instead of standing stiff and dry. - Sift the flour mixture over the whipped whites in several additions and fold after each one with a light hand.
The batter should stay puffy and glossy, not flat or streaky. - Spoon the batter into the liners, filling each about 2/3 full.
Leaving headroom helps prevent overflow and keeps the tops neatly domed. - Bake for 18 to 20 minutes, or until the edges are very lightly browned and a toothpick in the center comes out clean.
For about 3 dozen mini cupcakes, bake at the same temperature for 10 to 12 minutes. - Let the cupcakes rest in the pan for 10 minutes, then transfer them to a wire rack to cool completely.
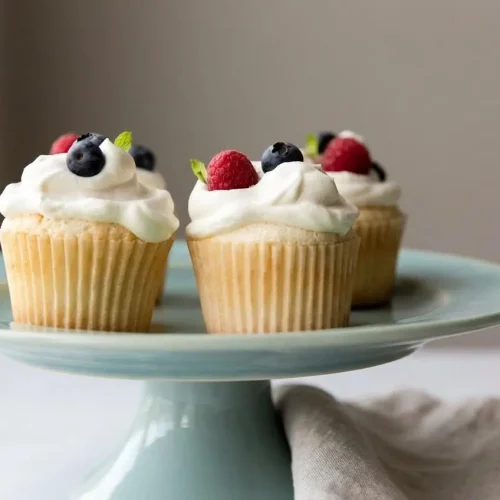
They should feel light, spring back to the touch, and release cleanly once cooled. - Spread or pipe Homemade Whipped Cream for topping onto the cooled cupcakes and garnish with fresh berries.
The soft cream and juicy fruit pair well with the delicate crumb. - Store leftovers in the refrigerator for up to 5 days.
Keep them covered so the whipped cream stays fresh and the cupcakes do not dry out.
Whipping the Egg Whites
This is the stage that decides whether the cupcakes feel cloudlike or flat. Start on medium-low so the whites break up evenly and turn foamy before you build more volume. If you rush straight to high speed, the bubbles can become coarse and less stable.
Once the sugar goes in, the foam should grow into glossy billows. Soft peaks are the target. Lift the whisk or beaters and look for tips that bend over in a relaxed curl. If the peaks stand straight up and look chunky or dry, the whites have gone too far and the batter will be harder to fold smoothly.
A good batch sounds slightly airy as it whips, almost a soft hiss, and the mixture looks smooth rather than grainy. Metal or glass bowls work best here. Plastic can hang onto fat residue, and fat is the enemy of loft.
The Sifting and Folding Technique
The food processor shortcut is genuinely useful. Pulsing the sugar, flour, and salt aerates the dry ingredients fast and helps them blend more evenly before they ever touch the foam.
After that, switch to a fine-mesh sieve and a rubber spatula. Sift in part of the dry mixture, then fold by cutting down through the center, sweeping across the bottom, and bringing the batter up and over. Rotate the bowl and repeat. It feels slow because it should.
Do not dump all the flour in at once. That heavy layer presses the foam down and makes it much harder to keep the batter airy. When the mixture is folded properly, it still looks full and fluffy, with no obvious pockets of flour hiding at the bottom.
How to Make Angel Food Cupcakes with Cake Mix
If you want the easy route, a boxed angel food cake mix can absolutely work. Use a standard 16-ounce angel food cake mix and prepare it with water as directed for an angel food batter, then portion it into paper-lined muffin cups instead of a tube pan.
Fill the liners about 2/3 full and bake at 325 °F until the tops are lightly golden and spring back when touched. Since box mixes vary a bit, start checking early and use the same visual cues you would for the scratch version.
This shortcut gives you a lighter prep day and a dependable texture, though the scratch version usually has a more delicate crumb and cleaner vanilla flavor. If speed matters most, the mix version is a smart backup.
Common Pitfalls and Baking Troubleshooting
Most problems come down to foam loss. If the cupcakes sink, turn rubbery, or refuse to rise, the fix is usually in the prep and folding.
- Dense texture: Cake flour matters here. All-purpose flour makes the crumb heavier and less melt-in-your-mouth.
- Flat tops: The whites may not have reached soft peaks. Stop when they look glossy and gently curved, not loose and bubbly.
- Overflowing cupcakes: Overfilled liners can spill. Keep the batter around 2/3 full.
- Rubbery crumb: Too much folding presses out the air. Fold only until the flour disappears.
- Weak rise: Dumping in the flour mixture all at once can crush the foam before it bakes.
Eliminating Grease Traces
This matters more than it seems. Even a thin film of oil, butter, or egg yolk can keep the whites from whipping to full volume.
- Use a metal or glass bowl, not plastic.
- Wipe the bowl, beaters, whisk, and spatula with a little lemon juice or white vinegar, then dry them well.
- Separate the eggs carefully so no yolk slips into the whites.
- Keep the cupcake liners dry and ungreased so the batter can cling to the sides and climb upward.
Many home bakers grease paper liners out of habit, but angel food batter needs that dry paper surface to rise properly. Greased liners make the batter slide instead of grip.
Correcting Deflated Batter
If the batter suddenly looks thinner than it did a minute ago, the foam has probably started to collapse. That can happen from over-folding, under-whipped whites, or dragging a heavy flour mixture through the bowl too aggressively.
- Sinking centers: Under-whipped whites often create a structure that cannot hold as the cupcakes cool.
- Dense, short cupcakes: Over-folding knocks out the air bubbles that create lift.
- Low volume from the start: Grease traces or a bit of yolk can keep the foam from forming properly.
- Poor side rise: Greased liners prevent the batter from climbing the paper walls.
Once the batter deflates badly, it usually will not recover. The better move is prevention: whip to soft peaks, sift in stages, and fold like you are handling something that might float away.
Creative Fillings and Variations
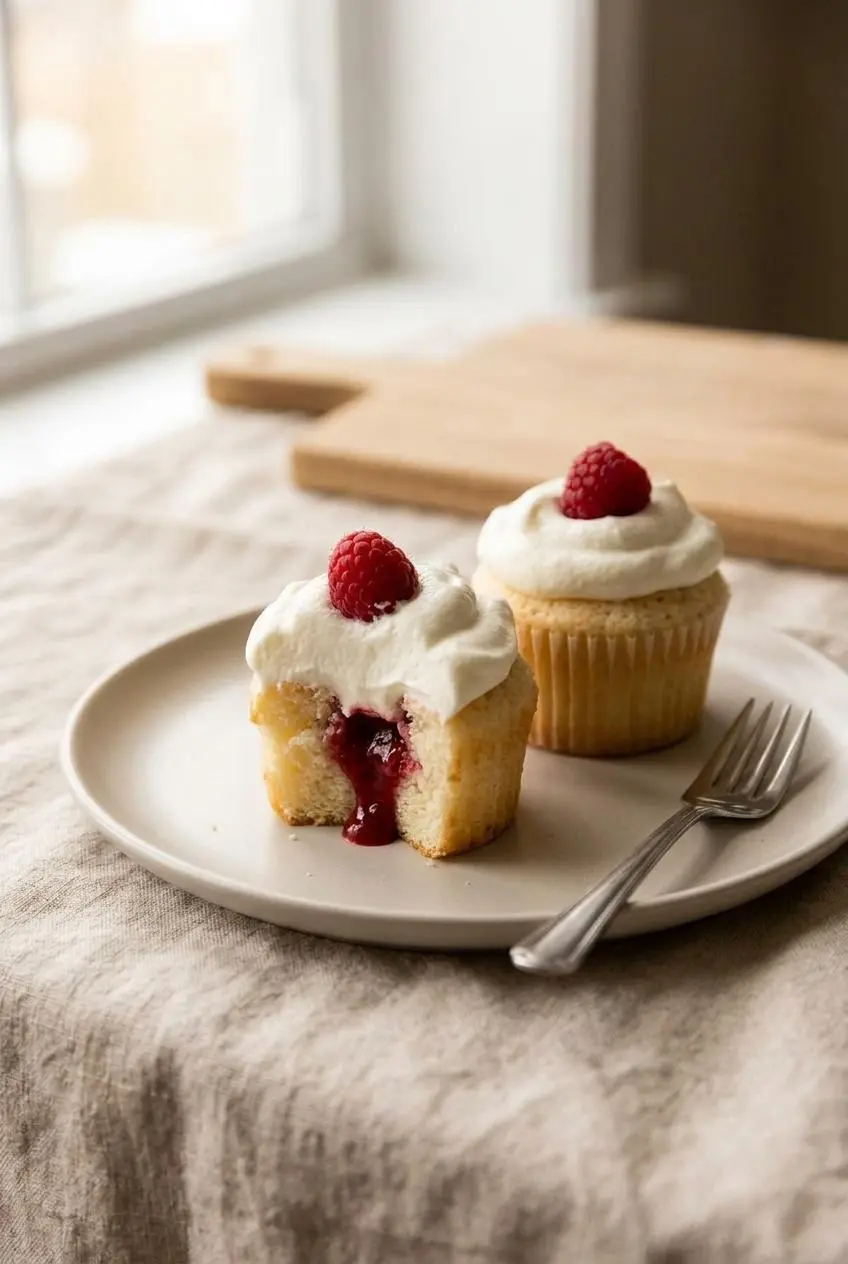
These cupcakes are easy to dress up after baking, and the base is neutral enough to take bright fruit flavors beautifully.
- Fruit-filled centers: Once the cupcakes are cool, cut a small cone from the center, add lemon curd, strawberry sauce, or raspberry coulis, then replace the top piece before frosting.
- Citrus lift: Pulse a little finely grated lemon zest with the sugar before mixing for a brighter flavor without changing the structure.
- Berry finish: Top whipped cream with fresh seasonal berries for contrast in color and texture.
- Sauce drizzle: A spoonful of raspberry coulis or lemon curd on top makes them feel more dessert-table ready.
If you want another playful way to use that light angel food texture, angel food churro bites are a fun next bake.
Make-Ahead and Storage Guidelines
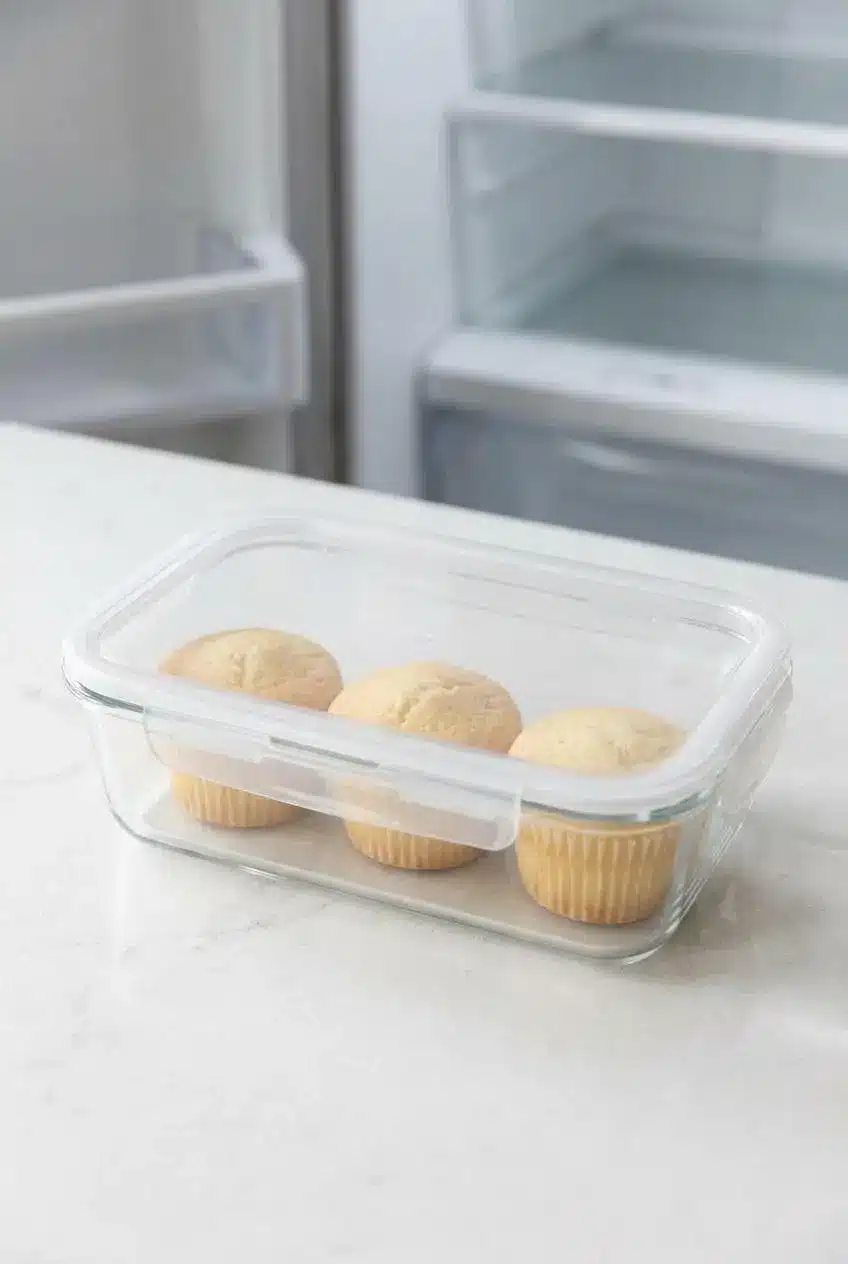
These cupcakes hold best when stored according to whether they are frosted or not. Texture matters as much as freshness here.
Unfrosted cupcakes can sit at room temperature once completely cooled, as long as they are kept in an airtight container and away from humidity. Frost only when you are close to serving, because whipped cream softens the surface over time.
For frosted cupcakes, keep them covered in the refrigerator and return them there after serving. The recipe itself gives a storage window of up to 5 days for leftovers, and whipped cream toppings should stay chilled to protect both texture and freshness. For general egg handling and prompt refrigeration practices in the US, see safe handling, cooking, and storage of eggs.
If you want to get ahead, bake the cupcakes first and add the whipped cream later. That keeps the crumb light and prevents the topping from weeping into the cake.
Conclusion
Angel food cupcakes are all about lightness, and that lightness comes from a few careful choices: a spotless bowl, properly whipped whites, and gentle folding. When those pieces line up, the texture is tender, airy, and almost weightless.
Keep the liners dry, trust the soft peaks, and take your time with the flour. If you bake a batch, it’s the kind of dessert worth showing off at the table.
Frequently Asked Questions
Do I need to grease the cupcake liners?
No. Keep the paper liners completely dry. Angel food batter needs to cling to the sides so it can rise upward. If the liners are greased, the batter can slide down and bake up shorter.
Why did my angel food cupcakes sink or collapse?
The most common causes are under-whipped egg whites, grease in the bowl, or folding too aggressively. If the whites never reached soft peaks, the structure was too weak to hold. If the flour was worked in too hard, the trapped air escaped before baking.
Can I use carton egg whites instead of fresh?
Fresh egg whites work best for this recipe. Carton egg whites often do not whip with the same volume or texture, so the cupcakes may not rise as well. If you want the lightest result, stick with freshly separated eggs.
How should I store frosted angel food cupcakes?
Keep frosted cupcakes in an airtight container in the refrigerator for up to 5 days. Because the topping is whipped cream, they should stay chilled when not being served. For the best texture, add fresh berries close to serving time.
Angel Food Cupcakes

Equipment
- 12-count muffin pan
- Cupcake liners
- Food processor or blender
- Egg Yolk Separator
- Electric Mixer
- Fine-Mesh Sieve
- Cooling Rack
Ingredients
- 3/4 cup granulated sugar 150g
- 1/2 cup cake flour 59g, spooned & leveled
- 1/8 teaspoon salt
- 6 large egg whites at room temperature
- 1 Tablespoon warm water
- 3/4 teaspoon cream of tartar
- 1 teaspoon pure vanilla extract
- Homemade Whipped Cream for topping
Instructions
Cupcake Instructions
- Move an oven rack to the lower position and heat the oven to 325 °F (163 °C), then line a 12-count muffin pan and a second pan with 2 to 4 paper liners. The dry liners help the batter climb as it bakes, which gives the cupcakes better height.
- Pulse the sugar in a food processor or blender until it looks fine and powdery, then remove 1/2 cup for the meringue and leave the rest in the machine. Add the cake flour and salt and pulse 5 to 10 times until the mixture looks light and well aerated.
- Beat the egg whites, warm water, and cream of tartar in a large bowl on medium-low speed for about 1 minute, until foamy. The mixture should look bubbly and loose before you increase the speed.
- Raise the mixer to medium-high and slowly rain in the reserved 1/2 cup sugar, then keep whipping for 5 to 6 minutes until soft peaks form and add the vanilla just until mixed in. When you lift the beaters, the peaks should curl over gently instead of standing stiff and dry.
- Sift the flour mixture over the whipped whites in several additions and fold after each one with a light hand. The batter should stay puffy and glossy, not flat or streaky.
- Spoon the batter into the liners, filling each about 2/3 full. Leaving headroom helps prevent overflow and keeps the tops neatly domed.
- Bake for 18 to 20 minutes, or until the edges are very lightly browned and a toothpick in the center comes out clean. For about 3 dozen mini cupcakes, bake at the same temperature for 10 to 12 minutes.
- Let the cupcakes rest in the pan for 10 minutes, then transfer them to a wire rack to cool completely. They should feel light, spring back to the touch, and release cleanly once cooled.
- Spread or pipe Homemade Whipped Cream for topping onto the cooled cupcakes and garnish with fresh berries. The soft cream and juicy fruit pair well with the delicate crumb.
- Store leftovers in the refrigerator for up to 5 days. Keep them covered so the whipped cream stays fresh and the cupcakes do not dry out.