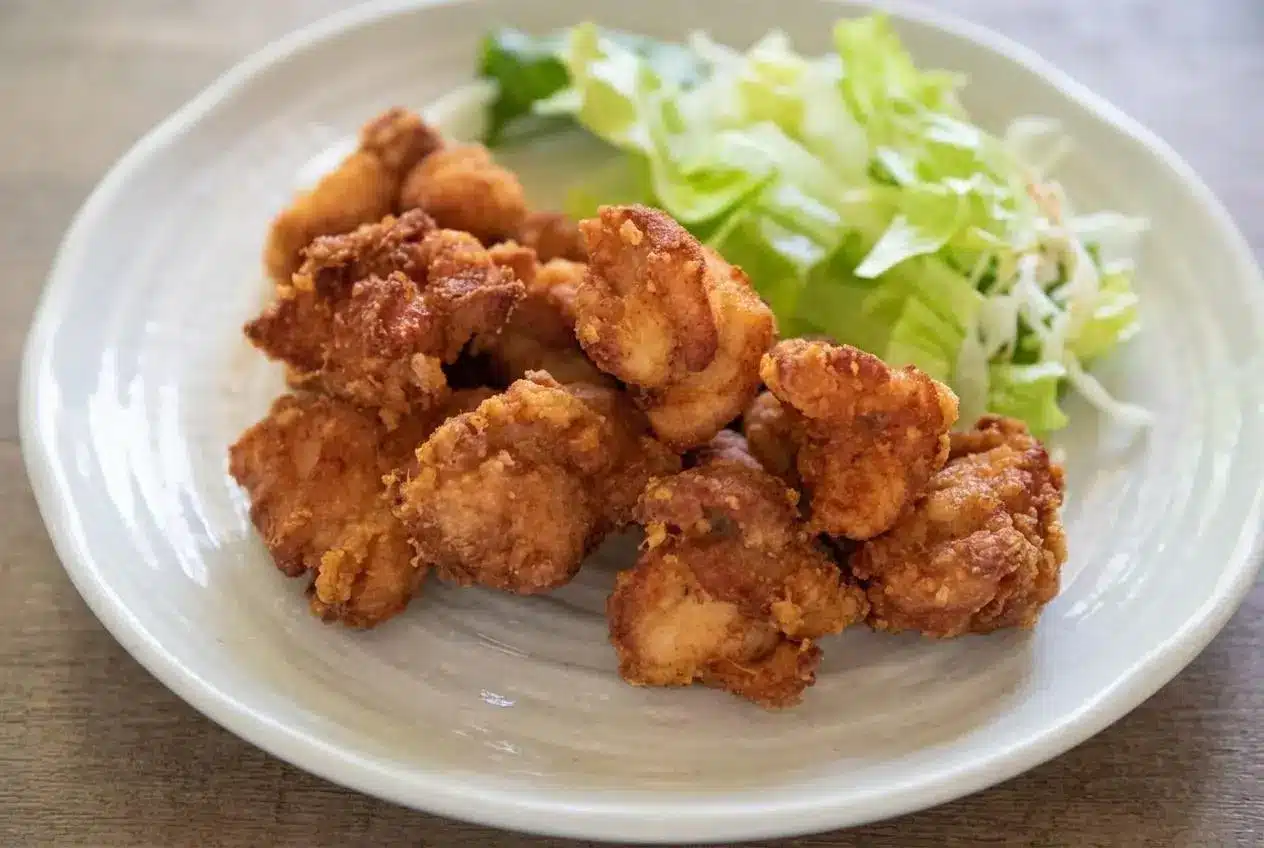
Chicken karaage is Japanese fried chicken made with bite-size thigh pieces, a ginger-soy marinade, and a light starch coating. Two rounds of frying create a shatteringly crisp shell around juicy meat, with fresh ginger in every savory bite.
Unlike a thick-battered fried chicken, this version gets its flavor from marinating the meat before coating it. The crust stays thin, letting the ginger and soy seasoning come through.
This recipe makes 2 servings, with 5 minutes of prep and 20 minutes of cooking. The listed 25 minutes excludes the 30-minute-to-one-hour marinade. The crunch starts before the oil.
Set out paper towels before draining the chicken so you can blot away excess marinade before coating.
Key Ingredients and Smart Substitutions
Chicken thighs provide richness and moisture, the marinade adds savory flavor and ginger aroma, and cornstarch creates the crisp shell. Frying oil cooks the coating evenly, while the optional greens add freshness alongside the hot chicken.
- 350g/12.3oz chicken thigh fillets, cut into large bite size pieces
- 20g/0.7oz corn flour / cornstarch
- Vegetable oil for deep frying
Marinade
- 1 tbsp soy sauce
- 1 tbsp cooking sake
- 1/2 tsp mirin
- 2 tsp freshly grated ginger including juice
Garnish (optional)
- Shredded lettuce or cabbage
- Sprigs of parsley
Thigh meat stays juicier and tolerates frying better than lean breast meat. Corn flour here means cornstarch, not cornmeal: it forms a light shell rather than a gritty coating.
I keep the juice that collects around freshly grated ginger because it carries plenty of aroma into the marinade.
Marinade Essentials and Alcohol-Free Pantry Swaps
Soy sauce seasons the meat, ginger adds a fresh aromatic edge, cooking sake contributes flavor, and mirin brings mild sweetness. This ginger-focused marinade contains no garlic, and it doesn’t need a strong tenderizing claim to explain its appeal.
For an optional alcohol-free approach, replace the 1 tbsp cooking sake with the same volume of water or low-sodium chicken broth. Replace the 1/2 tsp mirin with 1/4 tsp sugar dissolved into the soy sauce. These swaps approximate moisture and sweetness, not identical flavor.
For strict alcohol avoidance, check product labels, including mirin-style seasonings. Don’t assume frying removes all alcohol.
Cornstarch vs Potato Starch vs Plain Flour
- Cornstarch: The coating used here produces a thin, crisp shell without a wet batter.
- Potato starch, or katakuriko: An optional alternative that can produce a more craggy crunch.
- Plain all-purpose flour: Creates a more substantial, flour-like crust rather than the delicate starch shell.
- A 50/50 flour and cornstarch blend: An optional middle ground for a thicker crunch.
These alternatives stay separate from the method below. For a different coating style, crispy chicken katsu uses a breadcrumb crust rather than a starch dusting.
How to Make Crispy Chicken Karaage Step by Step
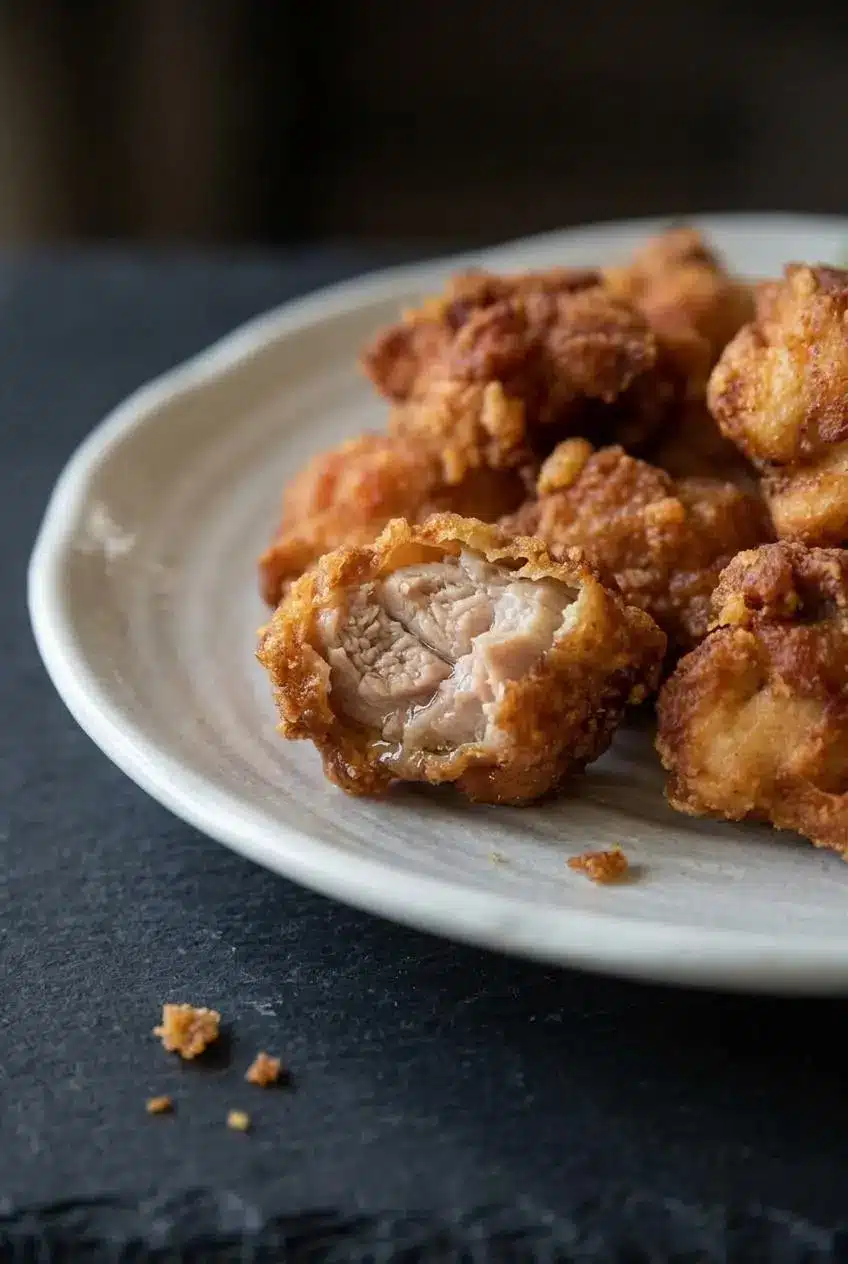
Keep the two frying stages distinct: the first gently cooks the chicken, while the hotter finish develops the golden, crunchy coating.
- Use paper towels to blot the chicken dry, then combine it with all the marinade ingredients in a zip-top bag or bowl.
The seasoning should contact the chicken directly rather than mix with excess surface moisture. - Work the marinade around the chicken until every piece is covered, then marinate for 30 minutes to an hour in the refrigerator.
Look for an even distribution of ginger and soy seasoning across the pieces. - Bring vegetable oil to 160°C/320°F in a deep pot or pan, using an oil depth of about 3–4 cm/1¼–1½ inches.
This lower temperature is for the first fry, not the final browning. - Pour away the unused marinade, blot the chicken on paper towels, and transfer it to a bowl.
The surface should remain seasoned but no longer drip with liquid. - Scatter the cornstarch over the chicken and turn the pieces until coated on all sides.
A light, powdery covering is the goal rather than a paste. - Lower individual pieces into the oil in small batches and cook for about 2.5–3 minutes, gently shifting any that catch on the bottom.
Leave space between pieces so they can fry separately. - Lift each batch onto paper towels and leave it undisturbed for at least 3–4 minutes, continuing with the remaining chicken.
The coating won’t yet have its final deep golden color. - Remove loose starch crumbs from the oil, then bring it to 190–200°C/374–392°F.
Clear oil helps prevent burnt crumbs from clinging to the chicken. - Give the rested pieces a second fry in batches for about 30 seconds to 1 minute.
Remove them when the shell looks golden brown and feels crunchy. - Bring the chicken to the table immediately, adding shredded lettuce and parsley if using.
The coating has its best crunch while freshly fried.
Marinate, Drain, and Coat the Chicken
For optional cutting guidance, aim for fairly uniform pieces around 5 × 4 cm. Similar sizes cook more evenly during the brief frying stages.
After marinating, drain and blot thoroughly. A little surface dampness helps starch adhere, but pooled marinade turns it gummy. Think dusted chicken, not chicken sitting in batter.
First Fry at 160°C/320°F, Then Rest
The specified oil depth lets the pieces fry without requiring a pot filled to the brim. Add them separately, and gently loosen any that stick rather than scraping away the coating.
The paper-towel rest allows heat to redistribute before the hotter finish. It isn’t proof that the center is cooked, and the first fry isn’t the stage for chasing a dark crust.
Second Fry at 190–200°C/374–392°F
Skim crumbs before increasing the heat, then watch closely during the short second fry. The hotter oil crisps the shell; it doesn’t “seal in” juices. Golden color tells you about the coating, not the internal doneness of poultry.
Expert Tips and Troubleshooting for Double-Frying
Coating problems usually point to surface moisture, crowded batches, or the wrong oil temperature. Fix the cause rather than automatically frying longer.
How to Check Oil Temperature With Bamboo Chopsticks
A dry bamboo or wooden chopstick offers a rough comparison: smaller, gentler bubbles tend to appear at the lower frying stage, while faster, more vigorous bubbling accompanies hotter oil.
Bubble behavior varies with the utensil and oil, so it cannot confirm an exact temperature. Use a kitchen thermometer for the specified stages. Never test hot oil with water or a wet utensil.
Why Did My Coating Turn Soggy or Fall Off?
- Gummy patches or sliding starch: Excess marinade made the coating pasty; drain and blot before dredging.
- Greasy coating: Crowding dropped the oil temperature; reduce the batch size and let the oil recover between batches.
- Pieces stuck together: They entered the oil touching; lower them individually with space around each piece.
Five to six pieces can be a starting point if your pot leaves room around them. A smaller pan needs a smaller batch.
Why Is the Outside Too Dark Before the Center Is Ready?
Soy sauce and mirin can brown quickly when the first fry runs too hot. Keep that stage gentle rather than treating both fries as high-heat browning.
Check the thickest piece with a food thermometer for a minimum internal temperature of 165°F/74°C; crust color alone cannot establish doneness.
- Dark shell, underdone center: Check the oil temperature and piece size instead of judging by color.
- Dry meat: Uneven pieces or excessive frying may be responsible; keep sizes consistent and avoid extending every batch unnecessarily.
Keeping Early Batches Crisp While the Rest Fry
Skim loose crumbs before they scorch and lend bitterness to the oil. For optional brief holding after the second fry, arrange pieces unstacked on a rack in an 80–100°C/176–212°F oven.
This doesn’t replace the paper-towel rest between fries. Extended holding can dry the meat, so immediate serving still gives the best texture.
Best Dipping Sauces, Variations, and Serving Ideas
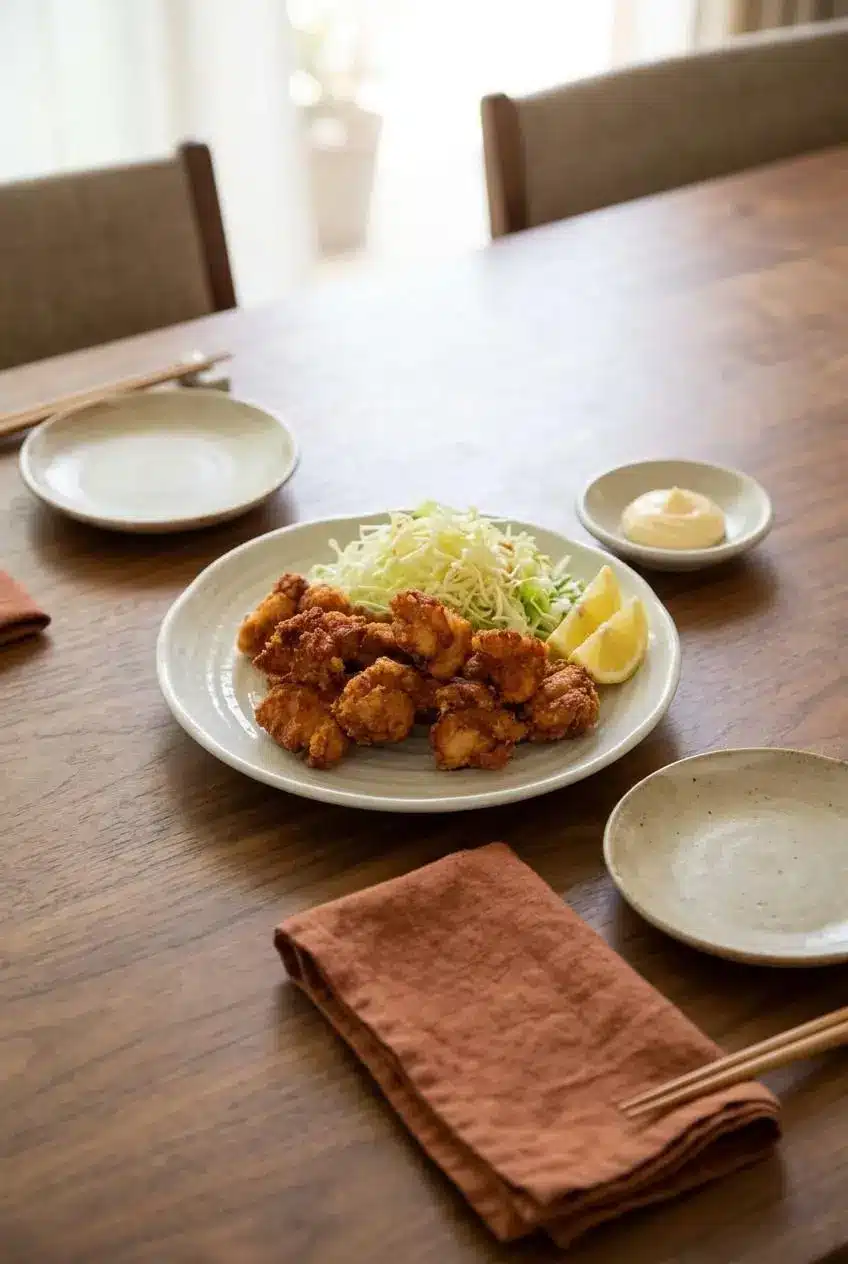
Keep sauces alongside the chicken so each bite gets as much crunch or creamy contrast as you like.
Quick Dipping Sauces for Karaage
- Japanese Kewpie mayonnaise: A creamy accompaniment that softens the salty-savory edge.
- Lemon wedges: Squeeze over individual bites for brightness without wetting the entire batch.
- Sriracha mayo: An optional spicy dip for heat that isn’t present in the chicken itself.
- Citrus mayo: Combine Kewpie with either yuzu kosho for citrus and heat or lemon zest for citrus without chili.
An optional pinch of toasted white pepper on the finished chicken adds another aromatic accent. None of these additions belongs in the required coating or marinade.
Modern Garlic-Ginger Marinade
For a bolder variation, add freshly grated garlic to the marinade. It contributes a stronger savory flavor alongside the ginger, but remains optional; the ginger-only version has plenty of character.
Chicken Karaage Rice Bowls and Curry Topping
Serve the chicken over steamed short-grain rice, or alongside Japanese curry. A savory chicken curry offers another curry pairing; keep the fried pieces beside the sauce until serving to preserve more crunch.
Shredded cabbage or lettuce adds a cool contrast. Miso soup and a crisp daikon salad can round out the meal without adding another rich component.
How to Store, Freeze, and Reheat Chicken Karaage
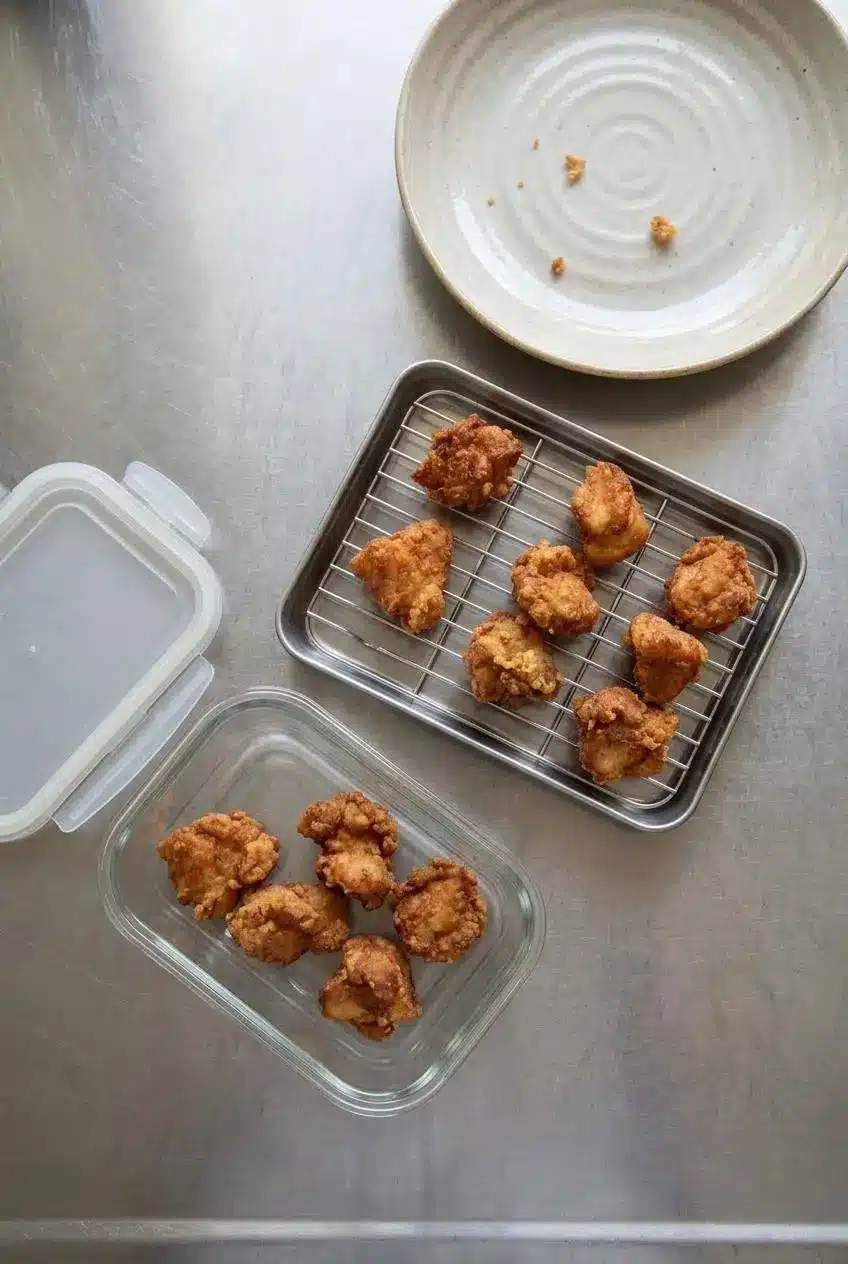
Protecting leftover crunch starts with letting steam escape and keeping sauces and fresh greens separate.
Cooling and Refrigerating Cooked Karaage
Let the chicken release steam briefly on a wire rack, then refrigerate promptly in an airtight container rather than waiting until it’s fully cold on the counter. Cooked leftovers have a refrigerated storage limit of 3 to 4 days and a freezer quality window of 3 to 4 months. The freezer window concerns quality, not a point when continuously frozen food automatically becomes unsafe.
Sealing steaming pieces traps moisture and softens the crust, but prompt refrigeration matters more than preserving every bit of crunch.
Freezing Double-Fried Pieces for Later Meals
Freeze cooled, fully cooked, double-fried pieces in a single layer on a tray, then transfer them to a freezer bag. Keeping them separate initially makes portions easier to remove.
This guidance is for cooked leftovers, not raw marinated chicken or partially cooked pieces.
Bringing Back Crunch in the Oven or Air Fryer
Arrange leftovers unstacked in a hot oven or air fryer so circulating heat can dry the coating. Appliance differences and whether the chicken starts frozen affect the time, so check the center with a food thermometer against the doneness target above.
A microwave alone warms the chicken but won’t restore the same crisp shell. This reheating approach doesn’t replace deep-frying the raw chicken.
Conclusion
A thin starch shell and ginger-soy seasoning give this chicken its crisp, savory appeal. Blot away excess marinade, respect both frying temperatures, and keep the rest between them.
Serve it freshly fried with greens and, if you like, citrus mayo alongside. Keep the dip separate and enjoy the crunch while it’s at its best.
Frequently Asked Questions
What Is the Difference Between American Fried Chicken and Chicken Karaage?
Karaage here uses bite-size boneless thighs seasoned in a marinade before coating. Its light starch shell differs from the seasoned flour crust common in American fried chicken. American styles vary widely and include both bone-in and boneless preparations, so the distinction isn’t absolute.
Is Chicken Karaage Spicy?
No, this version is savory, mildly sweet, and aromatic from ginger, with no chili heat. Spicy mayo or yuzu kosho can add optional heat at the table.
What Can I Substitute for Cooking Sake and Mirin in Karaage?
Optionally replace 1 tbsp cooking sake with the same volume of water or low-sodium chicken broth. Replace 1/2 tsp mirin with 1/4 tsp sugar dissolved into the soy sauce. The flavor won’t be identical; check labels when avoiding alcohol strictly.
Can You Freeze and Reheat Cooked Chicken Karaage?
Yes, cool promptly, freeze fully cooked pieces separately on a tray, then transfer to a freezer bag. Reheat unstacked in an oven or air fryer, checking the center with a thermometer. Follow the refrigerator limit and freezer quality guidance above; reheating can restore crunch, though it won’t exactly match freshly fried chicken.
Chicken Karaage

Equipment
- Ziplock bag
- bowl
- deep pot or pan
- Kitchen thermometer
- bamboo chopsticks
Ingredients
- 350 g chicken thigh fillets 12.3oz, cut into large bite size pieces
- 20 g corn flour / cornstarch 0.7oz
- Vegetable oil for deep frying
Marinade
- 1 tbsp soy sauce
- 1 tbsp cooking sake
- 1/2 tsp mirin
- 2 tsp freshly grated ginger including juice
Garnish (optional)
- Shredded lettuce or cabbage
- Sprigs of parsley
Instructions
- Use paper towels to blot the chicken dry, then combine it with all the marinade ingredients in a zip-top bag or bowl. The seasoning should contact the chicken directly rather than mix with excess surface moisture.
- Work the marinade around the chicken until every piece is covered, then marinate for 30 minutes to an hour in the refrigerator. Look for an even distribution of ginger and soy seasoning across the pieces.
- Bring vegetable oil to 160°C/320°F in a deep pot or pan, using an oil depth of about 3–4 cm/1¼–1½ inches. This lower temperature is for the first fry, not the final browning.
- Pour away the unused marinade, blot the chicken on paper towels, and transfer it to a bowl. The surface should remain seasoned but no longer drip with liquid.
- Scatter the cornstarch over the chicken and turn the pieces until coated on all sides. A light, powdery covering is the goal rather than a paste.
- Lower individual pieces into the oil in small batches and cook for about 2.5–3 minutes, gently shifting any that catch on the bottom. Leave space between pieces so they can fry separately.
- Lift each batch onto paper towels and leave it undisturbed for at least 3–4 minutes, continuing with the remaining chicken. The coating won’t yet have its final deep golden color.
- Remove loose starch crumbs from the oil, then bring it to 190–200°C/374–392°F. Clear oil helps prevent burnt crumbs from clinging to the chicken.
- Give the rested pieces a second fry in batches for about 30 seconds to 1 minute. Remove them when the shell looks golden brown and feels crunchy.
- Bring the chicken to the table immediately, adding shredded lettuce and parsley if using. The coating has its best crunch while freshly fried.