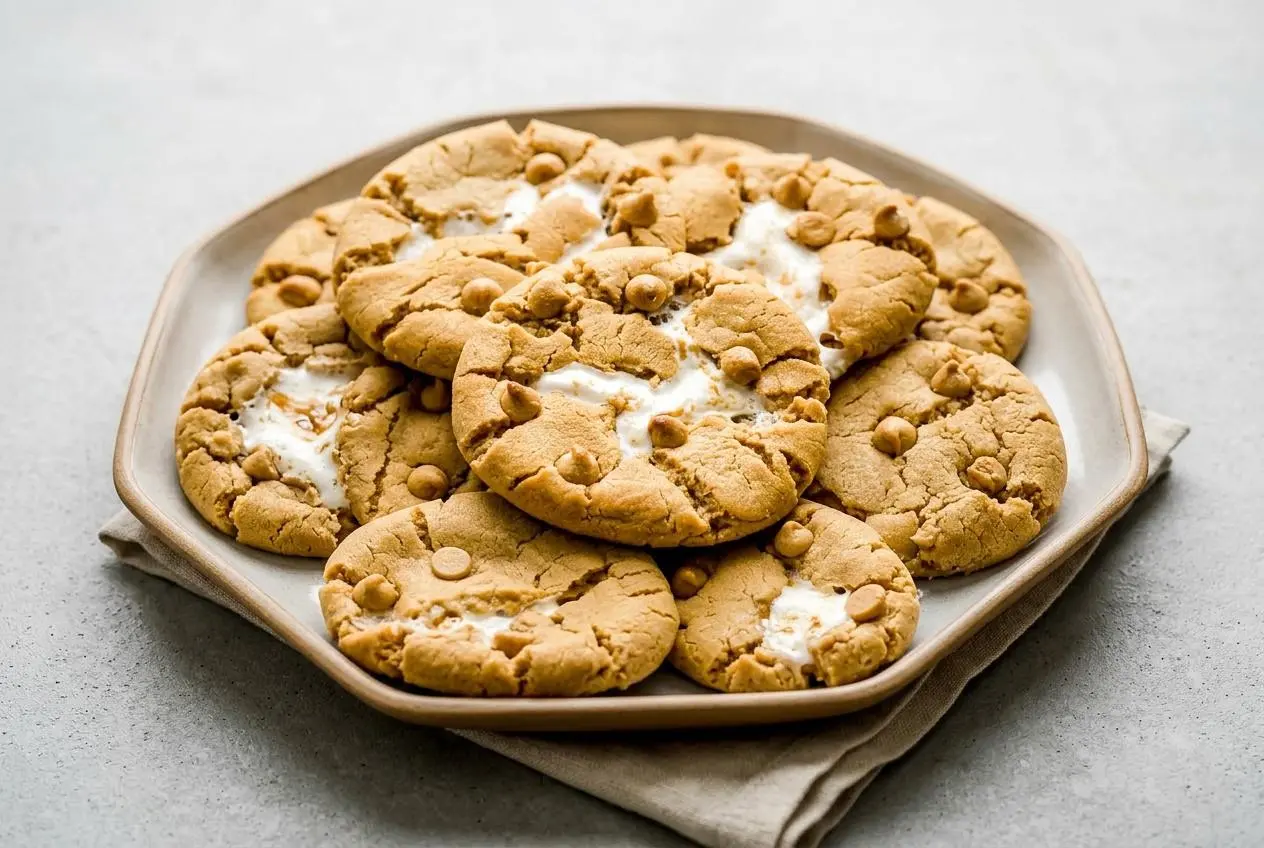
Fluffernutter cookies wrap chewy peanut butter dough around a gooey marshmallow center and a hidden peanut butter filling. Bake them at 350°F for 9 to 11 minutes, then tap the hot pan and reshape the edges for crinkled, bakery-style cookies.
Warm peanut butter and toasted marshmallow give fluffernutter cookies their familiar sandwich-inspired flavor. These oversized stuffed cookies have golden edges, soft middles, and a sweet marshmallow pocket tucked inside.
The filling looks impressive, but firm peanut butter dollops make the wrapping manageable. You’ll get clear cues for sealing the dough and pulling the cookies before the marshmallow disappears. The center is worth protecting.
Clear enough space in the freezer for a parchment-lined plate before you begin mixing.
Ingredients for Fluffernutter Cookies
Peanut butter supplies nutty richness, butter and sugars shape the chewy texture, and flour and egg give the dough structure. Marshmallows provide the gooey filling, while vanilla and salt balance the sweetness.
- 1 cup creamy peanut butter (divided, Jif/Skippy/Peter Pan (not natural))
- 1½ cups all-purpose flour
- 1 teaspoon baking soda
- ⅛ teaspoon kosher salt
- ½ cup unsalted butter (room temperature)
- ½ cup light brown sugar (packed)
- ⅓ cup granulated sugar
- 1 large egg (room temperature)
- 1 teaspoon vanilla paste or extract
- 12 marshmallows (standard sized)
- peanut butter chips (optional)
Unsalted butter adds richness and helps the dough spread. Use butter that yields to gentle pressure rather than butter that looks shiny or melted. Light brown sugar contributes moisture and chew, while granulated sugar helps the edges develop a crisper finish.
All-purpose flour supports the filling without making the cookie cakey when measured accurately. Baking soda provides lift and encourages browning. The egg binds the dough, vanilla rounds out the peanut flavor, and kosher salt keeps the sweetness from tasting flat. Optional peanut butter chips add little bursts of nutty flavor on top.
I’d prioritize firm peanut butter dollops over speedy assembly; a filling that lifts cleanly from the parchment is much easier to wrap.
The Peanut Butter Rule: Commercial vs. Natural
Use a conventional creamy spread such as Jif, Skippy, or Peter Pan for this dough. Its consistent texture makes both the filling and the cookie dough easier to handle.
Natural peanut butter, especially a runny variety with an oil layer on top, isn’t an equivalent substitute here. Its separated oil can change the dough’s consistency and encourage excessive spreading. Stirring the jar doesn’t necessarily make it behave like a stabilized spread.
The peanut butter serves two purposes: most goes into the dough, and the reserved portion becomes the hidden filling. Keep those portions separate so you don’t accidentally mix away the center.
Marshmallows vs. Marshmallow Creme
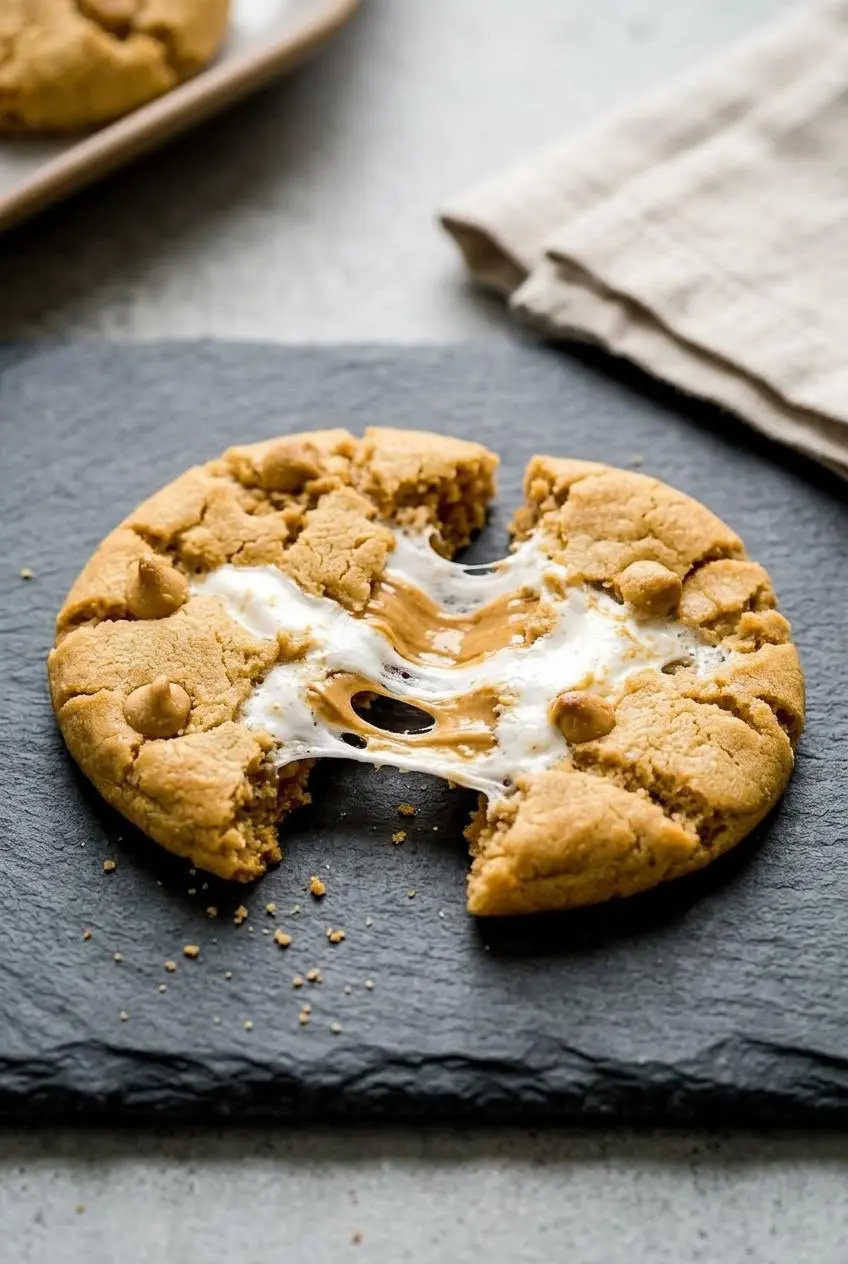
Standard whole marshmallows are easier to enclose because they hold their shape during assembly. They soften in the oven into a distinct gooey pocket, although prolonged baking can make that pocket collapse or leak.
Marshmallow creme, also called fluff, is soft and sticky before it reaches the oven. It’s better suited to visible ribbons through the dough than a direct replacement for the whole marshmallow in this stuffed method.
- Whole marshmallows: Choose these for a defined center and manageable dough wrapping.
- Marshmallow creme: Choose this for an optional marbled style, with white streaks distributed through the cookie rather than one enclosed core.
How to Make the Fluffernutter Cookies
This recipe makes 12 large cookies. Use a stand mixer with a paddle attachment, two full-sized cookie sheets, and parchment paper. Bake one sheet at a time so you can watch the edges and reshape each batch immediately.
- Reserve ¼ cup of peanut butter, about 67 g, and portion it into 12 heaping teaspoon dollops on a parchment-covered plate, using a little more if needed; put the plate in the freezer while you make the dough.
The dollops should become firm enough to pick up without smearing. - Combine the flour, baking soda, and salt with a whisk in a separate bowl.
The mixture should look uniform, with no visible pockets of baking soda. - Use the paddle attachment to blend the butter with the remaining ¾ cup peanut butter, about 202 g, then beat in both sugars at medium speed for 2 minutes.
The mixture should look lighter and fluffier, with the butter evenly blended throughout. - Mix in the egg and vanilla, scrape the bowl, then run the mixer on low while adding the flour mixture just until it disappears.
The finished dough should feel soft and pliable like play dough, rather than dry or crumbly. - Heat the oven to 350°F/180°C and cover both full-sized cookie sheets with parchment paper.
Keep the parchment flat so the dough rests evenly and any escaping marshmallow stays off the metal. - Flatten a portion of 3 level tablespoons of dough, about 60 g, between your palms, then center a frozen peanut butter dollop beneath a marshmallow laid on its long side and press gently.
The dough disc should be broad enough to lift around the filling without stretching into thin spots. - Bring the dough edges up over the marshmallow, press any cracks closed with your thumbs, and set the enclosed ball on the sheet with the seam and marshmallow side facing down.
Look for a continuous dough covering with no exposed filling or open seams. - Complete all 12 balls in batches of 3 or 4, keeping unused peanut butter dollops in the freezer, then space 6 cookies on each sheet and add 4 to 5 peanut butter chips per top if desired.
Leave room around every ball for the dough to spread. - Bake a single sheet on the middle rack for 9 to 11 minutes, then remove it and firmly tap the pan against a protected, heat-resistant counter a few times.
The perimeter should look golden while the centers remain pale and slightly puffy before tapping. - Coat a rubber spatula lightly with cooking spray and nudge the warm cookie edges inward to restore their shape.
The soft borders should move easily without pulling sticky marshmallow across the parchment. - Leave the cookies on their baking sheet until completely cool, then lift them with a spatula for transfer.
The cookies should hold together, though exposed marshmallow may still need gentle loosening from the parchment.
Pre-Freezing and Sealing the Dough
Freeze the peanut butter while mixing the dough rather than trying to handle soft spoonfuls during assembly. There’s no fixed chilling time here: the useful cue is whether a dollop lifts cleanly and holds its shape.
Work with three or four dollops at a time. Leaving the rest in the freezer limits softening from your hands and the kitchen’s warmth. Place the filling in the middle of the dough disc so you have enough dough on every side to close it.
A disc roughly 3 inches across can help you judge the shape, but even thickness matters more than a perfect circle. Don’t stretch the middle paper-thin. Lift the edges around the marshmallow and press them together, then inspect the whole ball for cracks.
Small surface cracks are manageable. Push their edges together with your thumbs before placing the ball seam side down. That position supports the closure while the cookie begins to spread.
The Pan-Smacking Trick for Crackly Tops
Tap the sheet while the cookies are still hot and flexible. The movement settles their puffy centers and encourages a crinkled surface, revealing some of the marshmallow beneath the dough.
Use a protected, heat-resistant surface and hold the hot sheet with oven mitts. A few controlled taps are enough; stop once the tops settle. You’re shaping cookies, not testing the durability of the counter.
Follow immediately with the sprayed rubber spatula. Push stray edges toward the center instead of flattening the whole cookie. This preserves the soft middle while tidying the outline.
Troubleshooting Common Fluffernutter Baking Mistakes
Check the dough covering and the color of the edges first. Those two cues explain most filling leaks, thick cookies, and disappearing marshmallow centers.
- The marshmallow disappeared: Extended baking can collapse the marshmallow and leave a hollow pocket, while an open seam lets it escape. Stay within the stated baking window and remove the cookies when the edges turn golden rather than waiting for the centers to brown.
- The dough tears around the filling: A thin patch or uneven disc makes wrapping difficult. Keep the filling centered, lift the dough instead of tugging it, and press cracks shut before baking.
- The cookies stay thick and dense: Packed flour can make the dough too stiff to spread. Fluff the flour, spoon it into the measuring cup, and level the top instead of scooping directly from the bag.
- The cookies spread excessively: Runny natural peanut butter or overly softened butter can change the dough’s consistency. Use the specified creamy spread and butter that is soft but not melted.
- Marshmallow sticks or scorches underneath: Escaped sugar sticks readily to bare metal. Line both sheets with parchment and seal the dough carefully; parchment helps with release but doesn’t prevent exposed marshmallow from overbrowning.
- The edges look ragged: Reshape them immediately after tapping the hot pan. Lightly spray the rubber spatula, then nudge the soft borders inward without touching hot marshmallow with your fingers.
- The cookies tear during transfer: They’re still too soft to lift. Let them cool completely on the sheet, then slide a spatula under the cookie and any sticky marshmallow patches.
Storage and Filling Preparation
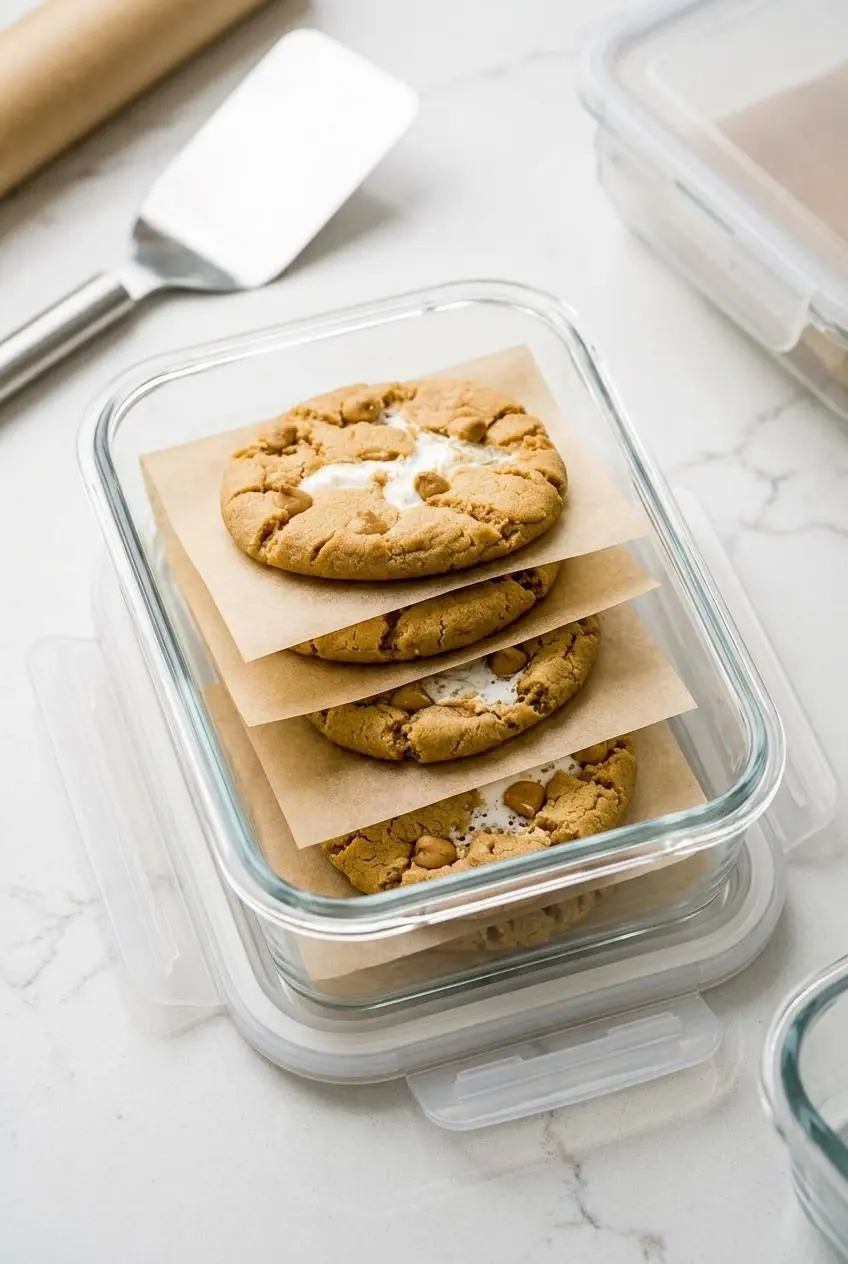
Protect the marshmallow from sticking by cooling the cookies completely before packing them. Warm cookies are fragile, and enclosing them while warm can trap moisture.
- Pack flat: Arrange cooled cookies in an airtight container without pressing their marshmallow centers against one another.
- Separate layers: Use parchment or wax paper between layers so exposed marshmallow doesn’t glue the cookies together.
- Prepare the filling first: Portion the peanut butter onto the lined plate and keep it in the freezer while making the dough, as directed above.
- Warm an individual cookie if desired: Microwave briefly and check it before eating; the marshmallow can become hotter than the surrounding cookie.
The freezing step here is for the peanut butter dollops during assembly. Keep the finished dough method focused on freshly shaped cookies rather than applying an unverified frozen-dough baking adjustment.
Flavor Variations and Add-Ins
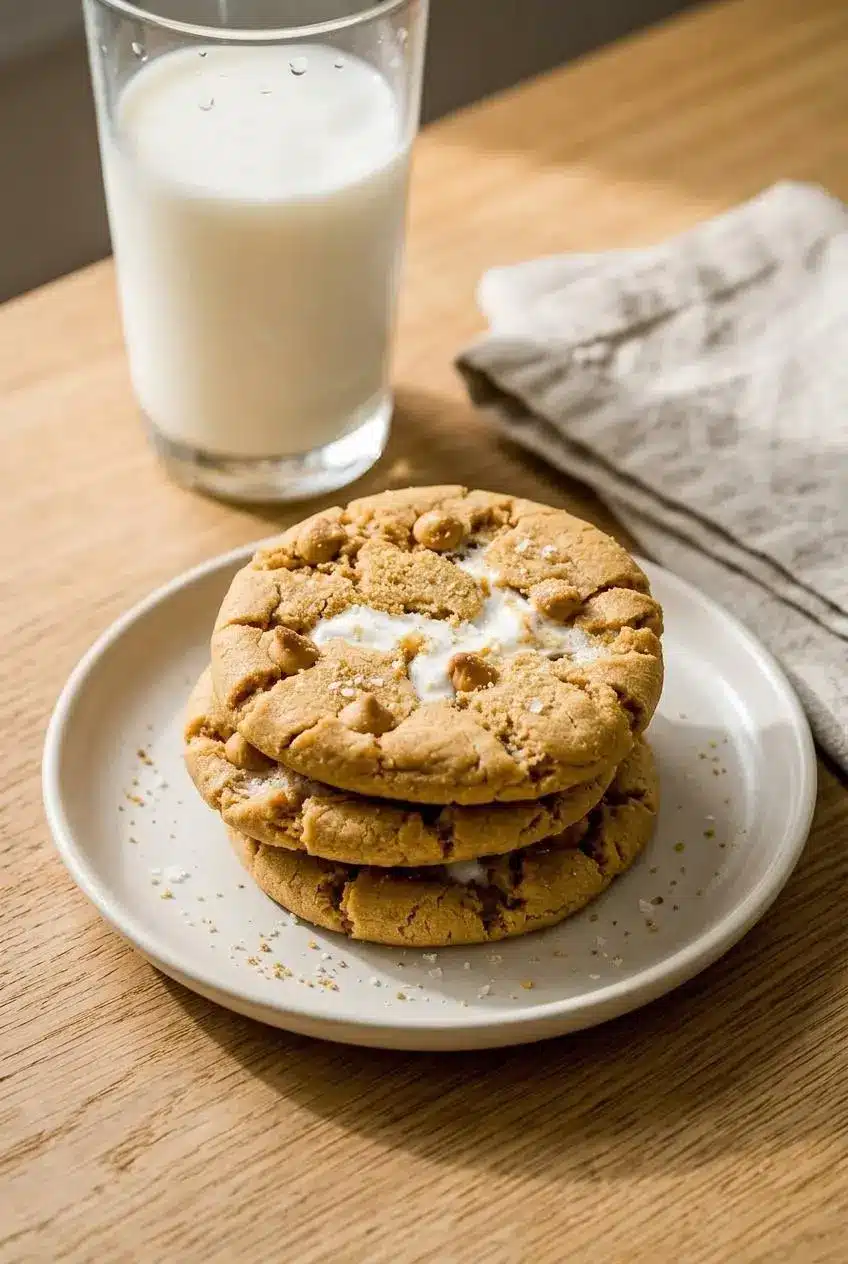
Keep these ideas optional and separate from the stuffed-cookie instructions. Add-ins change texture, and a swirled cookie won’t have the same enclosed center.
- Campfire crunch: After tapping the hot pan, add toasted crushed graham cracker crumbs and a light sprinkle of flaky sea salt for crunch and contrast; toasted s’mores cookies offer another campfire-inspired baking option.
- Chocolate chip: Fold mini semisweet chocolate chips into the finished dough for chocolate throughout, keeping the whole marshmallow filling and sealing technique unchanged.
- Crunchy peanut butter: A conventional crunchy spread adds nutty texture, though peanut pieces can make smooth dough sealing more fiddly; avoid runny natural varieties.
- Marshmallow ribbons: For a different style, gently fold chilled marshmallow creme through the dough, stopping while distinct white streaks remain instead of mixing it into a uniform color.
For the ribbon option, chilling makes the creme easier to handle, but it doesn’t make it behave like a whole marshmallow. Scoop portions with visible streaks and use parchment to catch exposed marshmallow. Treat this as a different cookie style rather than a one-for-one filling substitution.
A flourless peanut butter, sugar, and egg cookie is another approach to the flavor combination, but simply removing the flour here won’t preserve this dough’s structure. For a gluten-free version, use a recipe specifically developed for that dough and check the other ingredient labels rather than improvising this stuffed formula.
A cold glass of milk pairs well with the rich peanut butter and sweet filling. For a dessert platter, let the cookies set fully before arranging them so their sticky centers don’t pull neighboring cookies apart.
Conclusion
These cookies bring together chewy peanut butter dough and a gooey marshmallow center. Conventional creamy peanut butter and careful baking are the two most important choices for keeping that texture intact.
Seal the filling, watch for golden edges, and let the cookies cool before lifting them. Add the optional graham cracker and flaky salt finish when you want a little campfire crunch.
Frequently Asked Questions
What Is the Difference Between Fluffernutter Cookies Made With Fluff Versus Marshmallows?
Whole marshmallows create a distinct gooey pocket inside enclosed dough. Marshmallow fluff or creme works better as visible ribbons through the cookie and isn’t a direct substitute in this stuffing method.
Why Did My Marshmallow Melt Away or Disappear Completely in the Oven?
Overbaking can collapse the marshmallow, leaving a hollow center. An unsealed seam can also let it leak onto the sheet. Use the golden-edge cue and press all cracks closed before baking.
Can I Freeze Fluffernutter Cookie Dough Before Baking?
The freezing instructions here apply to the peanut butter dollops, not the assembled cookie dough. For the stated baking time and texture cues, bake freshly assembled dough balls; no frozen-dough timing adjustment is provided.
Why Should I Not Use Natural Peanut Butter for Fluffernutter Cookies?
Runny natural peanut butter can introduce separated oil and change how the dough spreads. A conventional creamy spread gives this recipe a more consistent dough texture and a filling that’s easier to portion and wrap.
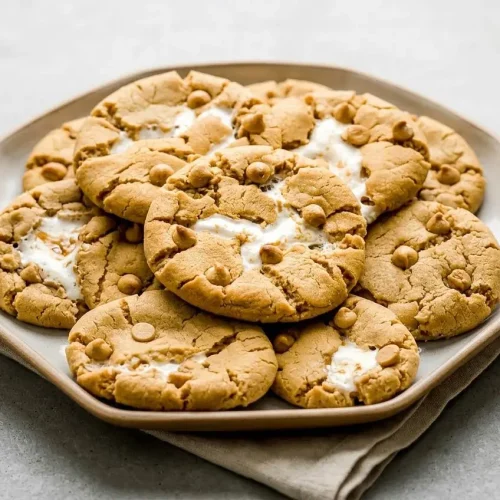
Fluffernutter Cookies

Equipment
- Stand mixer with paddle attachment or handheld mixer
- Two full-sized cookie sheets
- Parchment Paper
Ingredients
- 1 cup creamy peanut butter divided, Jif/Skippy/Peter Pan (not natural)
- 1½ cups all-purpose flour
- 1 teaspoon baking soda
- ⅛ teaspoon kosher salt
- ½ cup unsalted butter room temperature
- ½ cup light brown sugar packed
- ⅓ cup granulated sugar
- 1 large egg room temperature
- 1 teaspoon vanilla paste or extract
- 12 marshmallows standard sized
- peanut butter chips optional
Instructions
- Reserve ¼ cup of peanut butter, about 67 g, and portion it into 12 heaping teaspoon dollops on a parchment-covered plate, using a little more if needed; put the plate in the freezer while you make the dough. The dollops should become firm enough to pick up without smearing.
- Combine the flour, baking soda, and salt with a whisk in a separate bowl. The mixture should look uniform, with no visible pockets of baking soda.
- Use the paddle attachment to blend the butter with the remaining ¾ cup peanut butter, about 202 g, then beat in both sugars at medium speed for 2 minutes. The mixture should look lighter and fluffier, with the butter evenly blended throughout.
- Mix in the egg and vanilla, scrape the bowl, then run the mixer on low while adding the flour mixture just until it disappears. The finished dough should feel soft and pliable like play dough, rather than dry or crumbly.
- Heat the oven to 350°F/180°C and cover both full-sized cookie sheets with parchment paper. Keep the parchment flat so the dough rests evenly and any escaping marshmallow stays off the metal.
- Flatten a portion of 3 level tablespoons of dough, about 60 g, between your palms, then center a frozen peanut butter dollop beneath a marshmallow laid on its long side and press gently. The dough disc should be broad enough to lift around the filling without stretching into thin spots.
- Bring the dough edges up over the marshmallow, press any cracks closed with your thumbs, and set the enclosed ball on the sheet with the seam and marshmallow side facing down. Look for a continuous dough covering with no exposed filling or open seams.
- Complete all 12 balls in batches of 3 or 4, keeping unused peanut butter dollops in the freezer, then space 6 cookies on each sheet and add 4 to 5 peanut butter chips per top if desired. Leave room around every ball for the dough to spread.
- Bake a single sheet on the middle rack for 9 to 11 minutes, then remove it and firmly tap the pan against a protected, heat-resistant counter a few times. The perimeter should look golden while the centers remain pale and slightly puffy before tapping.
- Coat a rubber spatula lightly with cooking spray and nudge the warm cookie edges inward to restore their shape. The soft borders should move easily without pulling sticky marshmallow across the parchment.
- Leave the cookies on their baking sheet until completely cool, then lift them with a spatula for transfer. The cookies should hold together, though exposed marshmallow may still need gentle loosening from the parchment.