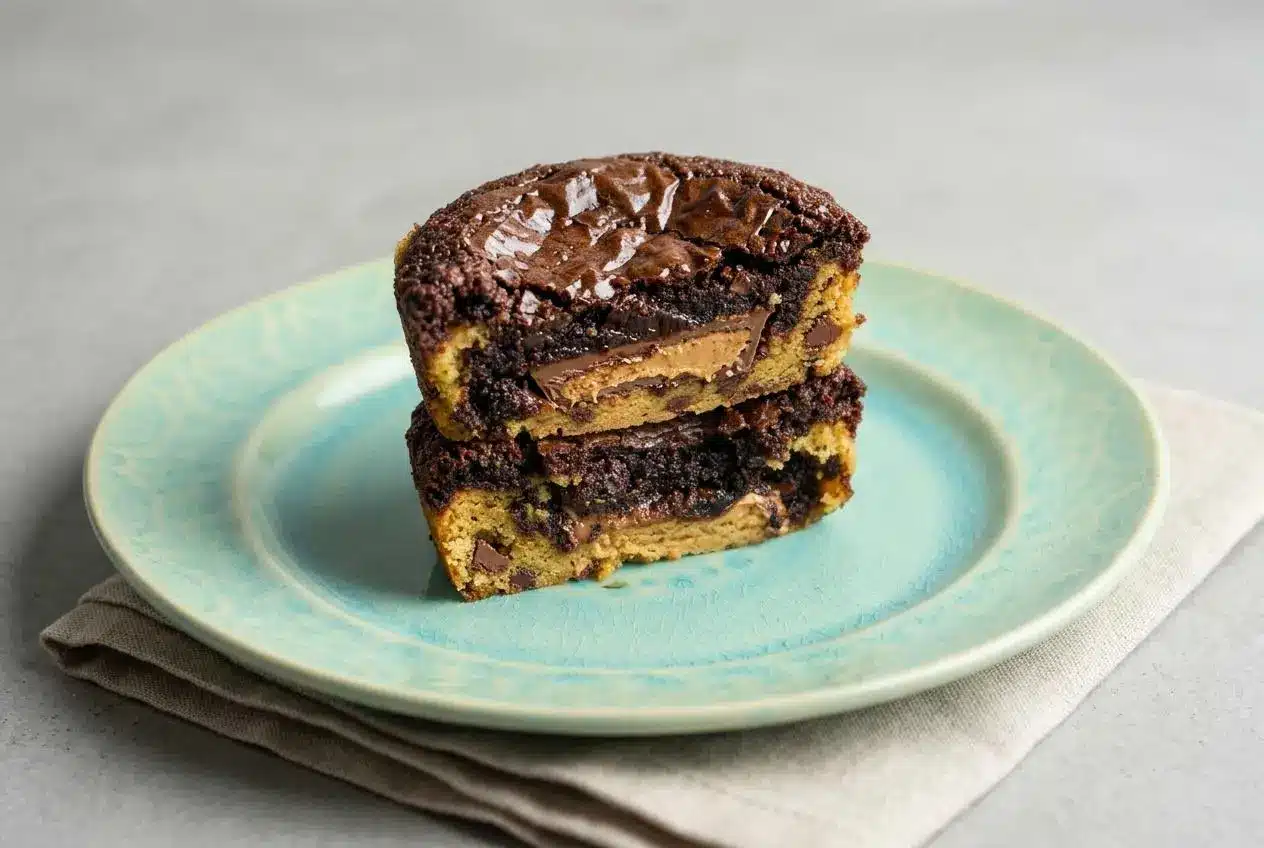
Press chocolate chip cookie dough into muffin tins, add a peanut butter cup to each well, and cover with brownie batter. Bake at 350°F for 18 to 20 minutes, until the tops crack and the centers no longer jiggle.
Peanut butter cup stuffed brookies put a chewy cookie bottom, a chocolate and peanut butter center, and a fudgy brownie top into each muffin cup. They’re portioned for sharing, though the soft centers make them tempting straight from the pan.
The edges turn lightly crisp while the middle stays rich and tender. Getting them out intact comes down to one small pause.
Grease the bottom corners of every muffin well, where melted chocolate is most likely to cling.
Key Ingredients for Easy Stuffed Brookies
The cookie dough gives each brookie a chewy foundation, the brownie batter forms a fudgy top, and the peanut butter cup brings the creamy center. Cooking spray helps those layers leave the pan intact.
- 18.3 ounce brownie mix (plus the eggs and oil to make the brownies)
- 16 ounces refrigerated cookie dough (I like the ones that break into squares)
- 24 full size Reese’s Peanut Butter Cups
- cooking spray
Refrigerated break-apart cookie dough is easy to divide among the muffin wells. Press it across each bottom rather than leaving a tall mound in the middle. That gives the candy a level place to sit and helps the finished brookie hold together when you lift it out.
Prepare the brownie mix as its package directs. A fudge-style mix suits the dense, chewy cookie layer particularly well; a cake-style mix will give you a lighter top. The listed mix weight matters when you’re shopping, since a different box size can leave you with a different amount of batter.
Full-size peanut butter cups make a substantial center in regular-size muffin tins. Miniatures would change the candy-to-batter balance, so save them for an optional variation rather than treating them as a direct replacement here. Unwrap the cups before you start filling the pan so the prepared batter doesn’t sit while you work.
I keep the cookie dough chilled until I’m ready to press it into the wells; firm pieces are easier to flatten evenly.
How to Make Peanut Butter Cup Stuffed Brookies Step by Step
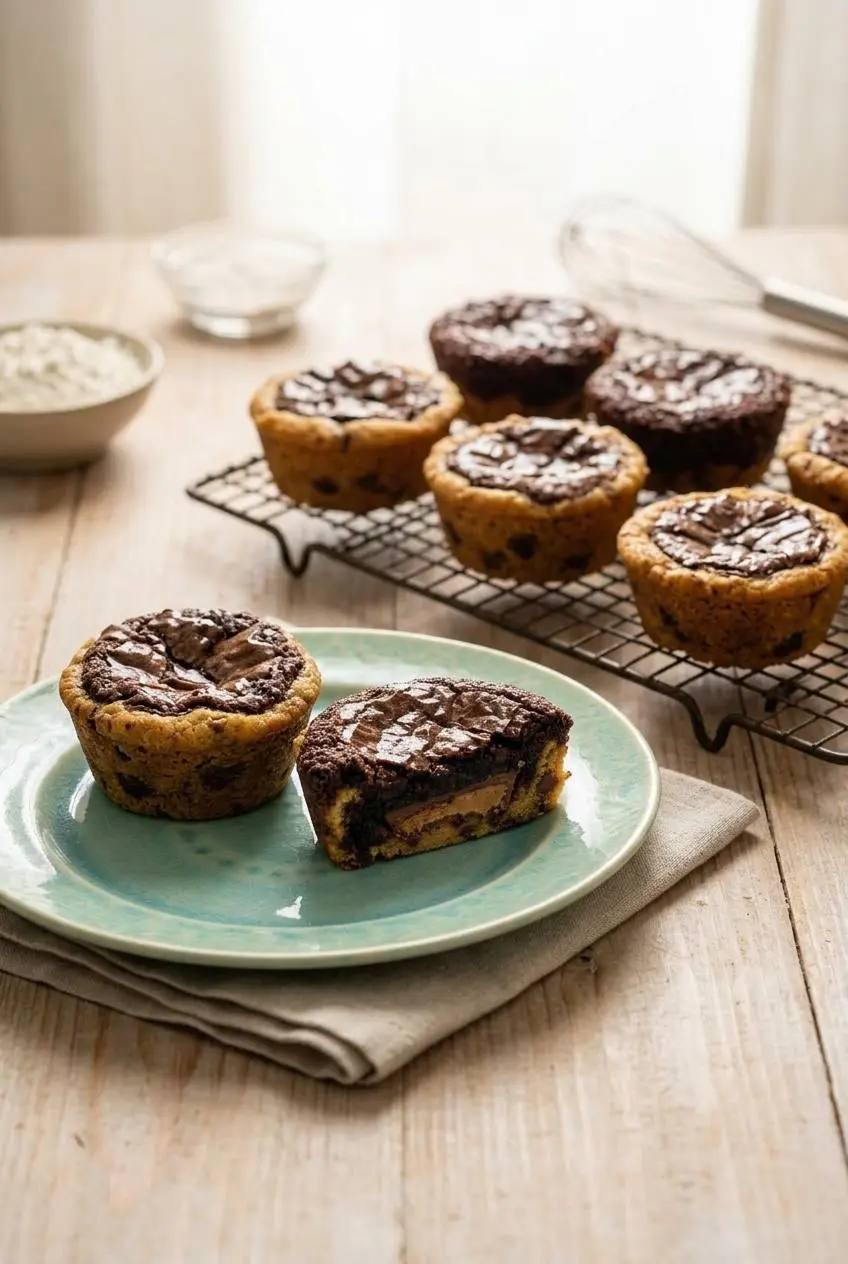
The layering order is cookie dough, candy, then brownie batter. You’ll need two regular-size muffin tins to make all 24 brookies.
- Heat the oven to 350°F and coat every well of two regular-size muffin tins generously with cooking spray.
Pay particular attention to the bottom edges, where the soft cookie layer meets the pan. - Mix the brownie batter using the directions on its package, then set it beside the muffin tins.
It should be ready to pour once the cookie and candy layers are in place. - Separate the refrigerated cookie dough and press a portion across the bottom of each well.
A fairly even layer gives each peanut butter cup a steady base. - Place one unwrapped peanut butter cup on the dough in each well.
Each cup should sit within its well without leaning against the side. - Spoon brownie batter over the candy until it is covered, stopping when each well is about three-quarters full.
Leave space above the batter so it can rise without spilling over the rim. - Bake for 18 to 20 minutes at 350°F.
The brownie tops should show cracks and stay still rather than jiggle when the pan moves gently. - Let the brookies cool in the pans, then ease each one out gently with a fork.
They are ready to lift when the edges hold their shape and the bottoms no longer feel too soft to support them.
The tops are a better doneness guide than a toothpick pushed through the middle. A toothpick may hit melted candy and come out wet even when the brownie layer has baked. Look instead for a mostly matte surface with fine cracks; a little sheen in a crack is different from a loose, shiny patch of batter.
Pro Tips for Flawless Layered Brookies
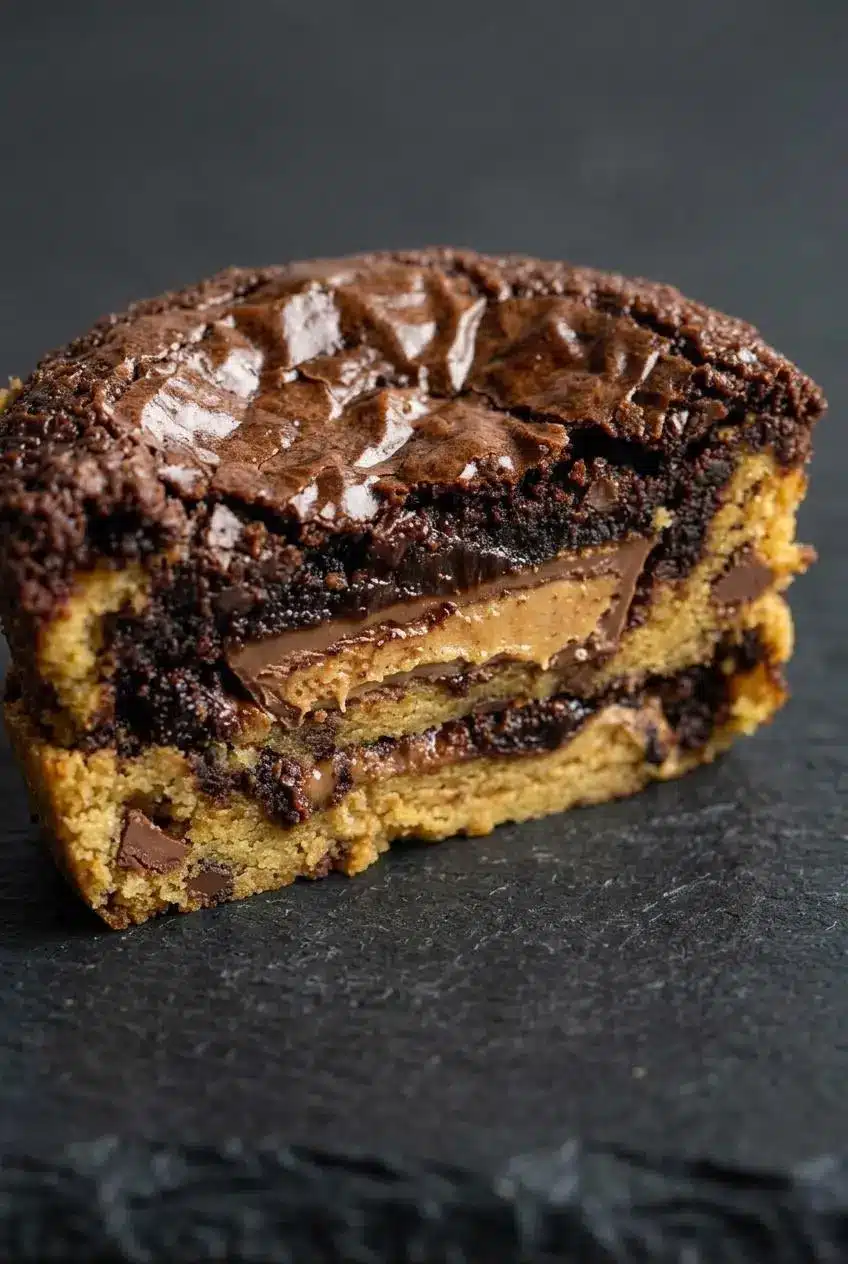
Most trouble happens at the pan edges or during removal. These checks help you keep the cookie bottom chewy and the candy center inside the brookie.
- Brookies stick to the tin: The pan may have missed a patch of cooking spray, especially along the lower edges. Coat each well thoroughly before filling it. Parchment muffin liners are another option if you prefer lifting the brookies out by the liner.
- The candy tips to one side: Set a peanut butter cup upside down if its wider face rests more securely on the dough. A level cup is easier to cover without pushing batter down one side.
- Batter runs over the rim: A full well has no room for the brownie layer to rise. Stop near the three-quarter mark, even if you have batter left.
- The tops look wet: Check whether they jiggle before baking longer. Melted candy can make a toothpick misleading, but loose brownie batter on top needs more oven time.
- The cookie bottoms tear: Give the pan about 10 minutes to cool, then check whether a brookie holds together before lifting the rest. Slide a fork gently under an edge; don’t twist a hot brookie out of the well.
Overbaking can turn the cookie layer hard before the brownie top looks dry throughout. Once the tops have fine cracks and no center jiggle, let cooling do its share of the work. The candy will still feel soft, but the surrounding layers will firm enough to lift more cleanly.
Delicious Variations: Muffin Cups vs. Brookie Bars
Muffin tins give you individual desserts with chewy edges all around. A baking pan makes sliceable bars instead, which can be easier to arrange on a dessert platter. Keep the muffin-cup method above for the stated yield and bake time; the ideas below are optional changes.
Baking Brookie Bars in a Sheet Pan
For bars, use a deep-sided 9×13-inch baking pan rather than a shallow cookie sheet. Press the cookie dough into an even bottom layer, arrange the unwrapped peanut butter cups in rows, and spread the prepared brownie batter over them. A smaller 8×8-inch pan makes thicker layers, so it may need a longer bake than the wider pan.
Bake bars at 350°F, but don’t use the muffin-cup time as a timer for either pan. Watch for a cracked, set brownie surface and edges that begin to pull slightly from the sides. Let the pan cool well before cutting so the candy stays within each slice instead of dragging across the knife. If a candy-filled bar is what you’re after, these gooey cookie bars are another sliceable option.
Creative Candy and Cookie Swaps
Change the filling or finish only if you want a different flavor or texture. Each swap moves away from the full-size peanut butter cup center in the main method.
- Chocolate sandwich cookies: Use one as an optional center for a cookies-and-cream flavor. Expect a firmer bite than you get from melted peanut butter candy.
- Different peanut butter cups: Dark chocolate cups bring a stronger chocolate flavor, while white chocolate cups make the center sweeter.
- Caramel cups: These give the brookies a softer, stickier center. Cool them thoroughly before trying to lift them from the pan.
- Salted peanut crunch: Scatter flaky sea salt and chopped roasted peanuts over the warm tops for contrast against the rich brownie layer.
Keeping and Warming Leftover Brookies
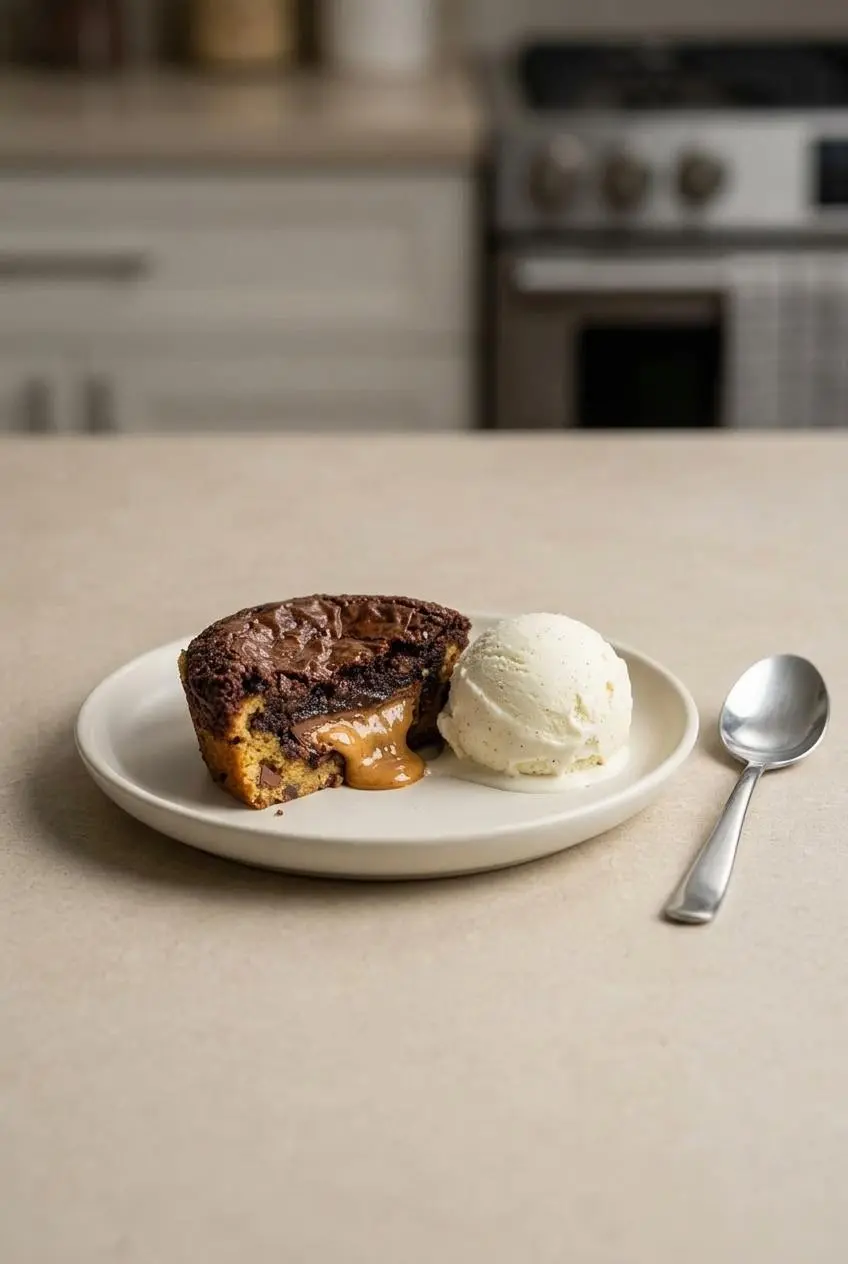
Let brookies cool before covering them. Trapped warmth can leave moisture on the brownie tops and soften the edges you worked to keep intact.
Keeping Brookies Covered
Place fully cooled brookies in an airtight container, with parchment between layers if you stack them. Keep the container away from heat so the candy centers don’t soften and stick to the brookies above them. This recipe doesn’t establish a specific room-temperature keeping time or freezer method, so avoid relying on a fixed storage limit.
Warming for Gooey Centers
For a softer peanut butter center, put an individual brookie on a microwave-safe plate and warm it briefly. Check it before heating further: the goal is a warm middle, not candy so hot and liquid that it spills when you cut in. A scoop of cold vanilla ice cream makes a welcome contrast if you’re serving it as dessert.
Conclusion
These brookies layer familiar cookie and brownie textures around a peanut butter cup, with the muffin tin doing the portioning for you. The bake is quick; cooling is what helps those portions come out neatly.
Lift them gently once they hold their shape, then enjoy them as they are or slightly warm with vanilla ice cream. The first bite should give you a little of every layer.
Frequently Asked Questions
How Do You Keep Brookies From Sticking to the Muffin Tin?
Coat each muffin well generously with cooking spray, including its bottom edges, or use parchment muffin liners. Let the brookies cool until they hold together, then work a fork gently beneath an edge. Twisting them out while hot can tear the cookie bottoms.
How Do You Know When Peanut Butter Cup Brookies Are Done Baking?
After 18 to 20 minutes at 350°F, look for a cracked brownie top that no longer jiggles in the center. Don’t rely on a toothpick pushed through the candy: melted peanut butter and chocolate can make it look wet even when the brownie layer has set.
Can You Make These Brookies in a 9×13 Pan Instead of Muffin Tins?
Yes, a deep-sided 9×13-inch baking pan gives you sliceable bars. Press the cookie dough evenly across the bottom, arrange the peanut butter cups in rows, and cover them with brownie batter. Bake at 350°F until the brownie top looks set and cracked, then cool well before slicing; the muffin-cup bake time won’t apply.
Can Peanut Butter Cup Stuffed Brookies Be Frozen?
A freezer method and keeping time haven’t been established for these brookies, so there isn’t a reliable freezing limit to give. For leftovers, let them cool completely and keep them covered in an airtight container to protect their texture.
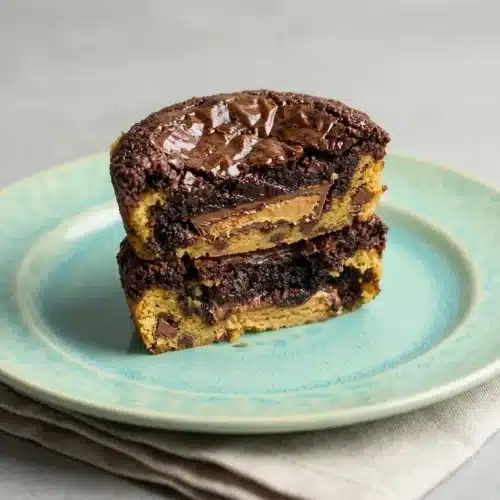
Peanut Butter Cup Stuffed Brookies

Equipment
- muffin tins
Ingredients
- 18.3 ounce brownie mix (plus the eggs and oil to make the brownies)
- 16 ounces refrigerated cookie dough (I like the ones that break into squares)
- 24 full size Reese’s Peanut Butter Cups
- cooking spray
Instructions
- Heat the oven to 350°F and coat every well of two regular-size muffin tins generously with cooking spray. Pay particular attention to the bottom edges, where the soft cookie layer meets the pan.
- Mix the brownie batter using the directions on its package, then set it beside the muffin tins. It should be ready to pour once the cookie and candy layers are in place.
- Separate the refrigerated cookie dough and press a portion across the bottom of each well. A fairly even layer gives each peanut butter cup a steady base.
- Place one unwrapped peanut butter cup on the dough in each well. Each cup should sit within its well without leaning against the side.
- Spoon brownie batter over the candy until it is covered, stopping when each well is about three-quarters full. Leave space above the batter so it can rise without spilling over the rim.
- Bake for 18 to 20 minutes at 350°F. The brownie tops should show cracks and stay still rather than jiggle when the pan moves gently.
- Let the brookies cool in the pans, then ease each one out gently with a fork. They are ready to lift when the edges hold their shape and the bottoms no longer feel too soft to support them.