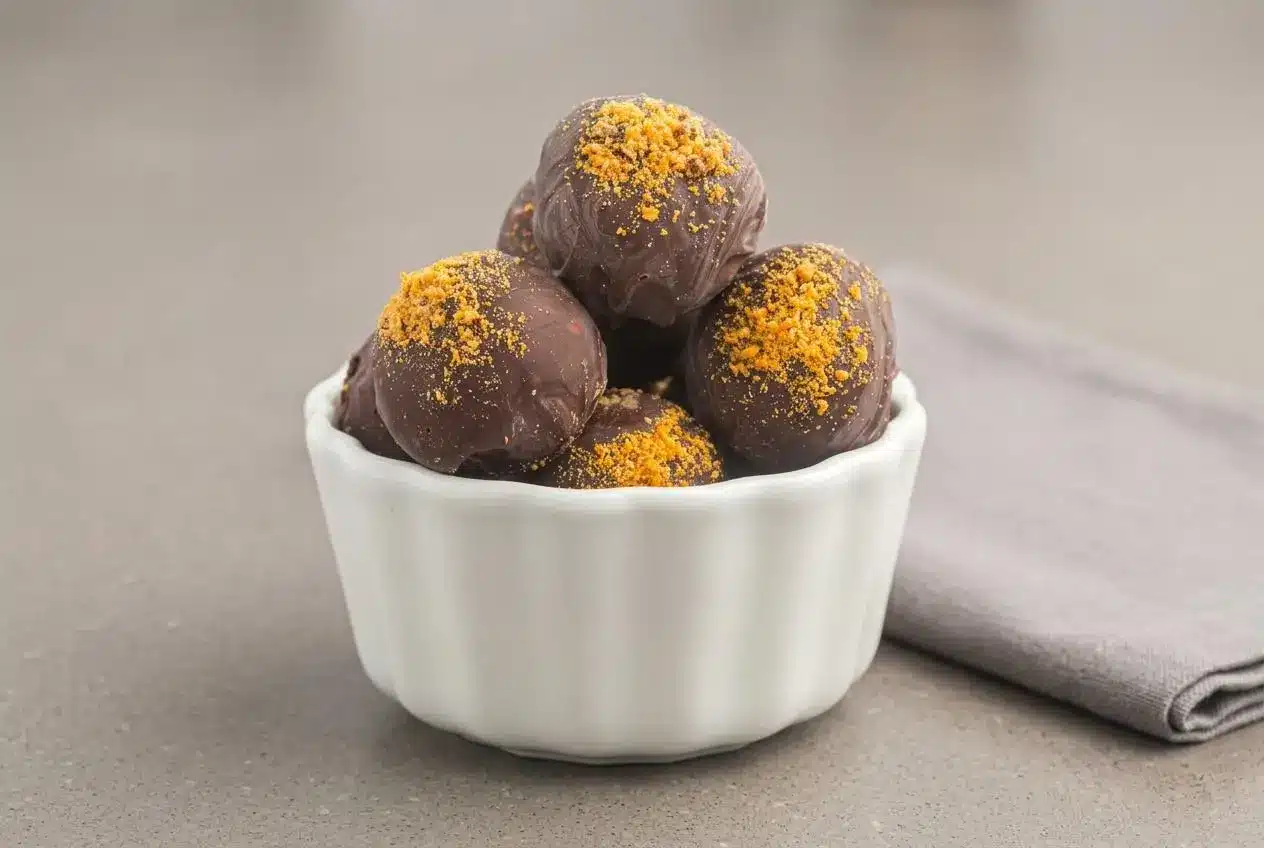
butterfinger balls are no-bake treats made by mixing peanut butter, butter, powdered sugar, and crushed candy bars. Chill the mixture, roll it into balls, chill again, then dip each one in melted chocolate.
Salty peanut butter and sweet, crunchy candy make a satisfying center, while the chocolate coating gives each bite a smooth finish. The method needs no candy thermometer or complicated shaping.
The trick is giving the centers time to firm up before they meet the warm chocolate. That first crisp bite is worth the wait.
Keep a parchment-lined baking sheet ready before you start rolling so the centers can go straight back into the refrigerator.
Key Ingredients and Why They Work
Each ingredient has a job: peanut butter and butter give the centers richness, powdered sugar holds them together, candy adds crunch, and oil helps the chocolate coat them evenly.
- 1 ½ cups peanut butter
- ½ cup butter softened
- ½ teaspoon vanilla
- 2 cups Powdered Sugar
- 1 cup Crushed Butterfinger Bars
- 3 cups chocolate chips semi-sweet
- 1 tablespoon coconut oil or vegetable oil
Softened butter blends smoothly with the peanut butter, and vanilla rounds out the candy’s sweetness. Semi-sweet chips balance the sweet center. The oil loosens the melted chocolate enough to flow around each ball rather than forming a heavy coating.
I crush the Butterfinger bars into small pieces rather than powder so the centers hold together while keeping distinct crunchy bits.
The Importance of Conventional Peanut Butter
Choose conventional creamy peanut butter for centers that are easier to mix and roll. Its stabilizers help keep the oil evenly distributed, so the mixture stays cohesive as the powdered sugar goes in. Natural peanut butter can separate into oil and solids, leaving the dough greasy in places and crumbly in others.
If you already have natural peanut butter open, save it for something less dependent on a firm, rollable texture. Stirring its jar well may improve its consistency, but it won’t make it behave exactly like a stabilized variety in these no-bake centers.
Balancing Sweetness and Texture
Powdered sugar does more than sweeten. Its fine texture absorbs some of the mixture’s moisture and helps the peanut butter and butter hold a rounded shape without the graininess of coarser sugar. Add it gradually so it disappears into the mixture instead of gathering in dry pockets.
The crushed Butterfinger pieces bring the signature crisp bite. Keep some aside for the tops, then fold the rest into the center. Once the chocolate chips melt with the oil, the coating should run off a spoon in a smooth ribbon. It needs to be fluid enough for dipping, but not so hot that it softens the chilled centers.
Step-by-Step Instructions for Making Butterfinger Balls
Plan on two separate 30-minute chills: one after mixing and another after rolling. The first makes the mixture manageable; the second helps the balls keep their shape during dipping. This recipe makes 36 treats.
- Beat the peanut butter, softened butter, and vanilla with a mixer on medium speed.
Stop when the mixture looks lighter and fluffy, with no visible streaks of butter. - Add the powdered sugar gradually while mixing.
The mixture should become thick and cohesive, with the sugar fully absorbed. - Fold in the crushed Butterfinger bars, saving some pieces for the tops, then refrigerate the mixture for 30 minutes.
It should feel firmer and less tacky when you scoop it. - Roll the chilled mixture into balls on a parchment-lined baking sheet, then refrigerate them for another 30 minutes.
The balls should hold their round shape when lifted. - Put the chocolate chips and oil in a small microwave-safe bowl, heat at 50% power for 1 minute, and stir.
The chips may still look partly intact but should begin to soften as you stir. - Continue heating at 50% power in 30-second increments, stirring after each, until the chocolate melts.
Stop when it turns smooth and flows easily from the fork. - Lift a chilled ball with a fork, coat it completely in chocolate, let the excess drip off, and return it to the parchment.
The coating should cover the center without collecting in a thick puddle underneath. - Sprinkle the reserved Butterfinger pieces over the wet coating and repeat with the remaining balls.
The crumbs should stick to the chocolate before it firms up. - Leave the coated balls at room temperature until the chocolate sets, then serve.
The shell should feel firm to a light touch.
Take only the centers you’re dipping from the refrigerator; leave the others chilled until their turn. Stir the chocolate between batches to keep the coating even.
Essential Recipe Tips and Troubleshooting
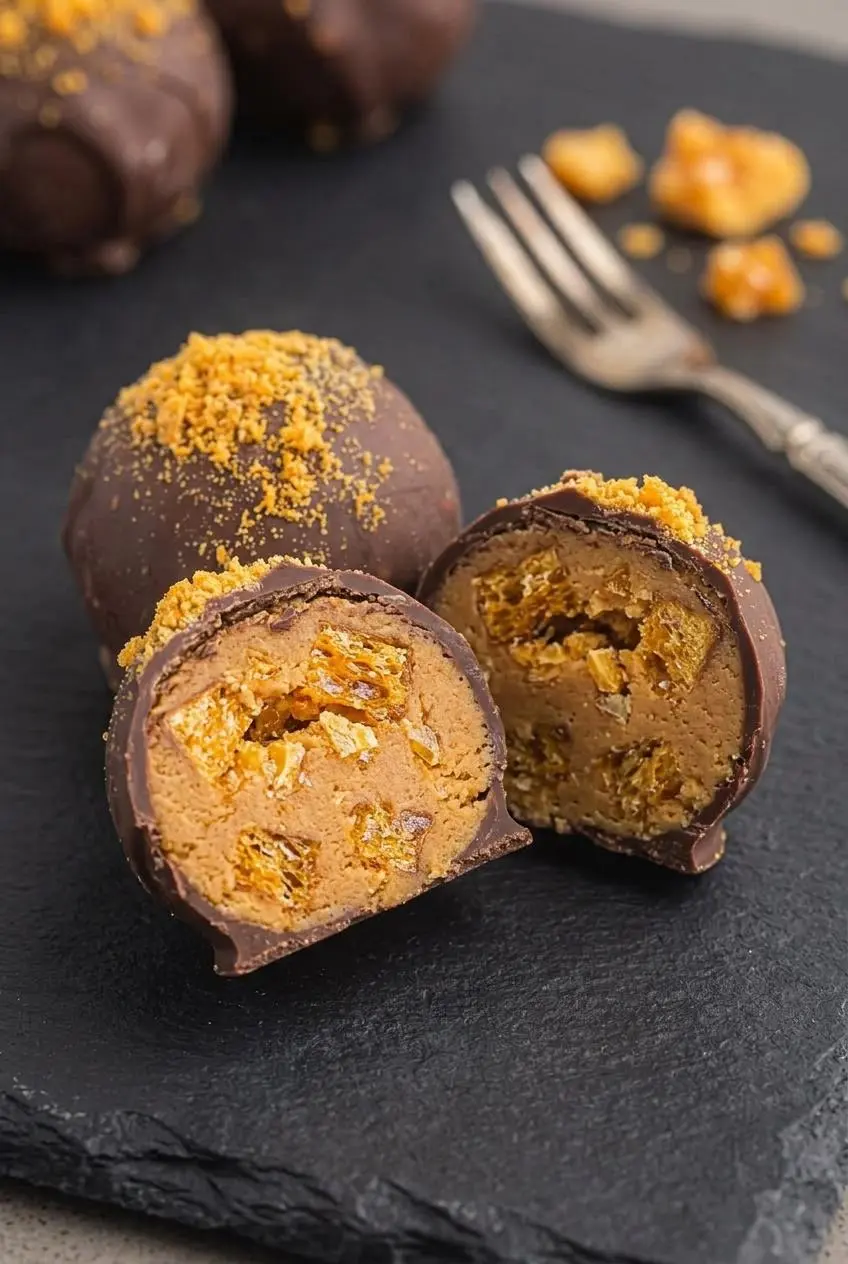
Most problems come down to temperature or texture. Cold centers hold their shape, dry surfaces grip chocolate, and gently melted chocolate stays fluid enough to coat without clumps.
- The balls flatten while dipping: The centers may be too warm. Give them the full second chill, and return softening balls to the refrigerator before continuing.
- The mixture sticks to your hands: Check whether it has completed the first chill. If it has, a little more time in the refrigerator can make rolling easier without changing the ingredient balance.
- The mixture crumbles instead of rolling: Check for dry pockets of powdered sugar and work them into the dough. Squeeze a portion gently before rolling; it should hold together rather than scatter.
- The chocolate turns thick or grainy: Too much heat or a drop of water can cause trouble. Use a completely dry bowl, stir thoroughly between microwave bursts, and stop heating as soon as the chocolate is smooth. A badly seized batch may not produce a smooth dipping shell.
- The coating looks too thick: Stir it well before heating it again. Chocolate can retain its shape in the microwave even after it has softened, and extra heat may make the problem worse.
Mastering the Fork Dipping Method
A dinner fork or dipping fork supports the whole center; a toothpick can tear through it. Lower a ball into the chocolate, turn it gently to cover all sides, and lift it on the fork. Tap the fork lightly against the bowl’s edge to release excess coating, then draw its underside across the rim before sliding the ball onto the parchment.
You should hear a soft tap, not a hard knock. If the center starts to deform, stop working that batch and let the remaining balls firm up in the refrigerator. A smooth, flowing coating needs less handling and leaves a neater base.
Fixing Sweating or Sticky Dough
Cold centers can gather moisture on their surfaces in a warm kitchen. Chocolate may slide away from a damp spot instead of clinging to it. Work with 5 or 6 balls at a time and keep the rest chilled. If a ball looks shiny with condensation, gently blot it with a clean paper towel before dipping.
There’s a useful distinction between sticky dough and a damp surface. Sticky dough feels soft when you try to roll it, so chill it before shaping. Surface moisture appears on balls that are already shaped; blot those gently and dip them while they’re still firm. If your work area feels warm, keeping the batches small matters more than dipping quickly.
Storage and Make-Ahead Guidelines
For holiday planning, shape and chill the centers as directed before melting the chocolate. Keeping the undipped balls cold while you prepare the coating makes the final dipping stage more manageable. Once coated, let the chocolate set fully before packing the treats.
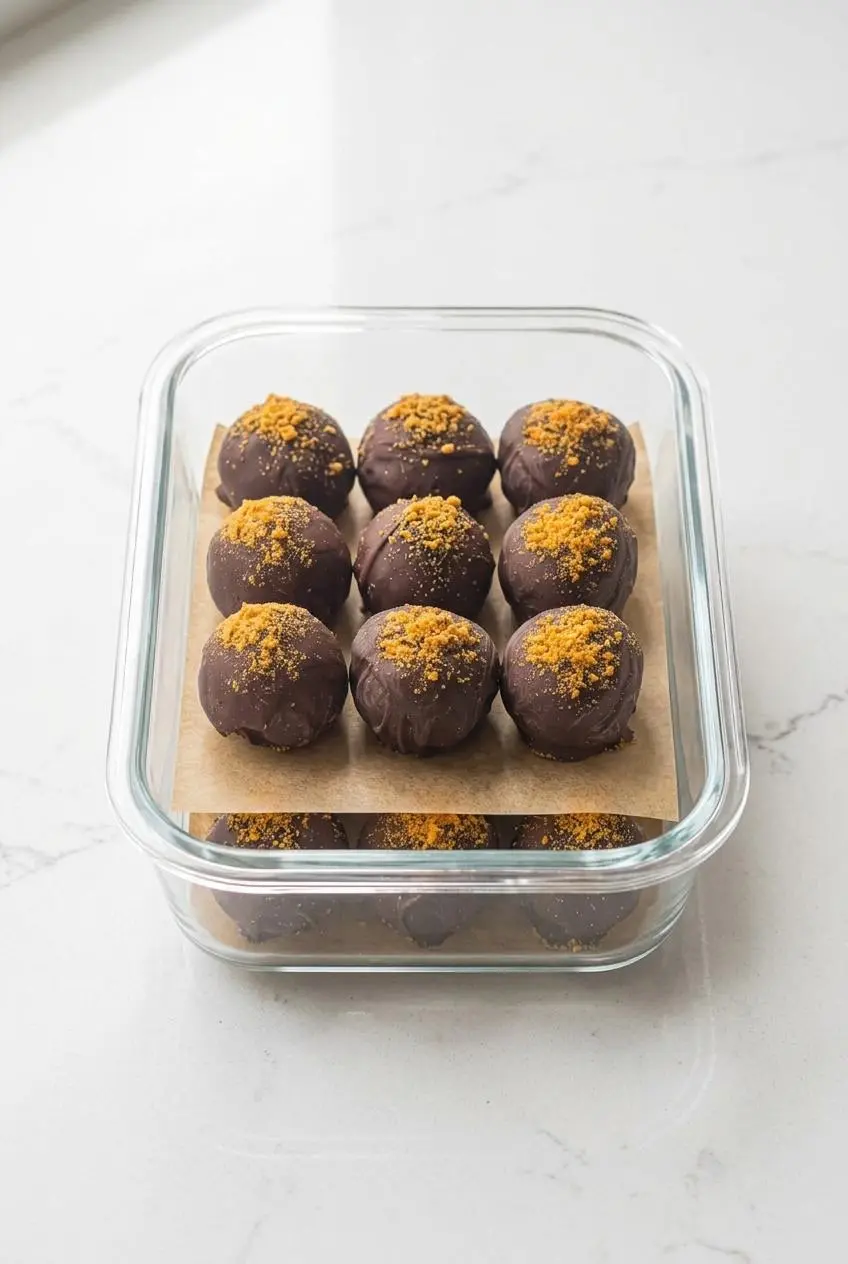
Store the finished balls in a covered, airtight container in the refrigerator. Place wax paper or parchment between layers so the shells don’t stick together. Keep the container away from moisture, and take out the treats close to serving time; moving cold chocolate into a warm room can leave condensation on its surface.
For a gift tin, line the container and separate the layers so the toppings stay in place. Keep the tin chilled until it is ready to share. An exact refrigerator shelf life or longer-term freezing method isn’t established here, so make these close to when you plan to serve them rather than relying on an unsupported storage window.
Serving and Creative Recipe Variations
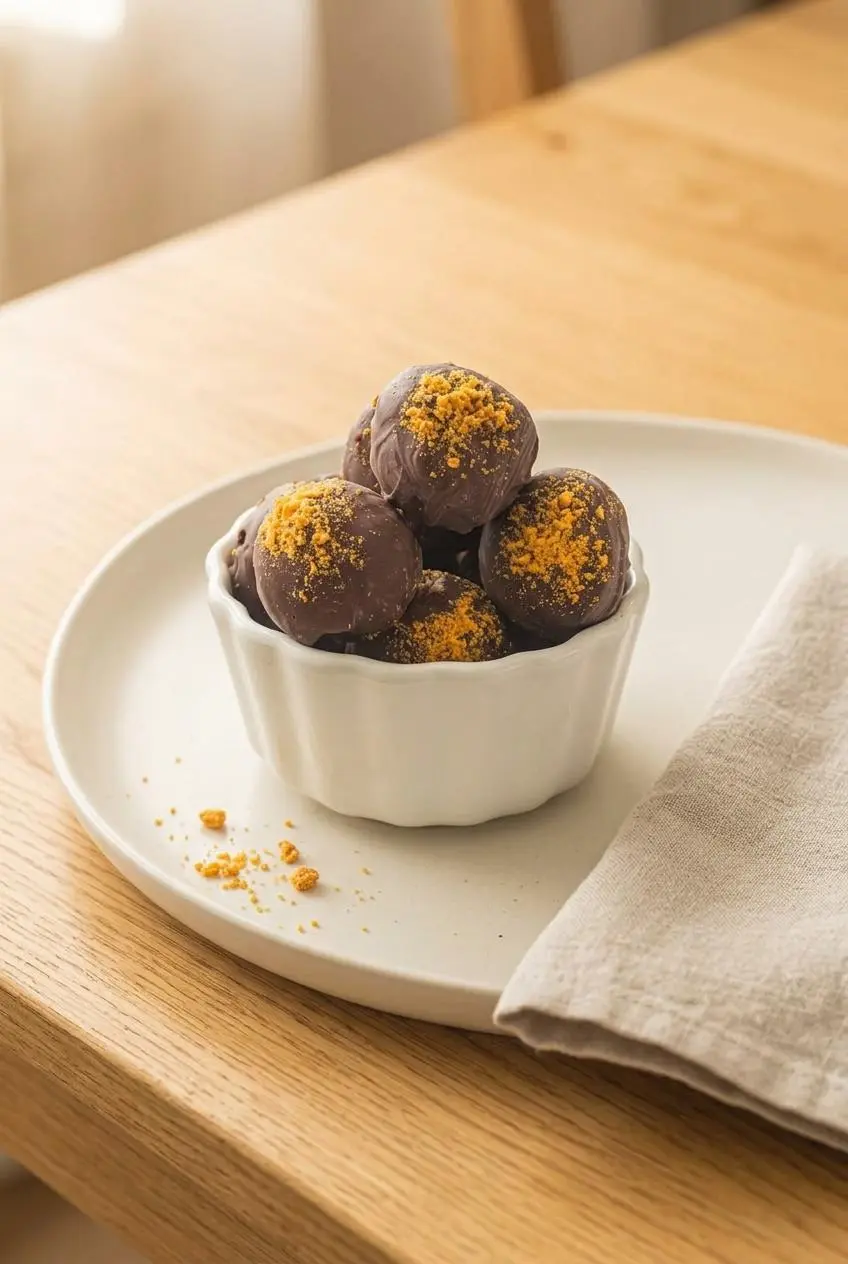
These are easy to arrange on a dessert platter once the coating has set. For a different finish, make the changes below as optional additions outside the main method, and keep the centers firm enough to roll.
Adding Crunch with Cereal or Graham Crumbs
- Crisp rice cereal: Fold a little into the center alongside the Butterfinger pieces for a lighter crunch. Avoid crushing it to dust, which loses that texture.
- Finely crushed graham crackers: Add some for a denser, cookie-like bite. Keep the crumbs fine enough that large pieces don’t break through the rolled centers.
Either addition changes the feel of the dough, so use a light hand. The mixture should still squeeze together and roll without cracking.
Holiday Presentation Ideas
Set the coated balls in small paper candy cups for a tidy holiday tray, or tuck them into a parchment-lined gift tin. If you’re making an assortment, classic peanut butter balls offer a smooth-centered counterpart to this crunchy version.
- Buckeye-style finish: Dip each chilled ball only partway, leaving a circle of peanut butter center exposed on top. This is a presentation change; the fully coated version remains the main method.
- White chocolate drizzle: Add an optional drizzle after the dark coating sets for contrast.
- Festive sprinkles: Scatter them over the coating while it is still wet so they adhere.
Conclusion
Butterfinger balls bring crisp candy pieces, a rich peanut butter center, and a smooth chocolate shell together without baking. The contrast makes them especially welcome on a dessert tray.
Give the dough both chills and dip the centers in small batches. Keeping them firm makes the chocolate work much easier.
Frequently Asked Questions
Why Does Melted Chocolate Slide Off the Balls During Dipping?
Surface moisture or oil can stop chocolate from gripping the center. Keep the balls chilled, bring out only a small batch, and gently blot any visible condensation before dipping.
Can I Use Natural Peanut Butter in This Recipe?
Conventional creamy peanut butter is the better choice. Natural peanut butter can release oil into the dough, making the centers greasy, uneven, and harder to keep round.
How Long Do Butterfinger Balls Stay Fresh?
There isn’t a supported exact storage period for these treats. Keep them in an airtight container in the refrigerator, with parchment or wax paper between layers, and make them close to when you intend to serve them.
What Is the Best Way to Melt Chocolate Without Seizing It?
Use a dry microwave-safe bowl and heat the chocolate chips with the listed oil at 50% power for 1 minute. Stir, then continue in 30-second increments, stirring each time, just until smooth. Keep water out of the bowl and avoid overheating.
How Do I Prevent the Chocolate Coating From Blooming or Streaking?
Heat the chocolate gently and stop as soon as it is smooth rather than continuing to microwave it. Let the dipped balls set at a moderate room temperature, away from heat and moisture. A streaked shell may look less even, but the chilled, crunchy center is still the part to enjoy.
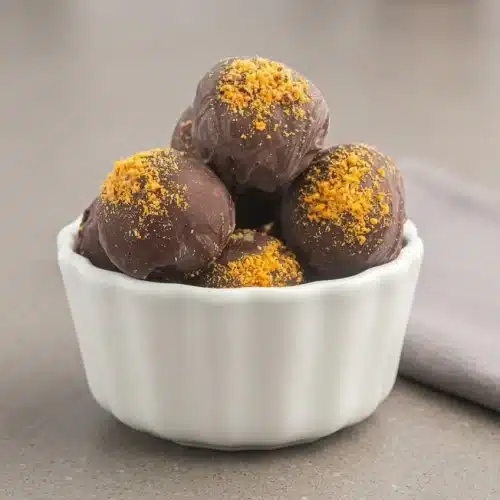
Butterfinger Balls

Equipment
- Mixer
- Parchment Paper
- Baking Sheet
- Microwave-safe Bowl
- Fork
Ingredients
- 1 ½ cups peanut butter
- ½ cup butter softened
- ½ teaspoon vanilla
- 2 cups Powdered Sugar
- 1 cup Crushed Butterfinger Bars
- 3 cups chocolate chips semi-sweet
- 1 tablespoon coconut oil or vegetable oil
Instructions
- Beat the peanut butter, softened butter, and vanilla with a mixer on medium speed. Stop when the mixture looks lighter and fluffy, with no visible streaks of butter.
- Add the powdered sugar gradually while mixing. The mixture should become thick and cohesive, with the sugar fully absorbed.
- Fold in the crushed Butterfinger bars, saving some pieces for the tops, then refrigerate the mixture for 30 minutes. It should feel firmer and less tacky when you scoop it.
- Roll the chilled mixture into balls on a parchment-lined baking sheet, then refrigerate them for another 30 minutes. The balls should hold their round shape when lifted.
- Put the chocolate chips and oil in a small microwave-safe bowl, heat at 50% power for 1 minute, and stir. The chips may still look partly intact but should begin to soften as you stir.
- Continue heating at 50% power in 30-second increments, stirring after each, until the chocolate melts. Stop when it turns smooth and flows easily from the fork.
- Lift a chilled ball with a fork, coat it completely in chocolate, let the excess drip off, and return it to the parchment. The coating should cover the center without collecting in a thick puddle underneath.
- Sprinkle the reserved Butterfinger pieces over the wet coating and repeat with the remaining balls. The crumbs should stick to the chocolate before it firms up.
- Leave the coated balls at room temperature until the chocolate sets, then serve. The shell should feel firm to a light touch.