In my kitchen, this is the kind of dessert that disappears before the coffee is even poured. An Oreo Dump Cake Recipe has become one of those American potluck favorites for good reason, it feels almost too easy for how rich and outrageous the final spoonful tastes.
If you want a TikTok viral recipe that is simple, fail-proof, and deeply chocolatey, this one earns a spot in your regular rotation. There is no fussy mixing, no complicated technique, just layered ingredients that bake into a warm, gooey easy dessert with a crisp, brownie-like top.
Why You’ll Love This Recipe
Pure chocolate comfort: Every bite is gooey, rich, warm, and packed with the deep flavor of Oreo cookies and chocolate cake mix. It lands somewhere between a cobbler and a molten cake, which is exactly why people go back for seconds.
The butter trick really works: In my kitchen, grating frozen butter over the top changed everything. It covers the dry cake mix far more evenly than thick pats, so you get a reliable crust instead of random dusty spots.
Almost no effort: This dump cake recipe asks for layering, not mixing. If you have ever wanted a dessert that looks impressive in a baking dish without dirtying half the kitchen, this is the one.
Better for crowds: It brings the same cookies-and-cream satisfaction people love in a classic Oreo cake, but with far less work. You skip the measuring bowls and frosting drama, yet still get that intensely decadent payoff.
Ingredients and Substitutions
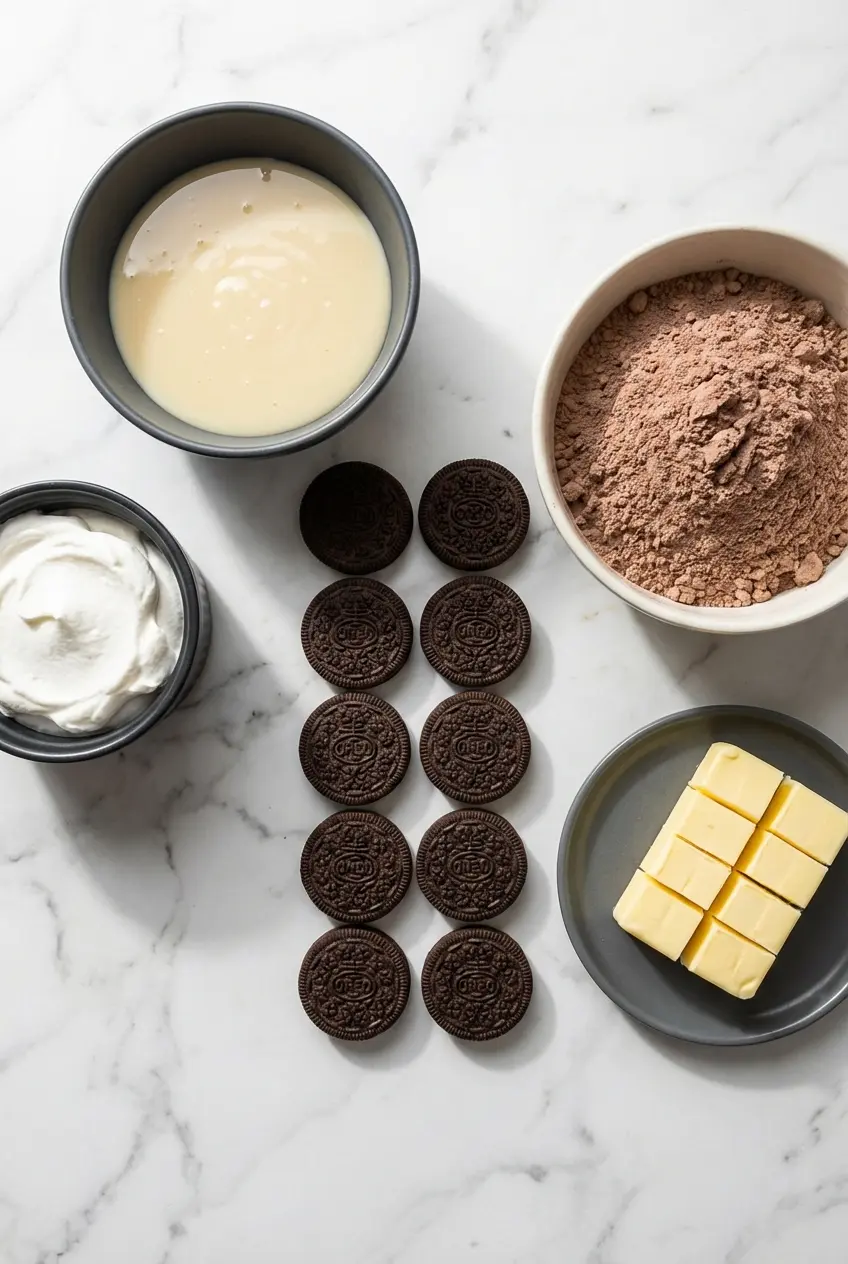
These five ingredients work together like magic, building a soft, creamy base and a crisp chocolate topping with almost no hands-on work.
Ingredients
- 12 Oreos
- 14 oz Sweetened Condensed Milk
- 8 oz cool whip
- 1 Chocolate Cake Mix
- 1.5 sticks Butter cut into 1 Tbsp pieces
Ingredient Notes & Substitutions
Chocolate Cake Mix: A standard chocolate cake mix gives the best cobbler-like texture here because it bakes up tender underneath and slightly crisp on top. Devil’s food is wonderful if you want a darker, more intense chocolate flavor.
Oreos: Standard Oreos work perfectly and keep the texture balanced. Double Stuf adds extra creamy richness, while family size packages are fine to buy, but you still only need the 12 Oreos listed for this recipe.
Cool whip: It must be fully thawed before you spread it over the sweetened condensed milk. If it is still frozen, it drags and clumps instead of forming the even layer that helps the dessert bake properly.
Butter: The ingredient list calls for 1.5 sticks Butter cut into 1 Tbsp pieces, and that amount stays exactly the same. In practice, I like to freeze the butter whole first and grate it over the cake mix, because that gives much better coverage and helps prevent dry patches.
Salted vs. unsalted butter: If your cake mix already tastes noticeably salty, unsalted butter gives you more control. If you enjoy that sweet-salty edge in chocolate desserts, salted butter can be lovely here.
Easy variations: For a Peanut Butter Cup version, use Peanut Butter Oreos with devil’s food cake mix. For a Golden Vanilla twist, swap in Golden Oreos with a white or yellow cake mix, and for a gluten-free version, use gluten-free sandwich cookies and a gluten-free chocolate cake mix.
How to Make Oreo Dump Cake Recipe
Prep the Pan and Base
- Heat your oven to 350 degrees F, then generously coat a 9X13 baking dish with non-stick cooking spray. Be generous here, because the sweetened condensed milk turns sticky and caramel-like as it bakes.
- Arrange the 12 Oreos across the bottom of the prepared pan in an even layer. They do not need to fit perfectly, but you want the cookies spread out so each scoop gets that soft, chocolate sandwich-cookie base.
- Pour the 14 oz Sweetened Condensed Milk slowly over the cookies, letting it flow into the gaps. This becomes part of the gooey bottom layer and perfumes the kitchen with a sweet, toasty aroma as it bakes.
Build the Layers
- Spoon the 8 oz thawed cool whip over the condensed milk and gently spread it into an even layer. It should glide smoothly across the surface without pulling up the cookies underneath.
- Scatter the chocolate cake mix evenly over the top, covering the whipped topping from edge to edge. Do not stir or mix anything together, because the separate layers are what create that signature dump cake texture.
- Now for the trick I swear by, grate the frozen 1.5 sticks Butter cut into 1 Tbsp pieces evenly over the cake mix until most of the surface is covered. The fine shreds melt far more evenly than thick slices, which helps the top bake up uniformly crisp and deeply chocolatey.
Bake Until Bubbling
Bake for 40-45 minutes, until the top looks golden in spots, the edges are bubbling, and the center no longer looks dry or dusty. You should smell chocolate and caramelizing milk long before the timer ends, which is always a good sign this dessert is on the right track.
Serve Warm
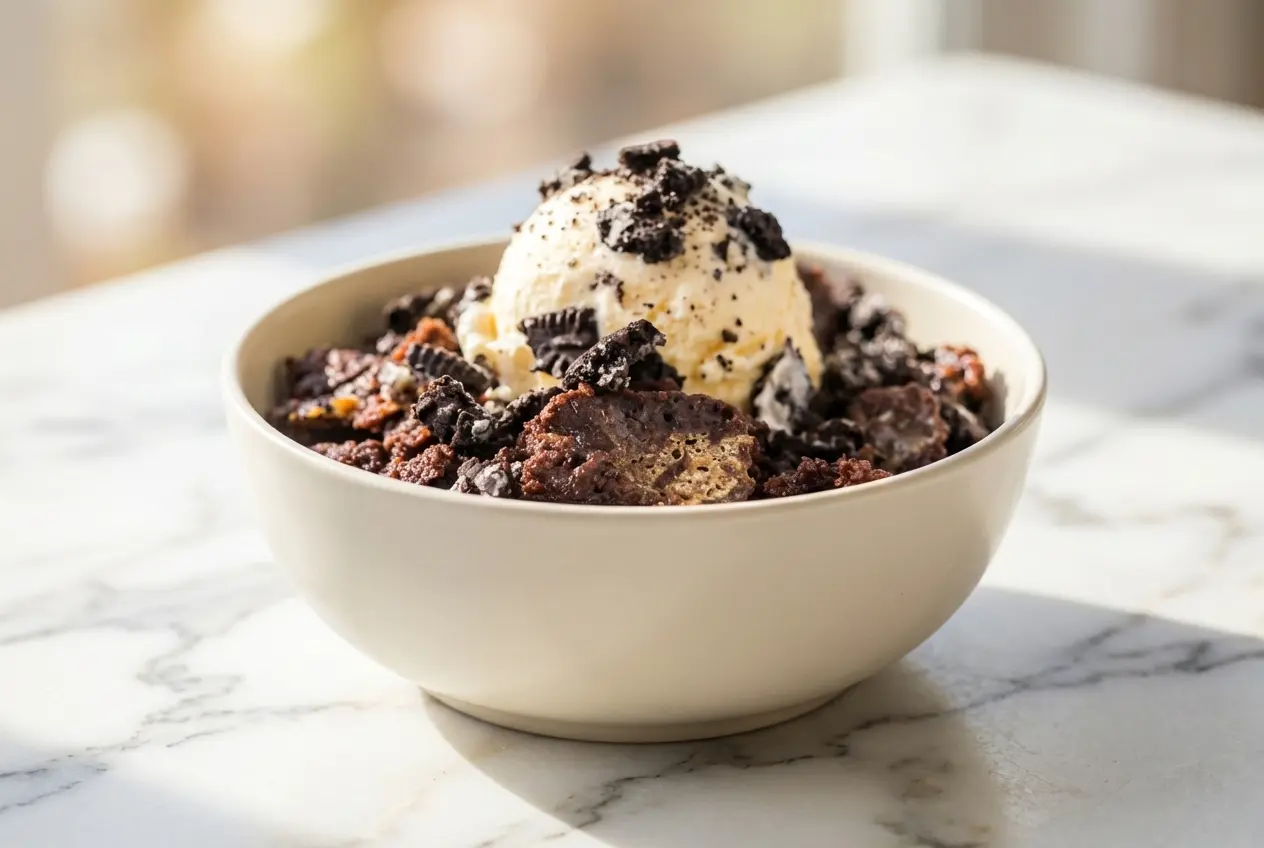
Scoop and serve it warm, topped with vanilla ice cream and extra crushed Oreos if you like. The contrast between the hot, gooey cake and the cold creaminess on top is the whole charm of this dessert.
Secrets for a Perfect Cobbler-Like Crust
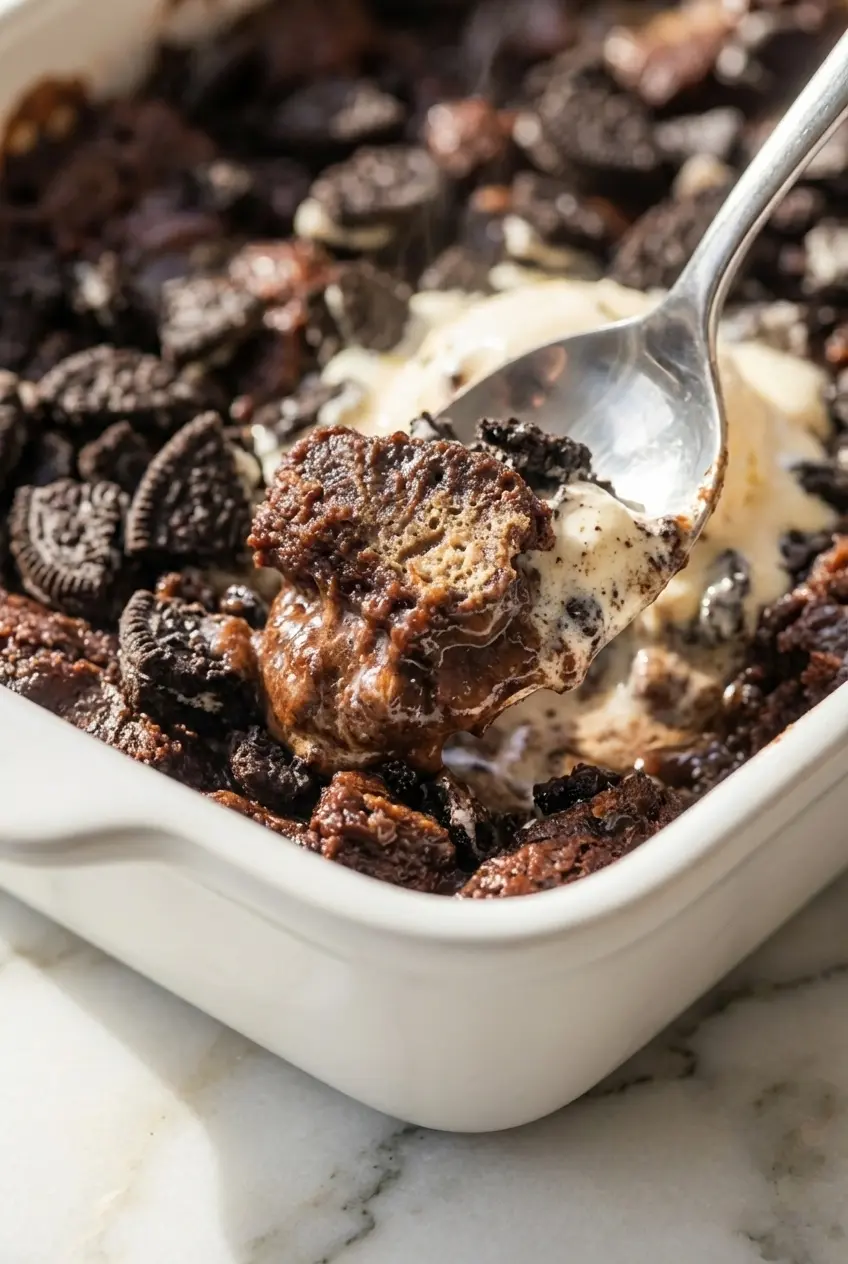
The biggest rule is simple, never mix the layers. The sweetened condensed milk and cool whip sit underneath the dry cake mix, and as the pan heats, steam rises from those lower layers and hydrates the mix from the bottom up.
The idea of steam from the bottom liquids rising matters more than people think. That upward moisture is what helps transform a dry powdery topping into a soft, structured crust with a tender middle.
The second secret is the frozen butter trick. When butter is cut into tablespoon pieces, it often melts in little islands, leaving bare patches of cake mix that never fully hydrate.
Grating the butter gives much finer coverage, so the fat melts across the entire surface in a more even sheet. The scientific properties of butter in baking help explain why this creates a more consistent top, with fewer dry spots and a better brownie-like finish.
This crust is different from a firm, packed Oreo pie crust. Instead of tight cookie crumbs, you get a cobbler-like texture that is crisp on top, fudgy underneath, and made for serving warm with a spoon.
Pro Tips & Troubleshooting
Pro Tips
- Use fully thawed cool whip, not frozen, so it spreads smoothly over the sticky condensed milk without tearing the layers apart.
- Grease the baking pan generously, especially the corners, because sweetened condensed milk can cling stubbornly once it starts to caramelize.
- If you spot dry, powdery patches near the end of baking, place a very thin pat of butter directly on those areas and return the pan to the oven for 3 to 5 more minutes.
- The surface should look mostly covered with butter before baking begins. If bare streaks of cake mix are visible all over, the top is more likely to bake unevenly.
- Some bakers prefer chilled desserts, but this one is best warm. If you want an Oreo treat with no oven time at all, an Oreo cheesecake gives you that creamy texture in a completely different way.
Common Mistakes to Avoid
- Mixing the layers in the pan, which ruins the distinct structure that gives a dump cake its gooey base and cobbler-like top.
- Using frozen whipped topping, which makes it difficult to spread evenly and can leave the surface patchy.
- Letting the dessert cool completely before serving, because the caramelized bottom layer firms up and becomes much harder to scoop.
- Choosing salted butter with an already salty cake mix, unless you specifically want a stronger sweet-and-salty flavor.
- Under-greasing the pan, especially when baking for a full 40-45 minutes. As sugars brown and caramelizes rapidly as it bakes, sticking becomes much more likely.
Serving & Storage
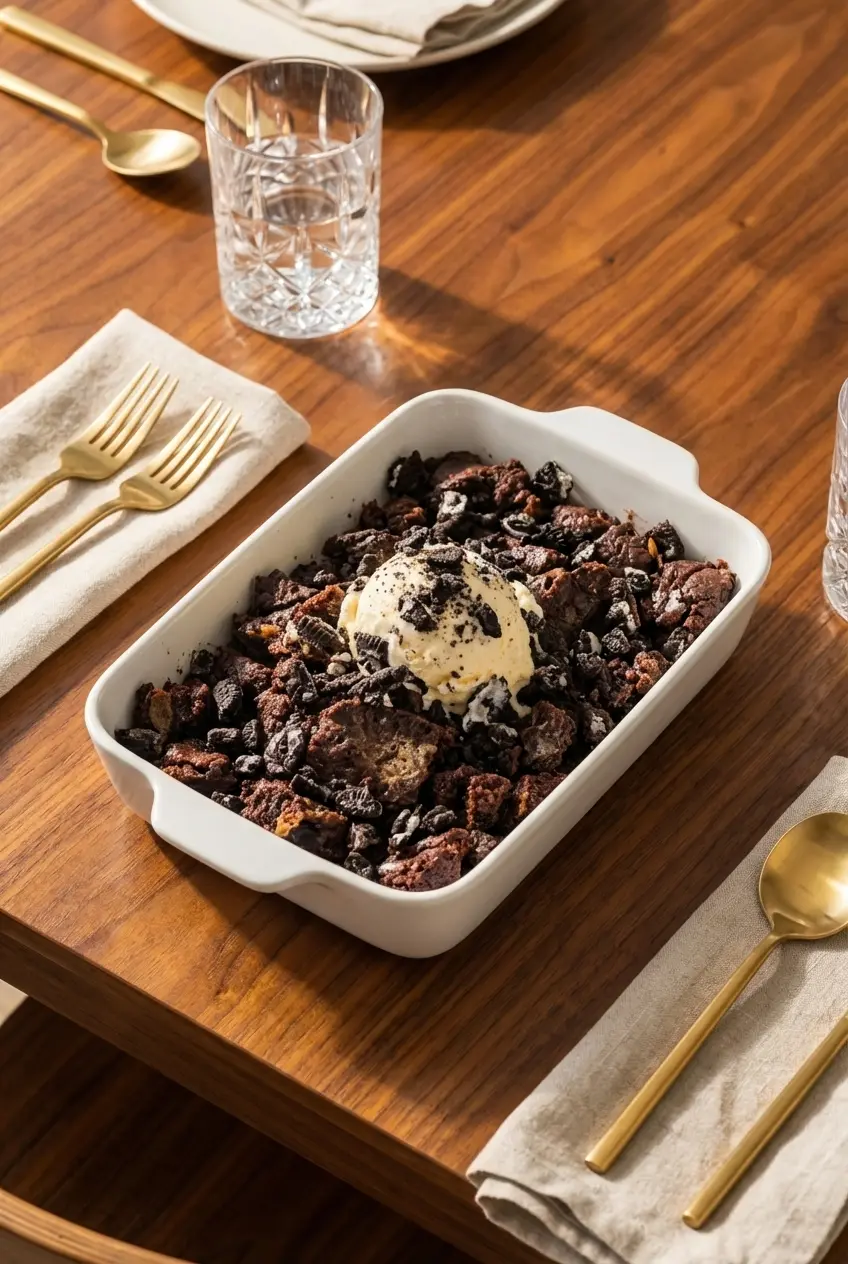
Serving Ideas
This dessert is at its best straight from the oven while the bottom is still soft and gooey. A big scoop of vanilla bean ice cream melts into the hot chocolate layers and balances the richness beautifully.
A drizzle of warm caramel sauce or hot fudge makes it feel even more over the top, especially with a handful of roughly chopped extra Oreo cookies for crunch. If you have a few cookies left in the package, a cold Oreo milkshake alongside a warm serving makes a fun contrast.
Storage & Make-Ahead
Leftovers should be refrigerated in an airtight container once the dessert has cooled. The texture will firm up in the fridge, especially along the caramelized bottom, so do not expect it to stay spoon-soft when cold.
For individual portions, microwave gently in short bursts until the center softens and the edges loosen. For the whole baking dish, place it in a warm oven just long enough to relax the hardened caramel layer without drying out the top.
If the cake sticks badly after cooling, a little patience helps. A few minutes in a low, warm oven softens the sugary bottom layer so you can scoop it more cleanly instead of scraping at a hard crust.
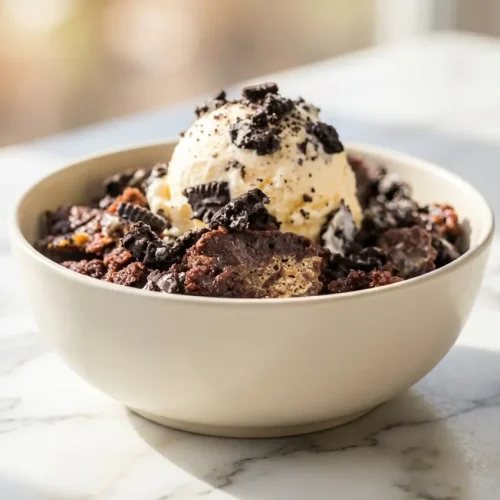
Oreo Dump Cake Recipe

Equipment
- 9×13 Baking Dish
- Cheese grater
Ingredients
- 12 Oreos
- 14 oz Sweetened Condensed Milk
- 8 oz cool whip
- 1 Chocolate Cake Mix
- 1.5 sticks Butter cut into 1 Tbsp pieces
Instructions
Prep the Pan and Base
- Heat your oven to 350 degrees F, then generously coat a 9X13 baking dish with non-stick cooking spray. Be generous here, because the sweetened condensed milk turns sticky and caramel-like as it bakes.
- Arrange the 12 Oreos across the bottom of the prepared pan in an even layer. Spread them out so each scoop gets that soft cookie base.
- Pour the 14 oz Sweetened Condensed Milk slowly over the cookies, letting it flow into the gaps.
Build the Layers
- Spoon the 8 oz thawed cool whip over the condensed milk and gently spread it into an even layer without pulling up the cookies underneath.
- Scatter the chocolate cake mix evenly over the top, covering the whipped topping from edge to edge. Do not stir or mix anything together.
- Grate the frozen 1.5 sticks of butter evenly over the cake mix until most of the surface is covered. The fine shreds melt evenly and help the top bake up uniformly crisp.
Bake Until Bubbling
- Bake for 40-45 minutes, until the top looks golden in spots, the edges are bubbling, and the center no longer looks dry or dusty.
Serve Warm
- Scoop and serve the dessert warm, topped with vanilla ice cream and extra crushed Oreos if you like.
Notes
Nutrition
Conclusion
This Oreo Dump Cake Recipe is one of those crowd-pleasers that feels almost unfairly easy. The grated frozen butter is the small trick that makes a big difference, giving you a more even, crisp top and far fewer dry spots.
Grab your baking dish, serve it hot, and do not be afraid to play with the flavor variations once you make it once. It is the sort of dessert that quickly earns a permanent place at family gatherings.