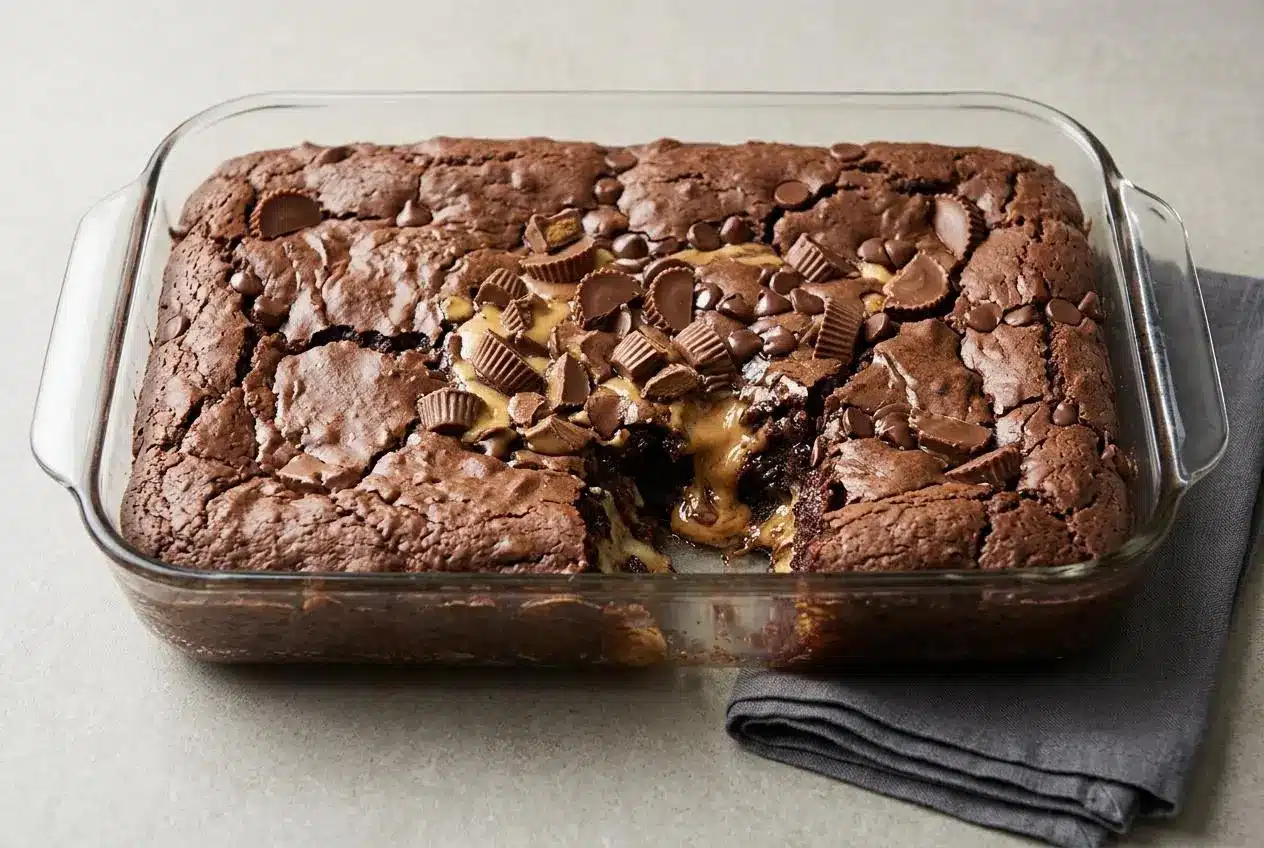
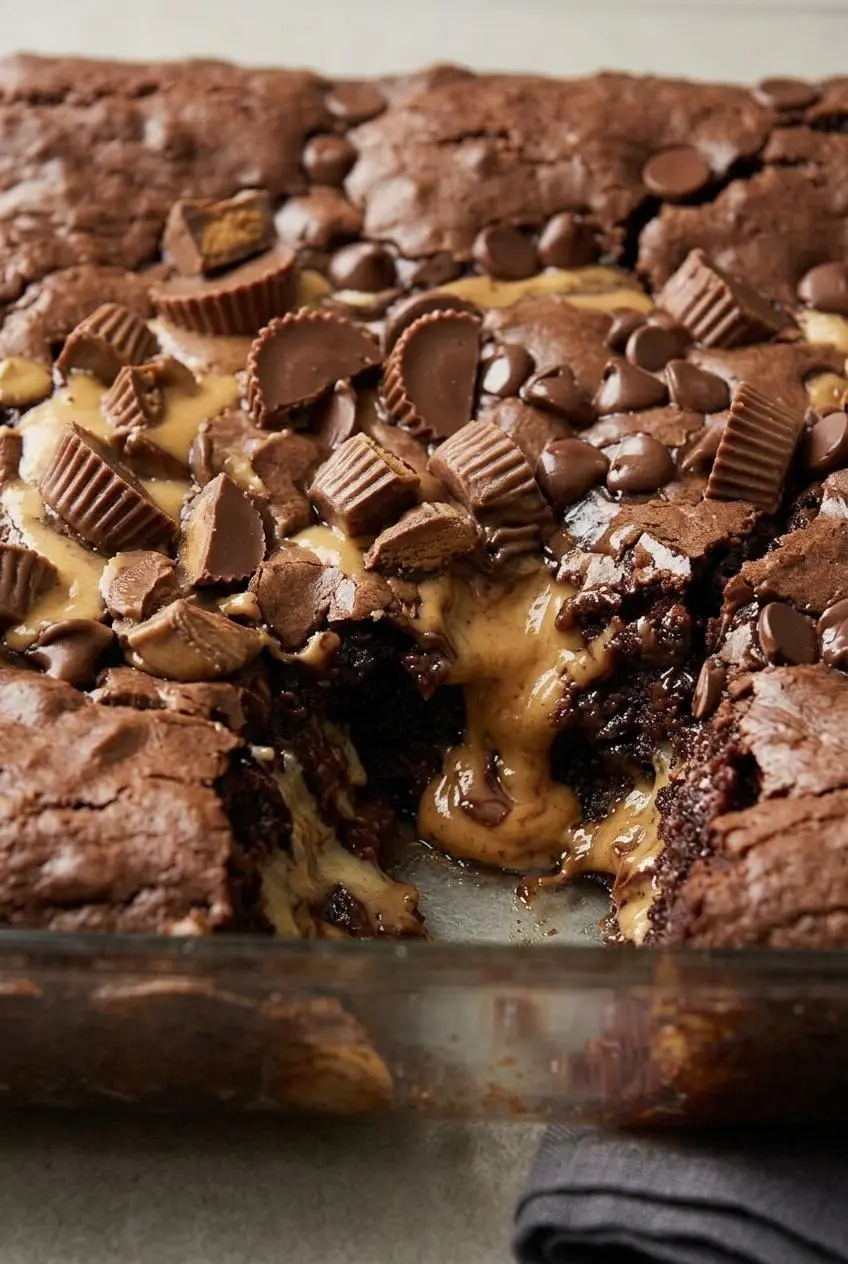
Reese’s Peanut Butter Earthquake Cake is an ultra-rich chocolate cake with swirls of sweet peanut butter cream cheese, plus chocolate chips and peanut butter cups that sink and crack the top as it bakes.
Reese’s Peanut Butter Earthquake Cake tastes like warm fudge cake and creamy peanut butter cheesecake in the same pan. The top looks rustic, the middle stays gooey, and the candy melts into little pockets of chocolate-peanut butter flavor.
As it bakes, the kitchen smells like warm chocolate and roasted peanuts, which is a solid argument for hovering near the oven. The key is knowing when that center is perfectly jiggly, not underdone.
Let the cream cheese sit out until fully soft before mixing, or the swirl can turn lumpy and heavy.
Understanding the Ingredient Roles
This cake works because the light chocolate batter and the heavier peanut butter cream cheese mixture behave differently in the oven. That contrast creates the cracked top, rich pockets, and signature earthquake texture.
The Chocolate Cake Foundation
The chocolate fudge cake mix gives you the lift this dessert needs. It bakes up soft enough to rise around the denser filling, which helps create those dramatic cracks and uneven valleys across the top.
A deep chocolate base also keeps the sweetness in check. Without it, the peanut butter ribbon and candy topping would feel one-note instead of balanced and dessert-table worthy.
The Cream Cheese and Butter Ribbon
Cream cheese and butter make the thick ribbon that sinks into the batter instead of floating on top. The result is closer to the rich center of an ooey gooey butter cake than a thin frosting swirl.
Room-temperature cream cheese matters here. When it softens fully, it blends smoothly with the butter and peanut butter, so you get an even ribbon instead of little tangy lumps. Powdered sugar does more than sweeten. It thickens and stabilizes the mixture so it holds soft mounds when dropped over the cake batter, then slowly sinks as the cake rises around it.
I like to unwrap the cream cheese early and press the center lightly before mixing. If it still feels firm in the middle, give it more time because a truly soft block blends much more smoothly.
The Peanut Butter and Candy Toppings
Peanut butter brings the nutty backbone to the swirl. Creamy peanut butter gives the smoothest cheesecake-style ribbon, while crunchy peanut butter can work if you want a little texture in each bite.
The chocolate chips melt into the top layer and deepen the cocoa flavor. The halved peanut butter cups soften as they bake, creating rich candy pockets that help form the cake’s cracked, sunken finish.
Ingredients
Each ingredient earns its place here, from the cake mix that builds structure to the cream cheese, peanut butter, and candy that add richness, aroma, and that signature gooey finish.
- 1 Chocolate Fudge cake mix, plus ingredients needed to prepare (eggs, oil, water)
- 1/2 cup butter
- 8 oz cream cheese, softened
- 1/2 cup peanut butter
- 1/2 tsp vanilla extract
- 3 1/2 to 4 cups powdered sugar
- 1/2 cup chocolate chips
- 1 cup chocolate peanut butter cups, halved
The powdered sugar range gives you a little control over the filling texture. Use the lower amount for a softer ribbon, or go toward the higher end if the mixture seems loose and you want dollops that hold their shape better before baking.
Step-by-Step Baking Method
The method is simple, but a few visual cues make a big difference. Your cake batter should look fluid and pourable, while the peanut butter mixture should look thick, fluffy, and scoopable rather than runny.
- Heat the oven to 350 °F.
The cake bakes best when the pan goes into a fully preheated oven. - Prepare the chocolate fudge cake mix with the eggs, oil, and water called for on the package, then pour the batter into a lightly greased 9×13 cake pan.
Leave the batter unbaked in the pan so the heavier peanut butter mixture can sink into it during baking. - Melt the butter on the stovetop until bubbly, then transfer it to a mixing bowl with the softened cream cheese and beat until smooth.
The mixture should lose any cream cheese lumps before you add the remaining ingredients. - Beat in the peanut butter and vanilla extract until fully combined, then add the powdered sugar 1 cup at a time and mix well after each addition.
Stop when the filling looks light, fluffy, and thick enough to hold soft spoonfuls. - Drop spoonfuls of the peanut butter mixture evenly over the cake batter, then scatter the chocolate chips and halved peanut butter cups across the top.
Spaced-out dollops help the cake bake more evenly and create cracks all over the surface instead of one heavy patch in the center. - Bake for 45 to 55 minutes, then cool the cake for 15 to 20 minutes before slicing and serving warm.
The edges should look set and the center should have only a slight jiggle, not a loose slosh.
Near the end of baking, the pan will smell intensely chocolatey with a warm roasted-peanut note. That’s usually when the top has started to crack and the candy has softened into the surface.
Troubleshooting Common Baking Issues
This cake is supposed to look a little wild, but a few problems come up often. The fixes are straightforward once you know what the batter and filling are supposed to do.
How to Fix an Undercooked or Liquid Center
- If the middle ripples like liquid when you move the pan, it needs more time. Bake a little longer until the edges are set and the center gives only a slight jiggle.
- If the top is getting dark before the middle catches up, loosely tent the pan with foil. That protects the candy and top surface while the center finishes baking.
- If you cut it too soon, it can seem looser than it really is. Letting it rest for 15 to 20 minutes helps the gooey center settle into sliceable layers.
Preventing Separated or Caramelized Edges
- If the peanut butter mixture separates, the cream cheese was likely too cold or the ingredients were not beaten smooth at the start. Fully softened cream cheese prevents that broken, grainy look.
- If the outer edges caramelize faster than the center, the filling may have been dropped too close to the sides of the pan. Keep most of the dollops slightly in from the edges so the batter can cushion them.
- If the swirl puffs up instead of sinking, too much air was beaten into it. Mix until light and fluffy, but stop once it looks smooth and scoopable rather than whipped.
Choosing Your Baking Pan: Glass vs Metal
You can use either a glass or metal 9×13 pan for this cake. What matters most is watching the cake closely near the end rather than relying only on the clock.
Metal pans usually brown the edges faster, so start checking a bit earlier. Glass pans tend to take their time, which can help the center bake more gradually in a dense dessert like this. If you switch pan types, trust the visual cue over the timer: set edges, cracked top, and a center that still moves slightly but does not look wet.
Creative Recipe Variations
These ideas are optional and stay outside the main recipe. They work best when you want a different flavor profile without losing the gooey earthquake effect.
Baking From Scratch: Homemade Base Alternative
If you prefer not to use a boxed mix, you can swap in a homemade chocolate cake batter. Keep it fairly loose and moist, since a stiff batter can keep the peanut butter cream cheese dollops from sinking properly.
A scratch batter with a rich cocoa flavor works especially well here. Just avoid one that bakes up too thick or pound-cake dense, because this dessert depends on the cake rising around the heavier swirl.
Sophisticated Twists
- For a salted dark chocolate version, use dark chocolate chips in place of regular chocolate chips. The deeper cocoa flavor balances the sweet filling nicely.
- Add a light sprinkle of flaky sea salt over the peanut butter cups before baking if you want sharper sweet-salty contrast. A little goes a long way here.
- If you love the cracked-top style and want a fruitier spin another day, strawberry earthquake cake takes the same fun idea in a completely different direction.
Storing and Reheating Your Earthquake Cake
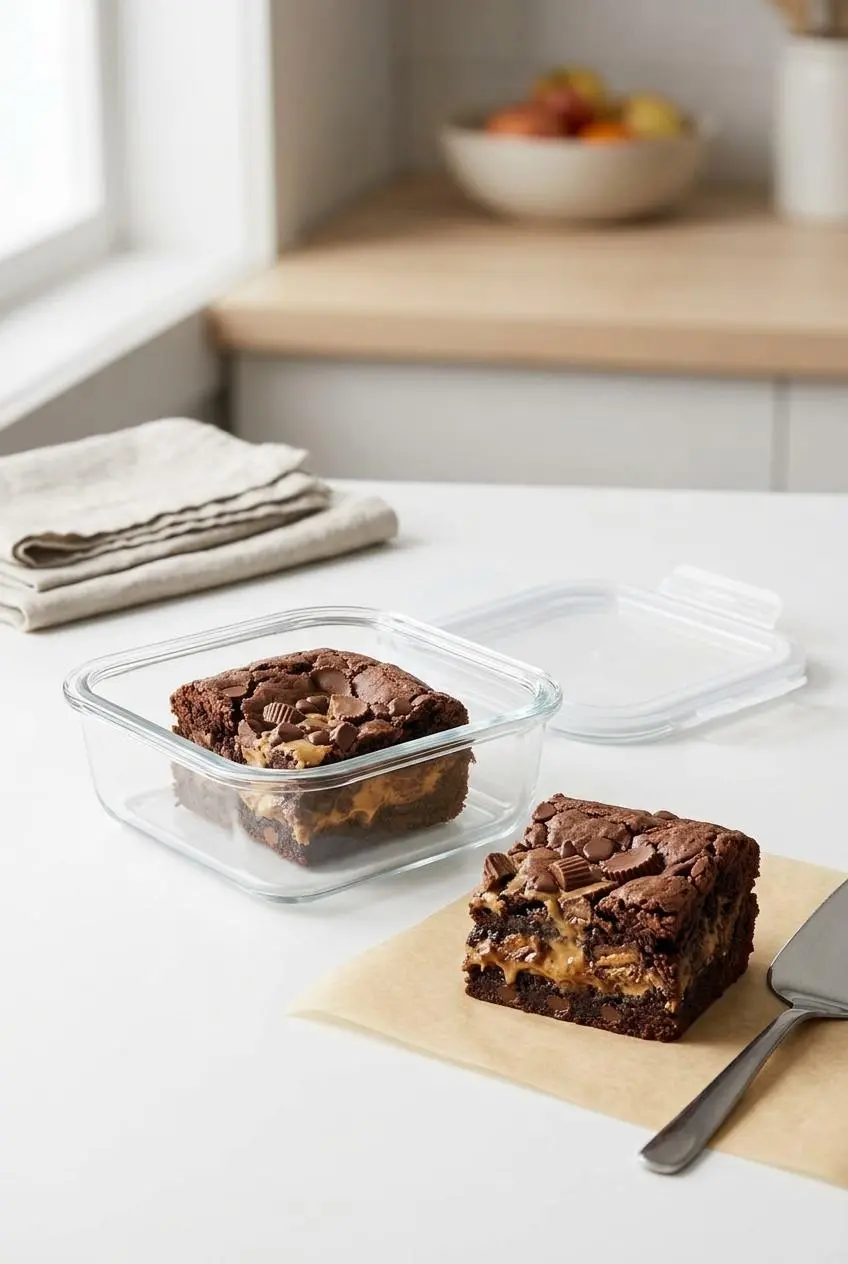
Because this cake contains a rich cream cheese layer, leftovers should be kept chilled once fully cooled. Cover the pan well or transfer slices to an airtight container to protect the texture and keep the top from drying out.
Short-Term Refrigeration
Refrigeration is the best choice for leftovers. Keep the cake tightly covered so the cream cheese ribbon stays creamy instead of taking on a dry, slightly crusty texture from the fridge.
Dairy-based desserts benefit from careful chilling and handling, and safe refrigeration practices for dairy foods are especially helpful if your kitchen is warm or your refrigerator has been opened often.
Keeping the Texture at Its Best
If you want the cleanest slices, chill the cake first and cut it cold. If you care more about that molten center, store individual portions so you can warm only what you plan to eat.
A tightly covered pan works well for short-term holding, but separating slices with parchment can make grabbing a single serving much easier. That is a small move that saves a lot of cake damage.
The Perfect Reheating Technique
To bring back the ooey-gooey texture, warm a slice gently rather than blasting it with high heat. Short microwave bursts at lower power work well, and a low oven can warm several pieces at once.
Stop as soon as the center softens and the peanut butter ribbon loosens slightly. You want it warm and gooey, not hot enough for the sugar to stiffen again around the edges.
Delightful Serving Ideas
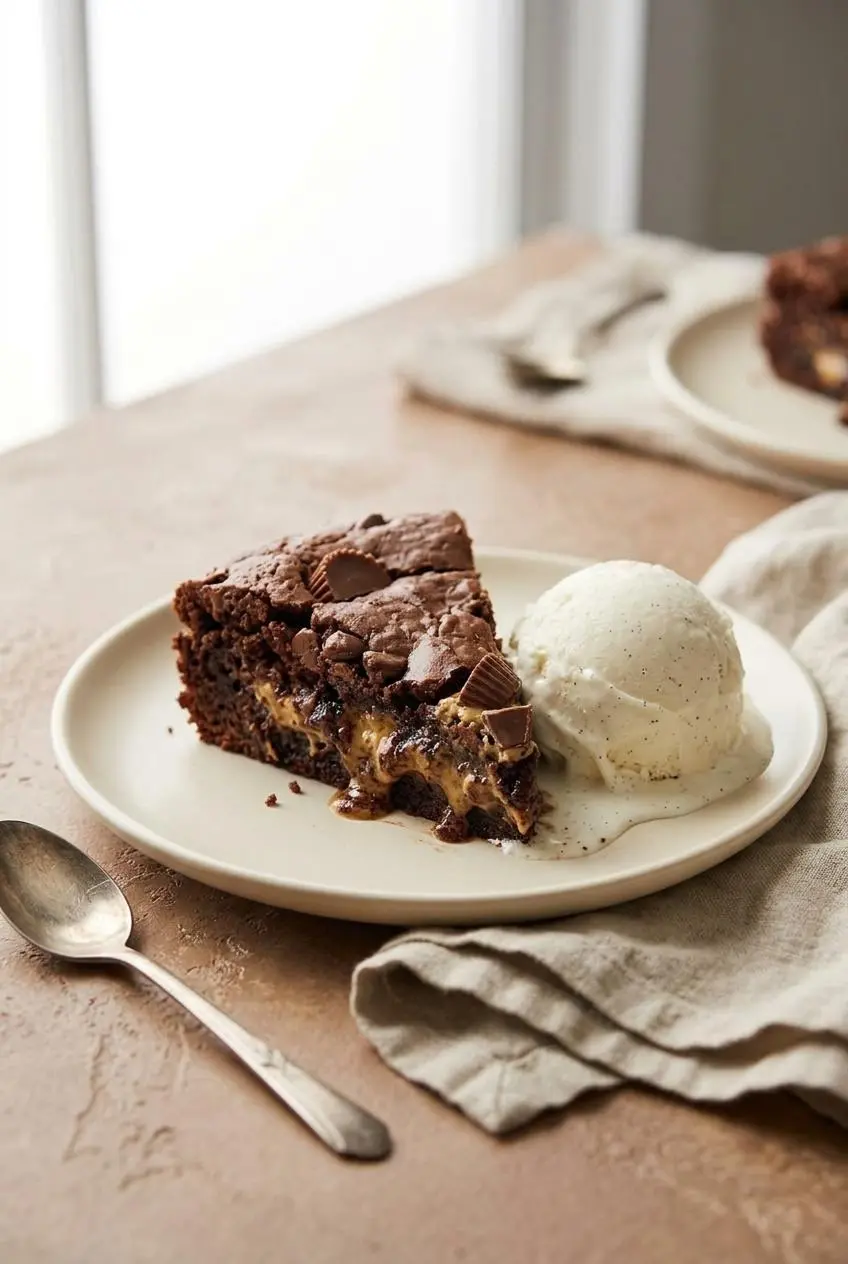
This is a strong dessert for birthdays, potlucks, holiday tables, or any night when plain chocolate cake feels a little too polite. Serve it warm for the biggest contrast between soft cake and creamy peanut butter filling.
- Add a scoop of vanilla bean ice cream for a cold, creamy contrast that balances the richness.
- Drizzle warm peanut butter or chocolate sauce over each slice right before serving for extra dessert-table drama.
- For a crunchy topping, crumble a few peanut butter cookies over ice cream and cake just before serving.
Conclusion
This cake delivers exactly what its name promises: cracked tops, gooey centers, and a rich mix of chocolate and peanut butter in every bite. It feels casual enough for a weeknight and indulgent enough for a party.
The biggest success tip is still the simplest one: soften the cream cheese completely before mixing. Get that right, and the swirl bakes up smooth, rich, and exactly as messy-delicious as it should.
Frequently Asked Questions
Why did my peanut butter mixture rise instead of sinking?
Too much beating can whip extra air into the cream cheese mixture, which makes it puff instead of sink. A batter that is too thick can also hold the dollops up on the surface. The cake batter should be pourable, and the peanut butter mixture should be thick but not stiff like frosting.
How do I fix an undercooked center in my earthquake cake?
Loosely tent the pan with foil if the top is browning too fast, then keep baking in short increments. Check for set edges and a center that is only slightly jiggly. If the middle still looks liquid, give it more time before slicing.
Does this cake require refrigeration?
Yes. Because the filling contains cream cheese, leftovers should be covered and refrigerated once the cake has cooled. That helps protect both texture and freshness, especially in a warm kitchen.
Can I use crunchy peanut butter instead of creamy?
Yes, you can. Crunchy peanut butter adds little bits of texture throughout the filling. Creamy peanut butter still gives the smoothest ribbon, so choose that if you want the classic cheesecake-like swirl.
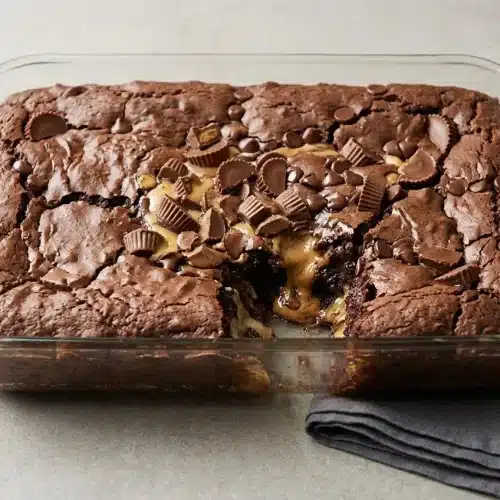
Reese’s Peanut Butter Earthquake Cake

Equipment
- 9×13 cake pan
- Mixing Bowl
Ingredients
- 1 Chocolate Fudge cake mix, plus ingredients needed to prepare (eggs, oil, water)
- 1/2 cup butter
- 8 oz cream cheese softened
- 1/2 cup peanut butter
- 1/2 tsp vanilla extract
- 3 1/2 to 4 cups powdered sugar
- 1/2 cup chocolate chips
- 1 cup chocolate peanut butter cups halved
Instructions
- Heat the oven to 350 °F. The cake bakes best when the pan goes into a fully preheated oven.
- Prepare the chocolate fudge cake mix with the eggs, oil, and water called for on the package, then pour the batter into a lightly greased 9×13 cake pan. Leave the batter unbaked in the pan so the heavier peanut butter mixture can sink into it during baking.
- Melt the butter on the stovetop until bubbly, then transfer it to a mixing bowl with the softened cream cheese and beat until smooth. The mixture should lose any cream cheese lumps before you add the remaining ingredients.
- Beat in the peanut butter and vanilla extract until fully combined, then add the powdered sugar 1 cup at a time and mix well after each addition. Stop when the filling looks light, fluffy, and thick enough to hold soft spoonfuls.
- Drop spoonfuls of the peanut butter mixture evenly over the cake batter, then scatter the chocolate chips and halved peanut butter cups across the top. Spaced-out dollops help the cake bake more evenly and create cracks all over the surface instead of one heavy patch in the center.
- Bake for 45 to 55 minutes, then cool the cake for 15 to 20 minutes before slicing and serving warm. The edges should look set and the center should have only a slight jiggle, not a loose slosh.