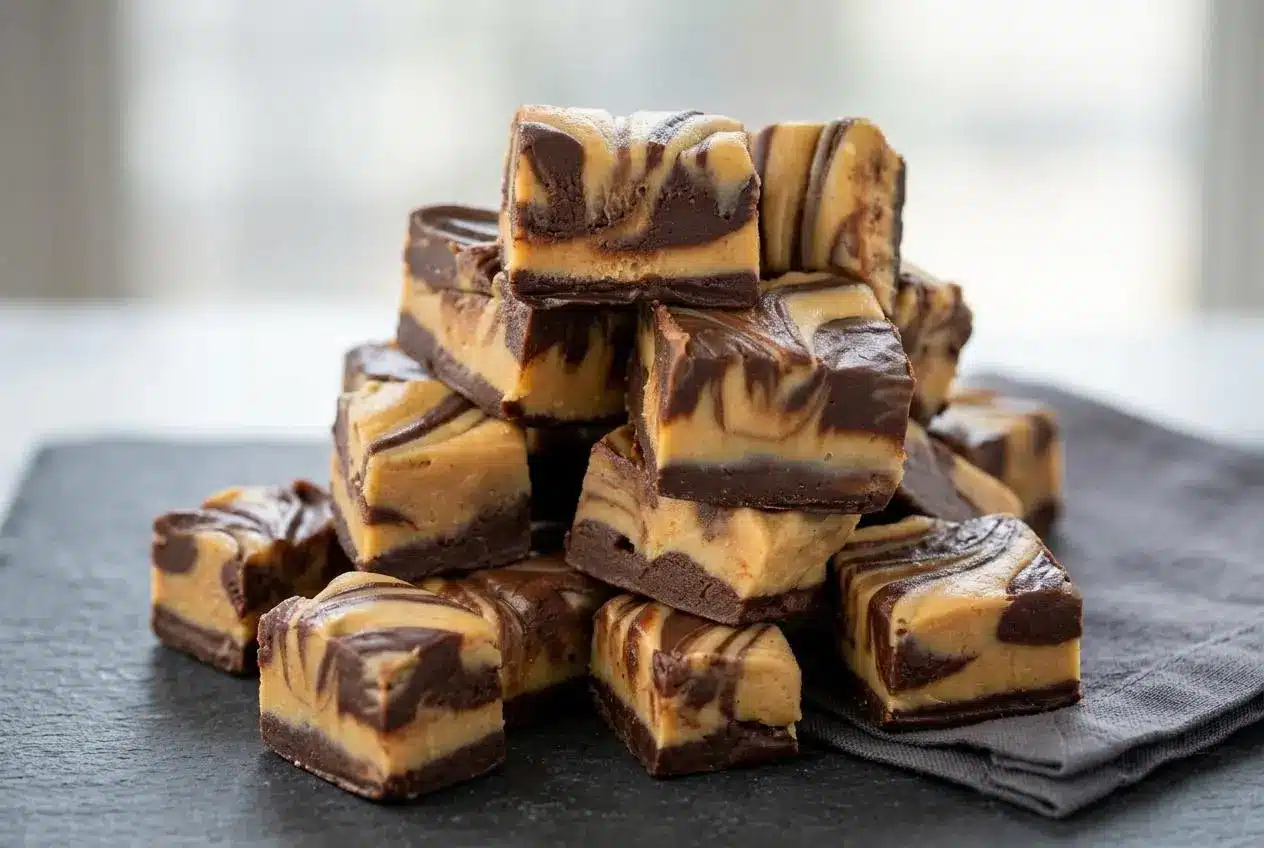
Peanut Butter Cup Cheesecake Fudge is a rich no-bake candy made with chocolate, peanut butter chips, cream cheese, and sweetened condensed milk, then chilled until firm enough to slice.
Peanut Butter Cup Cheesecake Fudge tastes like a mash-up of fudge and cheesecake, with a tangy creamy center and bold peanut chocolate flavor. It comes together fast, but a few details make the texture much better.
You get the cheesecake flavor without baking, a water bath, or worrying about cracks across the top. The swirls stay pretty, the squares slice neatly, and the finish is velvety with a little chew.
Let the cream cheese soften fully before you start so it melts smoothly into both bowls instead of leaving tiny white lumps.
Traditional Baked Cheesecake vs Cheesecake Fudge
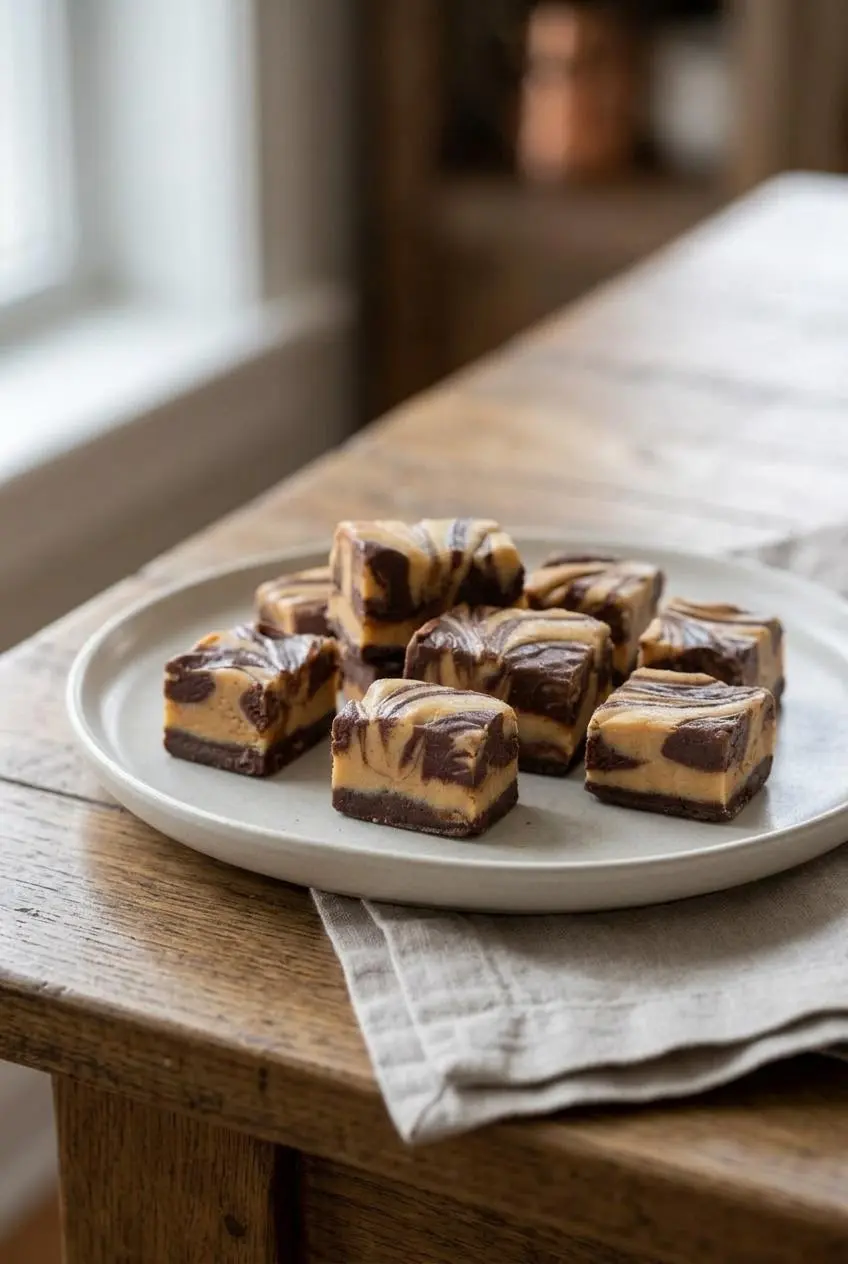
If you want classic cheesecake flavor without a long baking project, this version makes a lot of sense. Traditional baked cheesecake gives you a tall, sliceable dessert with a custardy center, but it also asks for oven time, careful cooling, and a bit of patience.
Cheesecake fudge goes in a different direction. It delivers the same tangy cream cheese note and rich peanut chocolate feel in compact squares that chill instead of bake.
The texture is denser and more candy-like than a full cheesecake. That makes it easy to portion for dessert trays, gifting, or quick little bites straight from the fridge.
If you like no-bake sweets with that same firm, bite-sized appeal, rocky road fudge is another fun route.
Essential Ingredients Explained
Each ingredient has a job here, from building the fudge structure to keeping the swirls creamy, glossy, and easy to cut.
Official Recipe Ingredients
- 14 ounces sweetened condensed milk, divided
- 2 1/2 cups semi-sweet chocolate chips
- 10 ounces peanut butter chips
- 2 tablespoons butter, divided
- 8 ounces cream cheese, divided
- 2 teaspoons vanilla extract, divided
Semi-sweet chocolate chips give the darker layer a firmer finish and keep the sweetness from tipping too far. Peanut butter chips make the lighter layer stable and sliceable, which is why they work better here than standard jarred peanut butter.
Butter adds gloss and helps both melted mixtures loosen into a smoother texture. Vanilla rounds out the sweetness and softens the sharper edge of the cream cheese.
The Role of Brick Cream Cheese
Brick cream cheese is the one to use here. It has a tighter, denser structure and less added air than tub-style spreadable cream cheese, so it blends into the fudge without making it loose.
Tub cream cheese is softer by design. It usually contains more moisture and a more whipped texture, which can leave the finished fudge too soft to hold a clean square.
Full-fat brick cream cheese also brings the right balance of richness and tang. That fat helps the melted chip mixtures stay creamy instead of chalky.
Condensed Milk vs Evaporated Milk
Sweetened condensed milk is doing real structural work in this recipe. It brings concentrated sugar, thickness, and body, which help the fudge set into a dense, chewy bite once chilled.
Evaporated milk is a completely different ingredient. It is thinner, unsweetened, and not designed to create the same candy texture, so swapping it in will leave you with a loose mixture that will not set like fudge.
The condensed milk also helps both layers emulsify with the chips and cream cheese. When everything melts properly, the mixture looks shiny, smooth, and thick enough to hold distinct swirls.
I always unwrap the cream cheese early and let it lose its chill completely, because soft cream cheese blends into melted chocolate far more smoothly than cream cheese that still feels cool in the center.
How to Make Cheesecake Fudge Step by Step
- Line an 8 x 8-inch baking pan with aluminum foil and lightly grease it with butter or cooking spray.
The foil should cover the pan neatly so you can lift the chilled fudge out without sticking. - Place 7 ounces of sweetened condensed milk, the semi-sweet chocolate chips, and 1 tablespoon of butter in one microwave-safe bowl.
Keep this bowl separate so the chocolate layer melts evenly and stays distinct from the peanut butter layer. - Place the remaining 7 ounces of sweetened condensed milk, the peanut butter chips, and the remaining 1 tablespoon of butter in a second microwave-safe bowl.
Having two bowls ready before heating makes the swirling step much easier later. - Microwave both bowls on high in 30-second bursts, stirring well after each round, until the chips are melted.
The mixtures should change from stiff and matte to glossy and fluid, and the aroma should stay sweet rather than toasted. - Stir 1 teaspoon of vanilla extract and 4 ounces of cream cheese into each bowl, then microwave both bowls for 30 seconds on high again.
After stirring, each mixture should look smooth, creamy, and thick with no visible cream cheese bits. - Spread about two-thirds of the chocolate mixture into the prepared pan, then spoon half of the peanut butter mixture over it.
Use scattered spoonfuls instead of one heavy layer so the colors stay defined when you swirl them. - Add the remaining chocolate mixture over the peanut butter layer, then finish with the remaining peanut butter mixture on top.
The layered dollops should look uneven in a good way, which gives the swirl pattern more contrast. - Drag a knife through the fudge to make swirls, then refrigerate for 3 hours before serving.
Once chilled, the surface should feel firm with a little soft resistance when pressed before cutting.
Melting the Chip Layers
This is the step that decides whether the fudge turns silky or grainy. Short 30-second microwave intervals matter because chocolate chips and peanut butter chips keep holding heat after you stir them.
Stir more than you think you need to. Often the bowl contains enough residual heat to finish melting the small unmelted bits without another full round in the microwave.
Watch and smell closely near the end. Right before chocolate overheats, the aroma shifts from sweet and creamy to slightly sharper, and that is your sign to stop heating and stir.
Creating the Swirl Pattern
For clear marbling, think dollops first and knife work second. Spooning the mixtures in patches gives you borders between the dark chocolate and peanut butter layers.
Once the pan is filled, run a knife gently through the top in loose figure eights or soft waves. Do not stir as if you are mixing batter, or the colors will blur into one muddy layer.
Two or three passes are usually enough. You want ribbons, not a completely blended top.
Stovetop Melting Instructions
If you do not want to use a microwave, melt each bowl separately over gently simmering water. Set each mixture in a heatproof bowl over the pot without letting the bottom of the bowl touch the water.
Stir constantly and keep the heat low. This method is slower, but it gives you more control and makes scorching less likely.
As soon as the chips melt and the mixture turns shiny, remove the bowl from the heat and continue with the cream cheese and vanilla. The goal is warm and smooth, not aggressively hot.
Selecting Your Base Crust
This recipe works beautifully on its own, but an optional crust can make it feel even closer to a cheesecake bar. A thin cookie base adds crunch under the creamy fudge and gives each square a more layered bite.
A toasted graham cracker base is the most classic choice, while crushed chocolate cookies lean more toward a peanut butter cup dessert vibe. If you enjoy layered peanut desserts, peanut butter cup bars are a good source of texture inspiration too.
Adding a Graham Cracker Crust to Fudge
Mix graham cracker crumbs with a little melted butter until the crumbs feel like damp sand, then press them firmly into the foil-lined pan before adding the fudge layers.
Chill the crust until it feels firm to the touch. That short rest helps it stay in place instead of lifting into the fudge when you spread the first chocolate layer.
Keep the crust thin. Too much crumb makes the squares harder to cut cleanly.
Troubleshooting and Success Tips
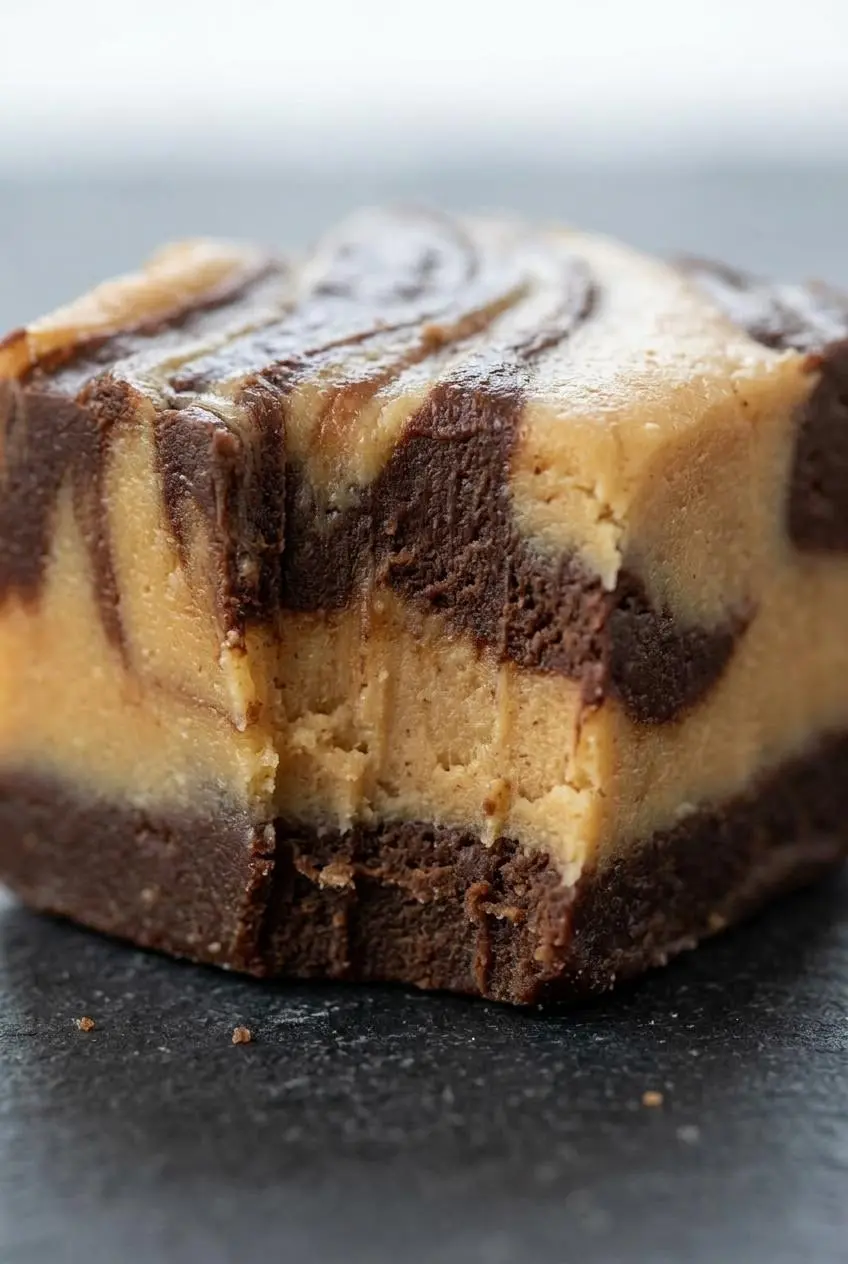
Most problems with this fudge come down to temperature, not difficulty. Once you know what the mixtures should look and feel like, the recipe gets much more forgiving.
- If the chocolate turns grainy or stiff, it likely overheated. Stop microwaving, stir patiently, and warm it very gently just enough to relax the mixture instead of cooking it more.
- If you see tiny white specks in the dark layer, the cream cheese was too cold. Let it soften fully next time so it blends in before the melted chips tighten around it.
- If the fudge sticks to the pan, the foil probably was not well lined or greased. Leave enough overhang to lift the slab out cleanly after chilling.
- If the swirl looks muddy, the knife moved too much. A few light passes create better contrast than deep repeated dragging.
- If the fudge seems too soft to slice, give it more refrigerator time. It should feel firm on top with slight resistance in the center before you cut it.
The Science of Softened Cream Cheese
Cold cream cheese and hot melted chips do not get along very well. When chilled dairy hits warm chocolate, the fats can tighten quickly and leave little pale lumps through the mixture.
Room-temperature cream cheese blends more easily because its fat is already softened. That closer temperature match helps the mixture stay emulsified, smooth, and evenly thick.
This matters in both layers, especially the chocolate one where white specks show up fast. If you want polished-looking swirls, softening the cream cheese is one of the biggest wins in the whole recipe.
How to Cut Clean Squares Every Time
For the neatest slices, use a long sharp knife dipped in hot water, then wipe it completely dry before each cut. The warm blade glides through chilled fudge instead of pressing and cracking it.
Make one clean downward cut rather than sawing back and forth. Clean the knife and warm it again between slices so the edges stay sharp and the swirl pattern stays visible.
Small squares work best because this fudge is rich. Cut it into bite-size pieces for dessert trays, or tuck the pieces into wax paper boxes for easy gifting.
Storage and Chilling Guidelines
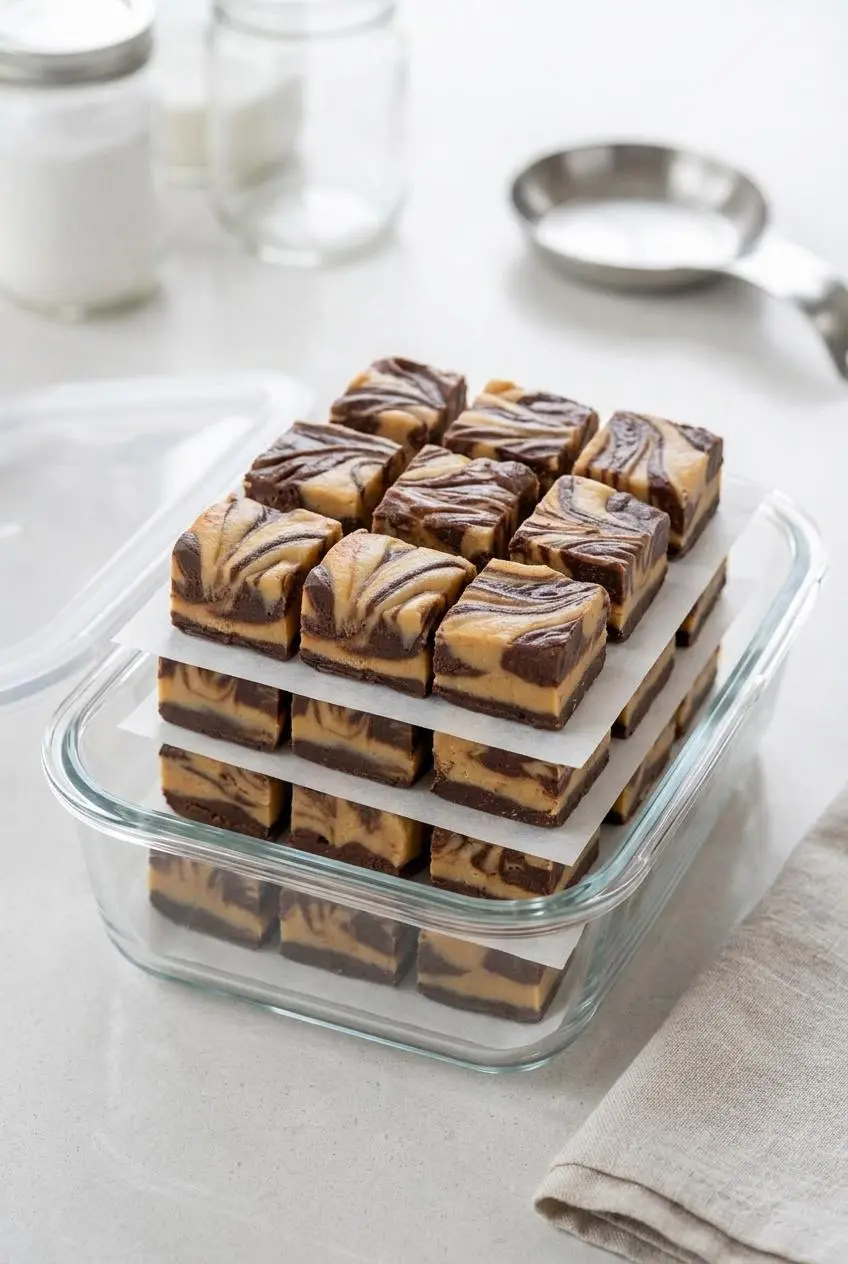
Because this fudge contains cream cheese, keep it chilled rather than leaving it out for long stretches. In the refrigerator, store it in an airtight container and separate layers with parchment if you stack the pieces.
The recipe itself states that it should be stored in a sealed container in the refrigerator, and it keeps well there for up to one week. For dairy-based desserts, keeping them properly refrigerated supports better texture and safer storage practices, as outlined in storage guidance for milk, cream, and cheese.
If you are serving it for a party, put out only what will be eaten fairly soon and return the rest to the fridge. That helps the squares stay firm and keeps the cream cheese filling from softening too much at room temperature.
Delicious Recipe Variations
Once you have the main method down, there are plenty of ways to change the flavor without changing the core structure.
Crunchy Peanut Butter Cup Swirl
For extra texture, fold chopped roasted peanuts or chopped peanut butter cups into the swirled layers right before chilling. The crunch works especially well against the creamy fudge center.
White Chocolate Raspberry Swirl
Swap the semi-sweet chocolate chips for white chocolate chips, then swirl in a few small spoonfuls of raspberry jam or seedless raspberry puree. You get a sweeter base with bright berry streaks that play nicely with the cheesecake tang.
Keto-Friendly Low Carb Swirl
If you need a lower-carb version, use sugar-free chocolate chips, sugar-free peanut butter chips, and a sugar-free condensed milk alternative. Expect a somewhat different texture, since those products do not always melt and set exactly like the standard ingredients.
Fudge Squares vs Dessert Parfait Cups
Fudge squares are the classic choice because they travel well and hold their shape on a dessert platter. If you want a softer plated dessert instead, you can layer the mixture into small cups with cookie crumbs for a spoonable treat.
For another bite-sized cheesecake-style party dessert, oreo cheesecake bites fit the same rich, portable mood.
Conclusion
This fudge gives you big cheesecake flavor in a much easier format, with creamy peanut butter swirls and a firm chilled texture that slices beautifully. The key moves are simple: use brick cream cheese, melt in short intervals, and keep the swirl gentle.
Once you know what glossy melted chips and properly softened cream cheese look like, this recipe feels very approachable. Keep it chilled, cut it small, and enjoy every rich little square.
Frequently Asked Questions
Can I use low-fat cream cheese for this fudge?
No. Low-fat cream cheese has more water and less fat, so the fudge is more likely to stay soft and sticky instead of setting firmly. For the right structure, stick with full-fat brick cream cheese rather than a light or tub-style version.
How do I cut fudge cleanly without crumbling?
Dip a sharp knife in hot water, wipe it dry, and make one clean slice straight down. Repeat that between cuts. A warm blade keeps the edges tidy and protects the swirl pattern.
Can I substitute peanut butter for the peanut butter chips?
It is better not to. Standard peanut butter is too oily for this method and can throw off the texture. Peanut butter chips melt into a more stable mixture, which helps the fudge set properly.
How long does this fudge last in the fridge?
Stored in an airtight container, it lasts up to one week in the refrigerator. Keep it chilled between servings so the cream cheese layer stays firm and creamy.
Why Is My Cheesecake Fudge Too Soft to Cut?
It usually needs more chilling time, or the mixture was made with cream cheese that was too warm or too loose in texture. Return it to the refrigerator until it feels firm across the top and slightly resistant in the center.
Can I Make This on the Stovetop Instead of the Microwave?
Yes. A double-boiler setup works well and gives you slower, gentler heat. Just melt the chocolate mixture and peanut butter mixture in separate bowls over simmering water, stirring often so they stay smooth.
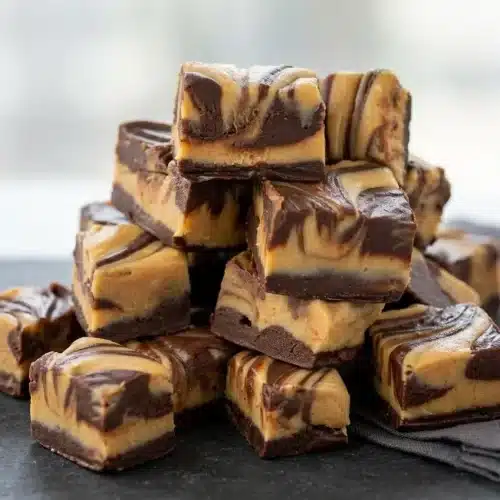
Peanut Butter Cup Cheesecake Fudge

Equipment
- 8×8-inch baking pan
- Aluminum Foil
- Microwave-safe bowls
Ingredients
- 14 ounces sweetened condensed milk, divided
- 2 1/2 cups semi-sweet chocolate chips
- 10 ounces peanut butter chips
- 2 tablespoons butter, divided
- 8 ounces cream cheese, divided
- 2 teaspoons vanilla extract, divided
Instructions
- Line an 8 x 8-inch baking pan with aluminum foil and lightly grease it with butter or cooking spray. The foil should cover the pan neatly so you can lift the chilled fudge out without sticking.
- Place 7 ounces of sweetened condensed milk, the semi-sweet chocolate chips, and 1 tablespoon of butter in one microwave-safe bowl. Keep this bowl separate so the chocolate layer melts evenly and stays distinct from the peanut butter layer.
- Place the remaining 7 ounces of sweetened condensed milk, the peanut butter chips, and the remaining 1 tablespoon of butter in a second microwave-safe bowl. Having two bowls ready before heating makes the swirling step much easier later.
- Microwave both bowls on high in 30-second bursts, stirring well after each round, until the chips are melted. The mixtures should change from stiff and matte to glossy and fluid, and the aroma should stay sweet rather than toasted.
- Stir 1 teaspoon of vanilla extract and 4 ounces of cream cheese into each bowl, then microwave both bowls for 30 seconds on high again. After stirring, each mixture should look smooth, creamy, and thick with no visible cream cheese bits.
- Spread about two-thirds of the chocolate mixture into the prepared pan, then spoon half of the peanut butter mixture over it. Use scattered spoonfuls instead of one heavy layer so the colors stay defined when you swirl them.
- Add the remaining chocolate mixture over the peanut butter layer, then finish with the remaining peanut butter mixture on top. The layered dollops should look uneven in a good way, which gives the swirl pattern more contrast.
- Drag a knife through the fudge to make swirls, then refrigerate for 3 hours before serving. Once chilled, the surface should feel firm with a little soft resistance when pressed before cutting.