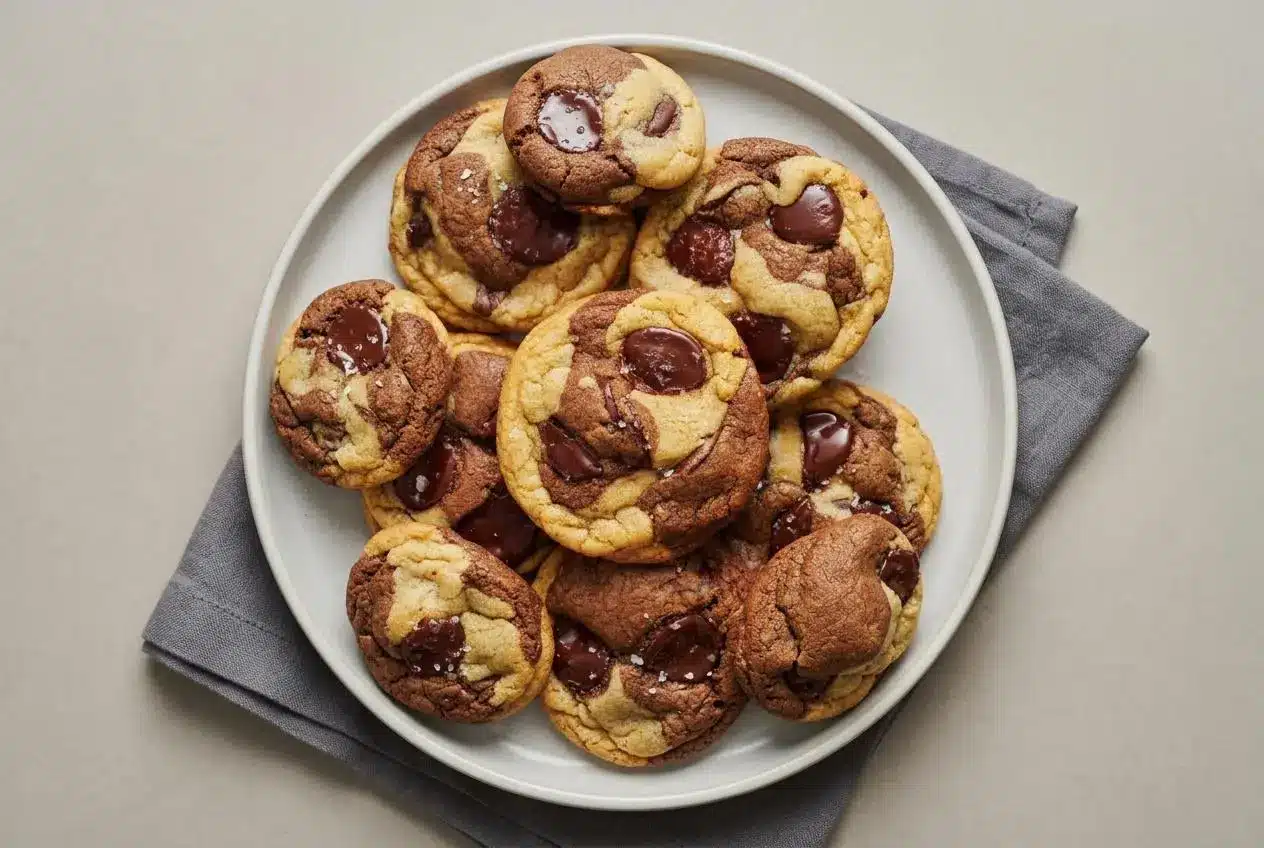
Marbled Chocolate Chip Cookies pair buttery vanilla chocolate chip dough with rich cocoa dough in one thick, chewy cookie. Make one creamy dough base, divide it, flavor each half, then gently sandwich and roll the portions for bold swirls.
These Marbled Chocolate Chip Cookies bring together soft centers, golden vanilla edges, and deep cocoa flavor without making two entirely separate doughs. Each bite has buttery caramel notes and melted chocolate puddles.
The real trick is restraint: roll just enough to join the doughs, then stop.
Use butter that gives slightly when pressed but still feels cool. Overly warm butter makes the dough slack and encourages spreading.
Key Ingredients for Perfect Marbling
Every ingredient supports the cookie’s flavor, structure, color, or chew, from the cool butter that holds the dough together to cocoa powder that gives the darker half its rich character.
Base Dough
- 2 sticks (227 grams) unsalted butter, at cool room temperature
- 1/2 cup (100 grams) granulated sugar
- 1 1/4 cups (247 grams) lightly packed light brown sugar
- 2 teaspoons vanilla
- 2 large eggs, at room temperature
Chocolate Chip Dough
- 1 1/2 cups (190 grams) all-purpose flour
- 1/2 teaspoon baking soda
- 1/2 teaspoon fine sea salt
- 3/4 cup (128 grams) semisweet chocolate wafers or feves
Cocoa Dough
- 1 1/4 cups plus 2 tablespoons (175 grams) all-purpose flour
- 1/4 cup (21 grams) unsweetened natural cocoa powder
- 1/2 teaspoon baking soda
- 1/2 teaspoon fine sea salt
- 1/4 teaspoon instant espresso powder, optional
- 3/4 cup (128 grams) semisweet chocolate wafers or feves
- Flaky sea salt, for finishing
Cool room-temperature butter creams smoothly with the sugars while still giving the cookies enough structure to stay thick. Brown sugar supplies moisture and a deeper caramel flavor, while granulated sugar helps the edges brown.
The cocoa half needs its own flour balance because cocoa powder behaves much like flour: it absorbs moisture and can make dough feel dry if it is not accounted for. Natural cocoa powder gives the chocolate dough a dark color and clean cocoa flavor. The optional espresso powder does not make the cookies taste like coffee; it simply makes the chocolate taste fuller.
Semisweet chocolate wafers or feves melt into broad, distinct puddles, while standard chips tend to hold their shape. Reserving a few pieces for the tops gives each cookie a more generous finish.
I prefer pressing the butter gently with a fingertip before mixing: it should dent easily without looking oily or melted around the edges.
How to Make Marbled Chocolate Chip Cookies
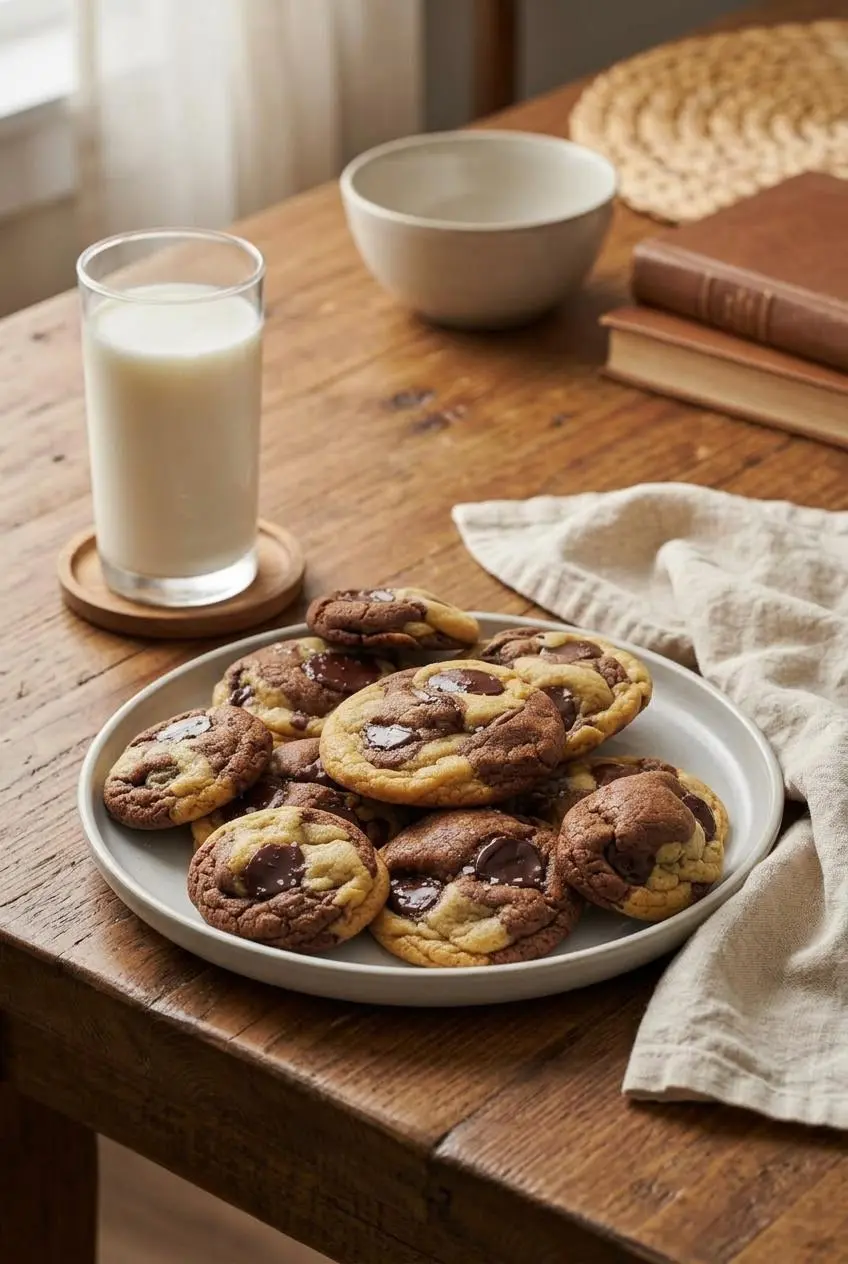
Mixing the Base Dough
Start by creaming the cool butter with both sugars until the mixture looks pale, fluffy, and evenly blended. Scrape the bowl well before adding vanilla and eggs so no dense streaks of butter remain along the bottom.
Once the eggs are incorporated, the mixture should look smooth and creamy rather than curdled. This evenly mixed foundation makes it easier to split the dough into two balanced flavors.
Dividing and Flavoring the Halves
Dividing one master dough saves time and keeps the vanilla and cocoa portions equally rich. Mix half of the creamed mixture with the vanilla-side dry ingredients, then combine the remaining creamy mixture with the cocoa dry ingredients.
Each finished dough should hold together when pressed and feel like damp sand. Fold in the chocolate wafers after the flour disappears, stopping as soon as the dough looks cohesive so the cookies stay tender.
- Heat the oven to 350°F and line baking sheets with parchment paper.
Set up the pans before shaping so the chilled dough can go straight onto a prepared surface. - Beat the butter, granulated sugar, and brown sugar for about 3 minutes, then mix in the vanilla and eggs.
Scrape the bowl as needed until the mixture is creamy and uniform with no butter pockets. - Whisk the flour, baking soda, and salt for the chocolate chip dough, then fold in half of the creamed mixture with a rubber spatula.
Stir in the chocolate wafers, holding back a few pieces for the tops, until the dough comes together. - Mix the remaining creamed mixture with the cocoa dough flour, cocoa powder, baking soda, salt, and optional espresso powder on low speed.
Fold in the chocolate wafers, reserving a few for topping, and stop when the darker dough is evenly colored. - Use a medium 1 1/2-tablespoon cookie scoop to portion both doughs, then sandwich one cocoa portion between two torn pieces of vanilla dough, or reverse the arrangement.
Roll lightly into a ball, place it on the prepared pan, and press a few reserved wafers onto the surface. - Wrap the shaped dough tightly in plastic wrap and refrigerate for at least 24 hours but no more than 72 hours.
The chilled dough will feel firmer and hold a taller shape in the oven. - Bake for 11 to 13 minutes, then finish with flaky sea salt if desired and cool for 5 minutes before moving the cookies to wire racks.
Look for golden-brown edges on the vanilla side; the cocoa side stays dark, so the set edges are the better doneness cue.
How to Shape Marbled Cookies Perfectly
The sandwich method gives you clear ribbons of vanilla and chocolate instead of a uniformly brown cookie. Scoop one portion of each dough, then tear one dough ball into two rough pieces.
Place the other flavor in the center and cover it with the torn pieces. This creates layers before you roll, so the marbling happens naturally rather than through heavy twisting.
Roll the stack lightly between your palms only until it becomes a round ball. Stop when you can still see broad patches and thick seams of both colors on the outside. If you keep rolling, the doughs blend together and lose the dramatic contrast.
Place a reserved chocolate wafer on top after shaping instead of kneading it in. It keeps the swirls clean and gives the baked cookie a glossy melted-chocolate finish.
Why Chilling the Dough Matters
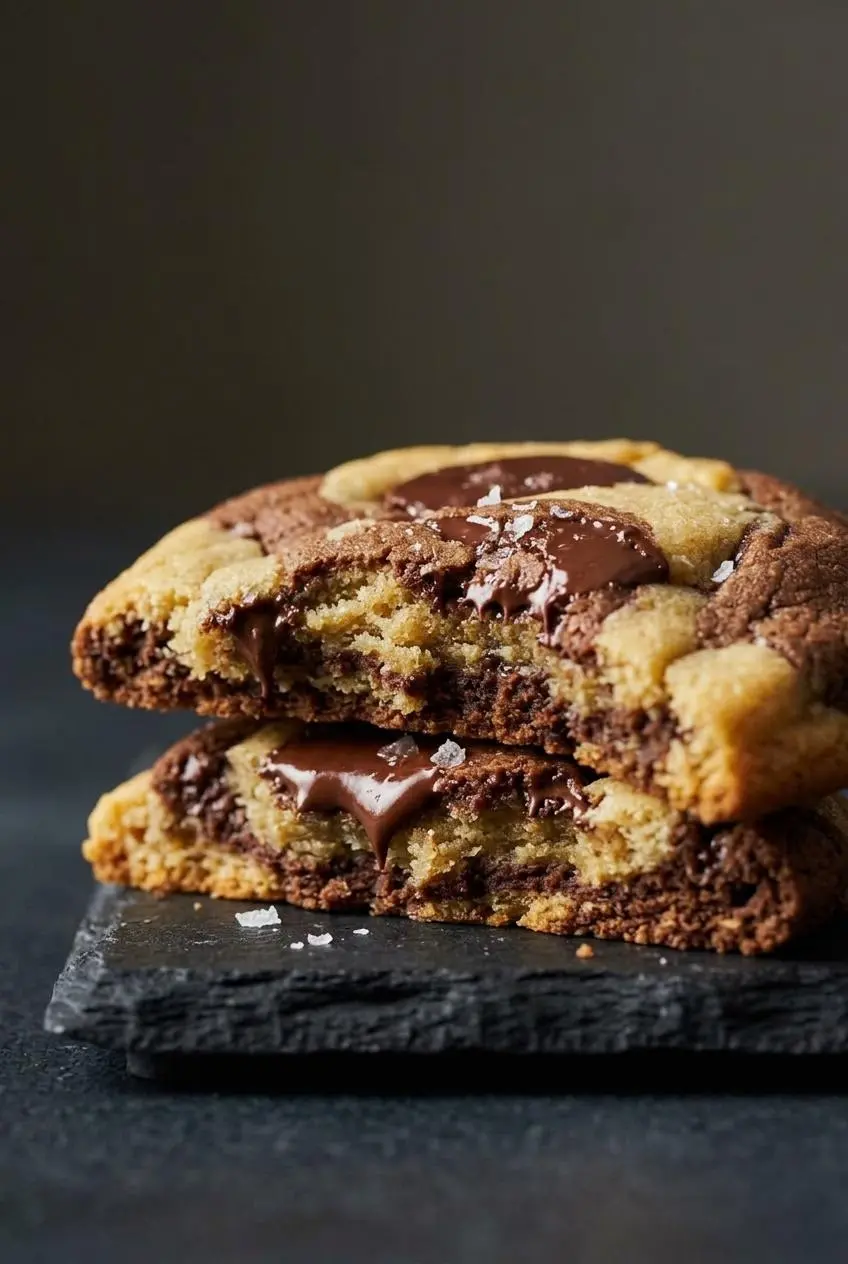
The required chill is what turns these from pleasant cookies into thick, chewy ones with more developed flavor. As the dough rests, the flour and cocoa absorb moisture more fully, and the sugars deepen into a richer caramel character.
Chill the shaped dough for at least 24 hours and no more than 72 hours. The 35-minute prep time covers active work, but it does not replace the rest. Baking the dough too soon can lead to flatter cookies, especially if the butter softened too much while mixing.
Keep the dough wrapped tightly during the chill so the exposed surfaces do not dry out. Arrange the portions with space between them on the pan before baking, since the cookies still spread as their centers warm.
Troubleshooting Common Cookie Mistakes
- The cookies spread too much: The butter may have been too warm, the dough may not have chilled long enough, or the baking sheet may still be warm from an earlier batch. Start with cool room-temperature butter, chill the shaped portions as directed, and use fully cooled pans.
- The colors blended into one brown cookie: Over-rolling is usually the culprit. Use the tear-and-sandwich method, then roll only until the seams join and the dough forms a ball.
- The cocoa dough feels dry or crumbly: Cocoa powder absorbs moisture quickly. Mix only until the dough holds together, and avoid adding extra flour while shaping unless the dough truly cannot be handled.
- The cookies look unevenly round: While they are hot, place a round cookie cutter around one cookie and gently move it in a small circle. This nudges the soft edges inward without disturbing the chewy center.
- The chocolate side looks underbaked: Dark cocoa hides browning. Check the vanilla edge for a light golden color and look for centers that have puffed and no longer appear wet.
Preparing Dough Ahead
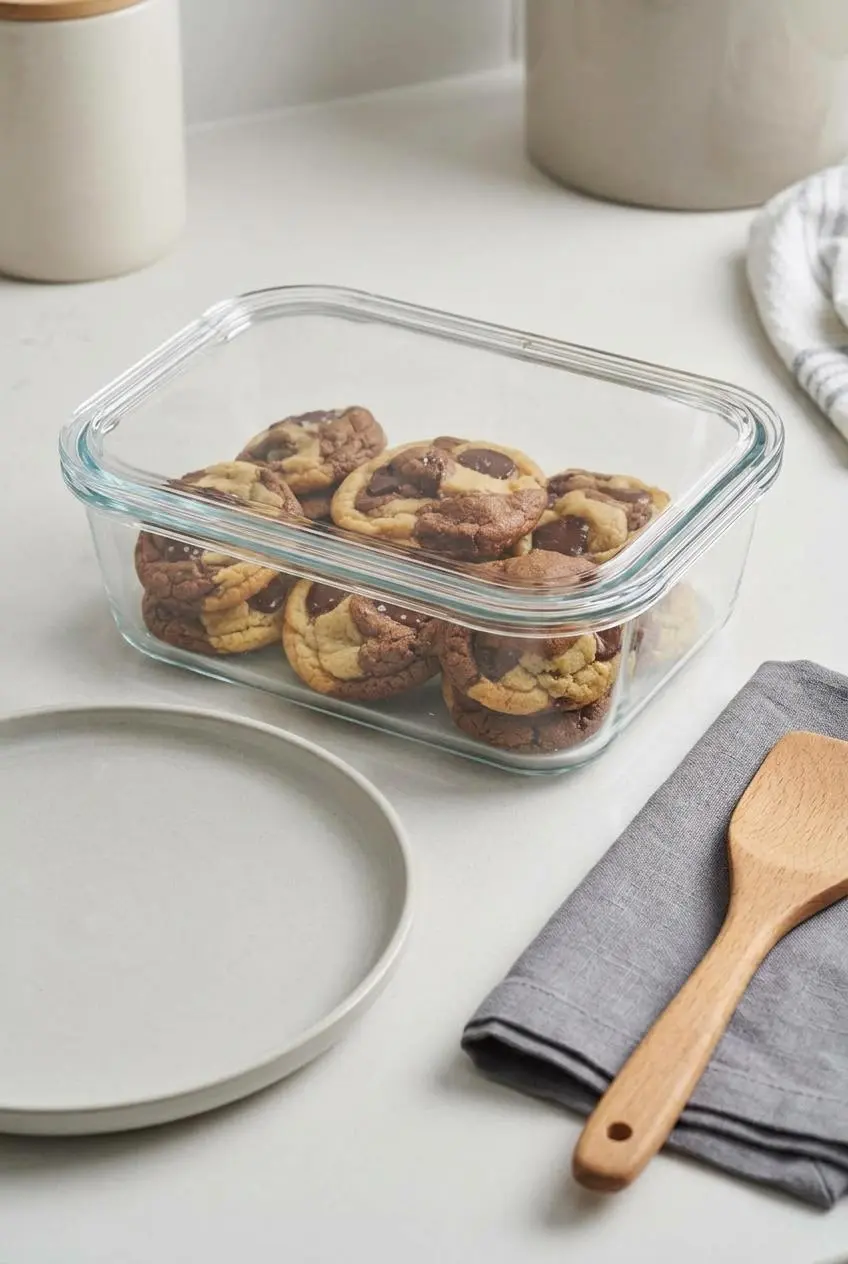
Shape the dough portions before chilling so they are ready to bake when you want cookies. Keep the portions tightly wrapped in the refrigerator for the required 24- to 72-hour chill, then bake them directly from chilled.
For baked cookies, let them cool completely before placing them in an airtight container. This helps protect the soft centers from excess moisture while keeping the chocolate pieces from becoming sticky.
If you prefer a smaller yield rather than holding extra dough, try these small batch cookies another time.
Delicious Recipe Variations
- White Chocolate and Dark Chocolate Marble: Use white chocolate pieces in the cocoa dough for bright pockets against the dark chocolate background. The flavor is sweeter and the contrast stays striking.
- Peanut Butter and Chocolate Swirl: Replace the vanilla portion with a peanut butter cookie dough for a deeper, nutty pairing with the cocoa half. Keep the shaping gentle so the two doughs remain distinct.
- Brown Butter Vanilla Half: Brown the butter, then cool it back to room temperature before using it for the vanilla dough. It adds a toasted, caramel-like depth, though the dough should still feel cool enough to hold its shape.
- Red Velvet Marble: For a festive color contrast, use a red velvet dough in place of the cocoa half, like these red velvet chocolate chip cookies.
- Mint Chocolate Marble: Add peppermint flavor to the cocoa side for a cool chocolate twist inspired by mint chocolate chip cookies.
Conclusion
These cookies earn their marbled look from one smart move: sandwich the two doughs, then roll with a light hand. The result is a buttery vanilla cookie and a rich cocoa cookie in every bite.
Give the dough its full chill, watch the golden vanilla edges, and leave those swirls boldly imperfect. A slightly warm cookie with cold milk is hard to beat.
Frequently Asked Questions
How Do I Keep the Two Dough Flavors Distinct?
Tear one dough ball in half and sandwich the other flavor in the middle. Roll gently between your palms only until a ball forms. Stop when thick patches of vanilla and cocoa are still visible on the surface.
Can I Freeze Marbled Chocolate Chip Cookies?
Freezing directions are not included for this dough. For the most reliable result, shape the portions, wrap them tightly, and use the refrigerator chill described in the method before baking.
Why Did My Cookies Spread Out So Much?
Butter that is too warm and dough that has not completed its required chill are the usual causes. Use cool room-temperature butter, chill the shaped portions for at least 24 hours, and place them on cool parchment-lined baking sheets.
Can I Make This Recipe Without a Stand Mixer?
Yes. A hand mixer works well for creaming the butter and sugars. You can also use a sturdy spoon, though it takes more effort to get the butter and sugars evenly creamy before adding the eggs.
What Type of Cocoa Powder Works Best for the Chocolate Half?
Use unsweetened natural cocoa powder, which is the cocoa listed for this dough. It gives the chocolate half its rich color and works with the baking soda for the intended texture.
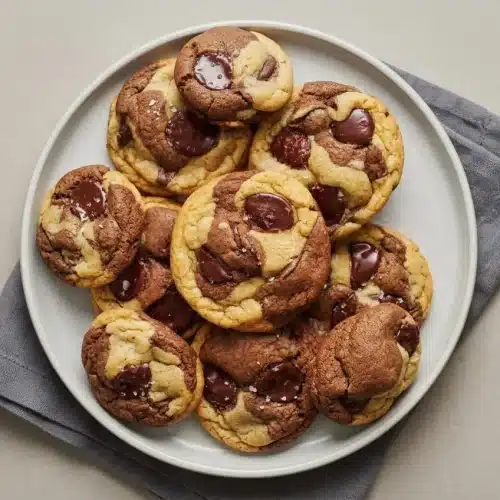
Marbled Chocolate Chip Cookies

Equipment
- Electric Mixer
- Medium Cookie Scoop
- Baking Sheets
- Parchment Paper
Ingredients
Base Dough
- 2 sticks (227 grams) unsalted butter, at cool room temperature
- 1/2 cup (100 grams) granulated sugar
- 1 1/4 cups (247 grams) lightly packed light brown sugar
- 2 teaspoons vanilla
- 2 large eggs, at room temperature
Chocolate Chip Dough
- 1 1/2 cups (190 grams) all-purpose flour
- 1/2 teaspoon baking soda
- 1/2 teaspoon fine sea salt
- 3/4 cup (128 grams) semisweet chocolate wafers or feves
Cocoa Dough
- 1 1/4 cups plus 2 tablespoons (175 grams) all-purpose flour
- 1/4 cup (21 grams) unsweetened natural cocoa powder
- 1/2 teaspoon baking soda
- 1/2 teaspoon fine sea salt
- 1/4 teaspoon instant espresso powder, optional
- 3/4 cup (128 grams) semisweet chocolate wafers or feves
- Flaky sea salt, for finishing
Instructions
- Heat the oven to 350°F and line baking sheets with parchment paper. Set up the pans before shaping so the chilled dough can go straight onto a prepared surface.
- Beat the butter, granulated sugar, and brown sugar for about 3 minutes, then mix in the vanilla and eggs. Scrape the bowl as needed until the mixture is creamy and uniform with no butter pockets.
- Whisk the flour, baking soda, and salt for the chocolate chip dough, then fold in half of the creamed mixture with a rubber spatula. Stir in the chocolate wafers, holding back a few pieces for the tops, until the dough comes together.
- Mix the remaining creamed mixture with the cocoa dough flour, cocoa powder, baking soda, salt, and optional espresso powder on low speed. Fold in the chocolate wafers, reserving a few for topping, and stop when the darker dough is evenly colored.
- Use a medium 1 1/2-tablespoon cookie scoop to portion both doughs, then sandwich one cocoa portion between two torn pieces of vanilla dough, or reverse the arrangement. Roll lightly into a ball, place it on the prepared pan, and press a few reserved wafers onto the surface.
- Wrap the shaped dough tightly in plastic wrap and refrigerate for at least 24 hours but no more than 72 hours. The chilled dough will feel firmer and hold a taller shape in the oven.
- Bake for 11 to 13 minutes, then finish with flaky sea salt if desired and cool for 5 minutes before moving the cookies to wire racks. Look for golden-brown edges on the vanilla side; the cocoa side stays dark, so the set edges are the better doneness cue.