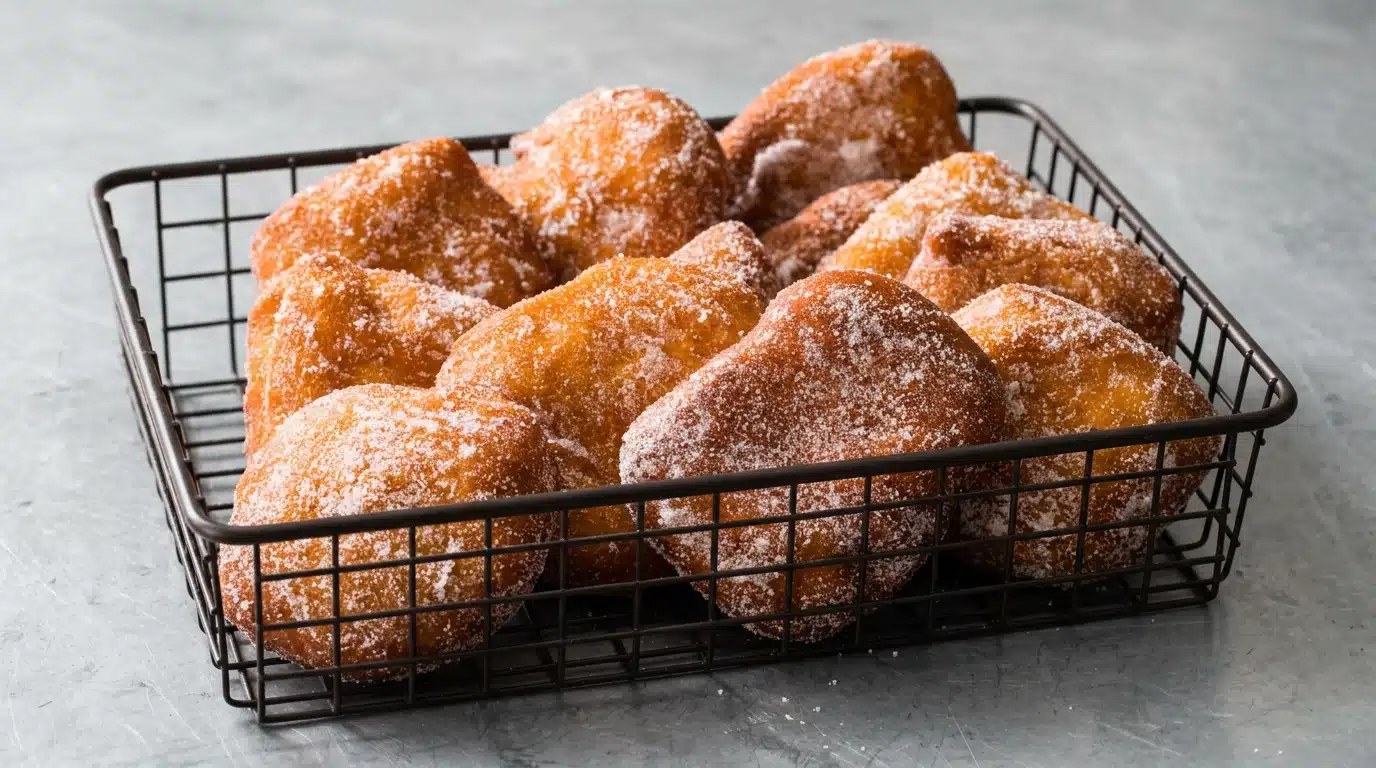
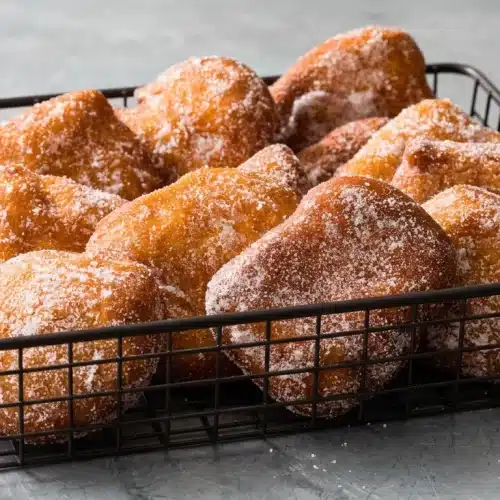
This malasadas recipe makes holeless yeast doughnuts with a crisp sugar coating and a pillowy, chewy center. Mix an enriched dough, let it rise twice, then fry and toss in sugar while warm. Expect shiny, sticky dough, not a firm ball that clears the mixer bowl.
These Portuguese-style pastries, beloved in Hawaii, turn milk, eggs, butter, and bread flour into something wonderfully airy. Their granulated sugar finish gives each bite a delicate crunch without a thick glaze.
Allow about 4 hours for the full process, including both rises. The recipe makes 12 malasadas, with clear checkpoints for kneading, shaping, and frying. The sticky dough is the first clue.
Grease your hands and spatula before handling the dough so it releases without a dusting of flour.
Key Ingredients for Pillowy Homemade Malasadas
Bread flour supplies structure, yeast provides lift, and milk, eggs, and butter bring moisture and richness. Sugar sweetens the dough and adds its crystalline finish, salt balances the flavor, and vegetable oil supports shaping and frying.
- 2 1/4 cups (12 1/3 ounces/350 grams) bread flour
- 1/4 cup (1 3/4 ounce/50 grams) sugar, plus 1 cup for coating
- 2 1/4 teaspoons instant or rapid-rise yeast
- 1/2 teaspoon salt
- 3/4 cup whole milk
- 2 large eggs
- 2 tablespoons unsalted butter, melted and cooled
- 1 tablespoon plus 2 quarts vegetable oil
Bread flour builds the gluten structure that holds the dough’s air bubbles and gives the crumb its characteristic chew. The goal is an airy interior with some spring, rather than the more crumbly bite of a cake doughnut.
Instant or rapid-rise yeast mixes directly into the dry ingredients. Milk contributes moisture and richness, while eggs help build structure. Melted, cooled butter distributes through the wet mixture and tenderizes the crumb.
Sugar and salt work together to keep the dough flavorful rather than overwhelmingly sweet. Neutral vegetable oil lets that buttery, lightly sweet flavor come through, and the final sugar coating supplies a distinct crunch.
How to Make Malasadas
Watch the dough as well as the clock. The most useful checkpoints are a glossy, tacky mixture after kneading, doubled dough after the first rise, and visibly puffy disks after the second.
- Combine the bread flour, 1/4 cup sugar, yeast, and salt with a whisk in the stand mixer bowl, then whisk the milk, eggs, and cooled melted butter in another bowl before pouring them into the dry mixture.
The wet mixture should look evenly blended before it meets the flour. - Attach the dough hook and run the mixer on low for about 2 minutes, then knead on medium for about 8 minutes.
Look for an evenly mixed, glossy, sticky dough that still clings to the bowl’s bottom and sides. - Scrape the dough into a greased large bowl with a greased rubber spatula, cover with plastic wrap, and leave at room temperature for 1½ to 2 hours.
Proceed when the dough has doubled in volume. - Coat a rimmed baking sheet with 1 tablespoon vegetable oil, ease the risen dough onto it, gently press out the gas, and divide it into 12 equal portions spaced across the sheet.
The portions should remain soft and tacky rather than firm enough to roll on a floured counter. - Pat the portions into 3½-inch disks with greased hands, then cover the sheet with plastic and let rise at room temperature for 30 to 45 minutes.
Aim for about ⅜-inch thickness when shaping and a puffy appearance after this second rise. - Position a wire rack inside another rimmed baking sheet, then pour the remaining 2 quarts oil into a large Dutch oven and heat over medium-high to 350°F.
The oil should measure about 1½ inches deep. - Lower 4 disks gently into the oil and fry for about 3 minutes, turning them halfway through and adjusting the burner to keep the oil between 325°F and 350°F.
Both sides should develop a golden-brown crust. - Lift the fried malasadas onto the rack with a slotted spoon or spider skimmer, bring the oil back to 350°F, and cook the remaining disks in 2 more batches.
The rack allows excess oil to drain away from the crust. - Add the remaining 1 cup sugar to a large bowl, gently coat each warm malasada individually, and arrange them on a platter for immediate serving.
A fine layer of sugar should cling to the golden exterior.
What Makes Traditional Hawaiian-Style Portuguese Malasadas Special
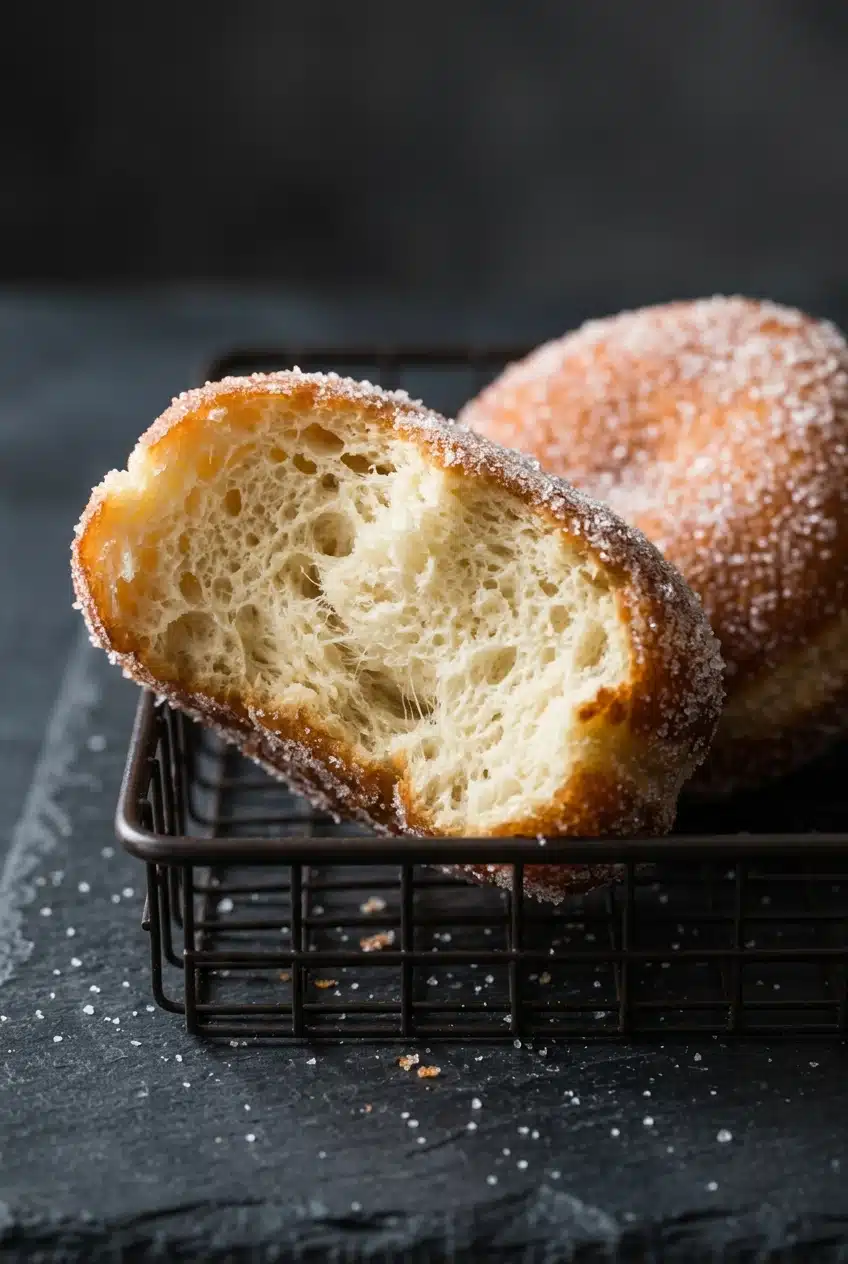
Malasadas are holeless, sugar-coated yeast pastries associated with Portuguese baking and Hawaiian bakery culture. Here, their appeal comes from the contrast between the crisp exterior and the soft, slightly chewy center.
They belong to the yeast-doughnut family, but they aren’t ring doughnuts. This version uses an egg-and-milk enriched bread-flour dough and finishes with granulated sugar instead of liquid glaze. Cake doughnuts have a different, more cake-like crumb.
The disk shape matters, too. An even, relatively flat piece gives the center a better chance to cook alongside the crust than a thick ball does. It also creates plenty of surface for that warm sugar coating.
Expert Tips and Common Mistakes to Avoid
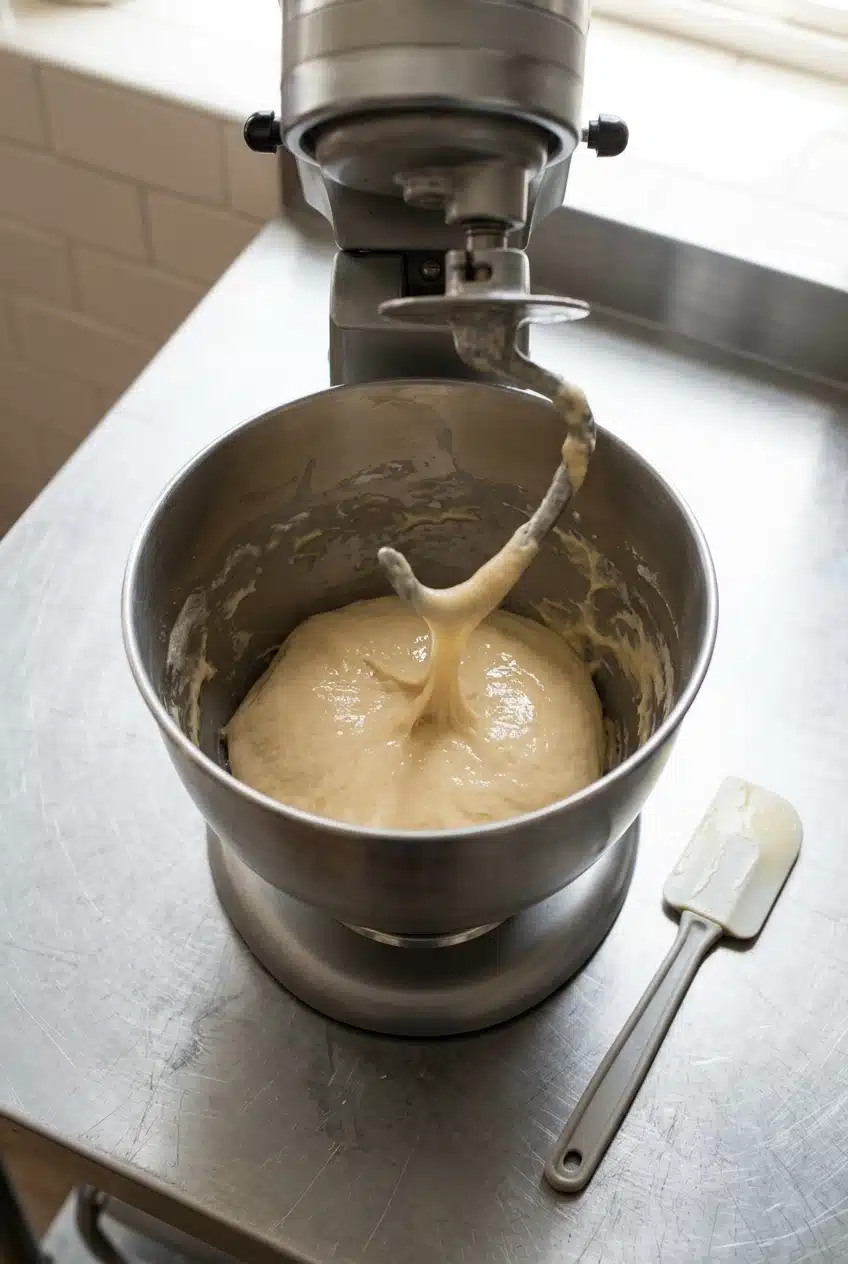
The biggest pitfalls are adding flour to correct normal stickiness and letting frying conditions change between batches.
- The dough won’t leave the bowl: That’s expected here, not a sign that it needs more flour. Follow the kneading time and look for a uniform, shiny texture.
- Portions stick or tear: Dry hands drag against this soft dough. Grease your hands and spatula, and handle the risen portions gently rather than tugging them into shape.
- The outside darkens before the center cooks: Uneven thickness or excessive oil heat can throw off the balance. Pat consistent disks and keep the burner within the stated frying range.
- Later batches look pale or oily: Crowding lowers the oil’s heat. Keep to the stated batch size and let the oil recover before adding more dough.
- Sugar won’t cling: Completely cooled pastries don’t take the coating as readily. Drain on the rack, then coat while warm.
I’d judge this dough by its shine and consistency, not by whether the bowl looks clean. A clean bowl isn’t the goal here.
Popular Coatings and Filled Malasada Variations
Plain granulated sugar is the classic finish for this recipe. These optional bakery-inspired flavors offer variety without changing the dough ingredients or mixing method.
Cinnamon-Sugar Coated Malasadas
Cinnamon sugar adds a warm, fragrant contrast to the rich crumb. A platter with plain-sugar and cinnamon-sugar versions lets you enjoy both finishes without committing the whole batch to spice.
Custard, Chocolate, or Haupia-Filled Malasadas
- Pastry cream: A creamy, vanilla-forward filling complements the lightly sweet dough.
- Chocolate pudding: A cocoa-rich center makes the pastry feel more like a dessert.
- Coconut haupia: A coconut filling brings a Hawaiian bakery-inspired flavor direction.
Tropical Fruit Curd or Ube-Inspired Flavors
Tart lilikoi curd offers contrast to the sugary crust, while ube-inspired fillings bring a mellow, earthy sweetness. For another fruity option, consider homemade peach jam. Treat these as optional filling inspirations, not substitutions for ingredients in the dough.
Best Ways to Serve Warm Malasadas
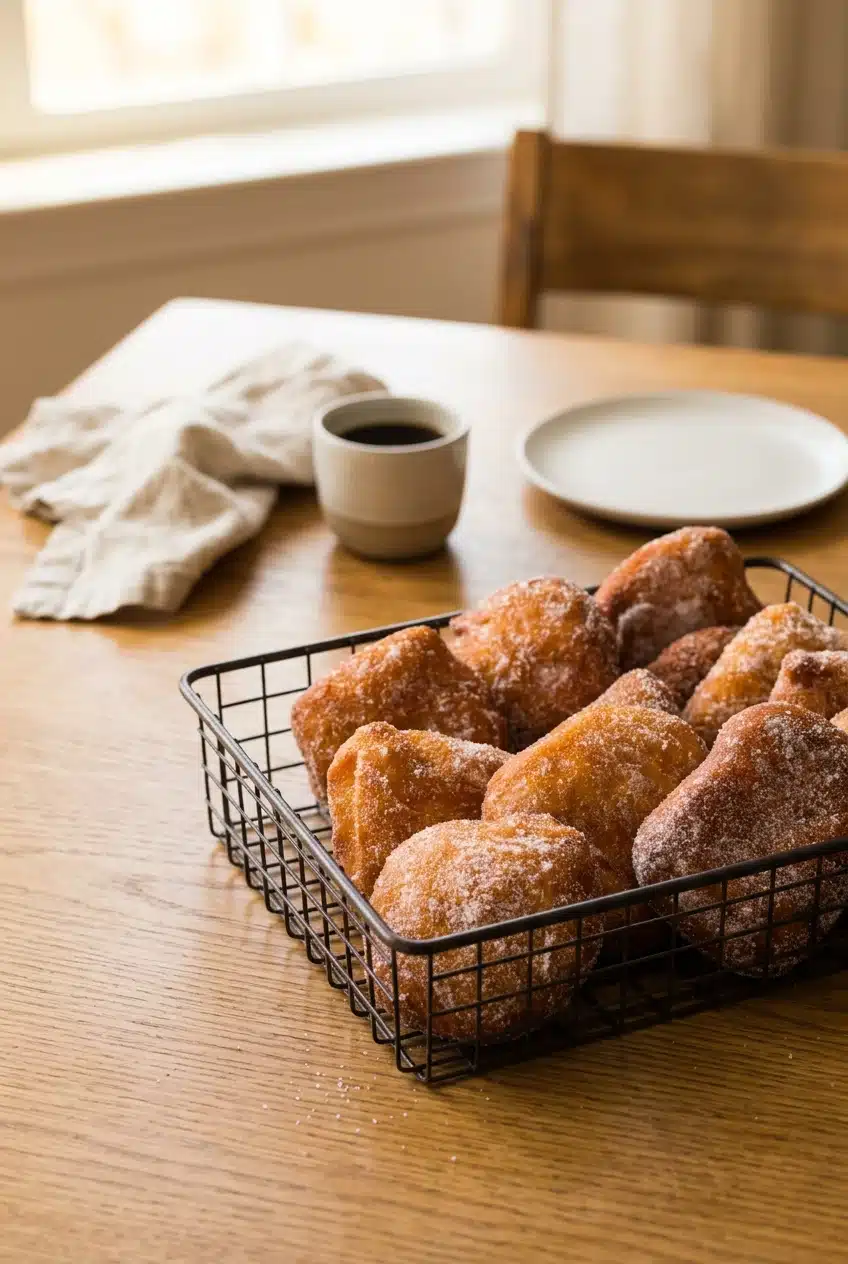
Serve malasadas immediately after coating, when the crisp sugar crust contrasts most clearly with the pillowy, chewy crumb. Have the platter ready before frying so the finished pastries don’t wait for the rest of brunch.
Kona coffee, espresso, hot tea, and cold milk all fit comfortably alongside them. For a fuller weekend spread, pair the pastries with savory baked eggs to balance the sweet side of the meal.
Keeping Leftover Malasadas at Their Best
Plan the frying around serving whenever possible. Immediate serving is the intended finish here, rather than making a batch specifically to store and reheat.
If plain malasadas remain, let them cool before placing them in a covered container. Keep filled versions separate and follow the storage directions for the particular cream, pudding, or curd you use. Don’t assume that a filled pastry has the same handling needs as a plain one.
Final Thoughts on Making Bakery-Style Malasadas at Home
The path to pillowy malasadas starts with trusting the tacky dough. Greased hands, evenly shaped disks, and uncrowded frying batches help carry that soft dough through to a golden crust.
Keep the finish classic with granulated sugar or choose an optional bakery-inspired flavor. Either way, have the platter ready and enjoy them warm.
Frequently Asked Questions About Malasadas
What Is the Difference Between Malasadas and Donuts?
Malasadas are a type of doughnut, typically shaped without a center hole. This version has an enriched yeast dough, a pillowy-chewy crumb, and a granulated sugar coating rather than glaze.
What Are the Ingredients in Malasadas?
This recipe uses bread flour, sugar, instant or rapid-rise yeast, salt, whole milk, eggs, and melted unsalted butter. Vegetable oil serves for shaping and frying, with additional sugar for coating.
How to Store Malasadas?
Cover plain leftovers once they have cooled. For optional filled malasadas, follow the filling recipe’s storage instructions rather than treating them like plain pastries; serving freshly fried remains the best plan for this recipe.
Why Is My Malasada Dough So Sticky?
The dough contains enough moisture and enrichment to stay shiny and tacky after kneading. It isn’t meant to clear the mixer bowl, so use greased hands and equipment rather than adding flour to make it dry.
How Do You Fill Malasadas With Cream or Pudding?
For an optional filled version, make a small opening in the side with a skewer and gently pipe in the filling with a pastry bag. Avoid forcing in more filling once the pastry begins to swell or resist.
Can I Use All-Purpose Flour Instead of Bread Flour for Malasadas?
Bread flour is the preferred choice for the chewy structure described here. All-purpose flour generally gives a softer, less chewy result, so don’t expect an identical texture from that substitution.
Malasadas Recipe

Equipment
- Stand Mixers (Inexpensive)
- The Best Slotted Spoons
Ingredients
- 2 1/4 cups bread flour (12 1/3 ounces/350 grams)
- 1/4 cup sugar (1 3/4 ounce/50 grams), plus 1 cup for coating
- 2 1/4 teaspoons instant or rapid-rise yeast
- 1/2 teaspoon salt
- 3/4 cup whole milk
- 2 large eggs
- 2 tablespoons unsalted butter melted and cooled
- 1 tablespoon vegetable oil plus 2 quarts
Instructions
- Combine the bread flour, 1/4 cup sugar, yeast, and salt with a whisk in the stand mixer bowl, then whisk the milk, eggs, and cooled melted butter in another bowl before pouring them into the dry mixture. The wet mixture should look evenly blended before it meets the flour.
- Attach the dough hook and run the mixer on low for about 2 minutes, then knead on medium for about 8 minutes. Look for an evenly mixed, glossy, sticky dough that still clings to the bowl’s bottom and sides.
- Scrape the dough into a greased large bowl with a greased rubber spatula, cover with plastic wrap, and leave at room temperature for 1½ to 2 hours. Proceed when the dough has doubled in volume.
- Coat a rimmed baking sheet with 1 tablespoon vegetable oil, ease the risen dough onto it, gently press out the gas, and divide it into 12 equal portions spaced across the sheet. The portions should remain soft and tacky rather than firm enough to roll on a floured counter.
- Pat the portions into 3½-inch disks with greased hands, then cover the sheet with plastic and let rise at room temperature for 30 to 45 minutes. Aim for about ⅜-inch thickness when shaping and a puffy appearance after this second rise.
- Position a wire rack inside another rimmed baking sheet, then pour the remaining 2 quarts oil into a large Dutch oven and heat over medium-high to 350°F. The oil should measure about 1½ inches deep.
- Lower 4 disks gently into the oil and fry for about 3 minutes, turning them halfway through and adjusting the burner to keep the oil between 325°F and 350°F. Both sides should develop a golden-brown crust.
- Lift the fried malasadas onto the rack with a slotted spoon or spider skimmer, bring the oil back to 350°F, and cook the remaining disks in 2 more batches. The rack allows excess oil to drain away from the crust.
- Add the remaining 1 cup sugar to a large bowl, gently coat each warm malasada individually, and arrange them on a platter for immediate serving. A fine layer of sugar should cling to the golden exterior.