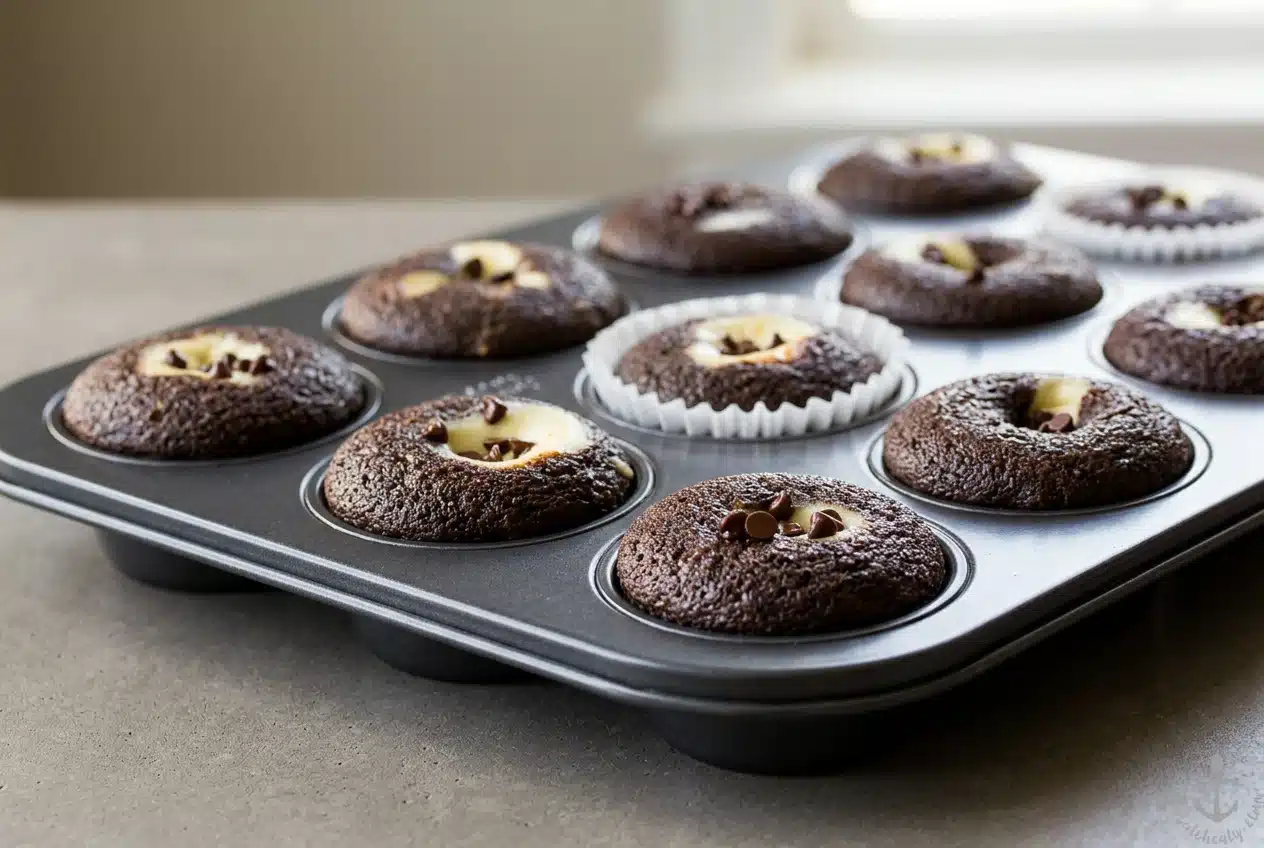
Black bottom cupcakes pair dark, moist chocolate cake with a creamy cheesecake center baked right on top. They need no frosting, and an optional sprinkle of mini chocolate chips adds extra chocolate to the pale cream cheese topping.
The contrast makes each bite satisfying: tender cocoa cake around the edges, tangy filling in the middle, and chocolate throughout. Everything bakes together in a standard muffin tin.
You’ll make the filling first, then mix the chocolate batter without creaming butter. The trick is giving both textures the attention they need. Watch the chocolate rim.
Start with thoroughly softened cream cheese so the filling beats smooth rather than staying dotted with lumps.
Key Ingredients and Why Each One Works
Each ingredient supports the contrast: cream cheese and egg give the center richness and structure, cocoa and coffee deepen the chocolate flavor, and cake flour, oil, vinegar, and baking soda help create a tender, moist cake.
- 8 oz. cream cheese, (softened)
- 1/2 cup granulated sugar
- 1/8 tsp. salt
- 1 large egg
- 1/2 tsp. vanilla
- 1 1/2 cups cake flour
- 1 cup granulated sugar
- 1/4 cup unsweetened cocoa powder, (sifted)
- 1 tsp. baking soda
- 1/2 tsp. salt
- 1 cup fresh brewed coffee, (cooled)
- 1/3 cup vegetable oil
- 1 Tbsp. white vinegar
- 1 tsp. vanilla extract
- mini chocolate chips, (for sprinkling, if desired)
For the filling: Softened cream cheese blends smoothly with the sugar, salt, egg, and vanilla. The egg helps the center set during baking, while sugar balances the cream cheese’s tang.
For the chocolate cake: Cake flour gives a more delicate crumb than all-purpose flour. Sifted cocoa disperses without leaving dry flecks, and cooled coffee reinforces its roasted chocolate notes. Vegetable oil supplies moisture without a butter-creaming stage.
White vinegar reacts with baking soda to help the egg-free chocolate batter rise. The filling contains an egg, but the cake portion gets its structure and lift differently. Salt balances sweetness, and vanilla rounds out both mixtures.
How to Make Black Bottom Cupcakes Step by Step
Keep the filling and cake batter separate until assembly. The chocolate mixture is thinner than a creamed-butter batter, so measure the filling onto it gently.
Prep: 15 minutes · Cook: 20 minutes · Total: 35 minutes · Yield: 12 cupcakes · Course: Dessert · Cuisine: American
Cream Cheese Filling
- Beat the cream cheese, sugar, salt, egg, and vanilla in a medium bowl with a hand mixer at medium speed for about 1–2 minutes, then reserve the mixture.
Stop when the filling looks smooth throughout, with no remaining lumps.
Cupcakes
- Set the oven to 350°F and fit paper liners into a standard 12-cup muffin tin.
Each cavity should have a liner ready to hold the batter and filling. - Whisk the cake flour, sugar, sifted cocoa, baking soda, and salt in a large bowl, then mix in the cooled coffee, vegetable oil, vinegar, and vanilla extract.
The finished batter should look smooth and evenly blended. - Portion the chocolate batter into the liners to fill each 2/3 full, then place one heaping tablespoon of filling on each and add mini chocolate chips if desired.
The pale filling should sit on top of the chocolate batter before baking. - Bake for 20 minutes, checking the cream cheese center and testing the chocolate portion with a toothpick.
The filling should be set, and the toothpick should emerge clean from the cake rather than carrying wet batter. - Leave the cupcakes in their pans for 10 minutes, then move them to racks to finish cooling and refrigerate any leftovers.
Let them cool completely on the racks.
Nutrition per serving: 283 kcal; fat 13 g; saturated fat 8 g; carbohydrates 38 g; sugar 25 g; protein 3 g; cholesterol 38 mg; sodium 280 mg.
What Makes This Chocolate and Cheesecake Classic Special
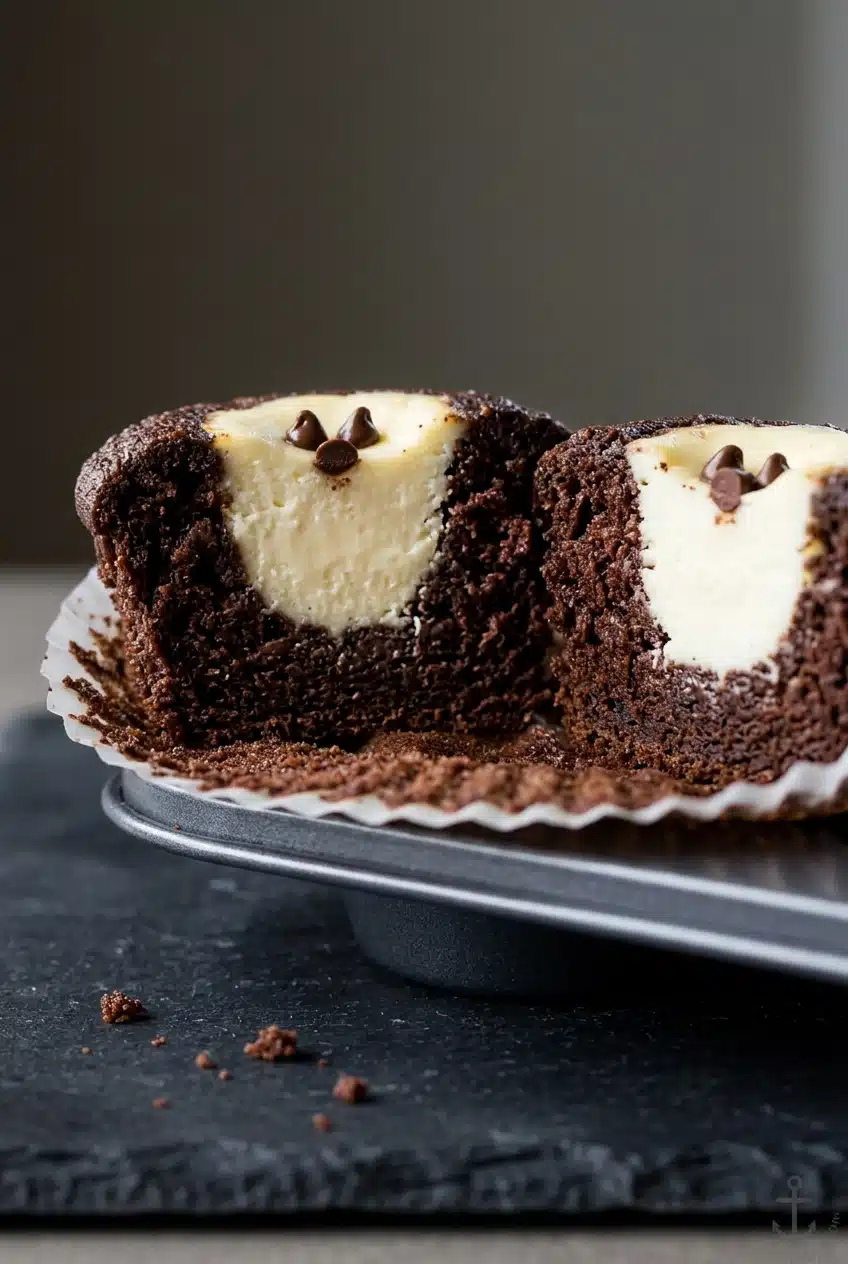
The cheesecake topping bakes with the chocolate cake, giving you two distinct textures without a separate frosting step. Optional mini chips add little chocolate pockets across the creamy center.
That frosting-free finish also makes a tidy presentation for sharing. If the baked cheesecake component is your favorite part, cherry cheesecake cupcakes offer a fruity direction for another batch.
Pro Tips and Common Mistakes to Avoid
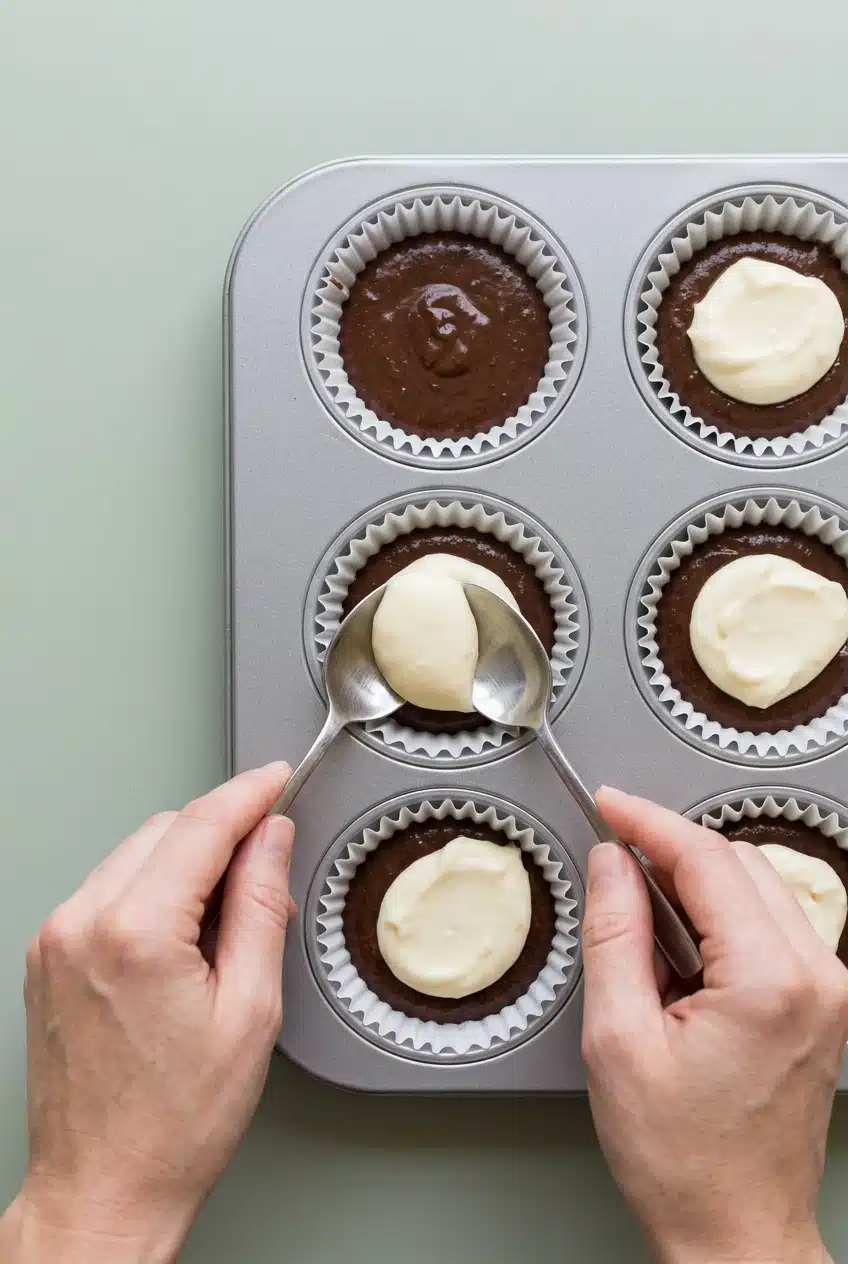
A smooth filling and careful portioning matter more than a perfectly shaped dollop.
- Lumpy filling: Cold cream cheese resists blending smoothly, even with extra beating; soften it thoroughly before mixing and check for lumps before setting it aside.
- Hidden cheesecake tops: A compact scoop can settle deeply into the thinner cake batter; optionally use two spoons to place a broader dollop gently on top, though this won’t guarantee its final position.
- Overflowing liners: Excess chocolate batter leaves too little space for the filling and rising cake; follow the stated fill level rather than using the liner’s rim as your guide.
- Slightly sunken centers: The filling may puff during baking and settle as it cools; a shallow dip alone doesn’t mean the cupcakes failed.
- Sticking wrappers: Moist oil-based cake can cling to delicate paper; sturdy, greaseproof paper liners are worth considering for cleaner release.
I’d prioritize a clean toothpick from the chocolate rim over a perfectly flat cheesecake top; a little settling doesn’t spoil the contrast.
Delicious Variations and Pan Swaps
These optional directions change the format or flavor, while the recipe above remains the standard-sized coffee-and-cocoa version.
Mini Black Bottom Cupcakes
A bite-sized version suits party platters and shared dessert assortments. The standard-sized baking time does not establish a mini-pan time, so use a recipe written for that format rather than assuming the same schedule applies.
Coffee-Free Chocolate Batter (Water Swap)
Plain water is an optional direction when you prefer to leave out coffee. It won’t contribute the same roasted flavor, so expect a different chocolate profile rather than an identical result.
Chocolate Chip Placement & Dark Chocolate Option
Mini chips sprinkled on top keep the pale filling visible between chocolate dots. Dark or semi-sweet chips within the filling offer a different distribution of chocolate and a potentially less sweet flavor, depending on the chocolate chosen.
Best Ways to Serve These Cupcakes
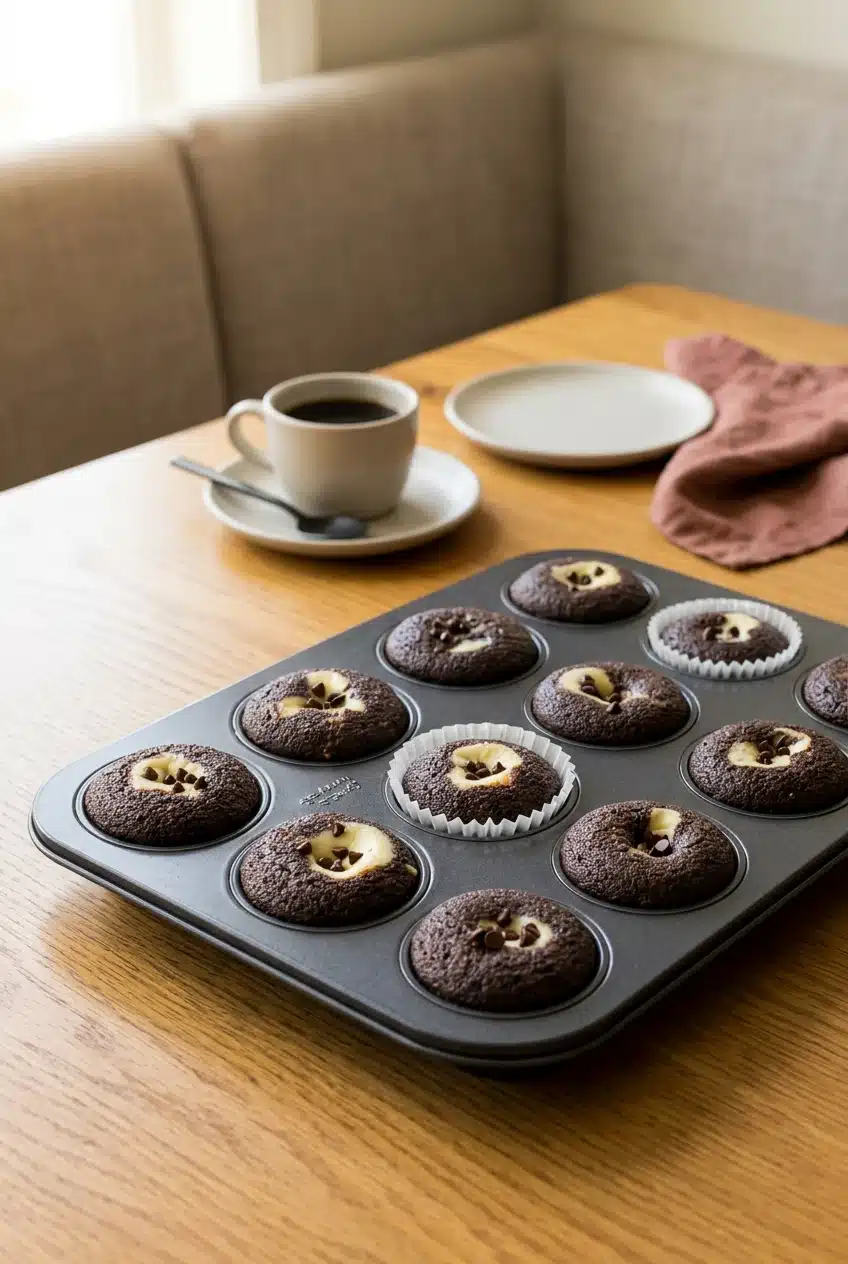
Chilling gives the cupcakes a firmer cheesecake center and a denser, fudgier bite. At cool room temperature, the cake feels softer and the filling less firm.
Pair them with hot coffee, espresso, or cold milk. Their unfrosted tops suit potluck platters, picnic desserts, gift presentations, and holiday trays, while leftovers still belong in the refrigerator.
For a fruit-and-chocolate assortment, pair them with peach cream cheese cupcakes.
How to Cool and Refrigerate
Cooling is part of the texture-building process. The initial rest in the pan lets the cupcakes settle before you transfer them to racks.
Follow the complete cooling sequence in the method, and refrigerate leftovers. Chilling firms the cream cheese center, so expect refrigerated cupcakes to feel different from those served at cool room temperature.
Final Thoughts
These cupcakes bring dark cocoa cake and creamy cheesecake together without needing frosting. Smooth filling and careful layering help preserve that distinctive contrast.
Check the chocolate portion for doneness, allow the cupcakes to cool, and refrigerate leftovers. A gently settled center still holds plenty of creamy filling.
Frequently Asked Questions
Why Are They Called Black Bottom Cupcakes?
The name describes the dark chocolate cake on the bottom. The pale cream cheese center creates the contrasting top.
Can You Taste the Coffee and White Vinegar in the Chocolate Batter?
Coffee primarily deepens the cocoa flavor, though its strength can influence the result. Vinegar works with baking soda for lift rather than serving as a sour flavoring.
Why Did My Cream Cheese Filling Sink or Deflate After Baking?
Slight settling after the filling puffs in the oven is normal. A compact dollop may sink more deeply; gentle, broader placement can help keep the topping visible.
What Can I Substitute for Brewed Coffee in Black Bottom Cupcakes?
Plain water is the optional coffee-free alternative. Expect less roasted depth than brewed coffee provides.
Do Black Bottom Cupcakes Need to Be Refrigerated?
Yes, refrigerate leftovers after following the cooling directions. Chilling also gives the filling a firmer texture.
Can I Bake Black Bottom Cupcakes in a Mini Muffin Pan?
Mini versions are an option for bite-sized servings. This recipe provides standard-sized instructions, not a validated mini-pan procedure or baking time.
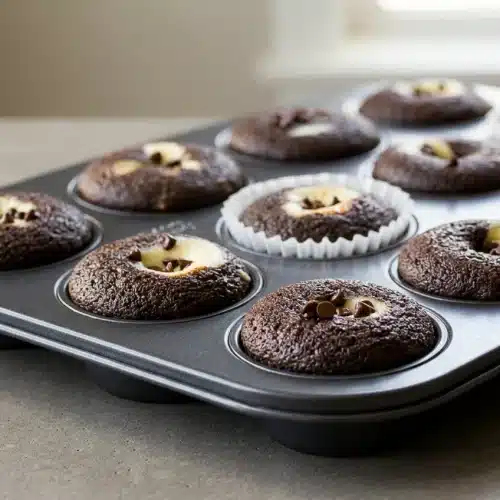
Black Bottom Cupcakes

Equipment
- Hand mixer
- 12-cup standard muffin tin
- Paper cupcake liners
- Mixing Bowls
- Whisk
- Cooling racks
Ingredients
- 8 oz. cream cheese (softened)
- 1/2 cup granulated sugar
- 1/8 tsp. salt
- 1 large egg
- 1/2 tsp. vanilla
- 1 1/2 cups cake flour
- 1 cup granulated sugar
- 1/4 cup unsweetened cocoa powder (sifted)
- 1 tsp. baking soda
- 1/2 tsp. salt
- 1 cup fresh brewed coffee (cooled)
- 1/3 cup vegetable oil
- 1 Tbsp. white vinegar
- 1 tsp. vanilla extract
- mini chocolate chips (for sprinkling, if desired)
Instructions
Cream Cheese Filling
- Beat the cream cheese, sugar, salt, egg, and vanilla in a medium bowl with a hand mixer at medium speed for about 1–2 minutes, then reserve the mixture. Stop when the filling looks smooth throughout, with no remaining lumps.
Cupcakes
- Set the oven to 350°F and fit paper liners into a standard 12-cup muffin tin. Each cavity should have a liner ready to hold the batter and filling.
- Whisk the cake flour, sugar, sifted cocoa, baking soda, and salt in a large bowl, then mix in the cooled coffee, vegetable oil, vinegar, and vanilla extract. The finished batter should look smooth and evenly blended.
- Portion the chocolate batter into the liners to fill each 2/3 full, then place one heaping tablespoon of filling on each and add mini chocolate chips if desired. The pale filling should sit on top of the chocolate batter before baking.
- Bake for 20 minutes, checking the cream cheese center and testing the chocolate portion with a toothpick. The filling should be set, and the toothpick should emerge clean from the cake rather than carrying wet batter.
- Leave the cupcakes in their pans for 10 minutes, then move them to racks to finish cooling and refrigerate any leftovers. Let them cool completely on the racks.