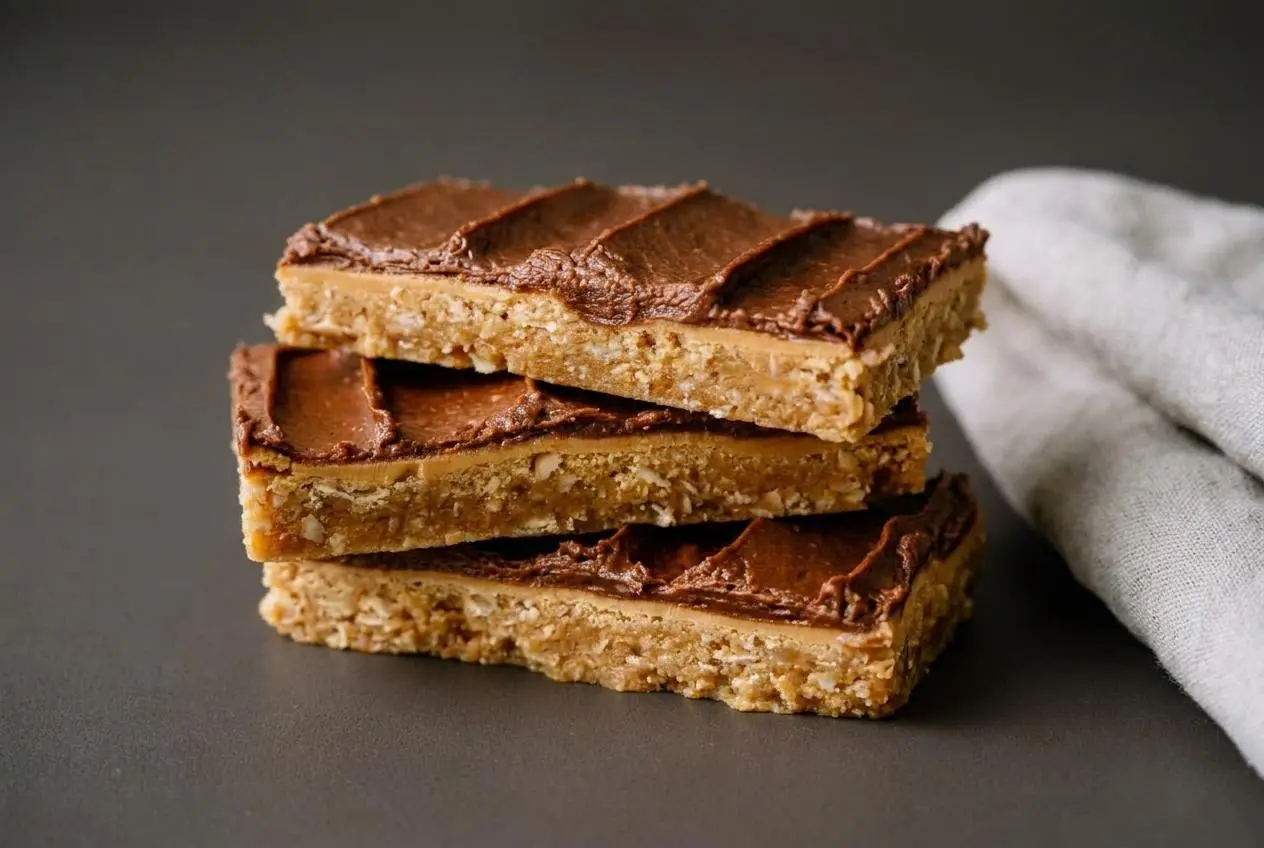
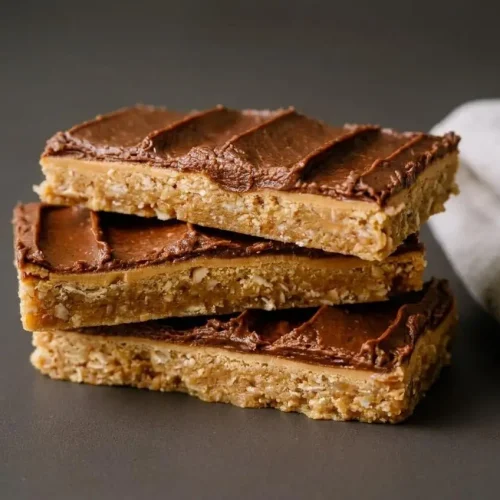
Lunch Lady Peanut Butter Bars are chewy school cafeteria-style oat bars layered with warm melted peanut butter and rich chocolate frosting.
Lunch Lady Peanut Butter Bars bring together a soft peanut butter oat crust, a glossy peanut butter middle, and cocoa buttercream in every square.
Warm peanut butter aromas fill the kitchen while the bars cool, and the waiting is the hardest part. The smooth center layer makes it worth it.
Set the butter and eggs out early so they blend smoothly into the dough instead of leaving little cold lumps behind.
Essential Ingredients for Authentic Lunch Lady Bars
Each ingredient contributes to the bars’ chewy structure, moist crumb, peanut butter richness, and smooth chocolate finish.
Peanut Butter Bars
- 1 cup butter, softened
- 1 cup sugar
- 1 cup brown sugar, firmly packed
- 1 teaspoon vanilla extract
- 2 large eggs
- 2 ½ cups peanut butter, divided
- 2 cups old fashioned oats
- 2 cups flour
- 1 teaspoon baking soda
- 1 teaspoon salt
Frosting
- ½ cup butter, softened
- ¼ cup milk
- 2 teaspoon vanilla
- 4 Tablespoons cocoa powder
- 3 cups powdered sugar
Old fashioned oats give these bars their signature chewy bite and hold up better than quick oats, which can make the crust softer and less distinct. Brown sugar adds moisture and a light caramel flavor, while flour, baking soda, and salt keep the dough structured enough to spread across the pan.
Choose a standard creamy peanut butter for both layers. It blends evenly into the dough and softens into a smooth middle layer. Natural peanut butter that separates can leave the crust greasy or crumbly, especially when its oil is stirred into the batter.
The frosting relies on butter for body, milk for spreadability, cocoa for deep chocolate flavor, and powdered sugar for a silky finish. Beat it until it looks smooth and even, with no dry pockets of sugar or cocoa.
I bring the butter and eggs to room temperature early because the creamed mixture becomes lighter and the baked crust stays more evenly tender.
Step-by-Step Instructions for Lunch Lady Peanut Butter Bars
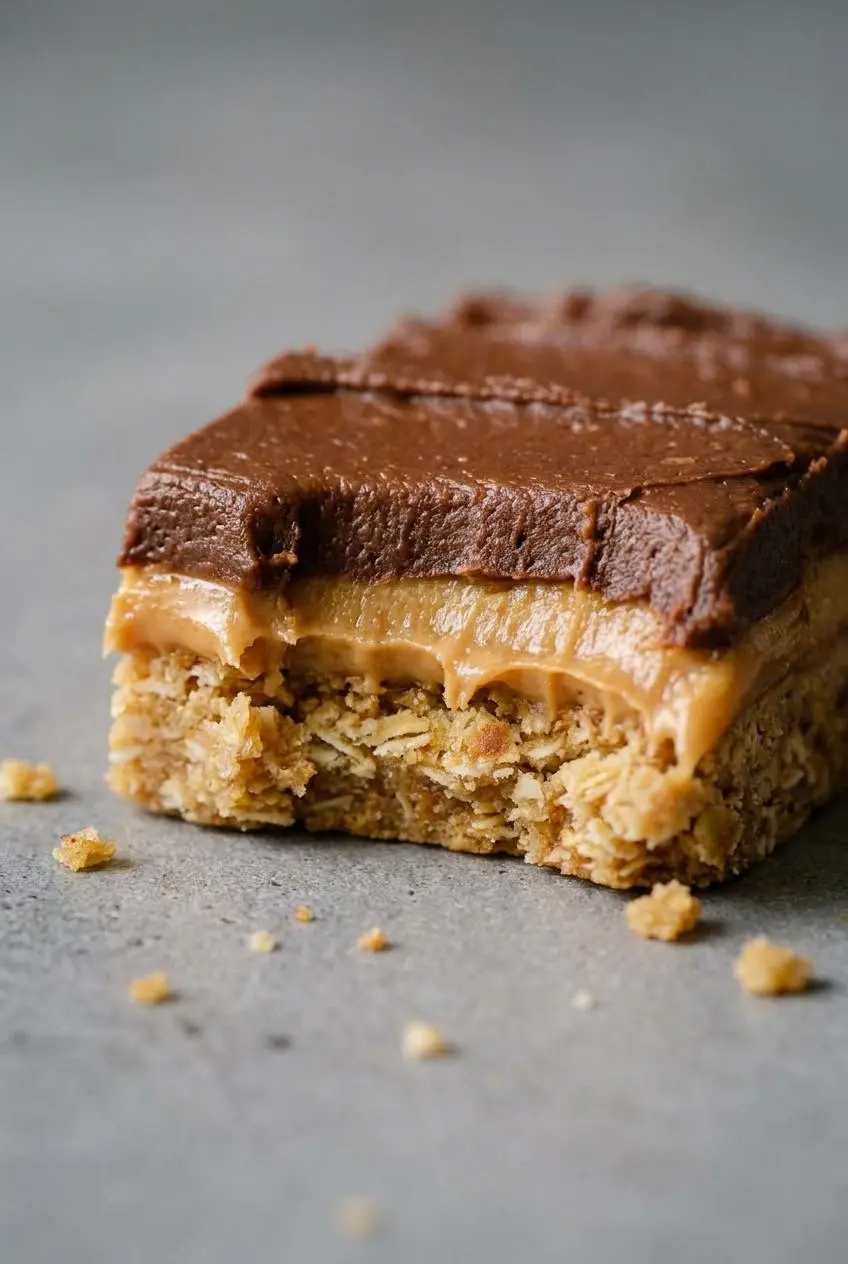
The key is treating this as three distinct layers: a briefly baked oat crust, softened peanut butter, and frosting added only after the bars have fully cooled.
- Heat the oven to 350°F.
Have the half sheet jelly roll pan, approximately 17.8 x 12.8 x 1 inch, ready before mixing so the dough can go straight into the oven. - Beat the softened butter, sugar, and firmly packed brown sugar in a large bowl until pale and fluffy.
The mixture should look lighter in color and lose its grainy, heavy appearance. - Mix in the vanilla extract, eggs, and 1 cup of the peanut butter until fully blended.
Stop when the batter looks creamy and uniform, without streaks of egg or peanut butter. - Add the oats, flour, baking soda, and salt, then mix until the dough comes together.
The finished dough will be thick and scoopable, with oats distributed throughout. - Coat the baking sheet with nonstick cooking spray and press the dough into an even layer from edge to edge.
Level thickness matters because thin spots can brown too quickly while thicker areas remain underbaked. - Bake for 15 minutes, then take the pan out of the oven.
Look for pale golden edges while the center still feels slightly soft, which keeps the bars chewy after cooling. - Scatter the remaining peanut butter, about 1 ½ cups, over the warm crust in very small spoonfuls.
Let it sit for about 5 to 6 minutes until it softens and develops an even glossy sheen. - Gently spread the softened peanut butter across the crust.
Do not force thick peanut butter across the hot base, since it can pull up pieces of the tender crust. - Let the bars cool completely until the peanut butter layer has set.
The surface should no longer look loose or runny before the frosting goes on. - Beat the frosting ingredients with a hand mixer until smooth, then spread the frosting over the cooled bars.
A fully cooled peanut butter layer keeps the chocolate buttercream thick, neat, and in place. - Cut the pan into bars and serve.
For a softer bite, serve at room temperature; chilling creates a firmer peanut butter and frosting layer.
For a full pan, cut 24 generous squares for a dessert tray or 48 smaller rectangles when serving a crowd. The bars are rich, so smaller portions still deliver plenty of chocolate and peanut butter flavor.
Pan Size Conversions and Slicing Techniques
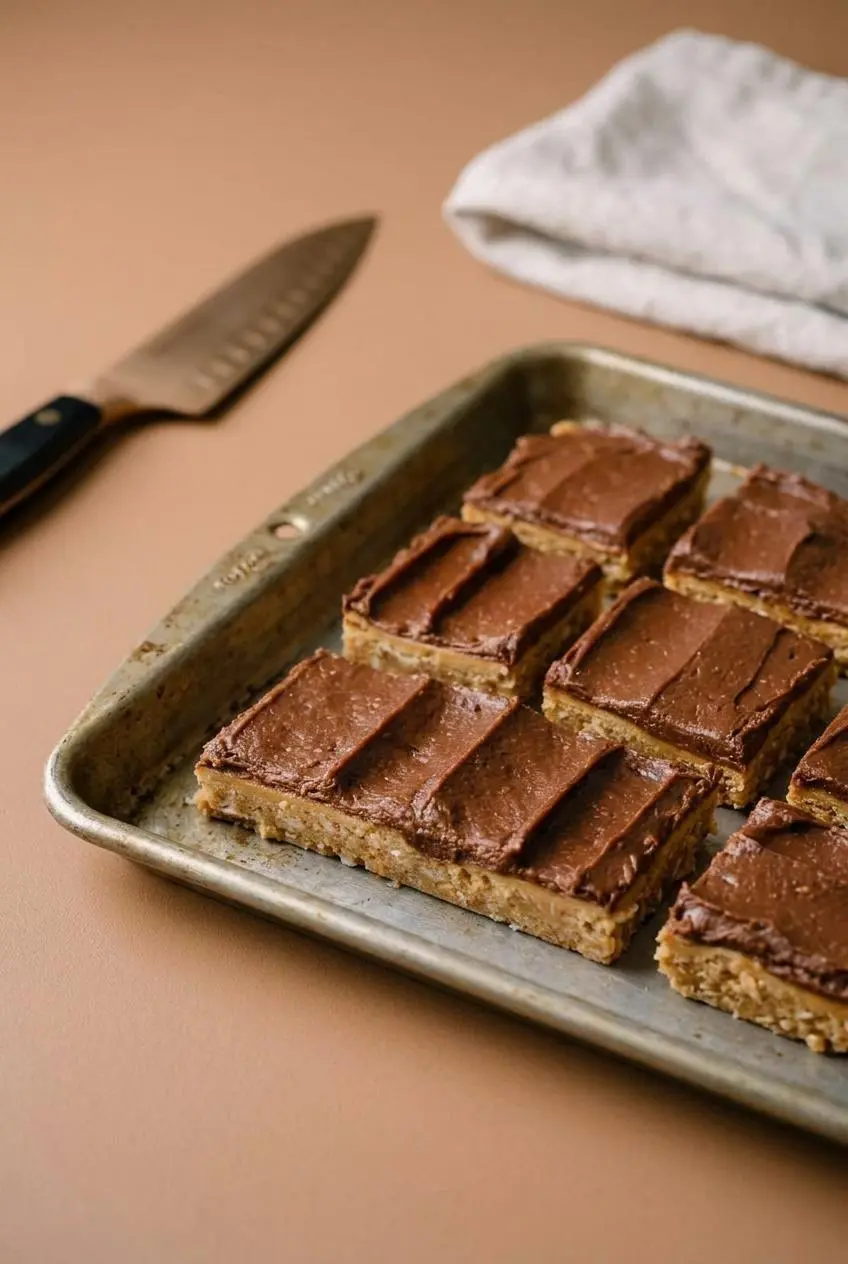
A standard 9×13-inch pan works well when a half sheet pan is not available. Use half of every ingredient amount, spread the dough evenly in a greased 9×13-inch pan, and bake at 350°F for 18 to 20 minutes.
The deeper 9×13-inch pan produces thicker bars than the full sheet version, so watch the edges instead of relying on color alone. Remove the pan once the edges are lightly golden and the center remains soft. A thick center should still feel set rather than wet.
For clean cuts, let the frosting firm up before slicing. Dip a sharp chef’s knife in hot water, dry it completely, then make one confident straight cut. Wipe the blade clean, warm and dry it again, and repeat between cuts. A dry, dull knife tends to drag the frosting and crack the chocolate layer.
If you enjoy neat, dense sheet-pan desserts with chocolate and peanut butter, these chewy peanut butter brownies are another satisfying option for square-by-square serving.
- Crust seems dry: It likely baked past the pale-golden stage. Pull the pan when the center is still slightly soft.
- Peanut butter tears the crust: It has not softened enough. Wait until it loosens and shines before spreading.
- Frosting slides around: The peanut butter layer is still warm. Let the pan cool completely before frosting.
- Chocolate top cracks: The knife is too cool or sticky. Rewarm and dry the blade between every cut.
Recipe Variations and Dietary Swaps
The classic baked oat version has its own chewy, cafeteria-style character, but a few optional changes can suit different schedules or dietary needs without changing the main method above.
Quick No-Bake Graham Cracker Variation
For a no-bake alternative, make a pressed crust with crushed graham cracker crumbs, melted butter, powdered sugar, and peanut butter, then chill it until firm before adding a chocolate topping. This version skips the oven and has a denser, more crumbly texture than the baked oat crust.
The baked version stays the better choice when you want the classic soft-chewy contrast between oats and peanut butter. For another nostalgic chocolate school-dessert idea, try lunch lady brownies.
Gluten-Free and Allergy-Friendly Swaps
Use a 1-to-1 gluten-free baking flour replacement and certified gluten-free old fashioned oats for a gluten-free adaptation. The bars should retain their chewy texture, though flour blends can vary slightly in how firmly they set.
For a nut-free school setting, sunflower seed butter can replace peanut butter. Expect a different flavor and color, especially in the baked crust, but keep the same layered approach: bake the base, allow the spread to soften over the warm crust, then frost after cooling.
Storage and Serving Texture
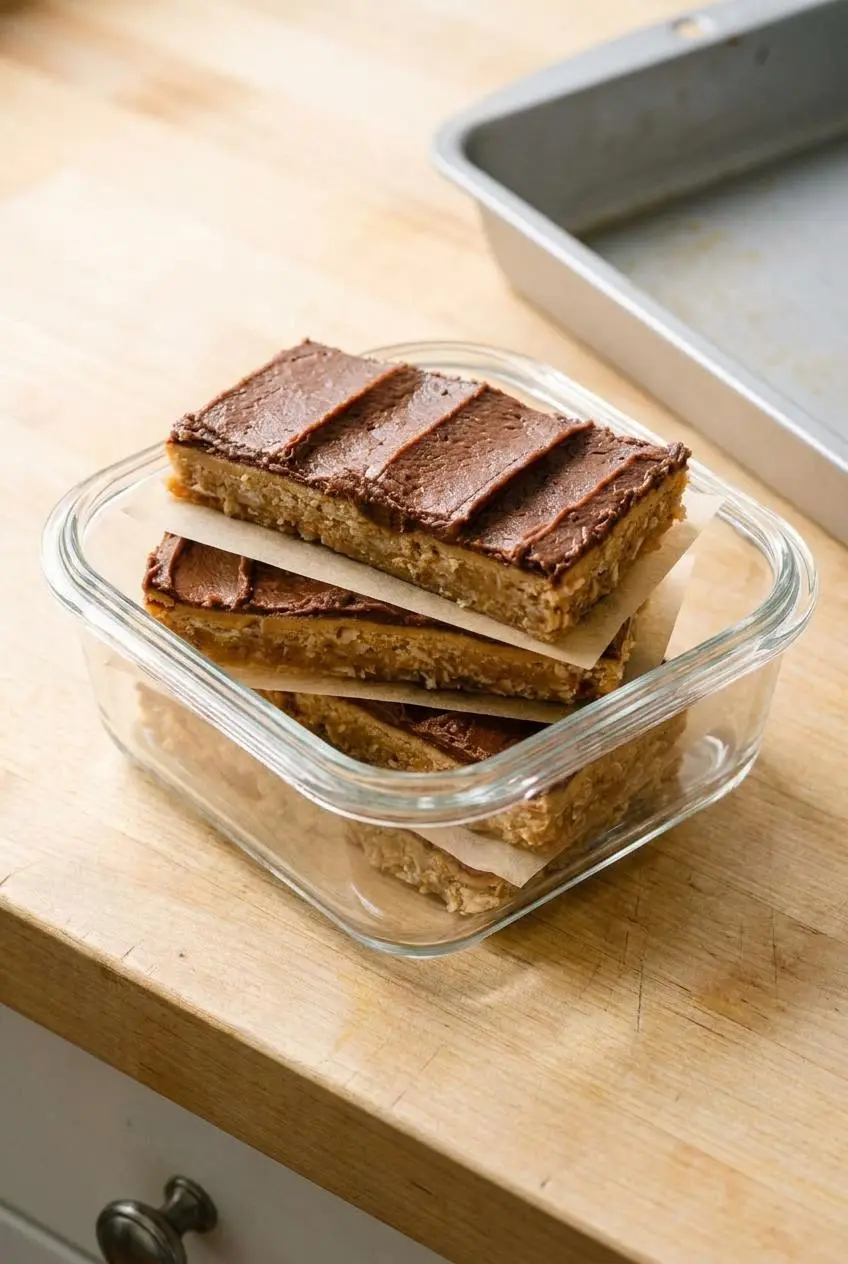
Once fully cooled, keep the bars in an airtight container to protect the oat crust from drying out and the frosting from picking up stray odors. Keep the layers in a single arrangement when the frosting is soft, rather than pressing bars directly on top of one another.
Refrigeration firms the peanut butter and chocolate layers, which is useful when you want especially tidy cuts. Let chilled bars stand briefly at room temperature before serving if you prefer a softer, chewier texture.
If preparing for a party or bake sale, make and cut the bars after the frosting has settled. Place parchment between layers only once the frosting feels firm enough that it will not smear.
Conclusion
These bars hit the classic balance of chewy oats, melted peanut butter, and rich chocolate frosting.
Take your time with the cooling step, then enjoy clean, generous squares with every layer intact.
Frequently Asked Questions
Why Are They Called Lunch Lady Peanut Butter Bars?
They are named for the peanut butter oat dessert squares long associated with public school cafeteria cooks. Large sheet pans made it practical to serve thick, satisfying bars to generations of students.
Do Lunch Lady Peanut Butter Bars Need to Be Refrigerated?
No. Keep completely cooled bars covered in an airtight container. Refrigeration is optional, but it firms the frosting and peanut butter layer for cleaner slicing.
Can I Make This Recipe in a 9×13 Pan Instead of a Half Sheet Pan?
Yes. Halve every ingredient amount and use a greased 9×13-inch baking pan. Bake at 350°F for 18 to 20 minutes, watching for lightly golden edges and a soft but set center.
How Do I Cut Peanut Butter Bars Cleanly Without Cracking the Chocolate Frosting?
Use a sharp chef’s knife warmed in hot water and dried completely. Make one firm cut, wipe the blade clean, then rewarm and dry it before the next cut. This keeps the frosting from dragging and splitting.
Lunch Lady Peanut Butter Bars

Equipment
- Mixing Bowl (Large)
- Sheet Pan (Quarter)
- Non-stick Cooking Spray
- Mixer (Hand)
- Mixing Bowl
Ingredients
Peanut Butter Bars
- 1 cup butter softened
- 1 cup sugar
- 1 cup brown sugar firmly packed
- 1 teaspoon vanilla extract
- 2 large eggs
- 2 ½ cups peanut butter divided
- 2 cups old fashioned oats
- 2 cups flour
- 1 teaspoon baking soda
- 1 teaspoon salt
Frosting
- ½ cup butter softened
- ¼ cup milk
- 2 teaspoon vanilla
- 4 Tablespoons cocoa powder
- 3 cups powdered sugar
Instructions
- Heat the oven to 350°F. Have the half sheet jelly roll pan, approximately 17.8 x 12.8 x 1 inch, ready before mixing so the dough can go straight into the oven.
- Beat the softened butter, sugar, and firmly packed brown sugar in a large bowl until pale and fluffy. The mixture should look lighter in color and lose its grainy, heavy appearance.
- Mix in the vanilla extract, eggs, and 1 cup of the peanut butter until fully blended. Stop when the batter looks creamy and uniform, without streaks of egg or peanut butter.
- Add the oats, flour, baking soda, and salt, then mix until the dough comes together. The finished dough will be thick and scoopable, with oats distributed throughout.
- Coat the baking sheet with nonstick cooking spray and press the dough into an even layer from edge to edge. Level thickness matters because thin spots can brown too quickly while thicker areas remain underbaked.
- Bake for 15 minutes, then take the pan out of the oven. Look for pale golden edges while the center still feels slightly soft, which keeps the bars chewy after cooling.
- Scatter the remaining peanut butter, about 1 ½ cups, over the warm crust in very small spoonfuls. Let it sit for about 5 to 6 minutes until it softens and develops an even glossy sheen.
- Gently spread the softened peanut butter across the crust. Do not force thick peanut butter across the hot base, since it can pull up pieces of the tender crust.
- Let the bars cool completely until the peanut butter layer has set. The surface should no longer look loose or runny before the frosting goes on.
- Beat the frosting ingredients with a hand mixer until smooth, then spread the frosting over the cooled bars. A fully cooled peanut butter layer keeps the chocolate buttercream thick, neat, and in place.
- Cut the pan into bars and serve. For a softer bite, serve at room temperature; chilling creates a firmer peanut butter and frosting layer.