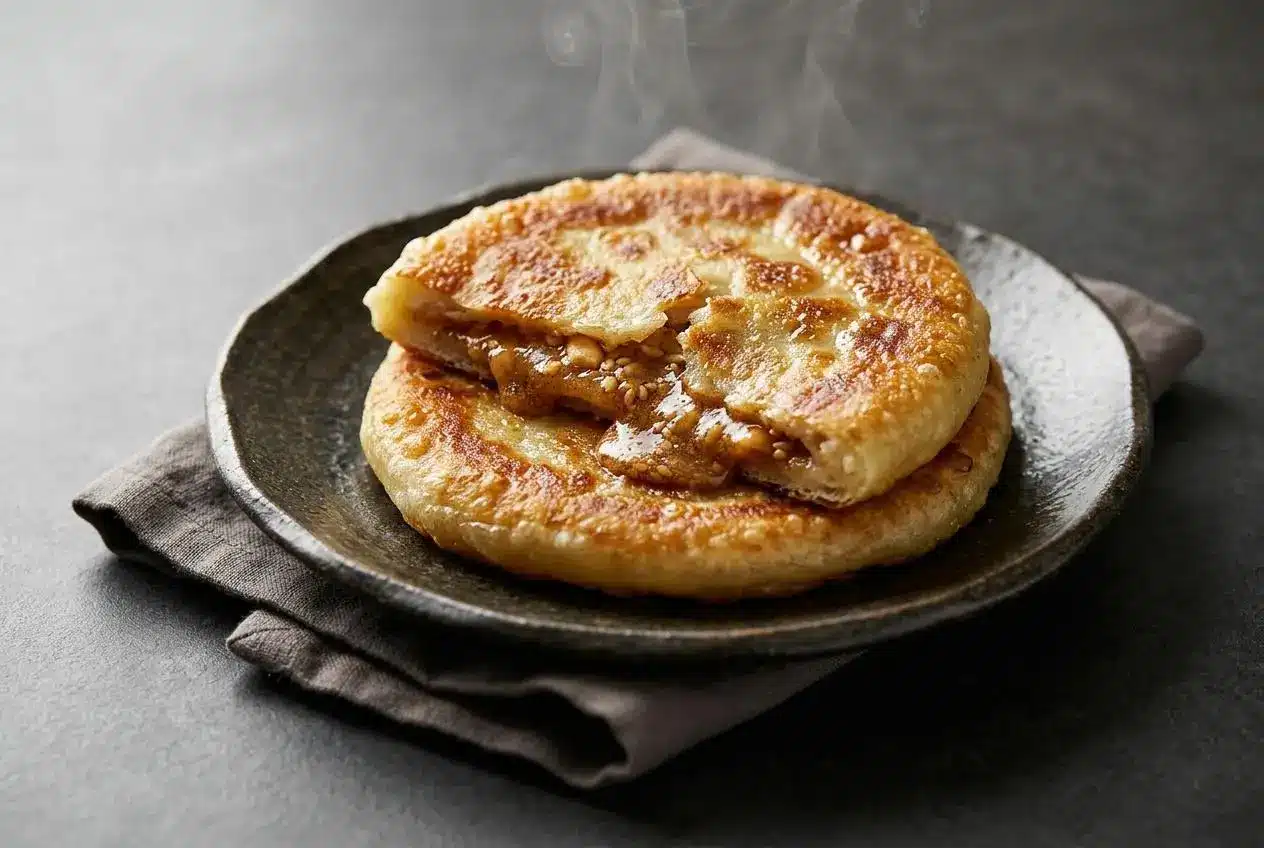
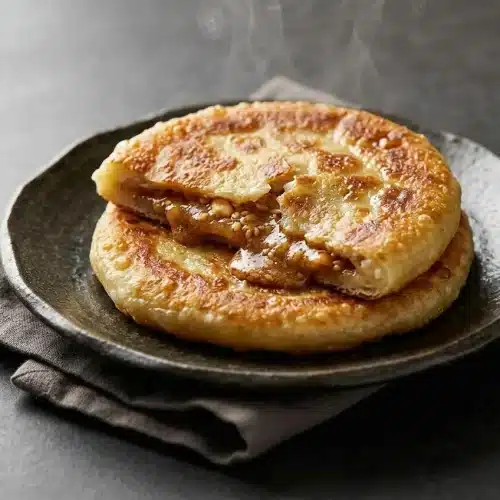
This hotteok recipe makes Korean sweet pancakes with a crisp golden crust, a chewy interior, and molten cinnamon-peanut syrup. Mix a no-knead yeast dough with wheat and sweet rice flours, let it rise, then fill, seal, and pan-fry until golden.
Hotteok is a stuffed pancake, not a pourable batter pancake. The dough feels sticky and stretchy, while the filling starts dry and melts as it cooks. Roasted sesame seeds and peanuts add a toasted flavor that balances the sweet cinnamon center.
You don’t need a special press or a mixer to make these at home. A wooden spoon handles the dough, and an oiled spatula handles the flattening. The recipe makes about 10 hotteoks, with a warm rise or refrigerator proof to fit your schedule. The crisp edges are worth the wait.
Set a small dish of neutral oil beside your shaping area so you can recoat your palms without reaching across the hot skillet.
Essential Ingredients and Why Each Matters
Wheat flour gives the dough structure, sweet rice flour adds chew, and yeast provides lift. Sugar, cinnamon, peanuts, and sesame create a fragrant, textured filling, while neutral oil helps the pancakes develop their golden crust.
DOUGH
- 1 ⅓ cup warm water (310g)
- 2 tablespoons sugar (25g)
- 2 teaspoons dry active yeast or instant yeast (6g)
- 1 tablespoon neutral oil (12g)
- 2 teaspoons salt (8g)
- 2 ½ cups all purpose flour (360g)
- ½ cup sweet rice flour or mochiko or glutinous rice flour (82g)
FILLING
- ¼ cup roasted sesame seeds (35g)
- ¼ cup roasted peanuts (35g)
- 1 cup organic cane sugar (170g)
- 2 teaspoons cinnamon (4g)
- pinch of salt
FRYING
- neutral oil (grapeseed, vegetable, canola, etc)
For the Chewy Yeasted Dough
Sweet rice flour, also labeled mochiko or glutinous rice flour, creates the mochi-like chew. Regular rice flour behaves differently and isn’t a direct substitute; it can leave the dough less elastic and the crust more brittle. The wheat flour supplies the structure needed to stretch the dough around its filling.
Use warm rather than hot water, and check your yeast package for its recommended mixing temperature. Foam tells you the yeast is active. Expect a wet, tacky dough after mixing, not a smooth ball that clears the bowl.
For the Molten Cinnamon-Nut Filling
Finely crushed peanuts and sesame seeds help hold the melted sugar in a thicker, textured center. Large nut pieces make sealing harder and can puncture the dough. Aim for loose crumbs rather than nut butter.
Cane sugar gives the filling a clean sweetness; brown sugar is an optional swap for a deeper molasses flavor. You can also omit the peanuts and sesame for plain cinnamon sugar. Skip the added filling salt when your roasted nuts or seeds are already salted.
I check that the rice flour package specifically says “sweet” or “glutinous” before mixing, because regular rice flour won’t give the same stretchy chew.
How to Make Crispy Korean Hotteok Step by Step
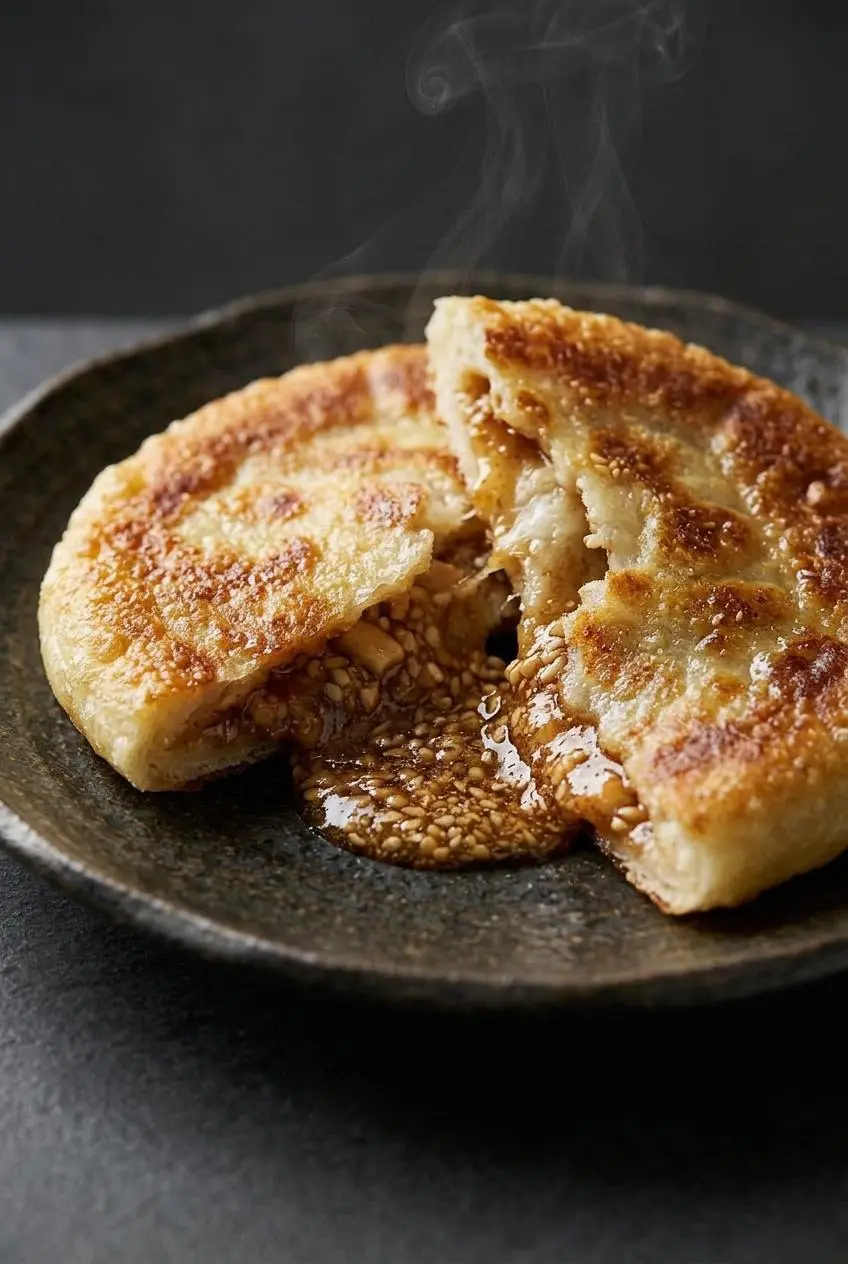
Plan for about 3 hours of rising, or use the overnight refrigerator proof. Keep the dough sticky and give each pancake room to spread in the skillet.
- Stir the sugar and yeast into the warm water in a large liquid measuring cup, then wait about 5 minutes.
A foamy layer on top signals yeast activity. - Distribute the sweet rice flour evenly through the all purpose flour in a large mixing bowl.
The dry mixture should look uniform before any liquid goes in. - Whisk the oil and salt into the yeast liquid, stir it into the flours with a wooden spoon, then cover with plastic wrap and let rise somewhere warm for about 3 hours or overnight in the refrigerator.
The mixed dough should feel sticky and stretchy rather than firm enough to knead. - Reduce the roasted peanuts and sesame seeds to fine crumbs using a food processor, mortar and pestle, or a sealed zip-top bag and heavy pan.
Stop while the mixture remains loose and crumbly, before it becomes a paste. - Combine the crumbs with the filling sugar, cinnamon, and salt, leaving out the salt if the nuts or seeds are salted.
The finished filling should have evenly distributed cinnamon and no large, sharp nut pieces. - Pour enough neutral oil into a skillet to generously cover its bottom and heat over medium-high.
A filled dough ball should sizzle on contact without immediately darkening. - Oil both palms generously, spread about 3 oz of dough across one palm, add 2 tablespoons of filling, and gather and pinch the edges closed.
The filling should be fully enclosed, with no open seam or exposed sugar. - Set the sealed dough seam-side down in the skillet, leave it undisturbed for about 30 seconds, then flatten with an oiled press or spatula and fry for another 1–2 minutes.
The underside should turn crisp and golden, with enough space around each pancake to expand when pressed. - Turn the pancake carefully and continue frying until the second side develops a crisp golden crust.
Both surfaces should have similar coloring rather than pale patches or scorched spots. - Lift the cooked pancake onto a cooling rack or a paper towel-lined plate, then continue shaping and frying the remaining dough in batches of about 2–3 as your skillet allows.
The exterior should remain crisp as excess oil drains away.
Mixing and Proofing the No-Knead Dough
The wooden spoon does the mixing; extra flour isn’t the solution to stickiness. Choose the warm rise for same-day frying or the cold proof to do the mixing the evening before.
Preparing the Crushed Nut and Sugar Filling
Check the crumbs before adding sugar. Break down any stubborn peanut chunks so they won’t poke through the soft dough during shaping.
Oiling Hands, Stuffing, and Sealing the Seam
Cup your palm to support the dough and keep filling away from the edges. Gather the dough snugly around the filling without trapping a large air pocket.
Pan-Frying and Pressing Until Golden and Crispy
The initial sear helps the seam and bottom surface set before flattening. Press steadily into an even disc rather than forcing the pancake paper-thin.
Expert Tips and Troubleshooting Common Mistakes
Most hotteok problems come from sticky handling, an imperfect seal, or a pan that runs too hot. Adjust those before changing the dough.
- Dough sticks to your fingers: Recoat your palms with neutral oil. Dusting with flour changes the dough’s surface and can make it harder to stretch and seal. Keep the dough supported in your palm rather than trying to roll it on a counter.
- Sugar leaks from the seam: Keep crumbs off the sealing edges and pinch the opening completely closed. Don’t add extra filling just because it looks like it might fit. The dough needs enough room to wrap around the center without thinning.
- The pancake tears during pressing: Give the underside its initial sear and oil the pressing surface. If the spatula catches, release it gently instead of pulling upward and lifting the crust away from the filling.
- The outside browns before the center melts: Lower the heat toward medium. Medium-high is the starting point, but skillets and burners vary. Look for steady sizzling and gradual golden coloring, not smoke or rapid dark spots.
- No hotteok press: Use a flat metal burger smasher or a wide, solid spatula. A sturdy, flat-bottomed metal measuring cup can also work if it keeps your hand clear of the oil. Oil the bottom and press straight down without scraping sideways.
- The crust softens after cooking: Drain pancakes on a rack and avoid stacking them while warm. Trapped steam works against that freshly fried crispness, so cook manageable batches and serve them promptly.
Delicious Sweet and Savory Hotteok Variations
Keep these fillings optional and separate from the cinnamon-peanut version. Wet or bulky fillings need particular care because they make the soft dough harder to seal.
Savory Street Food Fillings (Cheese & Japchae)
Shredded mozzarella and chopped scallions make a stretchy, savory center. Keep the cheese gathered in the middle so stray shreds don’t interfere with the seam.
For japchae hotteok, use cooked glass noodles tossed with vegetables and sesame oil. Cut long noodles into manageable pieces and avoid excess liquid. A compact filling is easier to enclose than a loose mound with noodles trailing over the edges.
Modern Sweet Fillings and Nut-Free Swaps
- Plain cinnamon sugar: Omit the peanuts and sesame seeds for a smooth syrupy center; for allergy needs, check ingredient labels and avoid cross-contact.
- Nutella: Use the chocolate-hazelnut spread as an alternative filling, keeping it clear of the dough’s sealing edges.
- Honey and walnuts: Finely chop the walnuts and use a restrained amount of honey so the filling doesn’t run during shaping.
- Seed-filled ssiat-style hotteok: Choose a seed-heavy filling for extra toasted flavor and crunch.
- Orange or vanilla: Add a little finely grated orange zest or vanilla extract to the cinnamon-sugar mixture for a warmer, more fragrant center.
Yeasted Dough vs Quick No-Yeast Dough
Quick, baking-soda-based versions skip fermentation and produce a different texture. They can satisfy a craving for a filled pancake, but they aren’t a direct yeast substitution in this dough.
Likewise, homemade pancake mix makes pourable breakfast batter, not dough designed to enclose filling. Choose this wheat-and-mochiko yeast dough when you want the characteristic stretchy chew and oil-crisped exterior.
What to Serve with Korean Sweet Pancakes
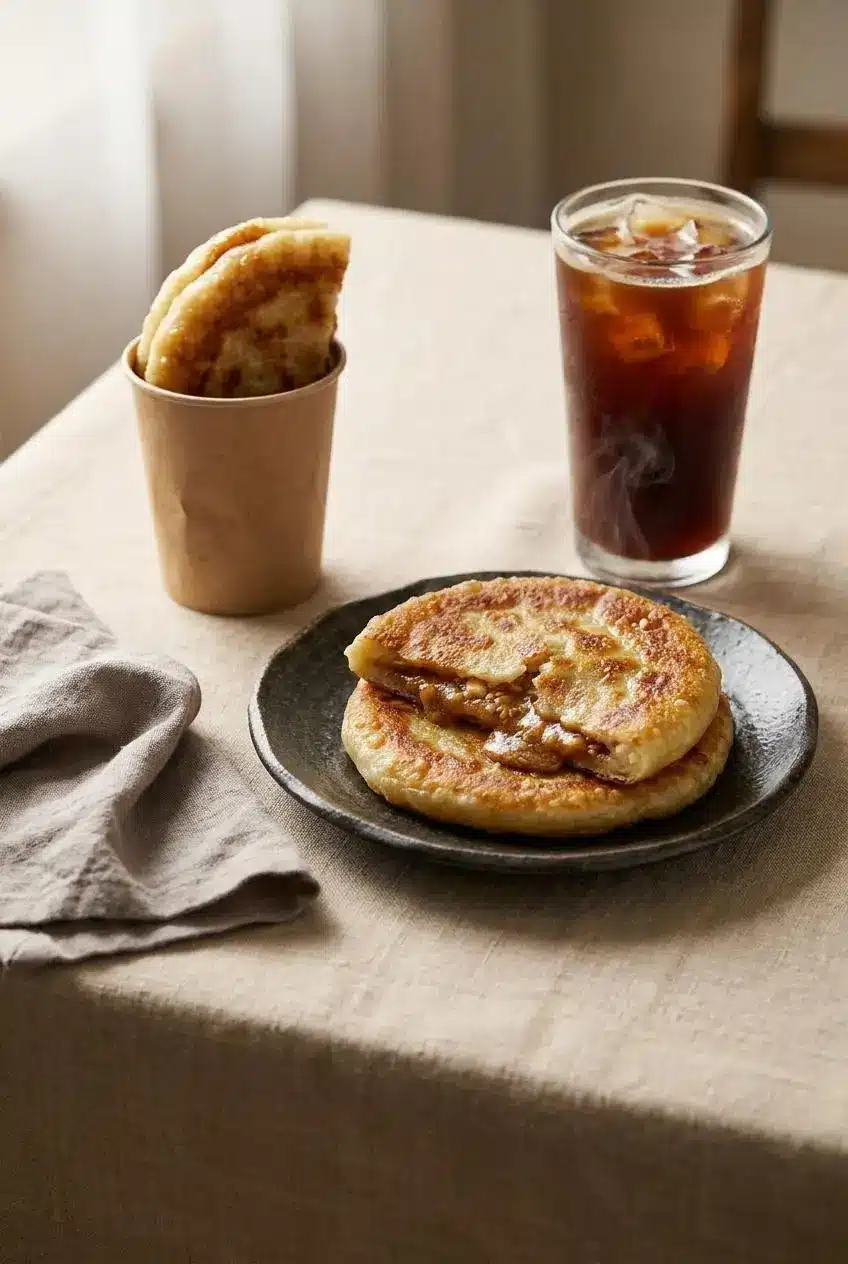
Serve hotteok warm, but let the center cool before biting. Molten sugar can stay very hot after the crust feels comfortable to touch.
For street-style serving, tuck a pancake into a paper cup or parchment sleeve to catch syrupy drips. Barley tea, roasted corn tea, or a bitter iced Americano balances the sweetness without competing with the cinnamon.
For a plated dessert, halve a slightly cooled pancake and add vanilla ice cream. With the plain cinnamon-sugar variation, a spoonful of homemade peach jam adds a fruity contrast. Keep toppings restrained so the crisp crust and warm filling remain the main attraction.
Make-Ahead, Storage, and Reheating Guide
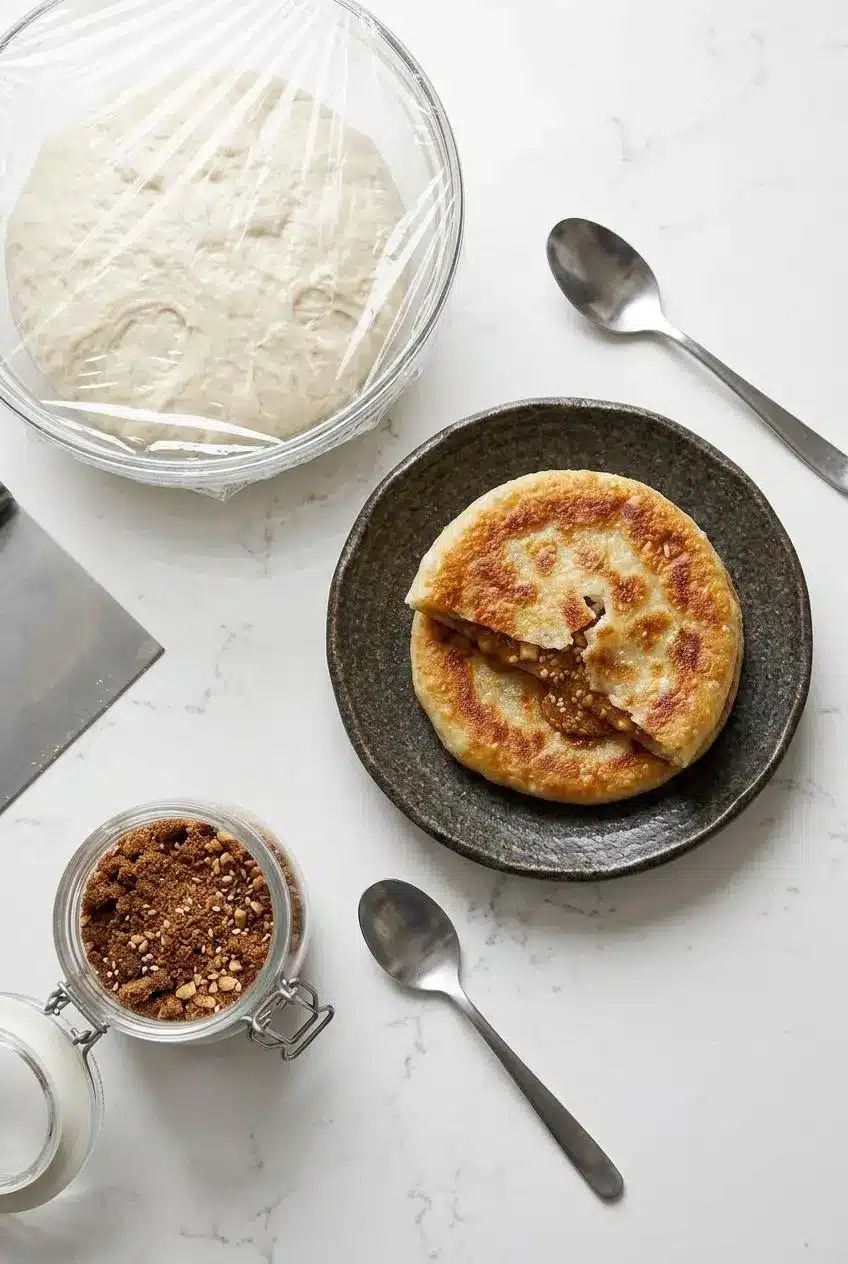
The overnight refrigerator proof lets you mix the dough ahead and save shaping for when you’re ready to fry. Keep the bowl covered so the exposed surface doesn’t dry out.
Store unused dough covered in the refrigerator and keep the dry filling in a separate, tightly closed container away from moisture. Use clean utensils for both, and keep oily or wet hands out of the filling container. Shape only what you plan to cook rather than storing filled, uncooked pancakes.
For cooked leftovers, let excess steam escape before placing them in a covered container in the refrigerator. Reheat in a skillet over moderate heat, turning as needed until warmed through and crisp again. Avoid pressing hard during reheating, which can squeeze filling through a weak spot.
A microwave won’t restore the fried crust and can heat the syrup unevenly. Whichever approach you use, check the center cautiously before eating rather than judging its temperature by the outside.
Conclusion
Crispy edges, chewy dough, and a warm cinnamon center make homemade hotteok worth a little shaping practice. Oiled palms and a brief seam-side sear before pressing do much of the work.
Start with the peanut-sesame filling, then try a little orange zest when you want a different aroma. Fry manageable batches, give the syrup time to cool, and enjoy the contrast while the crust is crisp.
Frequently Asked Questions
What Are the Ingredients in Hotteok?
The dough uses all purpose flour, sweet glutinous rice flour, water, yeast, sugar, salt, and neutral oil. The filling combines sugar, cinnamon, roasted peanuts, sesame seeds, and a pinch of salt.
What Is the Difference Between Hotteok and a Regular Pancake?
Typical American pancakes start with pourable batter cooked on a griddle. Hotteok starts with sticky yeasted dough that you stuff, seal, and press flat in an oiled skillet.
Is Hotteok Korean or Chinese?
Hotteok is a Korean street food. Its roots trace to Chinese-style filled breads, which evolved in Korea into the familiar sweet, syrup-filled pancake.
Can I Make Hotteok Without a Hotteok Press?
Yes, use an oiled burger smasher, wide solid spatula, or sturdy flat-bottomed metal measuring cup. Let the seam-side surface set before pressing, and keep your hand clear of the hot oil.
Can I Make Hotteok Dough Ahead of Time?
Yes, use the overnight refrigerator proof instead of the warm rise. Keep the dough covered and chilled, with the dry filling stored separately until shaping.
Hotteok Recipe

Equipment
- large liquid measuring cup
- Wooden Spoon
- Food processor
- Mortar and pestle
- hotteok press
- Spatula
- Cooling Rack
Ingredients
DOUGH
- 1 ⅓ cup warm water (310g)
- 2 tablespoons sugar (25g)
- 2 teaspoons dry active yeast or instant yeast (6g)
- 1 tablespoon neutral oil (12g)
- 2 teaspoons salt (8g)
- 2 ½ cups all purpose flour (360g)
- ½ cup sweet rice flour or mochiko or glutinous rice flour (82g)
FILLING
- ¼ cup roasted sesame seeds (35g)
- ¼ cup roasted peanuts (35g)
- 1 cup organic cane sugar (170g)
- 2 teaspoons cinnamon (4g)
- pinch of salt
FRYING
- neutral oil (grapeseed, vegetable, canola, etc)
Instructions
- Stir the sugar and yeast into the warm water in a large liquid measuring cup, then wait about 5 minutes. A foamy layer on top signals yeast activity.
- Distribute the sweet rice flour evenly through the all purpose flour in a large mixing bowl. The dry mixture should look uniform before any liquid goes in.
- Whisk the oil and salt into the yeast liquid, stir it into the flours with a wooden spoon, then cover with plastic wrap and let rise somewhere warm for about 3 hours or overnight in the refrigerator. The mixed dough should feel sticky and stretchy rather than firm enough to knead.
- Reduce the roasted peanuts and sesame seeds to fine crumbs using a food processor, mortar and pestle, or a sealed zip-top bag and heavy pan. Stop while the mixture remains loose and crumbly, before it becomes a paste.
- Combine the crumbs with the filling sugar, cinnamon, and salt, leaving out the salt if the nuts or seeds are salted. The finished filling should have evenly distributed cinnamon and no large, sharp nut pieces.
- Pour enough neutral oil into a skillet to generously cover its bottom and heat over medium-high. A filled dough ball should sizzle on contact without immediately darkening.
- Oil both palms generously, spread about 3 oz of dough across one palm, add 2 tablespoons of filling, and gather and pinch the edges closed. The filling should be fully enclosed, with no open seam or exposed sugar.
- Set the sealed dough seam-side down in the skillet, leave it undisturbed for about 30 seconds, then flatten with an oiled press or spatula and fry for another 1–2 minutes. The underside should turn crisp and golden, with enough space around each pancake to expand when pressed.
- Turn the pancake carefully and continue frying until the second side develops a crisp golden crust. Both surfaces should have similar coloring rather than pale patches or scorched spots.
- Lift the cooked pancake onto a cooling rack or a paper towel-lined plate, then continue shaping and frying the remaining dough in batches of about 2–3 as your skillet allows. The exterior should remain crisp as excess oil drains away.