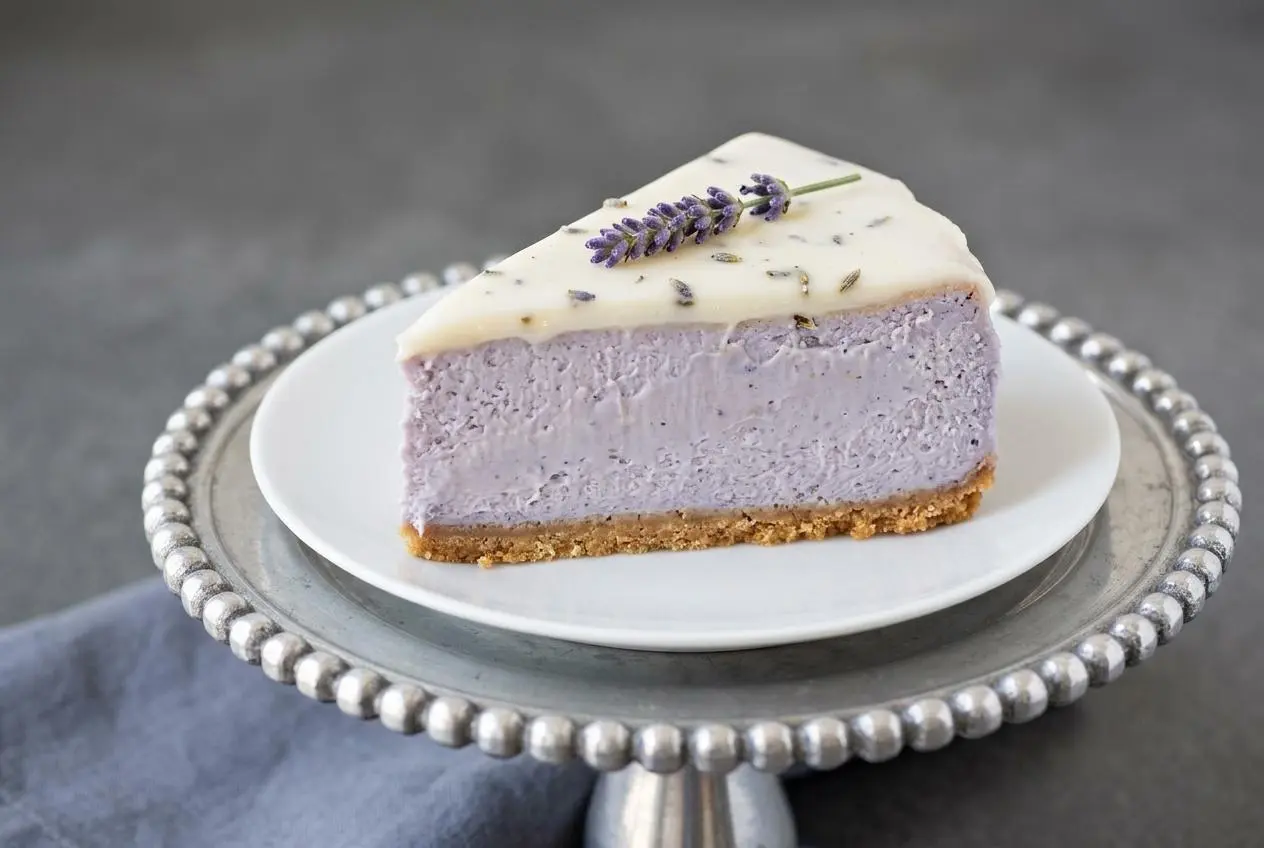
For the best balance of honey and lavender, use room-temperature dairy, keep the lavender subtle, and bake the cheesecake in a foil-wrapped water bath at 325 degrees for a smooth center and a cleaner, crack-resistant finish.
Honey Lavender Cheesecake is a baked, creamy dessert with gentle floral notes, mellow sweetness, and a soft tang from sour cream. It tastes elegant, but the method is very manageable once you know what to watch for.
The biggest wins come from using the right lavender, mixing the eggs in slowly, and cooling the cake gradually so the top stays smooth. That warm honey-lavender aroma is worth a pause.
Set the cream cheese, eggs, and sour cream out early so the filling blends silky instead of stubbornly lumpy.
Understanding Culinary Lavender vs Decorative Lavender
This section matters because lavender can make dessert taste beautiful or make it taste like soap. The difference starts with the variety and how it is meant to be used.
For baking, use culinary English lavender, usually labeled Lavandula angustifolia. It has a softer, sweeter profile that works with cream cheese, honey, and vanilla. Decorative lavender or strongly perfumed French varieties often lean sharp, camphor-like, and bitter, which can overwhelm a delicate cheesecake fast.
Lavender extract and dried buds do different jobs, too. Extract gives even flavor throughout the batter and is easy to control. Steeped buds create a rounder floral aroma, but they need a gentle hand or the honey can smell much stronger than the final cheesecake will taste.
I always buy lavender that clearly says culinary or food-grade on the label. If the package looks like it belongs in a craft drawer instead of a spice shelf, I leave it there.
Buy dried culinary buds from specialty spice shops, good herb stores, or reputable online spice sellers. If you want another bake that shows how well culinary lavender behaves in dough and sugar, lemon lavender cookies are a great place to practice its flavor.
Ingredients
Each ingredient pulls its weight here, from structure and richness to floral aroma, gentle sweetness, and that smooth pastel finish.
Crust
- 1 3/4 cups graham cracker crumbs
- 4 tablespoons melted butter
Filling
- 2 pounds cream cheese, room temperature
- 1 1/3 cups sugar
- 4 eggs
- 1 tablespoon vanilla extract
- 1/2 teaspoon lavender extract
- 1 1/2 tablespoons honey
- 1/4 teaspoon salt
- 2/3 cup sour cream
- 2/3 cup heavy whipping cream
- Violet food coloring
Topping
- 1 cup sour cream
- 2 tablespoons powdered sugar
- 1 tablespoon honey
- 1/2 teaspoon vanilla extract
Room-temperature cream cheese is the foundation of a smooth filling, and room-temperature eggs and sour cream help it stay that way. Eggs give the cheesecake its structure, sour cream cuts the richness with a light tang, and heavy cream softens the texture so the slices feel plush instead of dense.
Honey brings a softer sweetness than plain sugar alone, while lavender extract adds a clean floral note without bits in the batter. Violet food coloring is purely for color. For an optional upgrade, you can add a little lemon zest and a pinch of ground cardamom to the crust for a brighter, more perfumed edge.
How to Make Honey Lavender Cheesecake
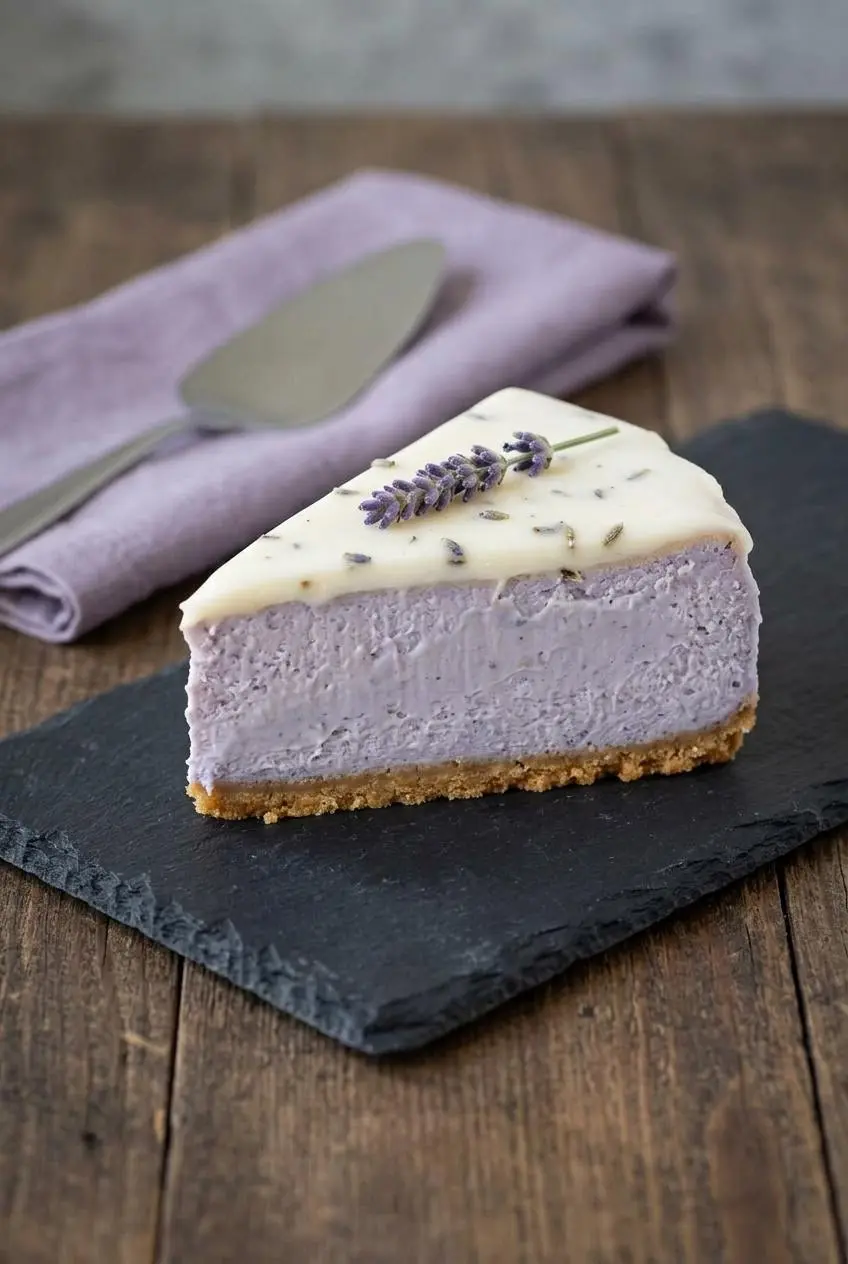
This method is straightforward, but cheesecake rewards patience. The goal is a batter that stays smooth and low in air, then a slow bake and slow cool that protect the surface.
For the crust
- Heat the oven to 350 degrees and coat a 9-inch springform pan with cooking spray.
The light coating helps the crust release cleanly later. - Stir the graham cracker crumbs and melted butter in a small bowl until the crumbs look evenly moistened.
There should be no dry sandy patches hiding at the bottom. - Press the crumb mixture over the bottom of the pan and about 1/2 inch up the sides, using a flat-bottomed glass to compact it firmly.
A tightly packed crust holds together better and is less likely to crumble when sliced. - Bake the crust for 12 to 15 minutes, then set the pan on a wire rack to cool.
It should look set and smell toasty rather than buttery and wet.
For the filling
- Lower the oven to 325 degrees before starting the filling.
This gentler heat helps the cheesecake bake evenly without drying out the edges. - Beat the cream cheese in a stand mixer fitted with the paddle until it turns fluffy and smooth.
Stop when the mixture looks creamy and no thick cold lumps remain. - Add the sugar and beat on high for 3 minutes.
The mixture should become lighter and more supple as the sugar dissolves in. - Mix in the vanilla extract, lavender extract, honey, and salt just until combined.
You want an even batter with a clear floral aroma, not an overworked one. - Add the eggs one at a time, scraping the bowl after each addition.
Go slowly here so you do not trap extra air, which can make the cheesecake puff and then sink. - Blend in a few drops of violet food coloring until you like the shade.
Keep it subtle if you want the finished cake to look soft and natural. - Mix in the sour cream until the batter is smooth.
This is where the filling starts to look silkier and slightly looser. - Pour in the heavy whipping cream and mix just until fully incorporated.
The finished batter should look glossy, fluid, and free of lumps. - Wrap the outside of the springform pan with aluminum foil, then pour in the filling and smooth the top with a spatula.
Make sure the foil covers the base and sides well before the pan goes near water. - Set the cheesecake pan inside a high-sided roasting pan and add hot water until it reaches halfway up the side of the springform pan.
The water bath should surround the pan without splashing into it. - Bake for 1 1/2 hours.
When it is ready, the edges should look set while the center still has a gentle wobble like soft custard. - Turn the oven off, crack the door open 1 inch, and leave the cheesecake inside for 1 hour.
This slow cooldown helps the top stay smoother and reduces the chance of cracks. - Move the cheesecake to the counter and let it cool to room temperature.
The pan should no longer feel warm before you cover it. - Tent aluminum foil over the top without letting it touch the surface, then refrigerate for at least 4 hours.
The filling needs that chill time to firm up into neat, creamy slices.
For the topping
- Stir the sour cream, honey, vanilla, and powdered sugar together in a medium bowl until smooth.
The topping should look thick but spreadable, with no sugar pockets. - Spread the topping over the cooled cheesecake.
After chilling, it sets slightly and gives the finished slices a clean, polished top layer.
Water Bath Mastery and Prevention of Soggy Crusts
A water bath is the difference between gentle custard-like baking and harsh edge heat. It cushions the cheesecake so the eggs cook more evenly, which helps prevent curdled texture, dry edges, and dramatic cracking.
For the safest setup, wrap the springform pan in two or three layers of heavy-duty foil before filling it. Press the foil tightly around the base and all the way up the sides so there are fewer weak spots where water can sneak in.
Then place the wrapped pan inside a high-sided roasting pan and pour hot water into the outer pan until it reaches halfway up the cheesecake pan. Add the water after the cheesecake is already in the roasting pan, not while carrying it across the kitchen. Less sloshing, fewer regrets.
If soggy crusts make you nervous, there is another smart option. Set the springform pan inside a slightly wider silicone cake pan before placing both into the roasting pan. That extra barrier can help keep the crust dry even if the foil wrap is not perfect.
If a little water still gets in, do not panic. Chill the cheesecake fully, then remove the outer ring and inspect the base. A lightly damp crust sometimes firms up as it sits. If the bottom is truly wet, lift slices with a thin metal server and keep the focus on the creamy filling and topping.
Alternative Prep Methods
These options are useful when you want a different format or a warmer-weather shortcut. The baked 9-inch cheesecake stays the main version, but the flavor profile adapts well.
No-Bake Honey Lavender Cheesecake
For a no-bake version, keep the same flavor direction but change the structure. Use whipped cream and gelatin to help the filling set in the refrigerator, and keep the lavender light so the floral note stays fresh rather than heavy.
Fresh lavender flowers or gently steeped culinary buds can work well here because the filling never goes into the oven. The texture will be softer and mousse-like instead of dense and custardy, so serve it well chilled and slice with a warm knife.
Honey Lavender Cheesecake Bars
Bars are a smart choice for parties, showers, and dessert tables. Line a standard rectangular pan with parchment that hangs over the sides so you can lift the whole slab out after chilling, then cut clean squares.
The batter stays the same in spirit, but bars usually feel a little easier to portion and serve. Keep an eye on the center while baking, since a shallower pan will set faster than a deep 9-inch cheesecake.
Baking Mini Lavender Cheesecakes
Mini cheesecakes work nicely in a standard muffin tin lined with paper liners. Use cookie crumbs for the crust if you like a neater, more compact base, and watch the bake closely because individual portions set much sooner than a full cheesecake.
Let them cool gradually before chilling so they do not shrink sharply from sudden temperature changes. They are especially handy when you want tidy portions without slicing a whole cake.
Steeping Lavender in Warm Honey
If you want a rounder, more natural floral aroma, warm the honey gently and steep culinary lavender buds in it off the heat. The scent will bloom quickly, so stop once it smells fragrant and sweet rather than sharp or medicinal.
Do not boil the honey. Too much heat can darken the flavor and make the lavender feel louder instead of prettier. Strain before using if you want a perfectly smooth filling. If you enjoy baking where honey is more than a background sweetener, this kind of gentle infusion also works beautifully in ginger honey cake.
Natural Coloring with Blueberry Lavender Syrup
If you would rather skip violet food coloring, simmer fresh blueberries until they release a deep purple juice, then strain and cool it before swirling a little into the batter. This gives you a soft marbled effect instead of a solid pastel color.
The berry flavor adds a subtle fruity edge that pairs naturally with lavender and honey. It is also lovely at the table with fresh blackberries or a floral drink like blueberry lavender tea.
Troubleshooting Cracks, Sinking, and Soggy Crusts
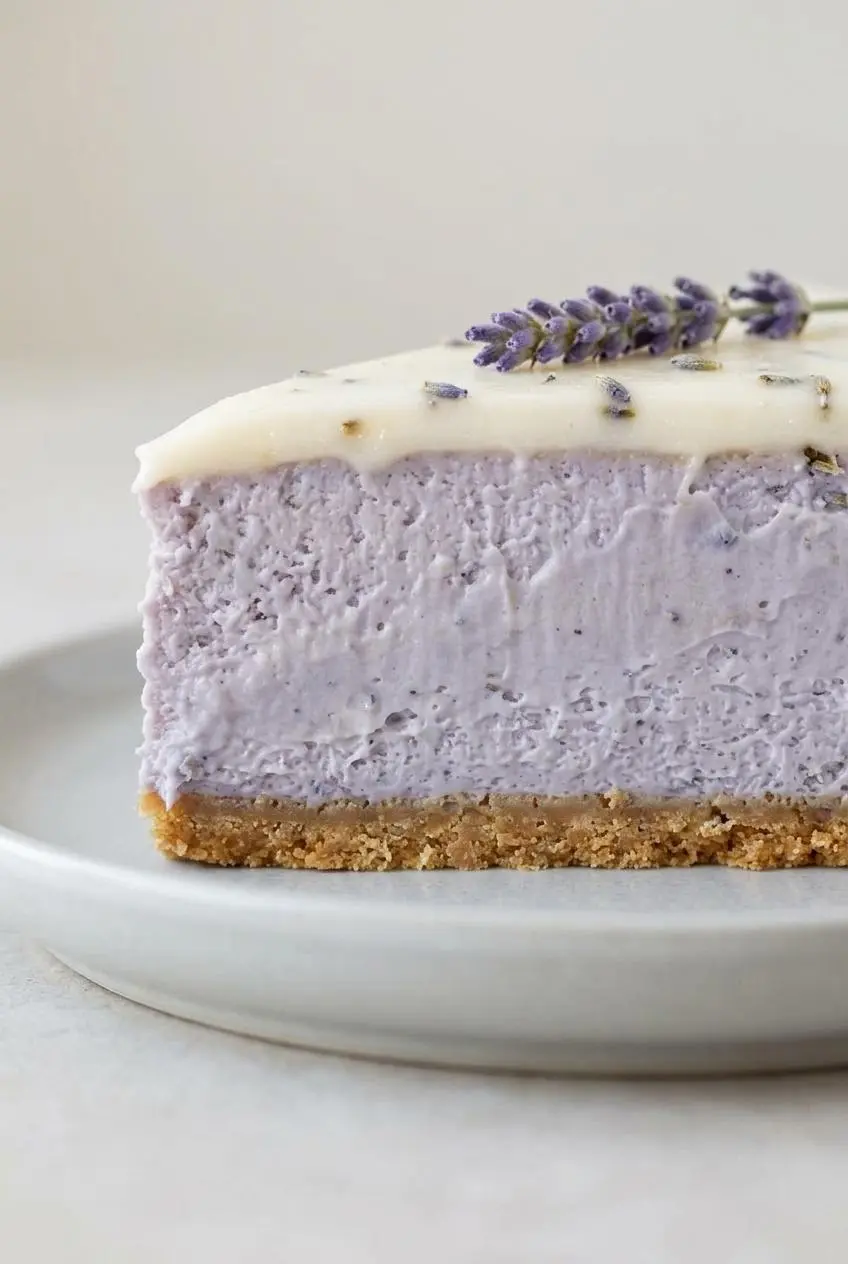
Cheesecake problems usually come from too much air, too much heat, or too much hurry. Here is how to fix the most common ones.
- Cracked top: The usual cause is sudden temperature change or overbaking. Keep the oven door cracked for the full cooling time and pull the cake when the center still wobbles gently instead of looking firm all the way through.
- Sinking center: Too much air in the batter is often the culprit. After the eggs go in, mix slowly and only until blended so the cake does not rise dramatically and then fall.
- Lumpy filling: Cold dairy is usually to blame. Let the cream cheese, eggs, and sour cream come fully to room temperature before mixing so the batter turns smooth instead of pebbly.
- Soggy crust: Water likely seeped through the foil wrap. Use heavy-duty foil in multiple layers, and consider the silicone-pan backup if your springform pan has a history of leaks.
- Water-logged base after baking: Chill the cheesecake completely before removing it from the pan. If the bottom still seems damp, serve neat slices and let the sour cream topping and creamy center do the heavy lifting.
- Overbaked texture: A cheesecake should not look fully rigid in the middle when it comes out. The ideal center still trembles slightly, and if you check with an instant-read thermometer, the center is around 150 degrees Fahrenheit.
- Visible cracks even after your best effort: Spread the sour cream topping smoothly over the chilled cake. It covers surface flaws neatly and tastes like it belongs there, because it does.
How to Store and Freeze Your Cheesecake
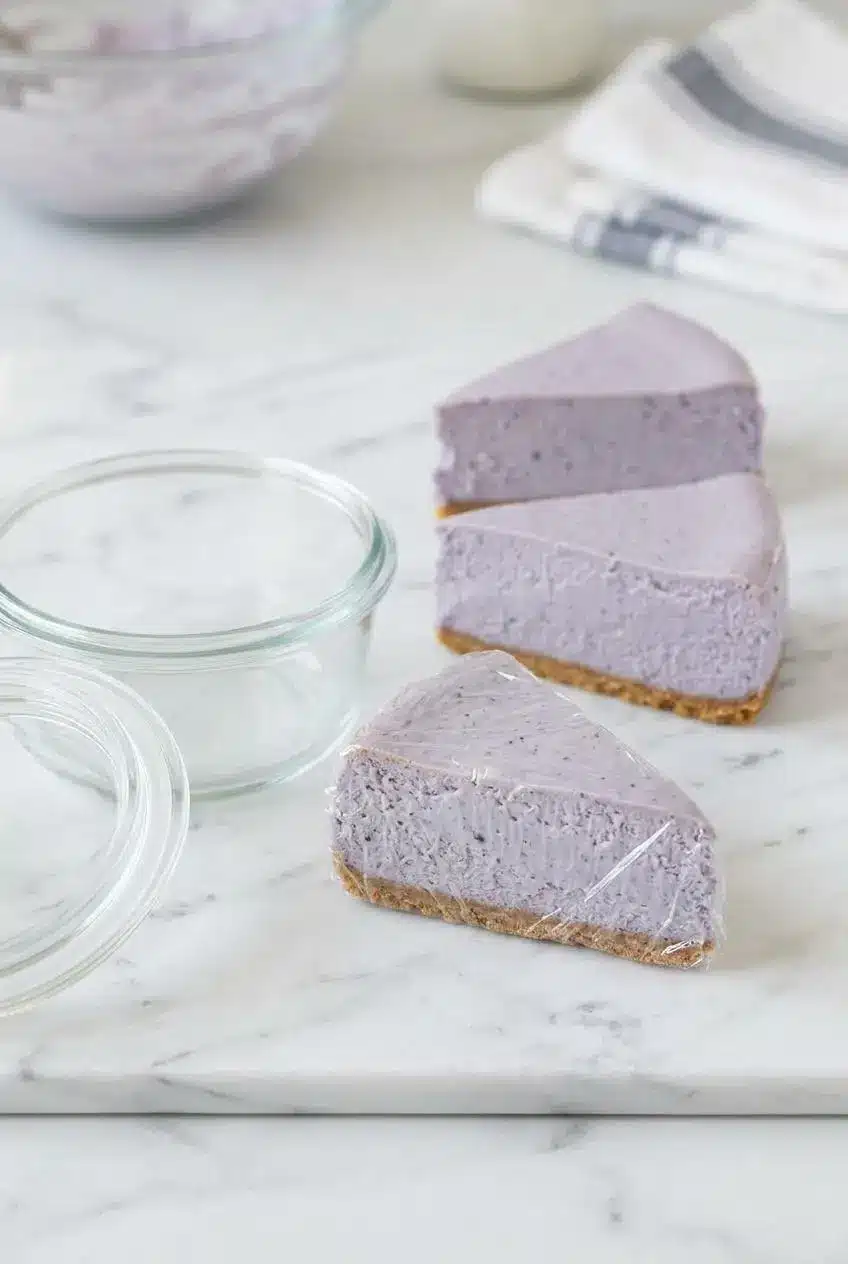
Once the cheesecake has cooled, keep it refrigerated and covered so it stays creamy and does not pick up fridge odors. For dairy desserts like this, keeping your refrigerator at or below 40 °F or below helps protect quality and food safety.
The recipe already builds in an important chilling step. Refrigerate the cheesecake for at least 4 hours before adding the topping so the filling can set properly and the top is less likely to trap condensation underneath.
If you want to freeze it, do that before adding the sour cream topping. A fully chilled plain cheesecake can be wrapped tightly, either whole or in individual slices, then frozen for up to one month. Thaw it in the refrigerator so the texture stays as smooth as possible.
After topping, keep the cheesecake cold and slice straight from the refrigerator or after a short rest on the counter. If it will be out for serving, return leftovers to the fridge promptly since this is a dairy-rich dessert.
Conclusion
This cheesecake delivers exactly what its name promises: floral aroma, mellow honey sweetness, and a velvety texture that feels special without turning fussy. The sour cream topping finishes it with a soft tang and a clean-looking slice.
If you remember only two things, let the ingredients come to room temperature and cool the cake slowly in the cracked oven. Those two habits make this dessert much easier to pull off beautifully.
Frequently Asked Questions
Can I use lavender syrup instead of lavender extract?
Yes, but make the swap carefully. Lavender syrup adds both sweetness and liquid, so the filling can loosen more than expected. Reduce some of the other sweetness, especially the honey, so the flavor does not turn cloying. Use a light hand at first, because syrup is often less concentrated in flavor but heavier in volume.
How do I prevent my cheesecake crust from getting soggy in the water bath?
The best defense is a tight barrier around the springform pan. Wrap the bottom and sides in two to three layers of heavy-duty aluminum foil. Keep the foil snug, especially around the base seam where leaks usually start. If you want extra insurance, place the springform pan inside a slightly wider silicone cake pan before it goes into the water bath.
Can you freeze a honey lavender cheesecake?
Yes, as long as you freeze it before adding the sour cream topping. Chill the cheesecake completely first, then wrap it tightly to protect the texture. You can freeze the whole cake or individual slices for up to one month. Thaw it in the refrigerator, then add toppings after it has fully defrosted.
Where do I buy edible culinary lavender?
Look for lavender sold specifically for cooking or baking. Specialty grocery stores and spice shops often carry culinary-grade dried buds. Local herb shops can be a good option if the package clearly states food use. Online spice merchants are useful when you want a labeled culinary product instead of decorative dried flowers.
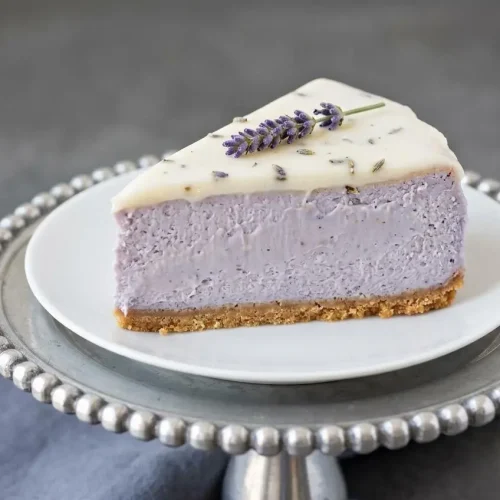
Honey Lavender Cheesecake

Equipment
- 9-inch Springform Pan
- Stand mixer with paddle attachment
- high-sided roasting pan
- Aluminum Foil
- Small bowl
- Medium bowl
Ingredients
Crust
- 1 3/4 cups graham cracker crumbs
- 4 tablespoons melted butter
Filling
- 2 pounds cream cheese room temperature
- 1 1/3 cups sugar
- 4 eggs eggs
- 1 tablespoon vanilla extract
- 1/2 teaspoon lavender extract
- 1 1/2 tablespoons honey
- 1/4 teaspoon salt
- 2/3 cup sour cream
- 2/3 cup heavy whipping cream
- Violet food coloring
Topping
- 1 cup sour cream
- 2 tablespoons powdered sugar
- 1 tablespoon honey
- 1/2 teaspoon vanilla extract
Instructions
For the crust
- Heat the oven to 350 degrees and coat a 9-inch springform pan with cooking spray. The light coating helps the crust release cleanly later.
- Stir the graham cracker crumbs and melted butter in a small bowl until the crumbs look evenly moistened. There should be no dry sandy patches hiding at the bottom.
- Press the crumb mixture over the bottom of the pan and about 1/2 inch up the sides, using a flat-bottomed glass to compact it firmly. A tightly packed crust holds together better and is less likely to crumble when sliced.
- Bake the crust for 12 to 15 minutes, then set the pan on a wire rack to cool. It should look set and smell toasty rather than buttery and wet.
For the filling
- Lower the oven to 325 degrees before starting the filling. This gentler heat helps the cheesecake bake evenly without drying out the edges.
- Beat the cream cheese in a stand mixer fitted with the paddle until it turns fluffy and smooth. Stop when the mixture looks creamy and no thick cold lumps remain.
- Add the sugar and beat on high for 3 minutes. The mixture should become lighter and more supple as the sugar dissolves in.
- Mix in the vanilla extract, lavender extract, honey, and salt just until combined. You want an even batter with a clear floral aroma, not an overworked one.
- Add the eggs one at a time, scraping the bowl after each addition. Go slowly here so you do not trap extra air, which can make the cheesecake puff and then sink.
- Blend in a few drops of violet food coloring until you like the shade. Keep it subtle if you want the finished cake to look soft and natural.
- Mix in the sour cream until the batter is smooth. This is where the filling starts to look silkier and slightly looser.
- Pour in the heavy whipping cream and mix just until fully incorporated. The finished batter should look glossy, fluid, and free of lumps.
- Wrap the outside of the springform pan with aluminum foil, then pour in the filling and smooth the top with a spatula. Make sure the foil covers the base and sides well before the pan goes near water.
- Set the cheesecake pan inside a high-sided roasting pan and add hot water until it reaches halfway up the side of the springform pan. The water bath should surround the pan without splashing into it.
- Bake for 1 1/2 hours. When it is ready, the edges should look set while the center still has a gentle wobble like soft custard.
- Turn the oven off, crack the door open 1 inch, and leave the cheesecake inside for 1 hour. This slow cooldown helps the top stay smoother and reduces the chance of cracks.
- Move the cheesecake to the counter and let it cool to room temperature. The pan should no longer feel warm before you cover it.
- Tent aluminum foil over the top without letting it touch the surface, then refrigerate for at least 4 hours. The filling needs that chill time to firm up into neat, creamy slices.
For the topping
- Stir the sour cream, honey, vanilla, and powdered sugar together in a medium bowl until smooth. The topping should look thick but spreadable, with no sugar pockets.
- Spread the topping over the cooled cheesecake. After chilling, it sets slightly and gives the finished slices a clean, polished top layer.