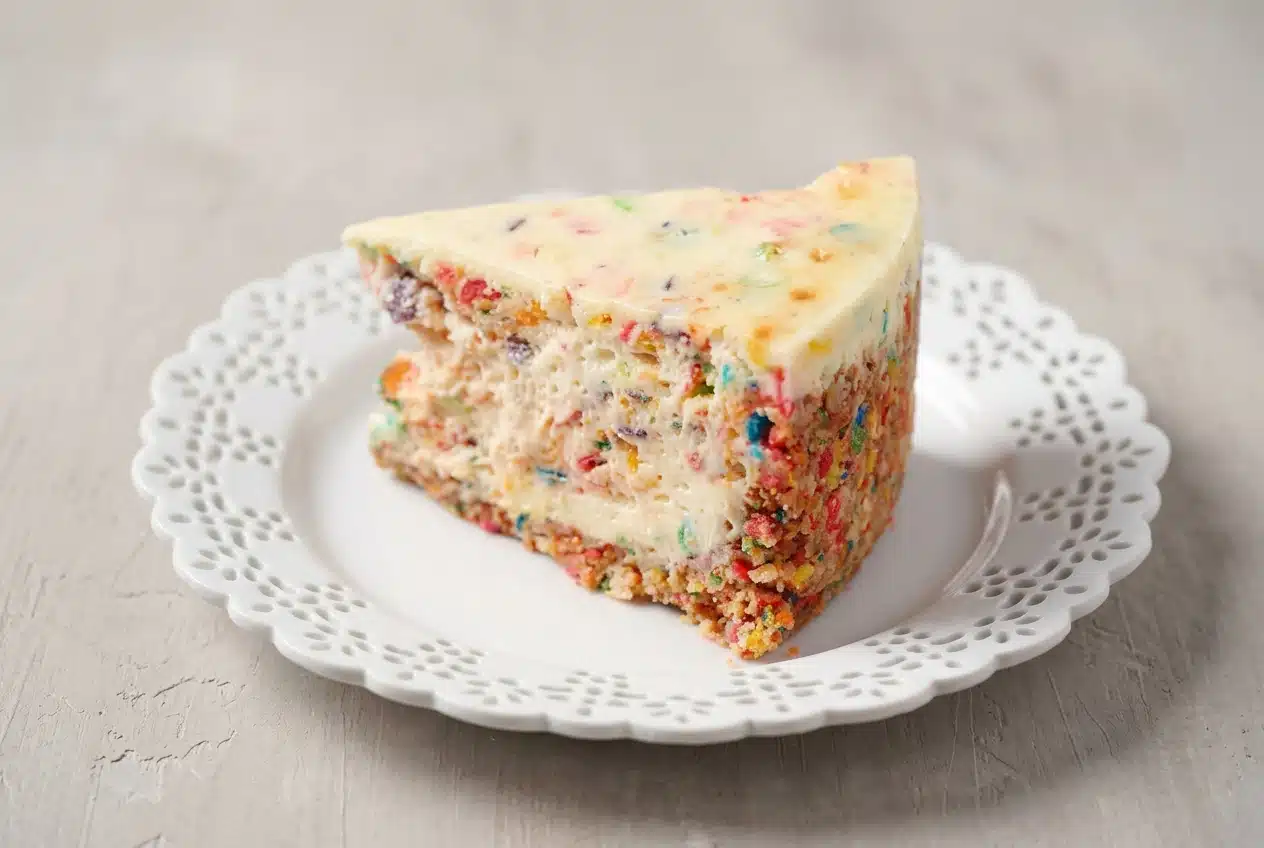
Fruity Pebbles cheesecake combines a buttery vanilla wafer and cereal crust with a velvety cream cheese filling. Bake it in a water bath, cool gradually, and refrigerate overnight for firm slices. An optional fresh cereal garnish adds crisp crunch just before serving.
This fruity pebbles cheesecake folds colorful cereal into both the crust and the filling, giving a traditional baked dessert a playful breakfast-cereal flavor. Cream cheese brings tang, while cream and vanilla round out the fruity sweetness.
It’s a colorful choice for a birthday or dessert table, especially when you want something you can chill before the celebration. The filling becomes creamy rather than crunchy as the cereal softens. Save the crunch for the finish.
Before mixing, check that the cream cheese feels soft throughout, not just around the edges.
Ingredients You Need
Vanilla wafers and butter build the crust, cereal adds fruity flavor and color, and cream cheese provides richness and tang. Eggs give the filling structure, while sugar, cream, and vanilla create a smooth, rounded sweetness.
CRUST:
- 60 vanilla wafers
- 2 cups Fruity Pebbles cereal
- 6 tablespoons butter, melted
FILLING:
- 3 blocks (8 ounces each) cream cheese, softened
- 1 cup sugar
- 3 large eggs, room temperature
- 1 cup heavy whipping cream
- 1 tablespoon vanilla extract
- 1-1/2 cups Fruity Pebbles cereal
The vanilla wafers give the cereal crust a cookie-like backbone. Melted butter binds the crumbs so they hold together when pressed and baked. Crushing both wafers and cereal to a sandy texture helps the crust pack evenly rather than leaving loose, bulky pockets.
Softened cream cheese blends more smoothly, and room-temperature eggs incorporate without cooling the mixture abruptly. Heavy whipping cream softens the dense cream cheese texture; sugar sweetens it, and vanilla ties the cookie crust to the fruity filling.
I’d focus on the cream cheese texture before adding anything else: a glossy, lump-free mixture is much easier to achieve before the eggs go in.
How to Make Fruity Pebbles Cheesecake
This cheesecake makes 12 servings. Have a food processor, mixer, 9-inch springform pan, baking sheet, and a larger baking or roasting pan ready before starting; the larger pan holds the hot water bath.
- Set the oven to 350°F and mold three layers of aluminum foil around the outside of a 9-inch springform pan.
Keep the foil snug against the bottom and sides to help protect the crust from water seeping through the pan seam. - Pulse the vanilla wafers with the crust cereal in a food processor, then transfer the crumbs to a large bowl and stir in the melted butter.
The mixture should resemble damp sand, with no large cookie pieces remaining. - Pack the crumb mixture across the pan bottom and about 1 inch up the sides, then place the pan on a baking sheet and bake for 8 to 10 minutes before letting it cool completely.
Look for light browning rather than a deeply toasted crust. - Raise the oven to 450°F and use a mixer on medium speed to work the cream cheese in a large bowl for 4 to 5 minutes.
The cheese should look smooth and uniform before any sugar goes in. - Switch to medium-low speed, mix in the sugar until fluffy, and incorporate the eggs individually over about 5 minutes.
Let each egg blend into the mixture before adding the next so the batter stays even. - Blend in the heavy whipping cream and vanilla for 1 to 2 minutes, then mix in the filling cereal.
The batter should look smooth, with cereal distributed throughout. - Fill the cooled crust with batter, nest the springform pan inside the larger baking or roasting pan, and pour hot water into the outer pan to a depth of 1 inch.
The water should surround the foil-wrapped pan without entering the filling. - Bake at 450°F for 15 minutes, then lower the oven to 225°F and continue baking for 1 hour and 15 minutes.
The outer filling should look set, with a gentle wobble at the center rather than a loose, liquid ripple. - Switch off the heat and leave the oven door open with the cheesecake inside for 30 minutes, or until the center has completely set, then remove it and refrigerate overnight, adding a cover only once it has cooled completely.
The center firms further as it chills, and waiting to cover prevents trapped condensation from wetting the surface. - Slide a knife between the chilled cheesecake and the inside edge of the pan, then release and lift away the springform rim.
The sides should separate cleanly instead of pulling against the cake.
Expert Tips and Troubleshooting for a Smooth Cheesecake
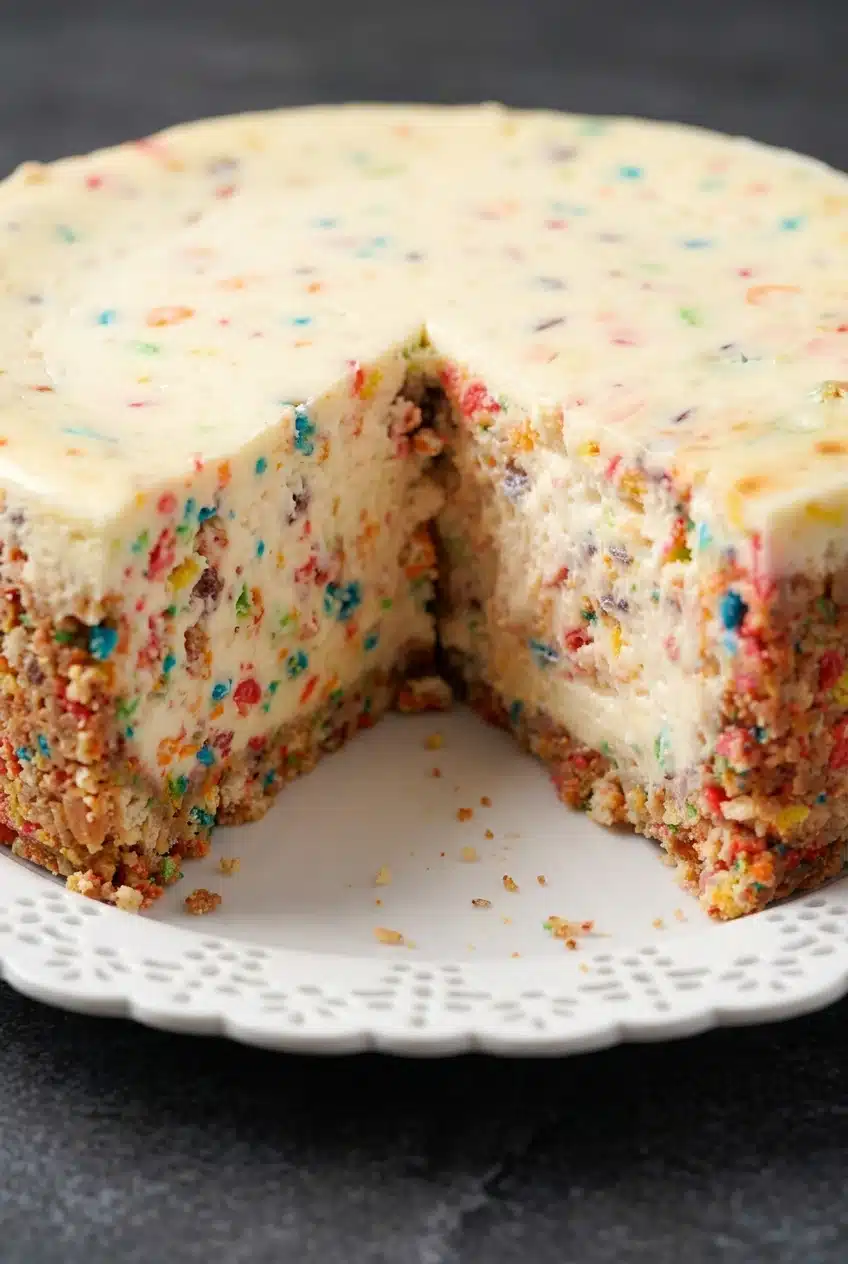
Most texture problems begin before baking or during cooling. Watch the batter and pan preparation closely rather than trying to correct everything after the cake sets.
- Lumpy batter: Cream cheese that’s still cold in the middle can leave small lumps. Soften it throughout and beat it smooth before adding sugar or eggs.
- A cracked top: Excess air from prolonged beating after adding eggs can make the filling rise and settle unevenly. Follow the mixing stages, avoid unnecessary extra beating, and keep the gradual oven cooling step.
- A soggy crust: Water can enter through a poorly protected springform seam. Check all three foil layers for tears and gaps before filling the outer pan.
- Moisture on the surface: Covering a warm cake traps steam against the top. Leave it uncovered until completely cooled, then cover for refrigeration.
- Soft or gummy cereal: Cereal inside the filling absorbs moisture, so softness there is expected. Keep any optional topping separate until serving instead of trying to preserve crunch inside the batter.
The water bath moderates the heat around the pan, helping the edges and center set more evenly. It reduces the chance of dry edges and cracks, but careful mixing and gradual cooling still matter.
Popular Variations Including No-Bake Options
Choose variations for the texture you want, but keep them separate from the measured baked recipe above. Changes to the filling can affect how it sets.
- Extra vanilla: Vanilla bean adds a more pronounced vanilla aroma in a cheesecake developed for that flavor.
- Tangier filling: A sour cream cheesecake variation offers more tang to balance the cereal sweetness; it needs its own balanced formula rather than a casual addition to this batter.
- Crisp cereal finish: Keep extra cereal separate for an optional garnish right before serving, without reducing the cereal measured for the crust or filling.
No-Bake Fruity Pebbles Cheesecake
A no-bake version skips the egg-set filling and water-bath baking. Depending on the formula, it combines cream cheese with whipped topping or sweetened condensed milk for a chilled dessert with a different texture.
No-bake styles cut out oven work, but they still need chilling to set. For a complete chilled method, start with a classic no-bake cheesecake rather than simply leaving the eggs out of this one.
Marshmallow Cereal Crust vs. Vanilla Wafer Crust
A marshmallow cereal treat crust gives a chewy, gooey bite and a sweeter overall impression. It leans toward cereal-bar territory, especially beneath a sweetened condensed milk filling.
The baked vanilla wafer and cereal crust here has a firmer crumb texture and buttery cookie flavor. Choose this style when you want cereal flavor without adding marshmallow sweetness, and avoid stacking sweet sauces over every slice.
Make-Ahead and Storage Tips
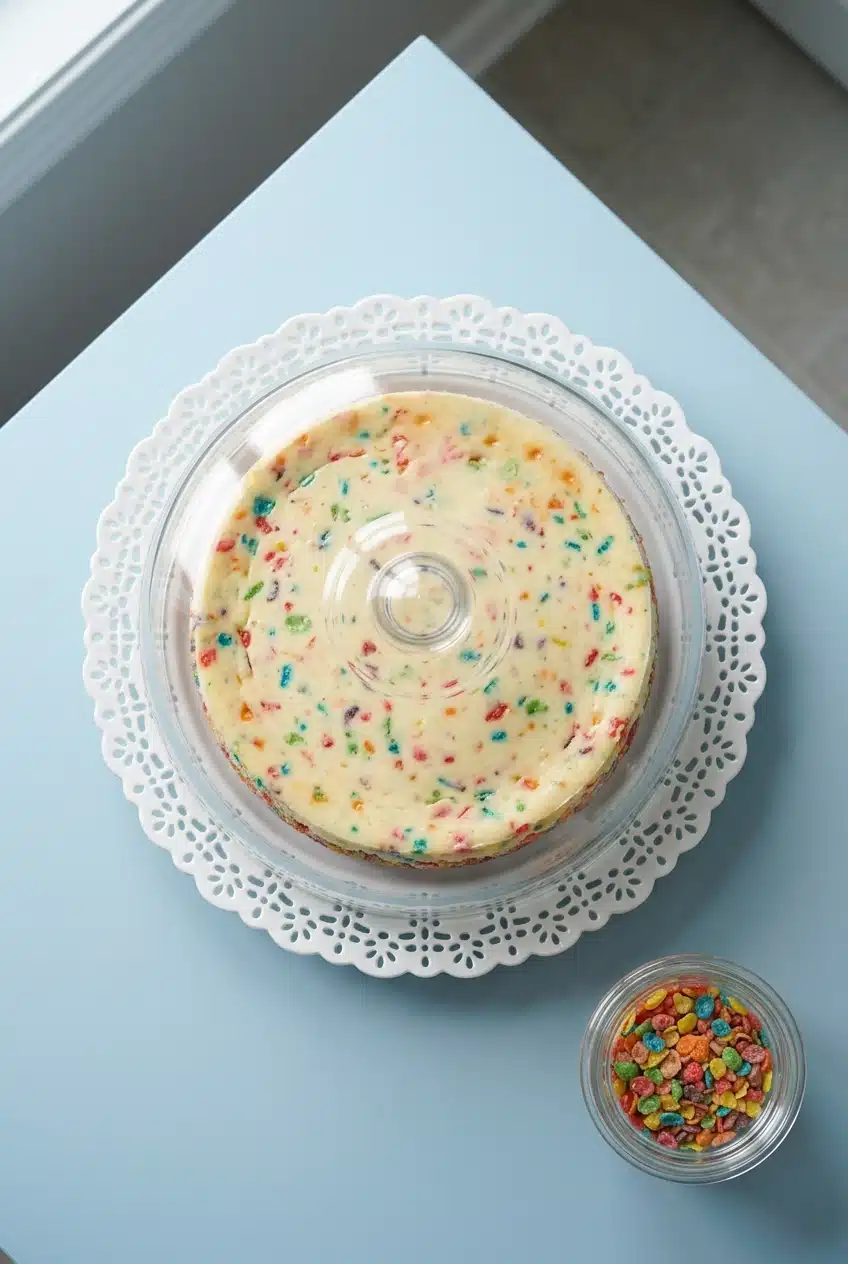
Plan around the overnight refrigeration step, not just the baking time. That chill is part of the method and gives the filling time to become firm enough for neat slices.
Follow the gradual cooling sequence, refrigerate the cheesecake, and cover it once completely cooled. Keep the finished cake and leftovers chilled in a covered container or under a well-fitting cover that doesn’t press into the surface.
Store optional cereal garnish separately in a closed container away from moisture. Add it only when you’re ready to serve, so you don’t lose the contrast between the creamy filling and crisp topping.
How to Garnish and Serve the Cheesecake
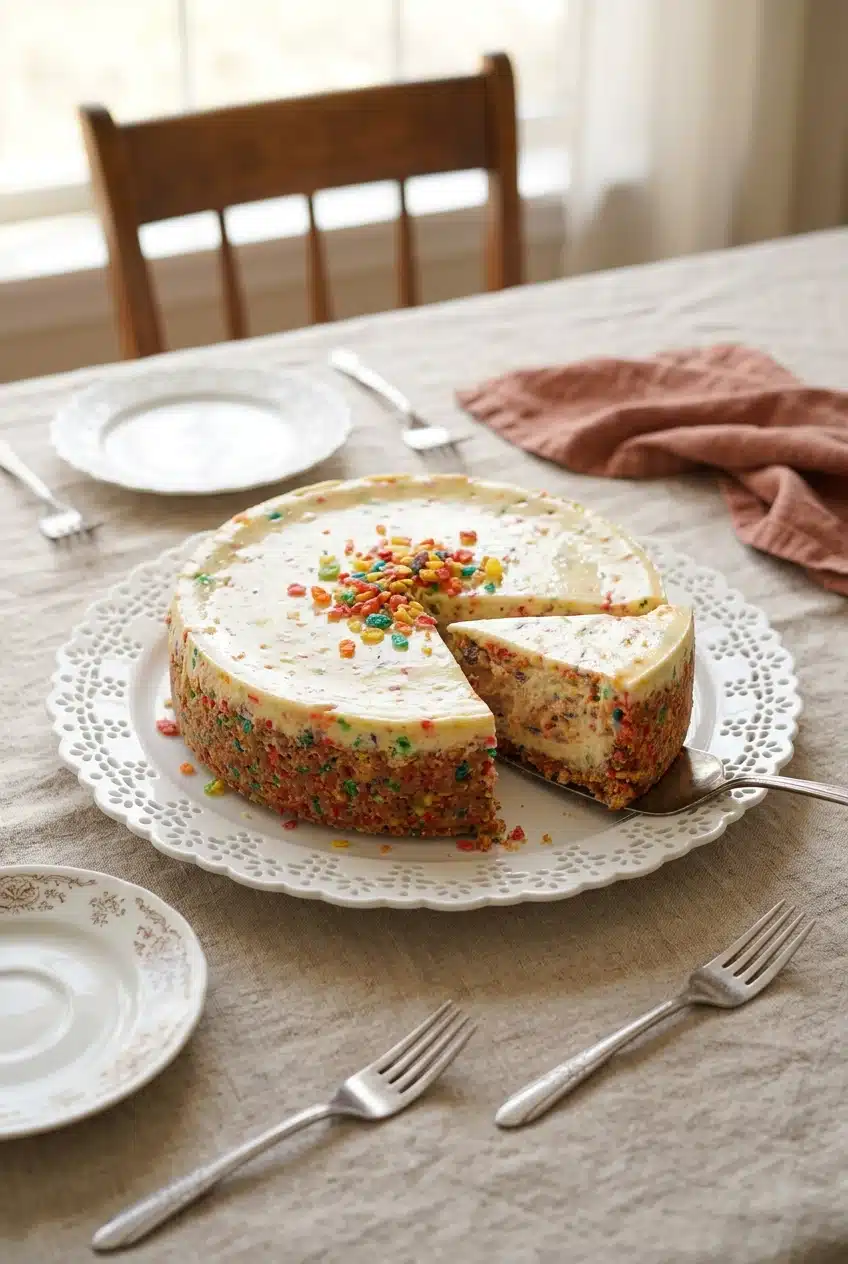
Unmold the cheesecake while thoroughly chilled. Loosen the entire inner rim with a knife before opening the latch, so a stuck edge doesn’t tear as the pan comes away.
For clean slices, use a sharp knife warmed with hot water and wiped dry. Wipe and warm it again between cuts to keep filling from dragging across the next slice.
- Fresh crushed cereal: Sprinkle it on just before serving for color and crunch.
- Whipped cream: Keep it lightly sweetened so it doesn’t overwhelm the filling.
- Fresh berries: Add a bright, juicy contrast to the rich cheesecake.
- Melted vanilla ice cream: Use a light drizzle as an optional dessert sauce when you want an extra-sweet finish.
Final Thoughts
This cheesecake balances velvety baked filling, buttery cookie crumbs, and colorful cereal flavor. An optional fresh cereal finish supplies the crunch that cereal inside the filling naturally loses.
Follow the measured ingredients and staged baking method, then give gradual cooling and overnight chilling their full place in the plan. Add the finishing cereal when it’s time to slice.
Frequently Asked Questions
How Do You Keep Fruity Pebbles Crunchy on Cheesecake?
Add optional fresh cereal garnish immediately before serving. Expect cereal inside the filling to soften as it absorbs moisture; it contributes flavor rather than lasting crunch.
What Is the Difference Between Baked and No-Bake Fruity Pebbles Cheesecake?
This baked version uses eggs and a water bath for a rich, firm, creamy slice. No-bake versions use a different filling formula, often with whipped topping or sweetened condensed milk, and rely on chilling rather than baking.
Why Does Baked Fruity Pebbles Cheesecake Use a Water Bath?
The surrounding hot water moderates heat so the filling sets more evenly. Gentler baking helps limit dry edges and surface cracks; foil wrapping helps protect the crust from leaks.
How Can I Make Fruity Pebbles Cheesecake Less Sweet?
Choose the vanilla wafer and cereal crust rather than a marshmallow cereal treat crust. Skip sweet sauce and serve with fresh berries or lightly sweetened whipped cream instead of changing the filling’s measured sugar.
How Should Fruity Pebbles Cheesecake Be Stored Safely?
Keep the cheesecake refrigerated and cover it once completely cooled. Keep leftovers covered and chilled, with cereal garnish stored separately to protect its texture.
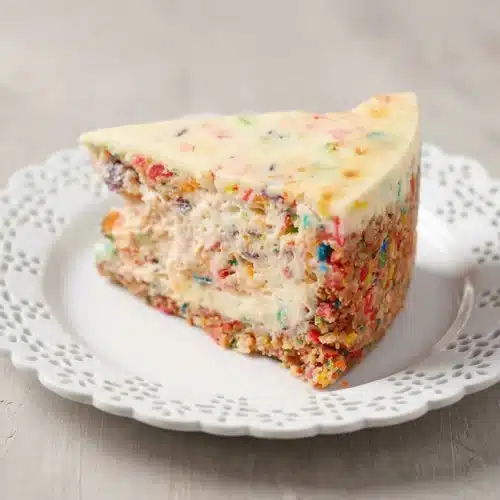
Fruity Pebbles Cheesecake

Equipment
- Food processor
- Mixer
- 9-inch Springform Pan
- Baking Sheet
- Roasting pan
Ingredients
CRUST:
- 60 vanilla wafers
- 2 cups Fruity Pebbles cereal
- 6 tablespoons butter melted
FILLING:
- 3 blocks (8 ounces each) cream cheese softened
- 1 cup sugar
- 3 large eggs room temperature
- 1 cup heavy whipping cream
- 1 tablespoon vanilla extract
- 1-1/2 cups Fruity Pebbles cereal
Instructions
- Set the oven to 350°F and mold three layers of aluminum foil around the outside of a 9-inch springform pan. Keep the foil snug against the bottom and sides to help protect the crust from water seeping through the pan seam.
- Pulse the vanilla wafers with the crust cereal in a food processor, then transfer the crumbs to a large bowl and stir in the melted butter. The mixture should resemble damp sand, with no large cookie pieces remaining.
- Pack the crumb mixture across the pan bottom and about 1 inch up the sides, then place the pan on a baking sheet and bake for 8 to 10 minutes before letting it cool completely. Look for light browning rather than a deeply toasted crust.
- Raise the oven to 450°F and use a mixer on medium speed to work the cream cheese in a large bowl for 4 to 5 minutes. The cheese should look smooth and uniform before any sugar goes in.
- Switch to medium-low speed, mix in the sugar until fluffy, and incorporate the eggs individually over about 5 minutes. Let each egg blend into the mixture before adding the next so the batter stays even.
- Blend in the heavy whipping cream and vanilla for 1 to 2 minutes, then mix in the filling cereal. The batter should look smooth, with cereal distributed throughout.
- Fill the cooled crust with batter, nest the springform pan inside the larger baking or roasting pan, and pour hot water into the outer pan to a depth of 1 inch. The water should surround the foil-wrapped pan without entering the filling.
- Bake at 450°F for 15 minutes, then lower the oven to 225°F and continue baking for 1 hour and 15 minutes. The outer filling should look set, with a gentle wobble at the center rather than a loose, liquid ripple.
- Switch off the heat and leave the oven door open with the cheesecake inside for 30 minutes, or until the center has completely set, then remove it and refrigerate overnight, adding a cover only once it has cooled completely. The center firms further as it chills, and waiting to cover prevents trapped condensation from wetting the surface.
- Slide a knife between the chilled cheesecake and the inside edge of the pan, then release and lift away the springform rim. The sides should separate cleanly instead of pulling against the cake.