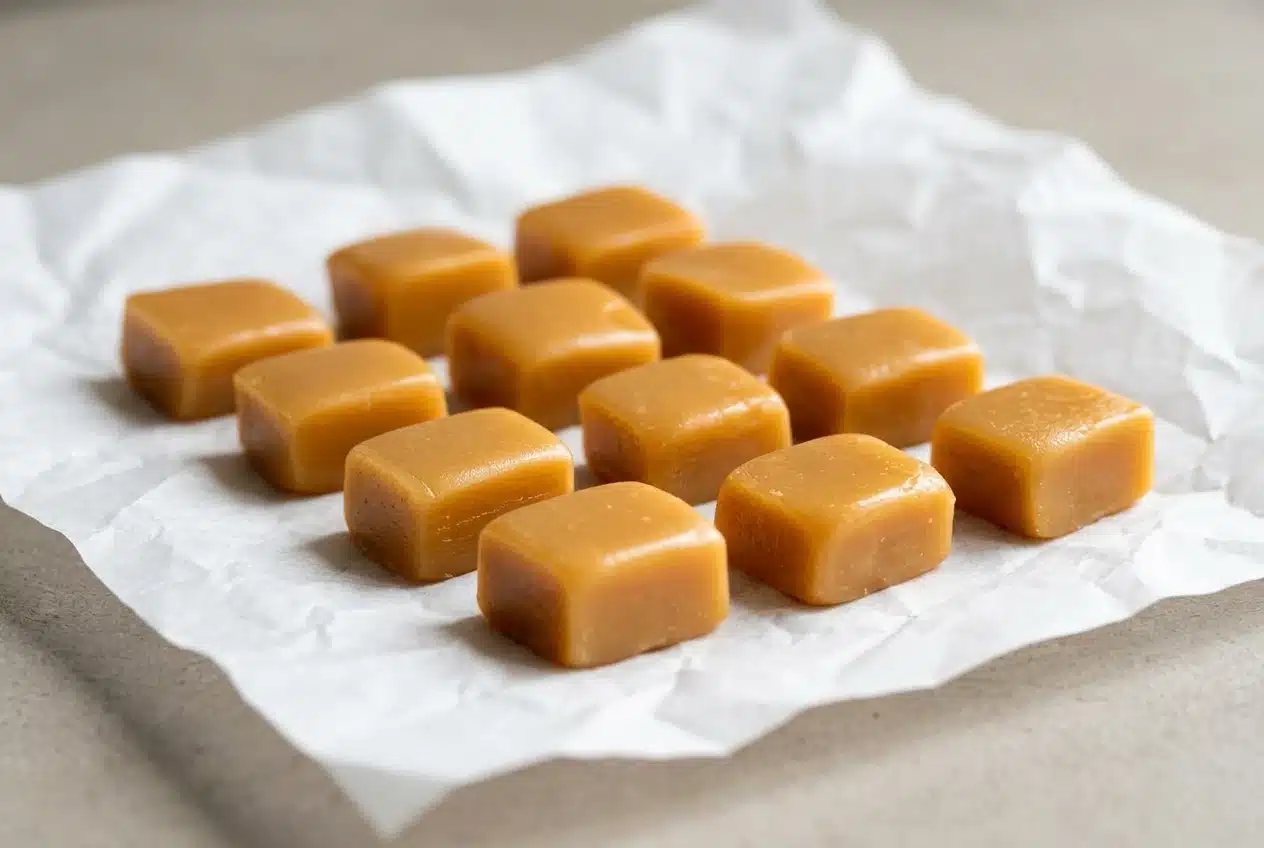
Make microwave caramels by heating butter, sugars, corn syrup, salt, and sweetened condensed milk in one roomy bowl, stirring regularly, then pouring into a buttered dish to set. The result is rich, buttery, chewy candy, with an optional cold-water test to help check texture without a candy thermometer.
These homemade candies turn a glossy golden mixture into squares you can cut and wrap. The microwave handles the cooking, while regular stirring helps distribute the heat throughout the bowl.
The real advantage is knowing what to look for instead of trusting the clock alone. Microwave power varies, but a cooled sample tells you how the candy will chew. That pliable little ball is the clue.
Butter your cooling dish before heating the caramel so it’s ready when the mixture finishes cooking.
Ingredients for Easy Chewy Caramels
Butter adds richness, sugars build sweetness and structure, corn syrup encourages a smooth texture, and sweetened condensed milk supplies creamy body. Salt balances the sweetness, while chocolate and finishing salt offer optional contrast.
- ¼ cup unsalted butter
- ½ cup granulated sugar
- ½ cup brown sugar
- ½ cup corn syrup ((Karo Syrup))
- ¼ teaspoon salt
- ½ cup sweetened condensed milk
- Salt
- Chocolate
Unsalted butter and salt: Butter gives the candy its rounded flavor and softer bite. Using unsalted butter keeps the measured salt in control of the balance. The separate salt and chocolate entries are for the optional finish.
Granulated and brown sugars: Granulated sugar contributes sweetness and structure; brown sugar adds a deeper, molasses-like flavor and golden color.
Corn syrup: Light corn syrup helps discourage sugar crystals, supporting a smooth chew rather than a grainy texture. Don’t assume another liquid sweetener will behave identically.
Sweetened condensed milk: Its concentrated milk solids and sugar contribute body and richness. Evaporated milk and regular milk aren’t interchangeable here because they change the mixture’s sugar and moisture balance.
How to Make Microwave Caramels Step by Step
Use the exact heating schedule below as your starting point, and choose a bowl with generous headroom. During cooking, the mixture rises well above its starting level.
- Combine the butter, granulated sugar, brown sugar, corn syrup, measured salt, and sweetened condensed milk in a large microwave-safe bowl.
Choose a bowl deep enough to leave plenty of empty space above the mixture as it bubbles. - Heat at high power for 6–7 minutes total, interrupting cooking every 90 seconds to stir thoroughly.
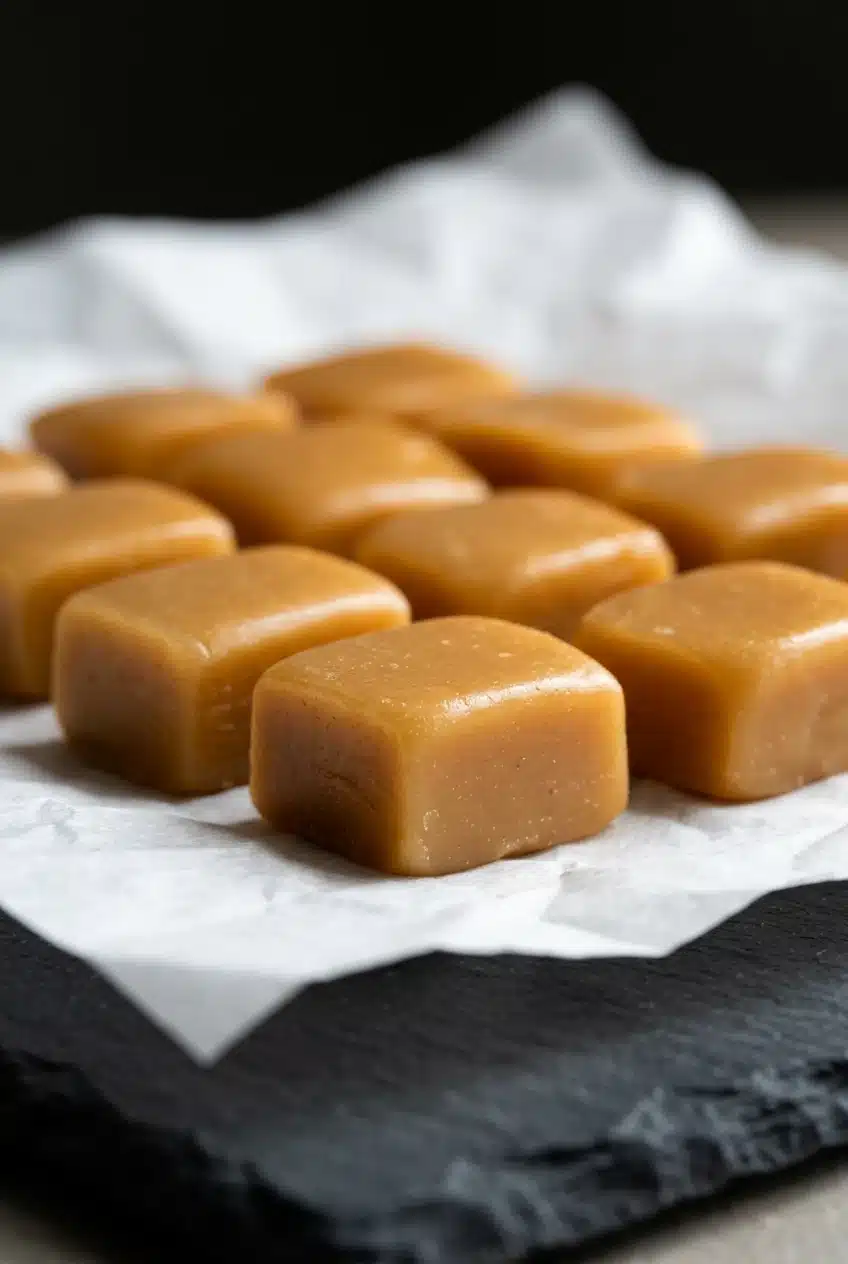
The mixture will become bubbling and glossy, and stirring helps distribute heat throughout the bowl. - Carefully transfer the hot caramel to a small buttered dish, let it cool completely, and then slice it into small squares.
The slab should hold its shape rather than flow or pull into warm, sticky ribbons. - Finish the cut candies with a chocolate drizzle and sea salt, if desired.
A light scattering of salt gives contrast without covering the buttery caramel flavor.
Scrape through the mixture when stirring, rather than moving only the surface. Complete cooling matters just as much as cooking: warm caramel can look thick yet still be too soft to cut neatly.
Microwave Wattage, Doneness Tests, and Troubleshooting
A more powerful microwave can bring caramel to a firm texture sooner, while a less powerful one may leave it softer at the same point on the clock. Treat the heating schedule as a starting point, then use texture to judge the result.
How to Do the Cold-Water Ball Test
This optional check lets you feel a cooled sample before committing the whole batch to the dish.
- Drop a small spoonful of caramel into a cup of ice water, keeping your fingers away from the hot mixture.
- Allow the sample to cool in the water, then gather it with your fingers.
- Look for a soft, pliable ball that rolls together and keeps its shape. It should bend rather than feel brittle.
- If it disperses into loose strands or won’t gather, continue cooking in brief bursts, stirring and checking again.
Judge the cooled sample, not the bubbling mixture. Hot caramel naturally flows, so its appearance in the bowl doesn’t tell the whole story.
Molten Sugar and Boil-Over Safety Tips
Give hot caramel plenty of space and handle it cautiously. A roomy bowl helps manage the bubbling, but it doesn’t replace watching the microwave.
- Rising bubbles: Use a deep, microwave-safe glass bowl with generous headroom. If the mixture approaches the rim, pause heating and let it settle.
- Possible spills: Place a microwave-safe plate beneath the bowl as a precaution, without crowding the turntable.
- Hot bowl and handles: Use thick, dry oven mitts and clear your path before lifting the bowl.
- Counter protection: Set the bowl on a heat-protective trivet or potholder, and avoid tasting caramel directly from the hot spoon.
Fixing Caramels That Are Too Soft or Too Firm
- Too soft after complete cooling: The mixture may need more cooking. Before pouring a future batch, use the cold-water check and continue in brief bursts if the sample won’t hold together. Chilling can help slicing, but it won’t correct undercooking.
- Too firm or brittle: The caramel likely cooked further than intended. For the next batch, check texture earlier instead of automatically using the full heating range.
- Firm only when chilled: Let a piece warm slightly before judging it. Refrigerated caramel feels firmer than the same candy at room temperature.
- Scorched flavor: Extra toppings won’t remove it. Start again, stir thoroughly, and watch the heating more closely.
Microwave Caramel Variations and Toppings
Keep these finishes optional so you can enjoy the buttery candy plain or create an assortment from the same batch.
Sea Salt Microwave Caramels
Flaky sea salt gives a sweet-and-salty finish with little bursts of crunch. Keep the scattering light, especially if you’re also adding chocolate, so the caramel remains the main flavor.
Chocolate-Drizzled or Dipped Caramels
A chocolate drizzle adds contrast while leaving the golden caramel visible. Dipped caramels offer a more chocolate-forward bite and a dressed-up finish for a candy box. Either option belongs outside the caramel mixture.
Nuts, Sprinkles, and Molded Caramel Shapes
- Turtle-style finish: Chopped nuts over chocolate add crunch against the chewy center.
- Holiday sprinkles: Sprinkles give chocolate-finished candies color without changing the caramel formula.
- Molded pieces: Candy-rated silicone molds or mini trays rated for hot candy offer individual shapes instead of a slab; ordinary ice cube trays may not suit hot caramel.
- Different thickness: A smaller dish produces deeper pieces, while a larger dish spreads the mixture into a thinner layer.
Cooling, Cutting, Wrapping, and Storage
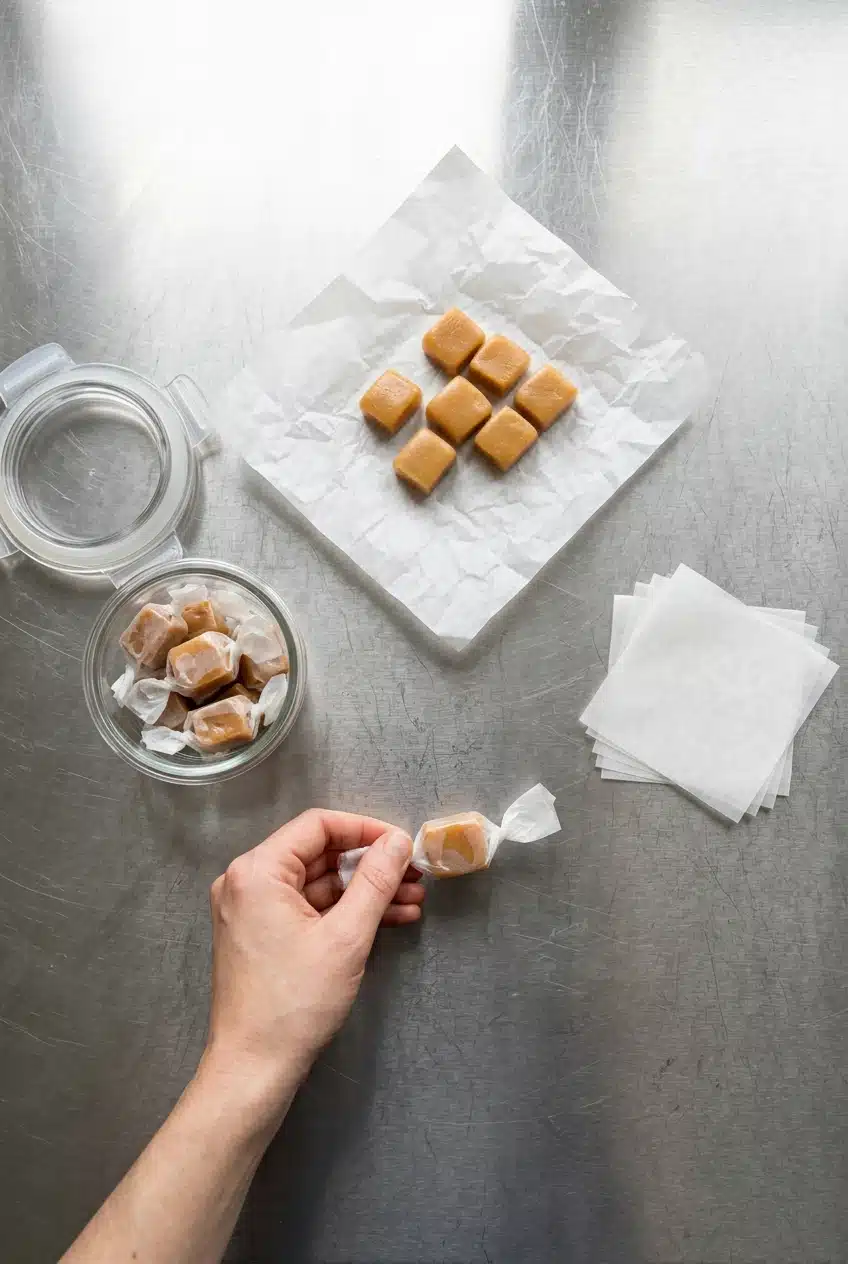
Let the slab cool completely before handling it. Cutting too soon encourages stretching, sticking, and edges that lose their shape.
Pan Lining and Clean Slicing
Buttering the dish directly follows the method above. As an optional release aid, parchment gives you an overhang for lifting the cooled slab out. Foil can also provide lifting edges, but it may wrinkle and need careful peeling.
If you choose cooking spray instead of butter for the dish, avoid leaving a visible puddle, which can make the candy’s surface greasy. For cleaner cutting, optionally chill the fully cooled slab until easier to handle, then use a lightly buttered sharp knife.
I’d choose parchment when tidy edges matter most, because lifting the slab out makes it easier to cut without working against the sides of the dish.
Wrapping and Storage Best Practices
Wrap cooled pieces individually in parchment or waxed paper squares and turn the ends closed. Both work as wrappers; plain paper tends to cling. If you leave pieces unwrapped, separate the layers with parchment so they don’t join back together.
Keep the candies in an airtight container, protected from heat and moisture. Wrapping controls sticking, but it doesn’t establish shelf life. For room-temperature versus refrigerated storage limits, use guidance specific to homemade dairy caramels rather than borrowing the shelf life of packaged candy.
Serving and Gifting Ideas
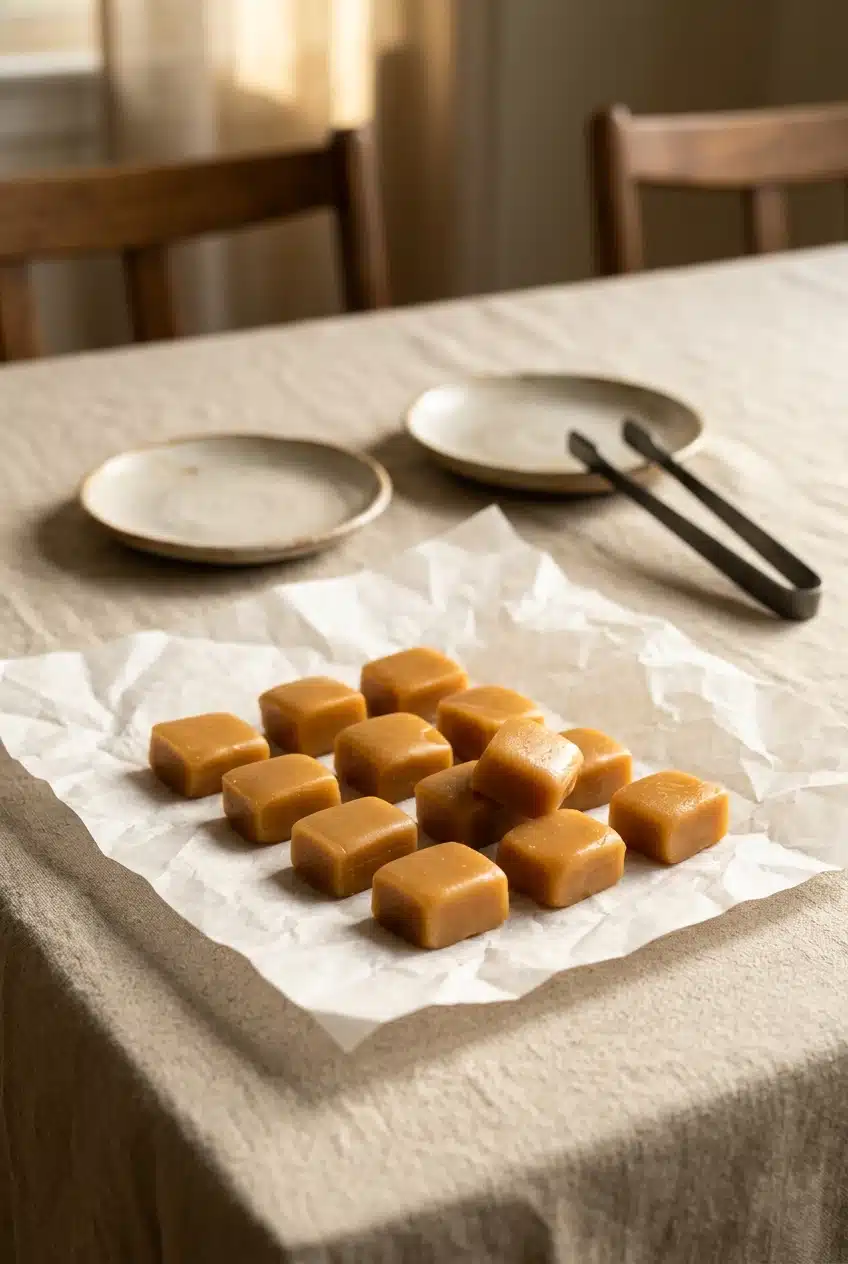
Let refrigerated pieces soften slightly at room temperature before serving for a more yielding chew.
- Gift tins and treat plates: Arrange individually wrapped pieces alongside homemade Texas fudge for a contrasting candy assortment.
- Decorated candy boxes: Keep chocolate-finished or nut-topped pieces in a single layer to protect their toppings.
- Baking: Use plain, unwrapped pieces in recipes that call for store-bought caramels, matching the amount requested by that recipe rather than assuming each piece weighs the same.
Heat softens caramel, so consider transport conditions before choosing it for a mailed gift. Pretty wrappers won’t keep a warm package firm.
Final Thoughts on Homemade Caramels
One-bowl cooking makes these buttery candies approachable, while careful stirring and complete cooling help deliver a smooth, chewy result. Keep the ingredient quantities and heating schedule close at hand.
Use the optional cold-water check when you’re unsure about texture, and take your time handling the hot bowl. Once the slab has set, cut, wrap, and enjoy that rich caramel chew.
Frequently Asked Questions
How Do You Test Microwave Caramels for Doneness Without a Candy Thermometer?
Drop a small spoonful into ice water and let it cool before touching it. Gather the sample into a ball. It should stay together while remaining soft and pliable, rather than dissolving into strands.
Why Did My Microwave Caramels Turn Out Too Soft or Too Hard?
Too-soft caramel usually needs more cooking; overly hard caramel often cooked too far. Microwave power differences can cause either result. Use the stated schedule as a starting point and check a cooled sample before pouring. Judge chilled candies again after they soften slightly.
Can You Microwave Sweetened Condensed Milk Into Caramel by Itself?
Sweetened condensed milk alone won’t make these sliceable, chewy candies. It’s associated with softer dulce de leche-style preparations. For this texture, keep the butter, sugars, and corn syrup in the formula rather than using the same heating schedule for condensed milk alone.
How Do You Melt Caramel or Hard Candy in the Microwave?
Melting existing candy is different from making this recipe. For packaged caramels, follow the package’s microwave directions and stir as directed. Hard candy needs its own product-specific melting instructions. Don’t apply this caramel recipe’s heating schedule to it.
How Should You Wrap and Store Microwave Caramels?
Wrap completely cooled pieces individually in parchment or waxed paper, then place them in an airtight container. Keep pieces separated and protected from heat and moisture. Use storage guidance specific to homemade dairy caramels for shelf-life decisions.
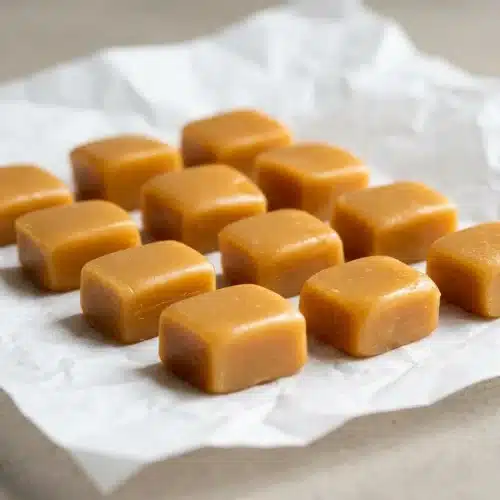
Microwave Caramels

Equipment
- Large microwave-safe bowl
- small baking dish
Ingredients
- ¼ cup unsalted butter
- ½ cup granulated sugar
- ½ cup brown sugar
- ½ cup corn syrup ((Karo Syrup))
- ¼ teaspoon salt
- ½ cup sweetened condensed milk
- Salt
- Chocolate
Instructions
- Combine the butter, granulated sugar, brown sugar, corn syrup, measured salt, and sweetened condensed milk in a large microwave-safe bowl. Choose a bowl deep enough to leave plenty of empty space above the mixture as it bubbles.
- Heat at high power for 6–7 minutes total, interrupting cooking every 90 seconds to stir thoroughly. The mixture will become bubbling and glossy, and stirring helps distribute heat throughout the bowl.
- Carefully transfer the hot caramel to a small buttered dish, let it cool completely, and then slice it into small squares. The slab should hold its shape rather than flow or pull into warm, sticky ribbons.
- Finish the cut candies with a chocolate drizzle and sea salt, if desired. A light scattering of salt gives contrast without covering the buttery caramel flavor.