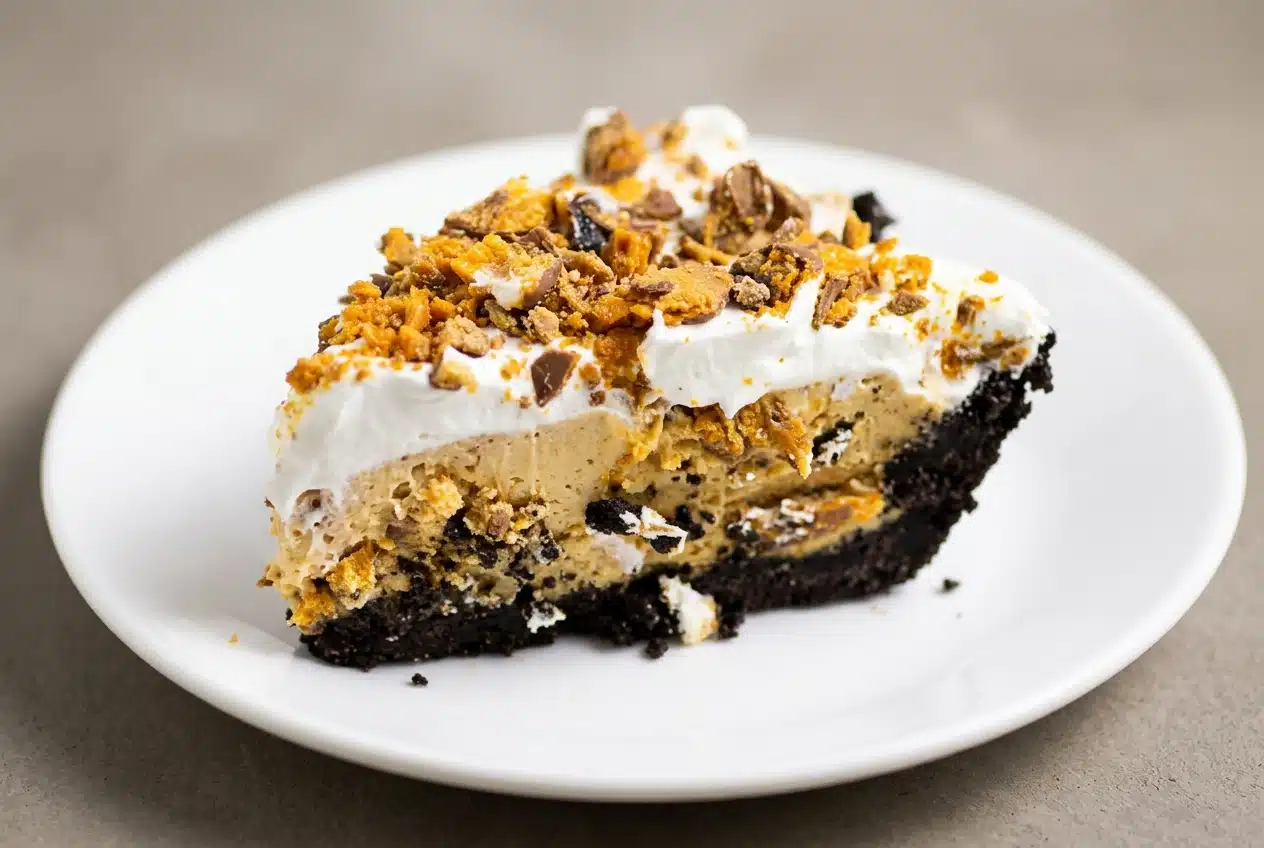
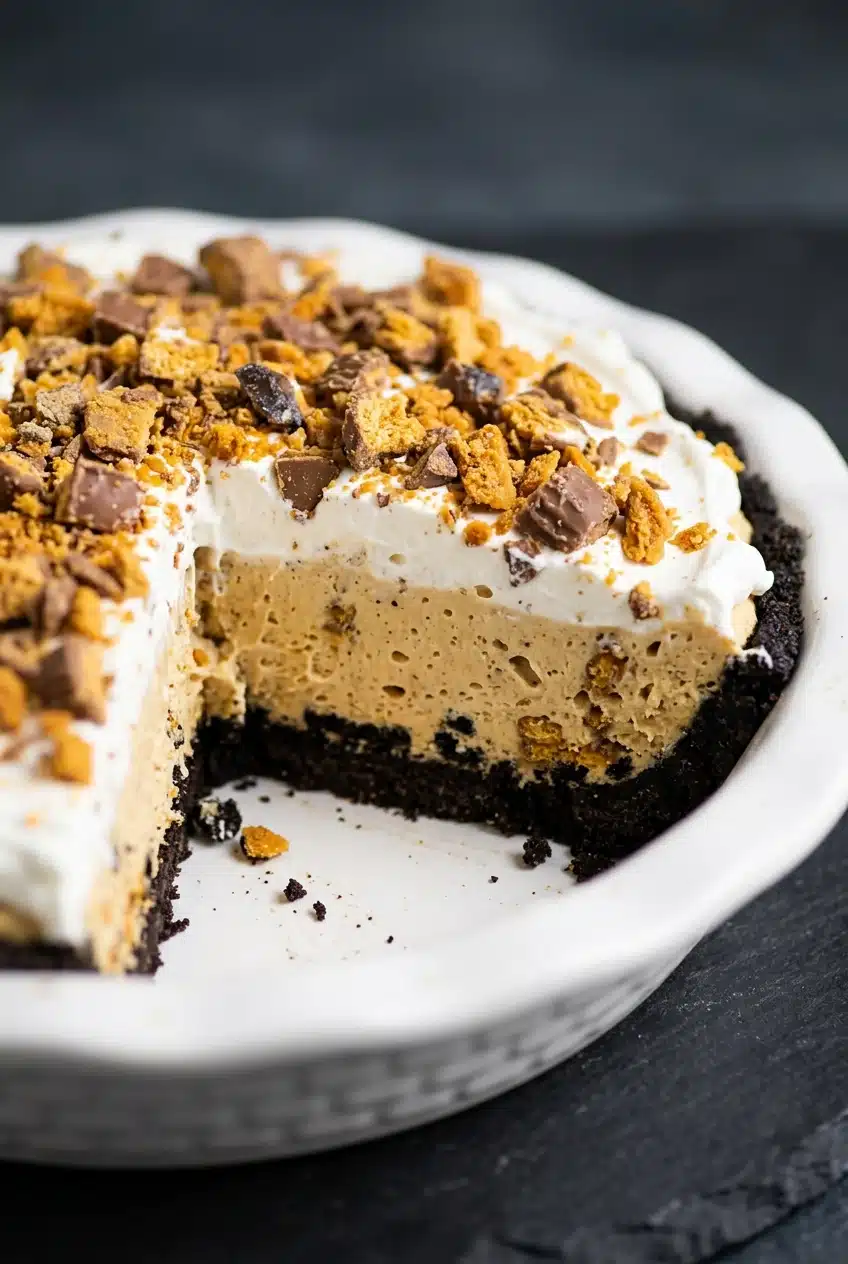
This butterfinger pie is a no-bake dessert with a creamy peanut butter and cream cheese filling, chopped candy bars, and an Oreo crust. Whipped topping keeps it airy, while refrigerator chilling firms the filling into sliceable wedges with plenty of candy crunch.
Think of it as a peanut butter candy bar turned into a chilled pie: chocolate underneath, fluffy filling in the middle, and crisp Butterfinger pieces throughout.
You’ll spend about 20 minutes preparing it, then let the refrigerator finish the job. It makes 12 slices for birthdays, holidays, or a dessert table. The trick is keeping that crunch.
Have the cream cheese softened and the whipped topping fully thawed before mixing so neither leaves lumps in the filling.
Key Ingredients and Crust Choices
Cream cheese gives the filling structure and tang, peanut butter adds richness, and whipped topping brings airiness. Powdered sugar sweetens smoothly, vanilla rounds out the flavor, and the chocolate crust and Butterfinger pieces provide contrasting crunch.
- 1 Oreo crust (prepared)
- 8 ounces cream cheese ((1 block))
- ½ cup creamy peanut butter
- 1 teaspoon vanilla extract
- 1 cup powdered sugar
- 12 ounces Butterfingers (coarsely chopped)
- 1 container Cool Whip ((8 ounces) thawed, divided)
The cream cheese and peanut butter form the filling’s backbone. Cool Whip lightens that dense mixture and supplies the fluffy top layer, while chopped candy carries chocolate and crisp peanut butter flavor through every slice.
Choosing Cream Cheese, Peanut Butter, and Candy Bars
Choose full-fat block cream cheese rather than a whipped spread. Let it reach room temperature for smoother mixing. Conventional creamy peanut butter works better here than a separating natural variety, which can make the filling looser.
For full-size bars, fun-size bars, or packaged candy pieces, go by the listed weight rather than a bar count. Package sizes vary. Keep distinct pieces instead of crushing everything into dust.
I’d save the larger candy shards for the top and use the finer crumbs in the filling, where they distribute flavor without making slicing awkward.
Oreo Versus Graham Cracker Crust Swap
An Oreo crust gives the peanut butter filling a bold chocolate contrast. Graham cracker crust tastes milder and honeyed, while shortbread offers a buttery alternative.
A prepared crust saves assembly time; a homemade crust lets you control the crumb texture. Follow its preparation directions, and check its capacity before filling because crust depth varies.
How to Make No-Bake Butterfinger Pie
Build a completely smooth peanut butter mixture before adding the airy ingredients. Allow at least 4 hours for chilling, bringing the total preparation and setting time to about 4 hours 20 minutes.
- Follow the preparation directions for your Oreo crust, then refrigerate it while you mix the filling.
The chilled shell should feel firm rather than loose and crumbly. - Use a large mixing bowl to beat the cream cheese with the peanut butter, scraping the sides as needed.
Stop when the mixture looks uniform and glossy, without tiny white cream cheese specks. - Beat the vanilla and powdered sugar into the peanut butter mixture until evenly incorporated.
The filling should look smooth, with no dry sugar pockets along the bowl. - Reserve ⅓ cup of chopped Butterfingers, then gently fold the remaining candy and half the Cool Whip into the filling.
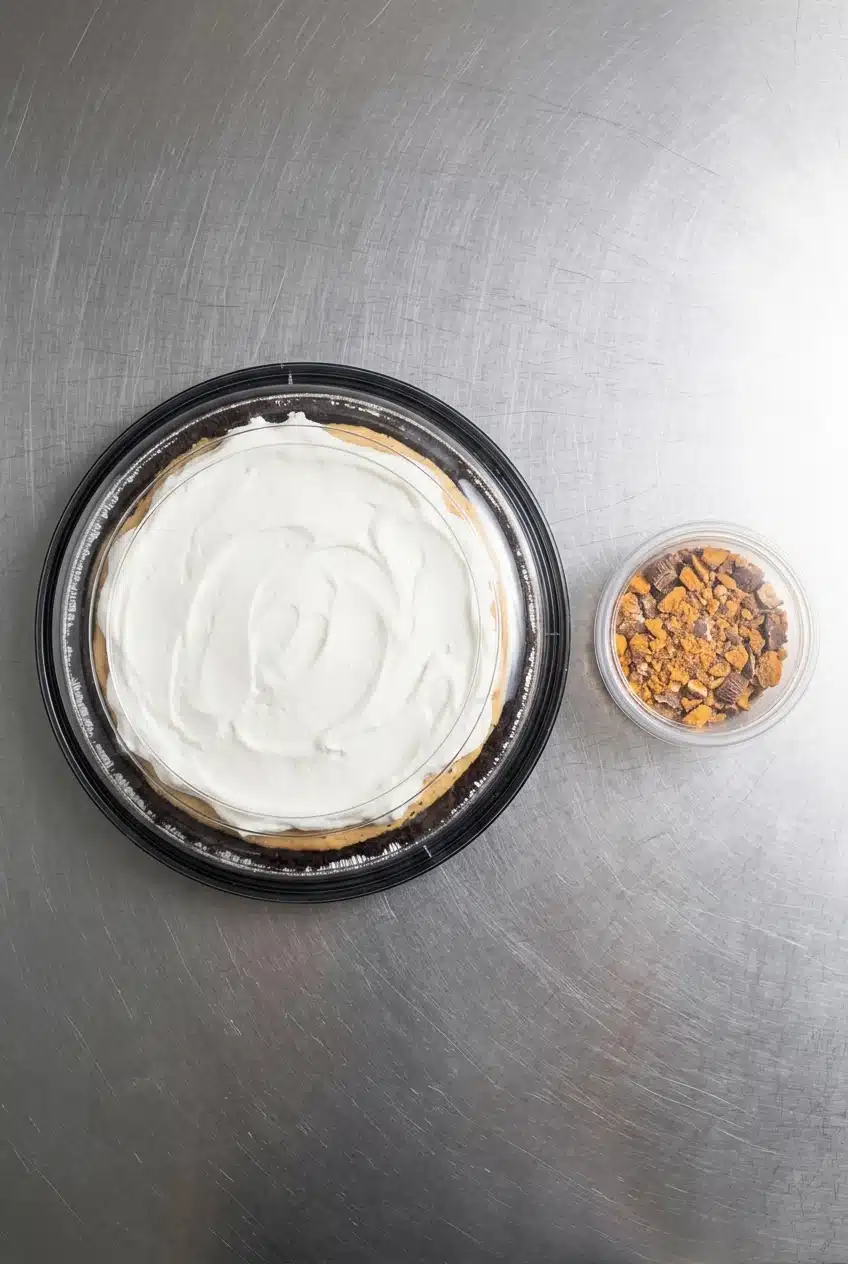
Use broad spatula strokes until the candy is distributed and no white ribbons remain. - Fill the chilled crust evenly, cover the filling with the remaining Cool Whip, and finish with the reserved candy.
The surface should have an even whipped layer with candy scattered across it. - Let the assembled pie set in the refrigerator for at least 4 hours before cutting.
The filling should hold its shape when you lift out a wedge.
Expert Tips for Creamy Texture and Clean Slices
Most texture problems begin with ingredient consistency or rushed chilling. These adjustments help prevent them.
- Lumpy filling: Cold cream cheese can leave white flecks, so soften it before mixing and finish beating the peanut butter mixture before adding whipped topping.
- Soft wedges: Whipped cream cheese, separating peanut butter, or insufficient chilling can weaken the filling; use the recommended ingredient styles and complete the chilling step.
- Candy dust: Heavy crushing destroys the chunks, so tap unwrapped bars gently inside a sturdy sealed bag with a rolling pin, or pulse briefly in a food processor.
- Crumbly edges: A loose crust or dragging knife can break the shell; keep the crust chilled and dip a sharp knife in warm water, wiping it dry between cuts.
- Soft candy garnish: Contact with the topping gradually reduces crunch, so optionally hold the reserved garnish separately and scatter it on just before serving.
Popular Candy Bar Pie Variations
These optional styles change the flavor or structure, so keep them separate from the ingredient quantities and method above. Chopped peanut butter or toffee candy bars offer another flavor direction; for a different candy dessert, try Twix cake.
Homemade Whipped Cream Substitution
Freshly whipped heavy cream can replace whipped topping for a richer dairy flavor. Its stability can differ from Cool Whip, so don’t assume an identical set or improvise a cup-for-container conversion.
Chocolate Pudding Layered Butterfinger Pie
An optional chilled chocolate pudding layer brings a deeper chocolate flavor and a softer, layered texture. It also adds filling volume, so crust capacity matters more than with the single-filling version.
Minimal-Ingredient Graham Cracker Version
Streamlined versions emphasize cream cheese, whipped topping, and candy in a graham cracker crust, sometimes without added peanut butter. That produces a more candy-led flavor, but it’s a different formula rather than a reason to omit ingredients above.
Baked Pecan-Style Butterfinger Pie
Baked pecan-style versions use a denser, custard-like filling with candy crunch. They’re distinct from this fluffy refrigerator pie and require their own baking formula; don’t bake the filling given here.
Make-Ahead and Storage
The required refrigerator set makes this pie convenient to assemble before serving. Plan around that chilling step rather than trying to hurry it.
Keep the pie covered in the refrigerator, protecting the whipped surface with a pie carrier or a cover that doesn’t press against it. Refrigerate leftovers promptly, and keep any delayed candy garnish in a separate airtight container to protect its texture.
Allergens and Ingredient Substitutions
This pie includes peanut and dairy ingredients, and traditional chocolate cookie crusts commonly contain wheat. Check current labels on the candy, crust, peanut butter, and whipped topping for ingredient and allergen statements, including soy.
For a gluten-free adaptation, consider a crust made with certified gluten-free cookies or graham crackers, then verify every other ingredient as well. A crust swap alone doesn’t establish that the finished dessert meets someone’s dietary needs.
Serving Suggestions and Garnishes
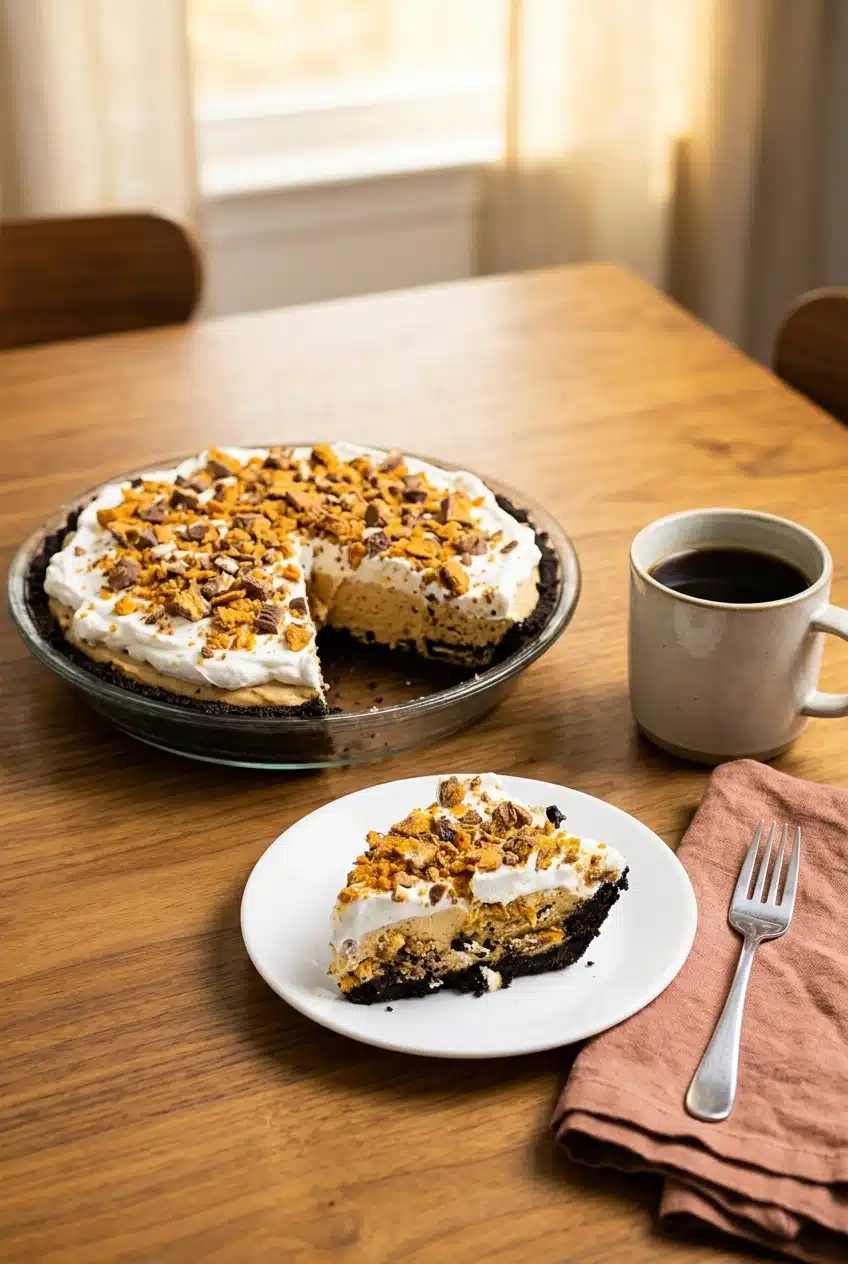
Serve the pie chilled so the filling supports the crust when lifted. For birthdays, summer gatherings, or holiday meals, cut the planned 12 slices with a clean knife.
- Add reserved Butterfinger pieces just before plating for the crispest garnish.
- Choose an optional light chocolate drizzle or scattered chocolate chips for extra chocolate flavor.
- Pair a rich slice with coffee or cold milk to keep the accompaniment uncomplicated.
For a holiday dessert spread, creamy eggnog pie offers a different flavor alongside the peanut butter and chocolate.
Final Thoughts on This Classic Candy Bar Pie
This no-bake pie balances creamy peanut butter filling, chocolate cookie crust, and crisp candy pieces. A smooth mixture and a complete chill make the biggest difference to neat wedges.
Choose the crust flavor you enjoy, plan for the refrigerator set, and save the final candy garnish for serving if crunch matters most. There’s plenty of texture in every chilled slice.
Frequently Asked Questions
Should I Use an Oreo Crust or a Graham Cracker Crust for Butterfinger Pie?
Choose Oreo for a stronger chocolate contrast. Choose graham cracker for a milder crust that lets the peanut butter stand out.
Can I Substitute Homemade Whipped Cream for Cool Whip?
Yes, homemade whipped cream is an optional alternative with a richer dairy flavor. Expect possible differences in firmness, and use a substitution formula rather than guessing the amount.
How Do I Crush Butterfingers Without Turning Them Entirely Into Powder?
Tap the unwrapped bars gently inside a sturdy sealed bag with a rolling pin. Alternatively, use brief food processor pulses and stop while visible chunks remain.
Can Butterfinger Pie Be Made Ahead?
Yes, assemble it with enough time to complete the required refrigerator set before serving. Keep it covered and chilled, and optionally delay the reserved candy garnish to preserve crunch.
Is Butterfinger Pie Gluten-Free?
Don’t assume so, especially with a traditional chocolate cookie crust. Use an appropriate gluten-free crust and verify current labels for every filling and topping ingredient.

Butterfinger Pie

Equipment
- Large Mixing Bowl
- Electric Mixer
- Spatula
Ingredients
- 1 Oreo crust prepared
- 8 ounces cream cheese (1 block)
- ½ cup creamy peanut butter
- 1 teaspoon vanilla extract
- 1 cup powdered sugar
- 12 ounces Butterfingers coarsely chopped
- 1 container Cool Whip (8 ounces) thawed, divided
Instructions
- Follow the preparation directions for your Oreo crust, then refrigerate it while you mix the filling. The chilled shell should feel firm rather than loose and crumbly.
- Use a large mixing bowl to beat the cream cheese with the peanut butter, scraping the sides as needed. Stop when the mixture looks uniform and glossy, without tiny white cream cheese specks.
- Beat the vanilla and powdered sugar into the peanut butter mixture until evenly incorporated. The filling should look smooth, with no dry sugar pockets along the bowl.
- Reserve ⅓ cup of chopped Butterfingers, then gently fold the remaining candy and half the Cool Whip into the filling. Use broad spatula strokes until the candy is distributed and no white ribbons remain.
- Fill the chilled crust evenly, cover the filling with the remaining Cool Whip, and finish with the reserved candy. The surface should have an even whipped layer with candy scattered across it.
- Let the assembled pie set in the refrigerator for at least 4 hours before cutting. The filling should hold its shape when you lift out a wedge.