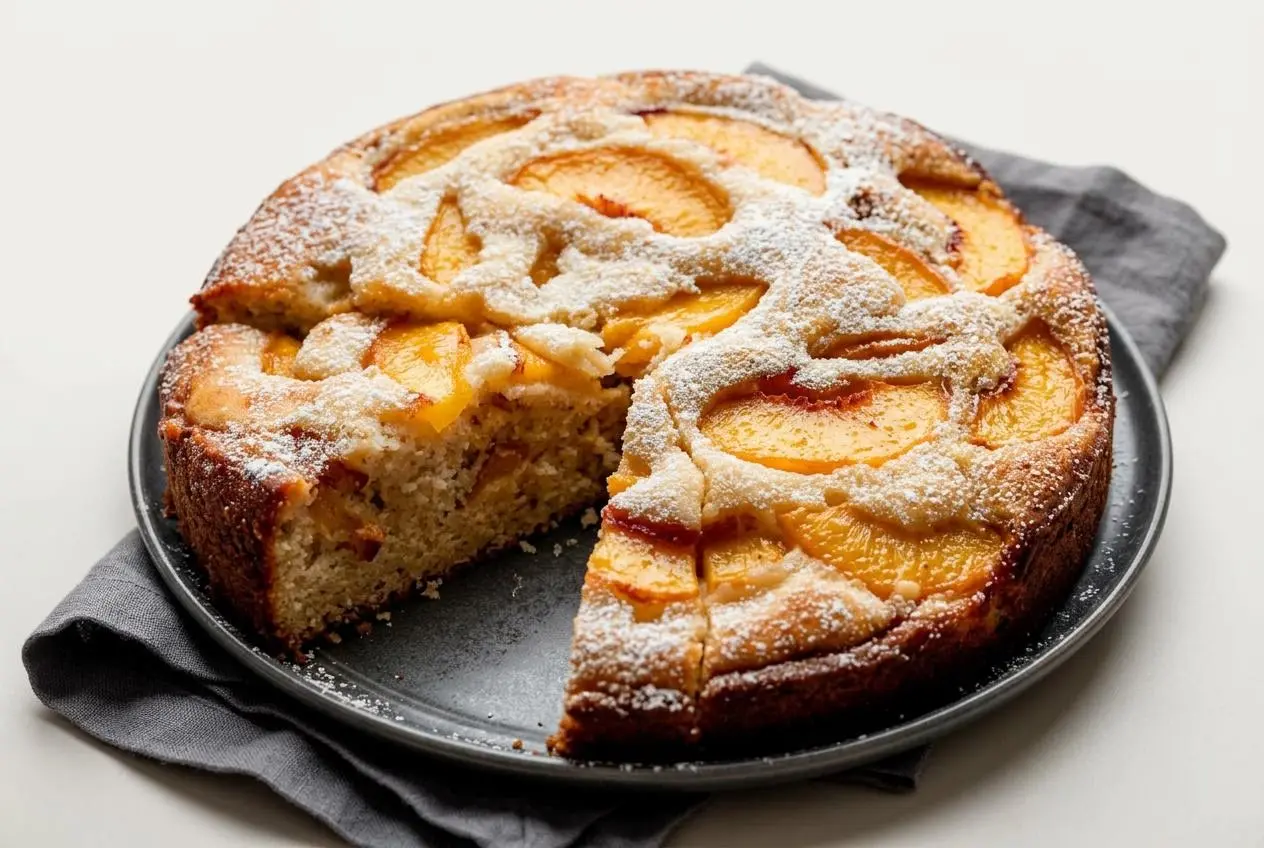
Fresh Peach Cake turns out soft and flavorful when you use ripe but firm peaches, whisk the batter gently, and layer the fruit so the cake bakes up tender with warm cinnamon and sweet peach aroma.
This is a single-layer summer cake with a plush crumb, juicy fruit, and a batter that comes together with a whisk instead of a mixer. The oil and Greek yogurt do a lot of heavy lifting here.
It’s approachable, forgiving, and especially good when you want peach dessert without peeling a pile of fruit. The foil tent and fruit layering make all the difference.
Use room temperature eggs and yogurt so the batter stays smooth instead of looking slightly curdled.
Why This Fresh Peach Cake Works
This cake works because each main ingredient solves a real baking problem. Peaches bring plenty of juice, so the batter needs enough structure to hold them without turning gummy or dense.
Oil gives the crumb lasting softness in a way butter often doesn’t. Because oil stays fluid at room temperature, the cake keeps a moist, tender texture even after it has cooled completely. That same approach also works beautifully in a fresh apple cake when you want the fruit to stay front and center.
Greek yogurt adds more than tang. Its acidity helps soften the flour’s gluten so the crumb stays tender, while its thickness gives the batter body. That matters in a fruit cake, where extra moisture from peaches can otherwise weaken the structure.
The small amount of baking soda works with that acidity, while the baking powder gives extra lift. Together they help the cake rise evenly instead of struggling under the weight of the fruit.
Vanilla rounds out the sweetness, but almond extract is the quiet star. Peaches and almond naturally taste good together, so even 1/2 teaspoon makes the cake smell a little more bakery-style and a little less flat. Lemon juice and zest brighten everything so the peach flavor tastes fresher, not sugary.
Ingredients
Each ingredient has a clear job here, from building a soft crumb to balancing juicy fruit with lift, tang, spice, and a little brightness.
- 1 and 1/2 cups (188g) all-purpose flour (spooned & leveled)
- 1 teaspoon baking powder
- 1/4 teaspoon baking soda
- 1/4 teaspoon salt
- 1/2 cup (120ml) oil (olive oil, vegetable oil, or melted coconut oil)
- 2/3 cup (133g) granulated sugar, plus 1 Tablespoon for the peaches
- 2 large eggs, at room temperature
- 3/4 cup (180g) plain Greek yogurt, at room temperature
- 1 teaspoon pure vanilla extract
- 1/2 teaspoon almond extract
- 1 Tablespoon lemon juice
- 1 teaspoon lemon zest
- 2 cups (about 300–320g) sliced fresh peaches (peeled or unpeeled; about 3 peaches)
- 1/2 teaspoon ground cinnamon
- confectioners’ sugar for topping
Flour gives the cake shape, and the gram weight is especially useful if you have a digital food scale because too much flour can make the crumb heavy. Oil keeps the texture soft, while Greek yogurt adds tang, tenderness, and enough body to support the fruit.
Almond extract deepens the peach flavor in a way vanilla alone can’t quite do. Lemon juice and zest keep the sweetness lively, cinnamon warms the fruit, and the extra tablespoon of sugar helps the peaches release flavor before they go into the pan.
I always set the eggs and yogurt out first for this cake because room temperature dairy and eggs whisk into a smoother, creamier batter with less chance of curdling.
How to Make Fresh Peach Cake
- Heat the oven to 350°F (177°C) and grease a 9-inch springform pan well.
The springform makes release easier, especially with juicy fruit baked into the layers. - Whisk the flour, baking powder, baking soda, and salt in a large bowl until everything is evenly distributed.
This dry mix should look uniform with no streaks of leavening left behind. - In a separate medium bowl, whisk the oil, 2/3 cup (133g) sugar, eggs, yogurt, vanilla extract, almond extract, lemon juice, and lemon zest until smooth, then whisk that mixture into the dry ingredients just until combined.
The batter should look thick, creamy, and slightly glossy, not lumpy or overworked. - Toss the peach slices with 1 Tablespoon of sugar in a medium bowl, then divide them between two bowls and stir cinnamon into one half.
The fruit should be lightly coated and fragrant, with the cinnamon batch evenly dusted. - Spread half the batter into the prepared pan, layer the cinnamon peaches over it, cover with the remaining batter, and finish with the plain sugared peaches on top.
Try to keep the layers even so the center bakes through at the same pace as the edges. - Bake for 50–55 minutes, and at about 30 minutes loosely tent the pan with aluminum foil so the top does not brown too quickly.
The kitchen will smell warm and peachy, and the cake should look deeply golden by the end. - Check the center with a toothpick, testing more than one spot before pulling the cake from the oven.
If one test hits a peach pocket, check again nearby since fruit can make one area look wetter than the cake actually is. - Set the pan on a wire rack and cool the cake for at least 30 minutes before slicing, or let it cool completely, then dust with confectioners’ sugar if desired.
The crumb will settle as it cools, making the slices cleaner and easier to lift. - Cover any leftover cake and keep it at room temperature for 2 days or in the refrigerator for up to 5 days.
The crumb stays softest when the cake is well covered so it does not dry out.
How to Prepare Peaches for Baking (No Peeling Required)
If peeling peaches is the part that slows you down, you can skip it here. The skins soften in the oven and turn tender enough that they blend right into the cake while adding pretty bits of color throughout the fruit.
Choose peaches that smell fragrant and give just slightly when pressed. Very hard peaches can taste flat, but overly soft or mealy ones release too much juice and can leave damp pockets in the crumb.
Wash and dry the peaches well, then slice around the pit and cut them into even wedges or thick slices. Even pieces bake more predictably. While you prep the fruit, it also helps to weigh your flour if you can. A digital food scale is the easiest way to avoid packing in too much flour, which can turn a tender cake dry.
If you end up with extra ripe fruit, smoky grilled peaches are another good way to use them up.
The Slicing Cheat Sheet: Freestone vs. Clingstone Peaches
Freestone peaches are the easiest for baking because the flesh separates cleanly from the pit. You can twist, slice, and move on without bruising the fruit.
Clingstone peaches hold tightly to the pit, so they take more knife work and a gentler hand. They can still be used, but the slices are often less neat and the prep takes longer. If you’re shopping specifically for cake, freestone is the stress-free choice.
Quick Ripening Hack: The Paper Bag Method
If your peaches are still firm and not very aromatic, place them in a brown paper bag on the counter. Fold the top loosely so the fruit can trap some of its natural ripening gas without getting steamy.
Check them daily and use them once they smell sweet and yield slightly when pressed. Don’t wait until they are very soft. For cake, ripe but still sturdy peaches hold their shape better in the batter.
Baking Secrets: How to Prevent a Soggy Center
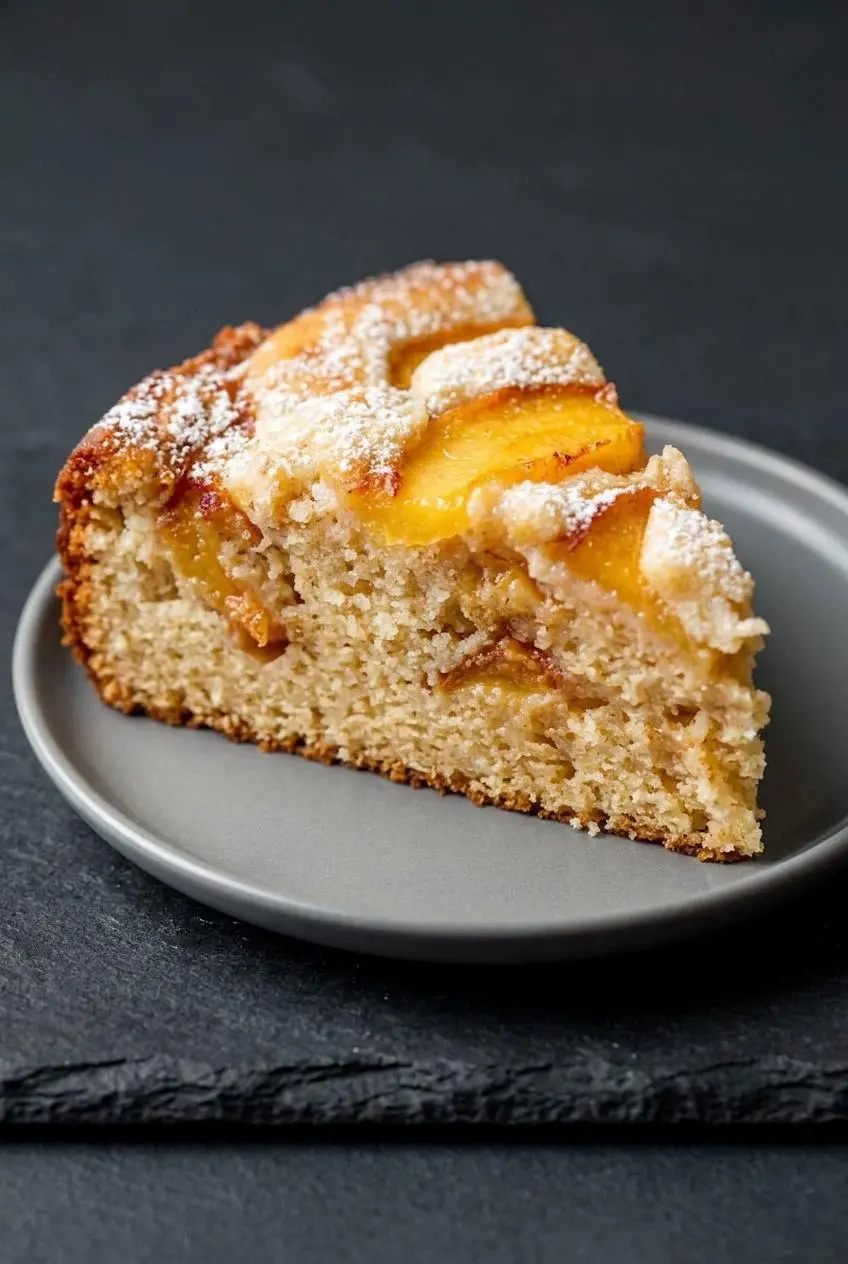
A peach cake usually goes wrong in the middle for one reason: too much moisture in one spot. The fix is a mix of smart fruit prep, even layering, and patience at the end of baking.
- Use peaches that are ripe but still firm. Very soft fruit releases extra juice fast.
- Don’t overmix once the flour goes in. A tough batter traps fruit poorly and bakes less evenly.
- Spread the batter all the way to the edges before adding fruit so the cake has support underneath each layer.
- Don’t overload the top with heavy slices. Too much fruit in one area weighs down the center and slows baking.
- Check doneness in multiple spots. One wet peach pocket can fool a single toothpick test.
Tossing Peaches in Flour
If your peaches tend to sink, coat them lightly in flour before folding or layering them into the batter. A tablespoon is usually enough to give the batter something to grip, which helps keep the fruit from sliding to the bottom.
This is especially helpful if the peaches are extra juicy after slicing. You do not need to rewrite the whole recipe to use this trick. Just toss the fruit lightly, shake off any excess, and proceed with the same layering method.
Using Canned or Frozen Peaches
Yes, you can use them when fresh peaches are out of season, but moisture control matters even more. Thaw frozen peaches completely, then pat them very dry with paper towels before using. With canned peaches, drain them well and blot away as much surface moisture or syrup as possible.
After drying, slice or trim the fruit if needed so the pieces are close in size to fresh peach slices. If they still seem quite wet, a light flour coating can help them behave better in the batter. Skip fruit packed in heavy syrup if you want the cleanest peach flavor.
Testing for Doneness: Toothpicks and Temperature Checks
A toothpick is still useful here, but check more than one spot because it can slide into a juicy peach pocket and come out wetter than the cake really is. Look for moist crumbs or a mostly clean pick from the center and the area just next to it.
The top should be golden, the center should look set rather than shiny, and the cake should spring back lightly when touched. If you like using an instant-read thermometer, treat it as a backup check rather than a hard rule since exact cake temperatures can vary with fruit placement and pan material.
Springform vs. Skillet vs. Bundt Pans
The 9-inch springform pan is the safest option for this cake. It makes layering easy, supports the soft batter well, and releases the finished cake with less risk of tearing around juicy fruit pockets.
A skillet can work if it is similar in size and well greased, but the cake may bake a little differently depending on the material and depth. Keep a close eye on the center.
Bundt pans are the fussiest choice here. Fresh fruit can stick where it touches the sides and detailed curves, and a wetter batter is harder to unmold cleanly. If you specifically want a denser tube-pan style dessert, a peach cobbler pound cake is a better match for that shape.
Optional Cake Customizations and Stone Fruit Swaps
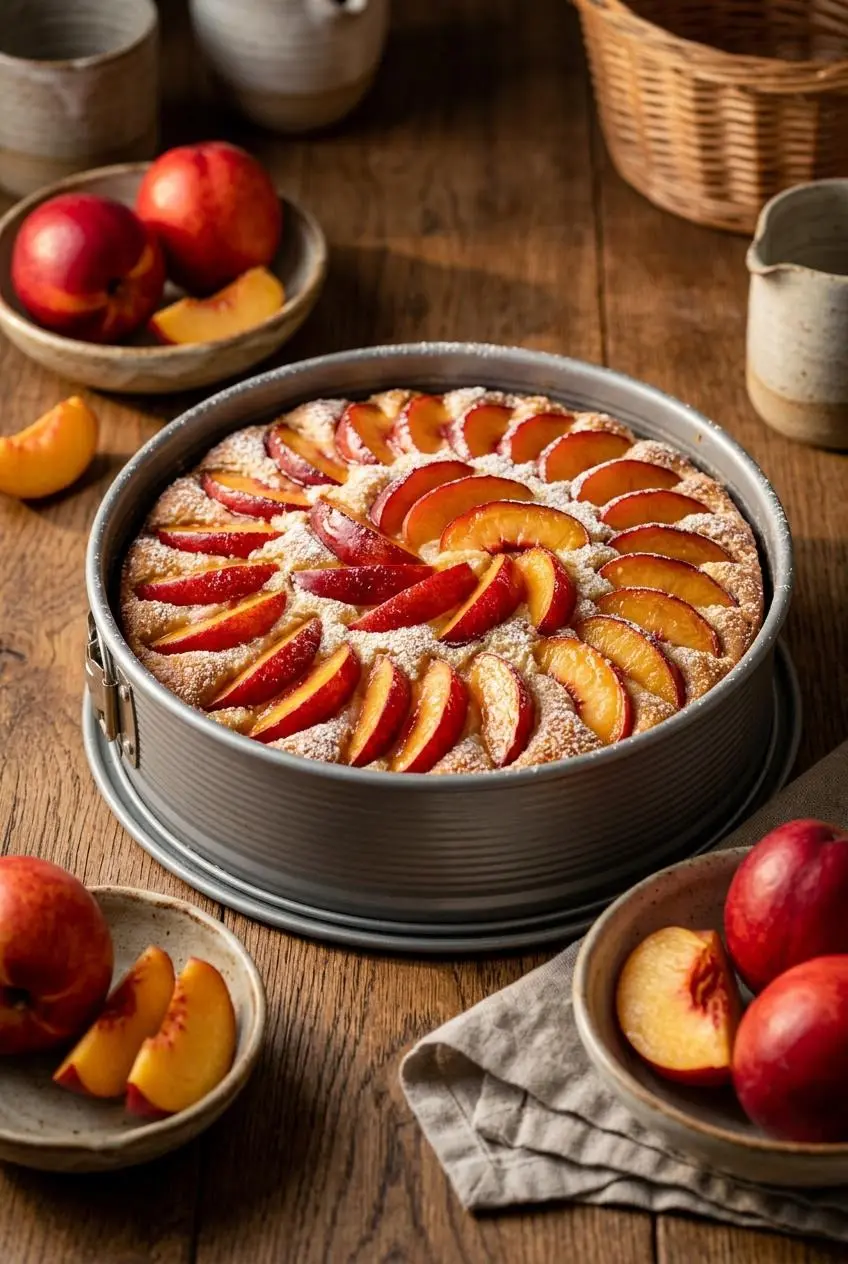
This cake is flexible, but the best changes are the ones that keep the same soft structure and fruit balance. Keep any variation gentle so the batter can still support the peaches.
Nectarine or Apricot Cake
Nectarines are the easiest swap because they behave a lot like peaches and can be used in equal amounts. They bring a slightly deeper, more floral flavor and keep the same juicy feel.
Apricots also work, though they are usually smaller and a bit tarter. Slice them evenly and use the same total amount of fruit. Because they are less juicy than peaches, the cake can bake with a slightly lighter texture.
Gluten-Free Peach Cake
For a gluten-free version, use a good 1:1 gluten-free baking flour blend in place of the all-purpose flour. Choose one meant for cakes and muffins so the crumb stays tender rather than gritty.
The batter may look a little different, and the texture can be slightly more delicate after baking. Let the cake cool well before slicing so it has time to set.
Brown Sugar Pecan Cobbler Twist
If you want a richer, more cobbler-like version, add a light layer of brown sugar and toasted pecans in the center with the cinnamon peaches. It gives the cake a little crunch and a deeper caramel note.
For a fuller variation built around that flavor profile, try this brown sugar peach cake.
How to Store, Freeze, and Reheat Peach Cake
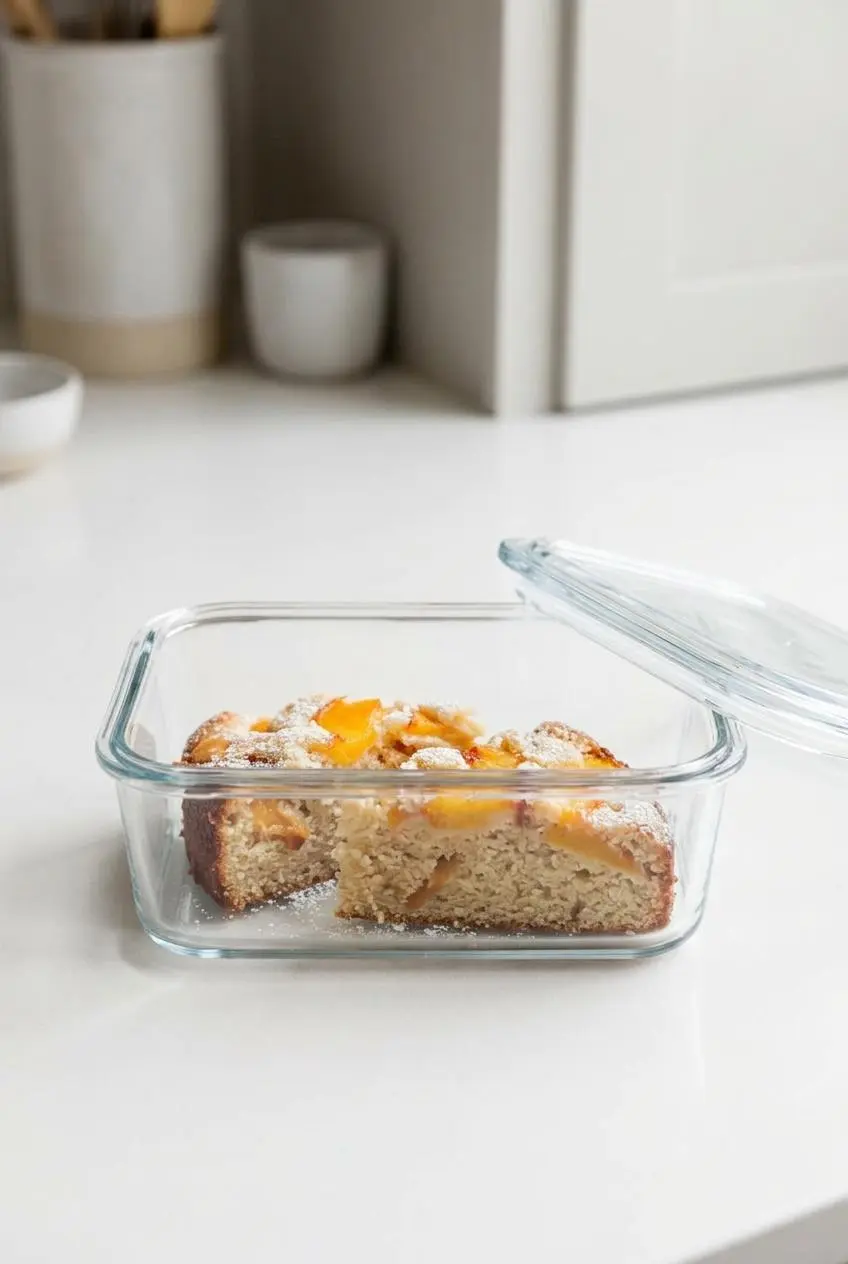
Because this cake contains fresh fruit and yogurt, keep it covered so the crumb stays tender and the fruit does not dry out. The recipe itself gives two good options: room temperature for 2 days or the refrigerator for up to 5 days.
If your kitchen runs warm, refrigerating sooner is the better call. For longer storage, you can freeze the completely cooled cake or individual slices, wrapped tightly in plastic wrap and then foil. For fresh fruit baked goods, baked fruit pies can be frozen for 6 to 8 months for best quality, so peach cake is best treated as a well-wrapped, quality-sensitive freezer dessert rather than left loosely stored.
To serve from the refrigerator, let a slice sit at room temperature briefly so the crumb softens. If you want it warm, reheat gently in short bursts or a low oven just until the center loses its chill. Too much heat can dry it out fast.
Conclusion
This peach cake earns its keep with a tender oil-based crumb, juicy layers of fruit, and a no-peel approach that makes summer baking much easier.
For the best texture, stop mixing as soon as the batter comes together and be patient with the center while it finishes baking. A little care there gives you the kind of slice that disappears quietly.
Frequently Asked Questions
Do You Have to Peel Peaches for Cake?
No. The skins soften as the cake bakes and turn tender enough that most people barely notice them. Leaving them on also saves prep time and adds nice color to the fruit layer. If you prefer peeled peaches, you can still use them. The recipe works either way.
Can I Use Canned or Frozen Peaches?
Yes. Thaw frozen peaches fully and pat them very dry before using them in the batter. Drain canned peaches well, then blot off extra moisture or syrup with paper towels. If the fruit still seems very wet, a light coating of flour can help prevent soggy spots.
Why Did My Peach Cake Sink in the Middle?
The usual causes are too much fruit moisture, underbaking, or too little flour structure from inaccurate measuring. Use ripe but firm peaches, check doneness in more than one spot, and weigh the flour if possible for the most reliable crumb. Overloading the top with too many slices can also weigh down the center.
Can I Freeze Fresh Peach Cake?
Yes. Cool the cake completely, then wrap it tightly in plastic wrap followed by foil before freezing. You can freeze the whole cake or individual slices, which makes thawing easier when you only want a portion. Thaw while still wrapped so the cake keeps more of its moisture as it comes back to room temperature.
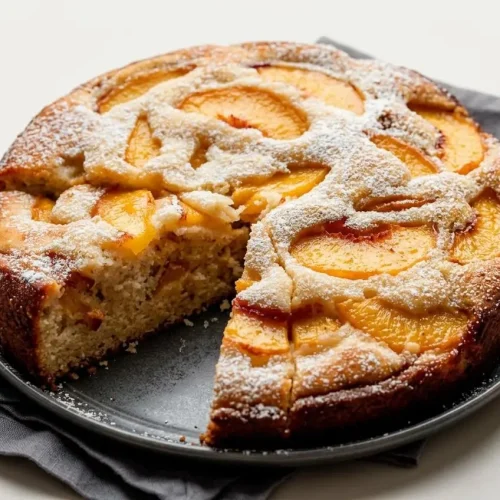
Fresh Peach Cake

Equipment
- 9-inch Springform Pan
- Glass Mixing Bowls
- Whisk
- Citrus Juicer & Zester
- Cooling Rack
- Sieve
Ingredients
- 1 1/2 cups all-purpose flour 188g; spooned & leveled
- 1 teaspoon baking powder
- 1/4 teaspoon baking soda
- 1/4 teaspoon salt
- 1/2 cup oil 120ml; olive oil, vegetable oil, or melted coconut oil
- 2/3 cup granulated sugar 133g; plus 1 Tablespoon for the peaches
- 2 large eggs at room temperature
- 3/4 cup plain Greek yogurt 180g; at room temperature
- 1 teaspoon pure vanilla extract
- 1/2 teaspoon almond extract
- 1 Tablespoon lemon juice
- 1 teaspoon lemon zest
- 2 cups sliced fresh peaches about 300–320g; peeled or unpeeled; about 3 peaches
- 1/2 teaspoon ground cinnamon
- confectioners’ sugar for topping
Instructions
- Heat the oven to 350°F (177°C) and grease a 9-inch springform pan well. The springform makes release easier, especially with juicy fruit baked into the layers.
- Whisk the flour, baking powder, baking soda, and salt in a large bowl until everything is evenly distributed. This dry mix should look uniform with no streaks of leavening left behind.
- In a separate medium bowl, whisk the oil, 2/3 cup (133g) sugar, eggs, yogurt, vanilla extract, almond extract, lemon juice, and lemon zest until smooth, then whisk that mixture into the dry ingredients just until combined. The batter should look thick, creamy, and slightly glossy, not lumpy or overworked.
- Toss the peach slices with 1 Tablespoon of sugar in a medium bowl, then divide them between two bowls and stir cinnamon into one half. The fruit should be lightly coated and fragrant, with the cinnamon batch evenly dusted.
- Spread half the batter into the prepared pan, layer the cinnamon peaches over it, cover with the remaining batter, and finish with the plain sugared peaches on top. Try to keep the layers even so the center bakes through at the same pace as the edges.
- Bake for 50–55 minutes, and at about 30 minutes loosely tent the pan with aluminum foil so the top does not brown too quickly. The kitchen will smell warm and peachy, and the cake should look deeply golden by the end.
- Check the center with a toothpick, testing more than one spot before pulling the cake from the oven. If one test hits a peach pocket, check again nearby since fruit can make one area look wetter than the cake actually is.
- Set the pan on a wire rack and cool the cake for at least 30 minutes before slicing, or let it cool completely, then dust with confectioners’ sugar if desired. The crumb will settle as it cools, making the slices cleaner and easier to lift.
- Cover any leftover cake and keep it at room temperature for 2 days or in the refrigerator for up to 5 days. The crumb stays softest when the cake is well covered so it does not dry out.