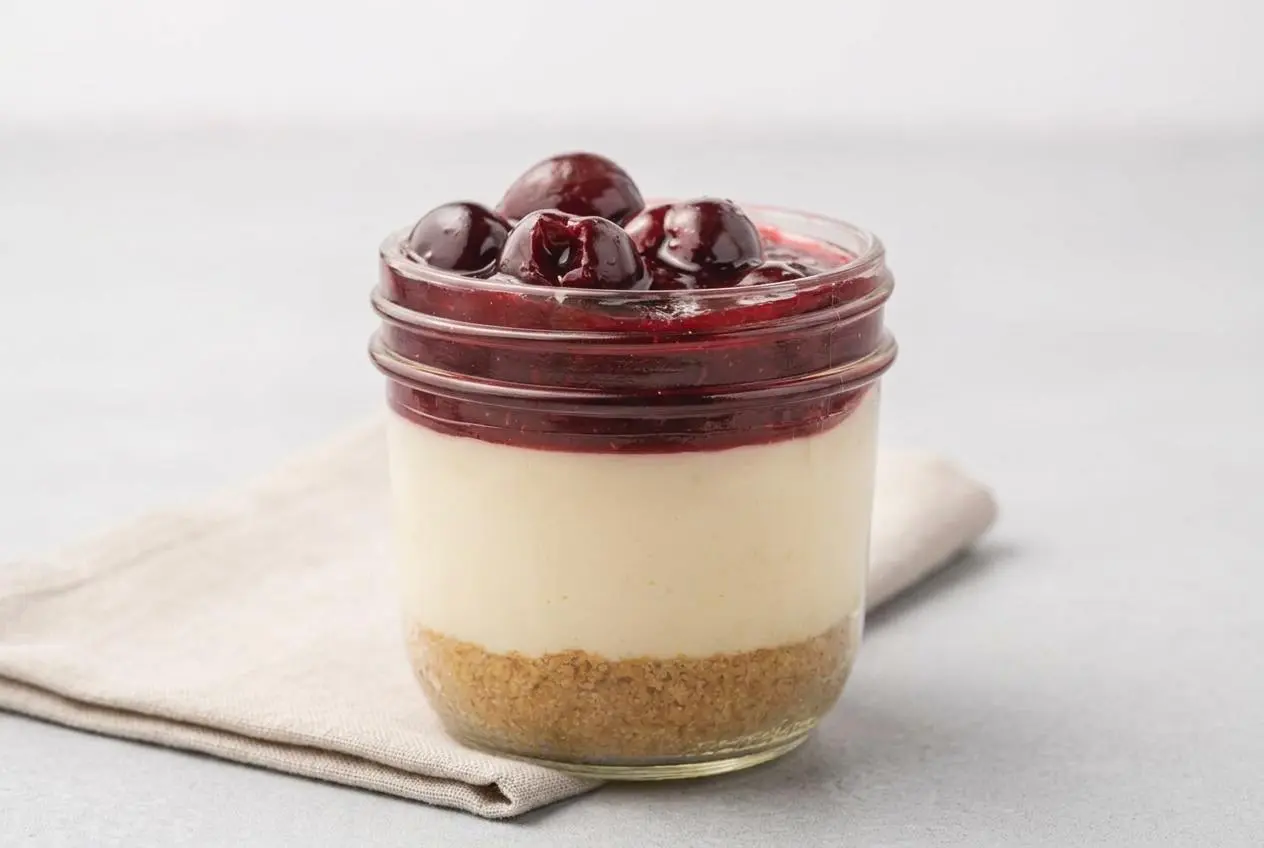
Cherry cheesecake in a jar is a no-bake dessert with a pressed graham cracker crust, creamy cheesecake filling, and fresh cherry topping. Chill the assembled jars for at least 2 hours so each layer sets before serving.
Cherry Cheesecake In a jar brings sweet, tart, buttery flavor to an easy individual dessert. The creamy filling stays rich without turning heavy, while the cherries add a bright finish.
These jars work especially well for parties because everyone gets a tidy portion with a spoonful of every layer. The glossy cherry topping makes the final bite.
Set the cream cheese and sour cream out early so they lose their chill and blend into a completely smooth filling.
Key Ingredients for Cherry Cheesecake Jars
Each ingredient has a job here: the crust provides structure, the filling brings richness and tang, and the cherries add bright fruit flavor and a glossy finish.
FOR THE CRUST
- 1 1/2 cup graham cracker crumbs
- 1/4 cup granulated sugar
- 4 tablespoons melted butter
- 1/4 teaspoon salt
FOR THE CHEESECAKE FILLING
- 8 ounce package cream cheese, softened to room temperature
- 2 tablespoons granulated sugar
- 14 ounce can sweetened condensed milk
- 1/2 cup sour cream, room temperature
- 1 teaspoon lemon juice
- 1 teaspoon vanilla extract
FOR THE CHERRY TOPPING
- 3 cups fresh sweet dark cherries, pitted
- 1/4 cup granulated sugar
- 1 teaspoon lemon juice
- 1 teaspoon lemon zest
- 2 tablespoons cornstarch
- 1/4 cup water
- 1/4 teaspoon almond or vanilla extract
Room-temperature cream cheese is the difference between a silky filling and one dotted with stubborn lumps. Sweetened condensed milk gives the filling its smooth body and mellow sweetness, while sour cream and lemon juice keep that richness from tasting flat. The same approach works beautifully in a full-sized no-bake cherry cheesecake.
Fresh dark cherries make a fruitier topping with a little texture, while canned cherry pie filling is a useful shortcut when fresh cherries are unavailable.
I prefer beating the cream cheese with the sugar first, since that gives the cream cheese time to become completely smooth before the condensed milk goes in.
How to Make Cherry Cheesecake in a Jar
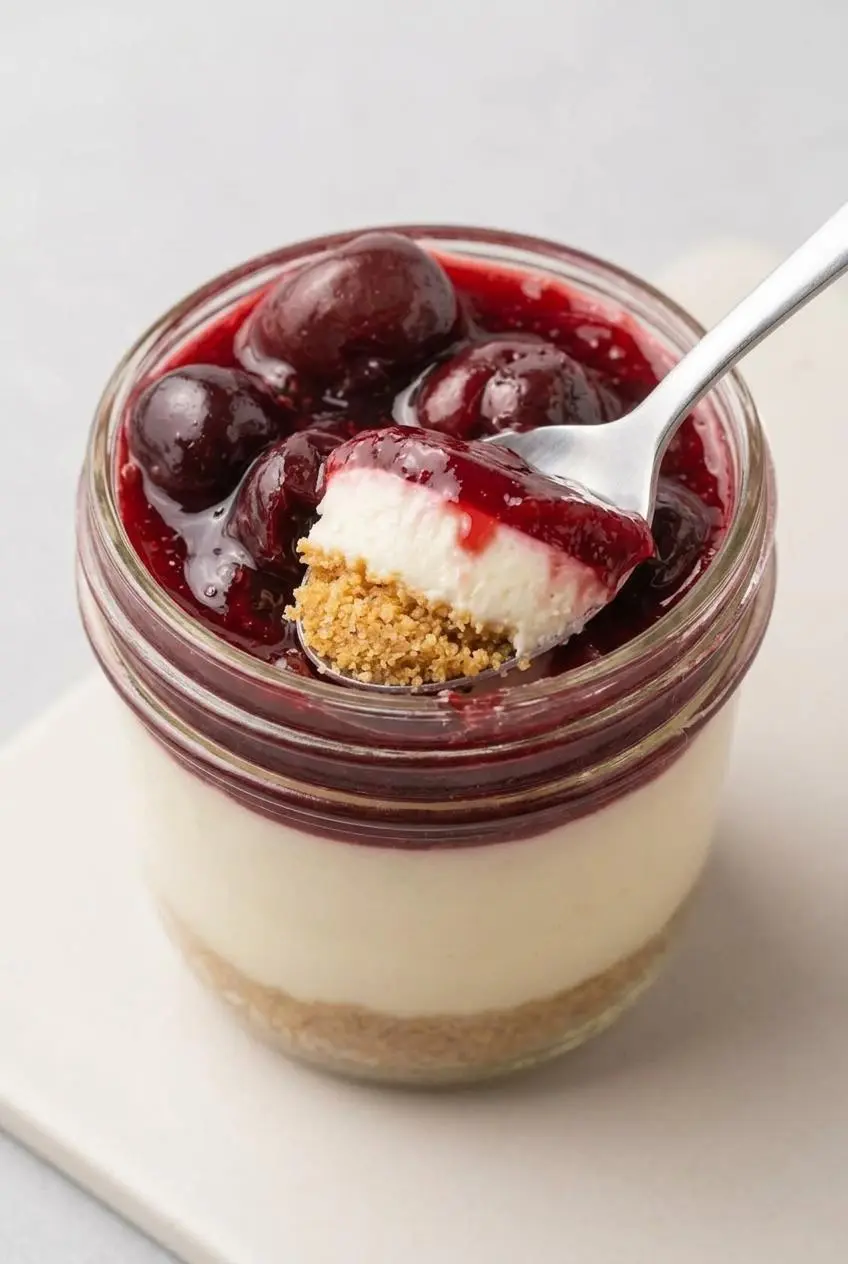
These are fully no-bake cheesecake jars. The crust sets from firm packing, the filling firms as it chills, and the cherry topping thickens briefly on the stovetop before it goes over the cold cheesecake layer.
- Arrange 6 clean 8-ounce glass jars on the counter so the layers can be divided evenly.
Leave enough room at the top for the cherry topping and a comfortable spoonful. - Stir the graham cracker crumbs, sugar, melted butter, and salt together in a medium bowl, then add 1/4 cup of crumbs to each jar and press firmly with the back of a spoon.
The crumb layer should feel compact and push back slightly against the spoon rather than shifting loosely. - Beat the cream cheese and 2 tablespoons granulated sugar in a large bowl with an electric mixer until fluffy and lump-free, then mix in the condensed milk, sour cream, lemon juice, and vanilla.
Stop when the filling looks thick, smooth, and uniform, without streaks of cream cheese. - Divide 1/3 cup of filling among the jars, covering the crust in an even layer, then refrigerate the jars while making the topping.
The chilled filling will hold its shape better when the fruit is added later. - Cook the cherries, 1/4 cup granulated sugar, lemon juice, and lemon zest in a large pot over medium-high heat until boiling, then lower the heat to medium-low and stir often for about 8 minutes.
The cherries should soften and release deep red juice while still keeping some of their shape. - Whisk the cornstarch and water in a small bowl, stir the slurry into the cherries, and simmer for 2 to 3 minutes before removing the pot from the heat and stirring in the extract.
The syrup is ready when it turns clear and glossy and coats the spoon instead of running off like juice. - Cool the cherry topping completely, then spoon about 2 tablespoons over each chilled cheesecake layer.
Cool topping protects the cream cheese layer from softening or melting at the edges. - Refrigerate the jars for at least 2 hours before serving them chilled.
The filling should look settled and hold a clean line against the glass when you scoop into it.
Preparing the Crust
Pressing matters more than it seems. Use the rounded back of a small spoon and work around the edges first, then press across the center. A loosely packed crust can float into the filling, while a firm layer creates a distinct buttery base.
Keep the crumbs level rather than building them up along the jar walls. That makes the layers look cleaner and gives every spoonful a balanced amount of crust.
Mixing the Cream Cheese Filling
Beat the softened cream cheese and sugar until there are no visible lumps before adding anything liquid. Once the condensed milk, sour cream, lemon juice, and vanilla are incorporated, the filling should be stiff but smooth enough to pipe or spoon.
Avoid prolonged mixing after the filling becomes smooth. The goal is a creamy, cohesive mixture, not a loose one that struggles to set during chilling.
Making the Cherry Topping
Watch the syrup closely after adding the cornstarch slurry. It should change from cloudy to clear and glossy as it thickens, with softened cherries suspended in a spoon-coating sauce.
Let the topping cool fully before layering it over the filling. Warm fruit can soften the cheesecake layer and blur the clean contrast between white filling and ruby-red cherries.
Tips for Clean Layering
For neat jar sides, transfer the cheesecake filling to a piping bag or a zip-top bag with one corner snipped off. Pipe from the center outward, keeping the tip just above the crust instead of dragging it against the glass.
If a little filling smears the inside of a jar, wipe it away with the tip of a narrow spoon before adding the cherries. Work slowly with the topping, too, and drop it into the center before nudging it outward.
Variations and Time-Savers
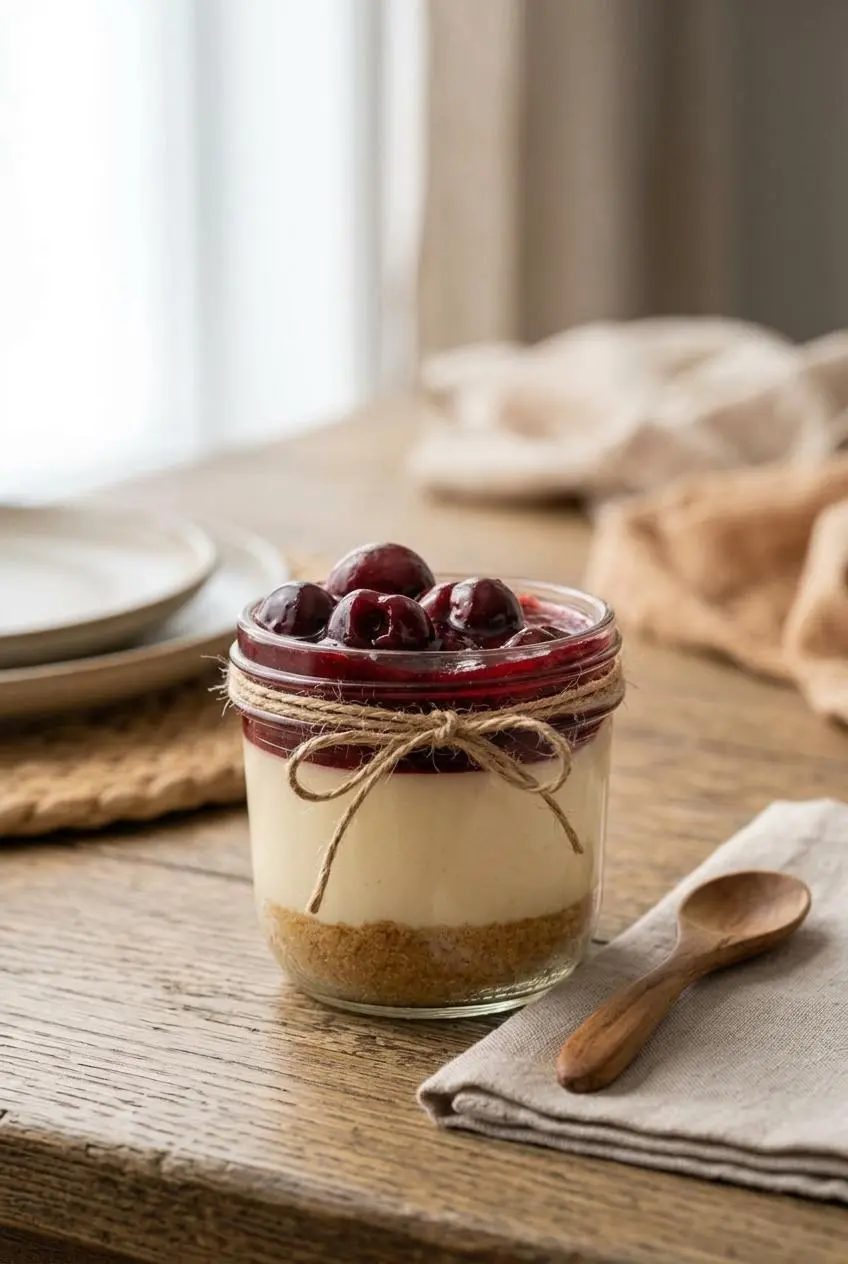
Small changes can tailor these jars for your schedule or dessert table without changing the creamy character of the filling.
- 10-minute shortcut: Replace the cooked cherry topping with a high-quality canned cherry pie filling. Spoon it over the chilled cheesecake layer for a faster finish.
- Biscoff crumb crust: Use crushed Biscoff cookies in place of graham cracker crumbs for a warmly spiced, caramel-like base. A Biscoff cheesecake recipe is a great next choice when that flavor is calling.
- Oreo crumb crust: Crushed Oreo cookies make the base darker, more chocolatey, and less honeyed than graham crackers.
- Greek yogurt option: Swap Greek yogurt for the sour cream if you prefer a more pronounced tang in the filling.
- Almond crunch: Add a thin layer of lightly toasted, finely chopped almonds over the crust for extra texture before the filling goes in.
For gifting, close each chilled jar with its lid, tie a ribbon around the neck, and add a small wooden spoon. They also travel well in a cooler for a picnic or dessert table.
Make-Ahead and Storage Tips
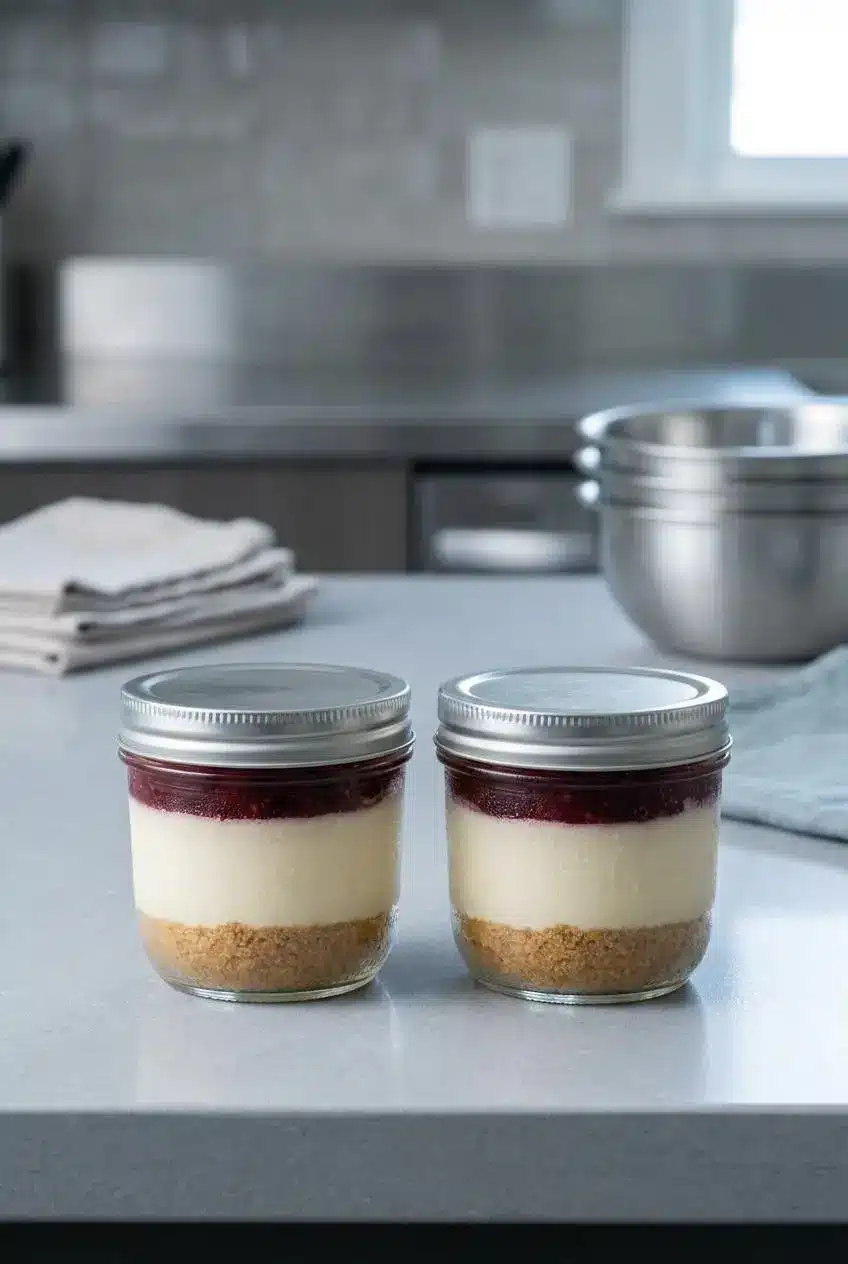
Keep the jars tightly covered with their lids and refrigerated until serving. Because the filling contains cream cheese and sour cream, keep the desserts cold and avoid leaving them out longer than needed.
Keep the refrigerator at 40 °F or below for perishable foods. For the best texture, serve the jars well chilled and keep the lids closed until you are ready to set them out.
Freezing is not a good choice for these finished jars. The creamy layer can become grainy after thawing, and the graham crust tends to lose its pleasant crunch. If you need to spread out the work, make the topping, cool it completely, and assemble the jars close to serving time.
Conclusion
These individual cheesecakes deliver a buttery crust, smooth tangy filling, and bright cherry topping without turning on the oven. The most important step is giving the jars the full chill time so the layers stay defined.
Use fresh cherries when you want a homemade fruit topping, or choose canned filling for a faster version. A little almond crunch in the crust makes a lovely optional finish.
Frequently Asked Questions
How Long Does Cherry Cheesecake in a Jar Last in the Fridge?
Keep the jars tightly sealed and chilled until serving. Because this is a dairy-based no-bake dessert, prepare it close to the occasion and keep it cold. Discard any jar with an off smell, unusual appearance, or texture change.
Can You Freeze Mason Jar Cheesecakes?
Freezing these finished jars is not recommended. The cream cheese filling can lose its smooth texture after thawing. The graham cracker layer may turn soft and soggy.
Can I Use Canned Cherry Pie Filling Instead of Homemade?
Yes. Use a good-quality canned cherry pie filling for a much faster assembly. It skips the stovetop topping step and still gives the jars a classic cherry-cheesecake finish. The homemade topping has fresher cherry flavor and a brighter lemon note.
What Size Jars Are Best for Individual Cheesecakes?
Use 8-ounce half-pint jars for the six standard dessert portions in this recipe. Choose 4-ounce jars for smaller tasting portions or a larger dessert spread. Smaller jars will produce more portions, while 8-ounce jars leave room for clear, generous layers.
Cherry Cheesecake In a Jar

Equipment
- 8-ounce glass jars
- Medium bowl
- Large Mixing Bowl
- Electric Mixer
- Large Pot
- Small bowl
Ingredients
FOR THE CRUST
- 1 1/2 cup graham cracker crumbs
- 1/4 cup granulated sugar
- 4 tablespoons melted butter
- 1/4 teaspoon salt
FOR THE CHEESECAKE FILLING
- 8 ounce package cream cheese, softened to room temperature
- 2 tablespoons granulated sugar
- 14 ounce can sweetened condensed milk
- 1/2 cup sour cream, room temperature
- 1 teaspoon lemon juice
- 1 teaspoon vanilla extract
FOR THE CHERRY TOPPING
- 3 cups fresh sweet dark cherries, pitted
- 1/4 cup granulated sugar
- 1 teaspoon lemon juice
- 1 teaspoon lemon zest
- 2 tablespoons cornstarch
- 1/4 cup water
- 1/4 teaspoon almond or vanilla extract
Instructions
- Arrange 6 clean 8-ounce glass jars on the counter so the layers can be divided evenly. Leave enough room at the top for the cherry topping and a comfortable spoonful.
- Stir the graham cracker crumbs, sugar, melted butter, and salt together in a medium bowl, then add 1/4 cup of crumbs to each jar and press firmly with the back of a spoon. The crumb layer should feel compact and push back slightly against the spoon rather than shifting loosely.
- Beat the cream cheese and 2 tablespoons granulated sugar in a large bowl with an electric mixer until fluffy and lump-free, then mix in the condensed milk, sour cream, lemon juice, and vanilla. Stop when the filling looks thick, smooth, and uniform, without streaks of cream cheese.
- Divide 1/3 cup of filling among the jars, covering the crust in an even layer, then refrigerate the jars while making the topping. The chilled filling will hold its shape better when the fruit is added later.
- Cook the cherries, 1/4 cup granulated sugar, lemon juice, and lemon zest in a large pot over medium-high heat until boiling, then lower the heat to medium-low and stir often for about 8 minutes. The cherries should soften and release deep red juice while still keeping some of their shape.
- Whisk the cornstarch and water in a small bowl, stir the slurry into the cherries, and simmer for 2 to 3 minutes before removing the pot from the heat and stirring in the extract. The syrup is ready when it turns clear and glossy and coats the spoon instead of running off like juice.
- Cool the cherry topping completely, then spoon about 2 tablespoons over each chilled cheesecake layer. Cool topping protects the cream cheese layer from softening or melting at the edges.
- Refrigerate the jars for at least 2 hours before serving them chilled. The filling should look settled and hold a clean line against the glass when you scoop into it.