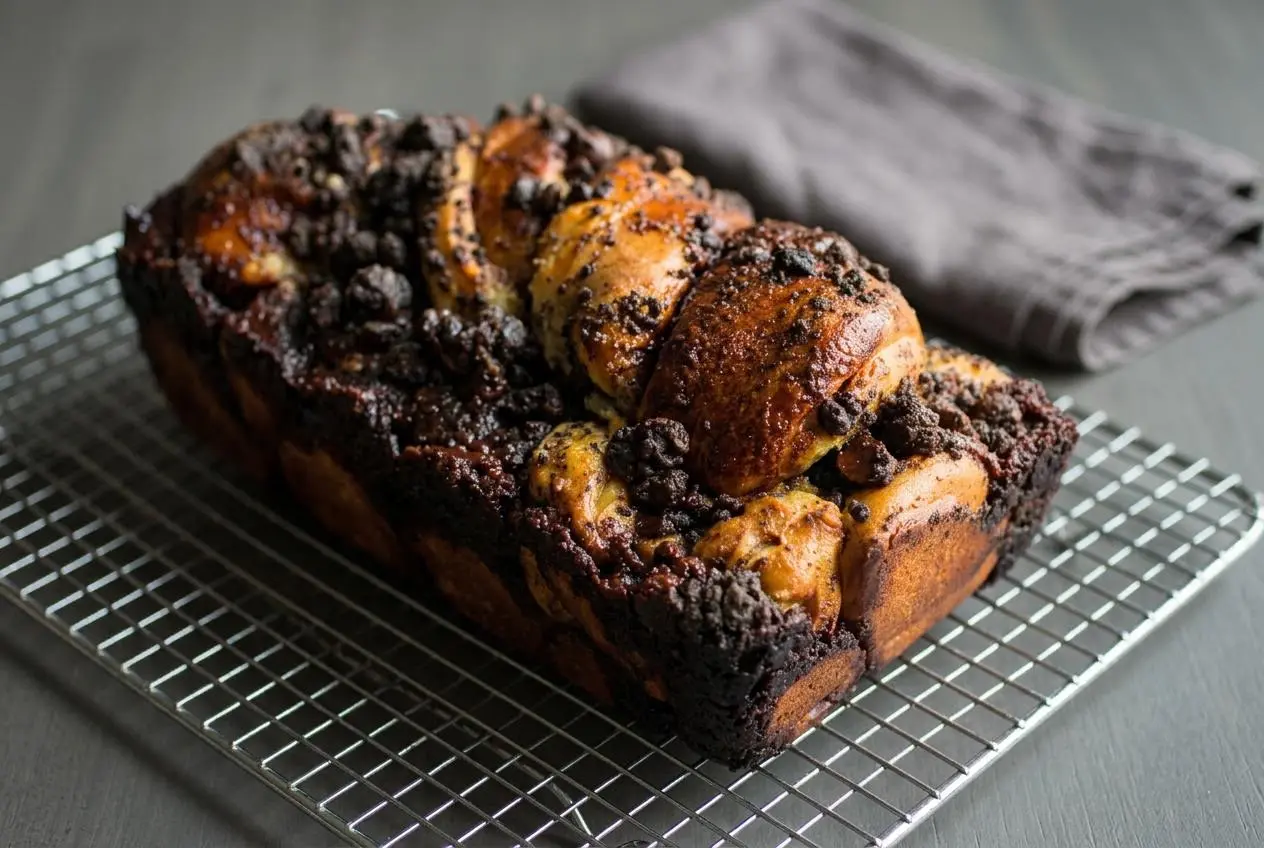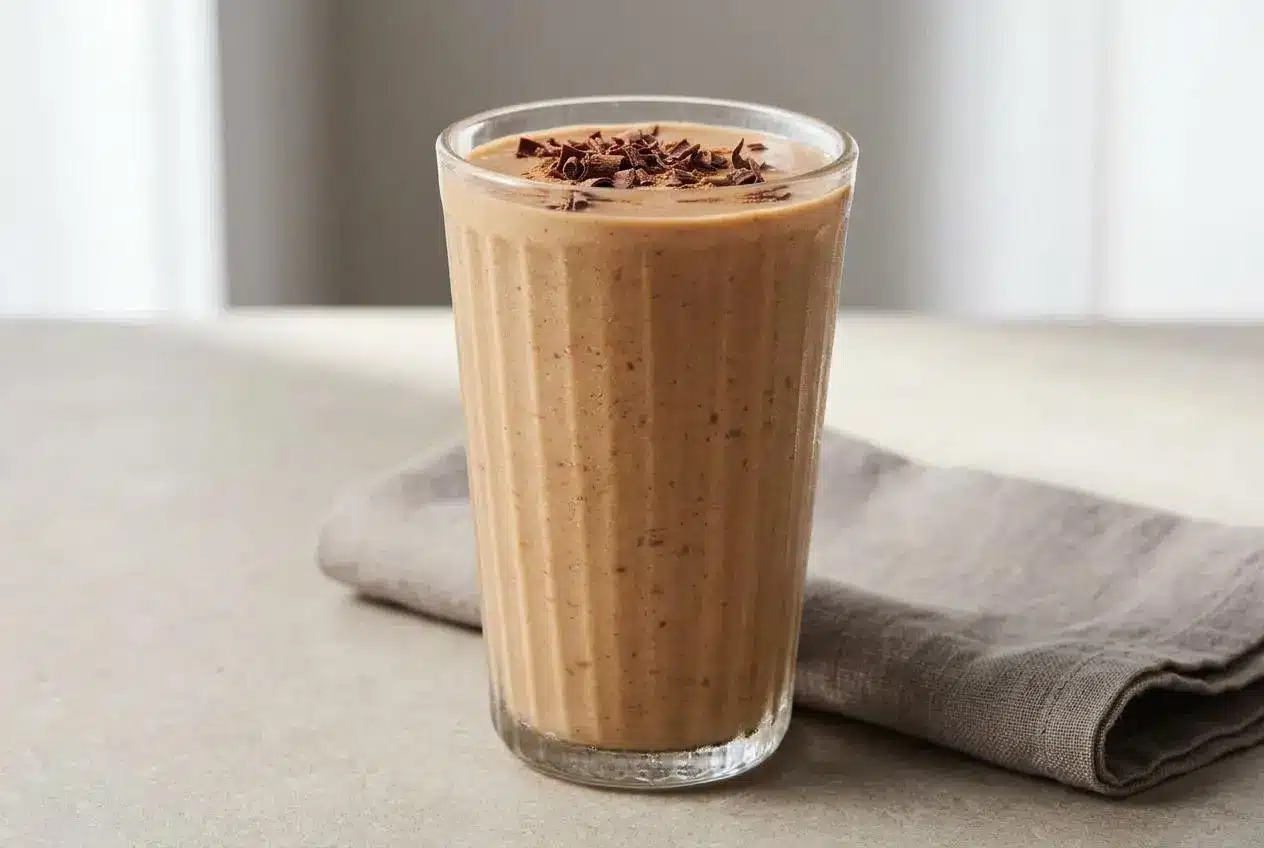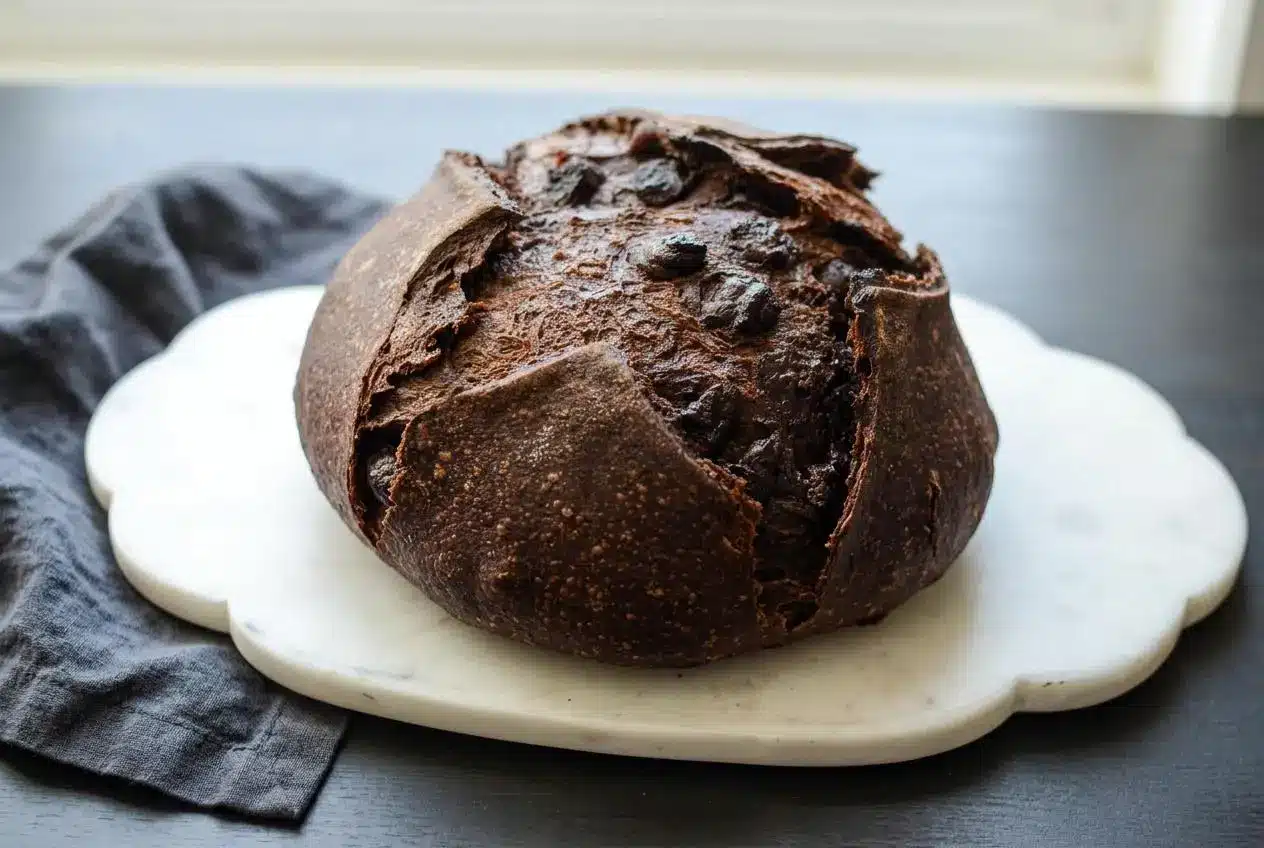
Chocolate sourdough bread is a cocoa-and-chocolate-chip artisan loaf with a chewy crumb, gentle tang, and lightly sweet flavor. An active starter raises the dough, while chocolate chips add rich pockets throughout the dark crumb.
Toasted cocoa aromas and pockets of softened chocolate make this loaf especially inviting sliced and toasted. Expect bread with a pleasantly chewy bite, rather than the soft, fine texture of chocolate cake.
The dough feels firmer than many plain sourdough doughs, but hand mixing, well-spaced folds, and clear rise cues make it manageable. The chocolate pockets are worth the patience.
Set out a digital scale before mixing; excess flour or cocoa can make this already-firm dough harder to handle.
Why This Chocolate Sourdough Bread Works
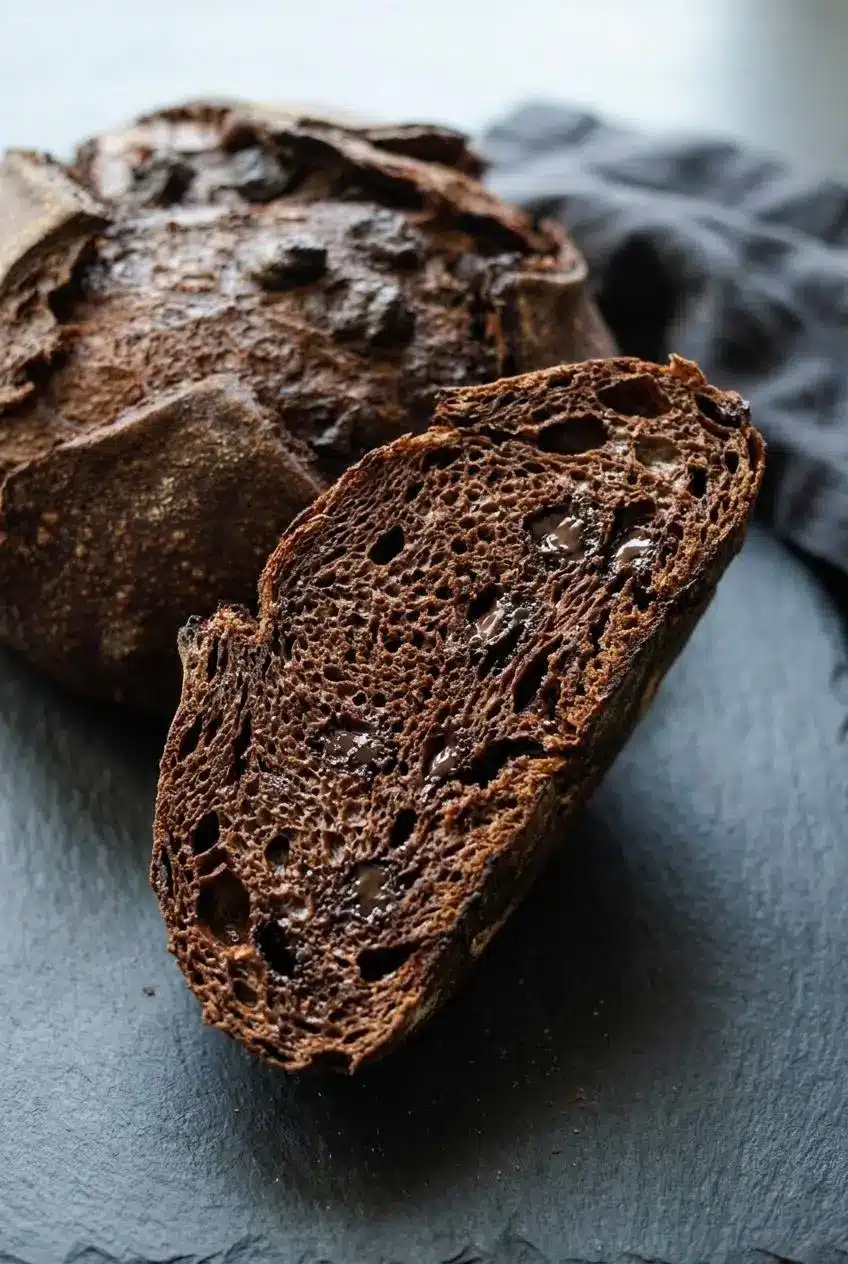
Cocoa flavors the whole crumb, while brown sugar softens its bitterness and chocolate chips supply concentrated sweetness. Sourdough fermentation adds a tangy contrast without turning the loaf into dessert cake.
Unlike a quick loaf such as chocolate banana bread, this bread depends on an active starter, folding, and fermentation for its rise. Bread flour provides structure, folds strengthen the dough, and the covered Dutch oven holds moisture around the loaf during baking.
Key Ingredients and Cocoa Selection Guide
Every ingredient contributes to the loaf: water supplies moisture, flour builds structure, starter provides fermentation, cocoa adds depth, sugar balances bitterness, salt sharpens flavor, and chocolate chips create sweet pockets.
- 350 g warm water (1⅓ cups + 1 tbsp)
- 475 g bread flour (3¾ cups)
- 50 g brown sugar (¼ cup)
- 50 g cocoa powder (⅓ cup + 1 tbsp)
- 125 g active sourdough starter (½ cup)
- 11 g salt (2 tsp)
- 170 g chocolate chips (1 cup)
Use an active, bubbly starter rather than unfed discard. Bread flour helps the dough hold its shape around the chocolate inclusions, while warm water helps disperse the cocoa and sugar. Salt balances the sweetness so the loaf still tastes like bread.
Weighing matters especially for flour and cocoa, which can pack unevenly into measuring cups. The household measurements remain useful, but grams give you a more consistent starting texture.
I’d weigh the cocoa directly into the mixing bowl rather than pack it into a measuring cup.
Dutch-Process vs. Natural Cocoa Powder
The ingredient list leaves the cocoa type open. Choose for flavor and appearance rather than expecting either type to determine the fermentation schedule.
- Natural cocoa: generally tastes sharper and has a lighter reddish-brown appearance.
- Dutch-process cocoa: generally produces a darker crumb with a rounder, less sharp cocoa flavor.
Starter activity and dough temperature also affect fermentation, so switching cocoa types is not a dependable way to speed up or slow down the rise.
Chocolate Chips vs. Chopped Chocolate Bars
- Chocolate chips: create distinct pockets within the cocoa-flavored crumb; semi-sweet chips are an optional choice for balanced sweetness.
- Chopped chocolate bars: can melt and spread differently, depending on the chocolate, creating broader streaks rather than defined pockets.
Bars aren’t automatically a problem, but they aren’t all interchangeable with chips. Their melting behavior can change both the chocolate distribution and dough handling. Keep the chips in this formula for the most predictable result.
Flour and Sweetener Substitutions
All-purpose flour may work, but its protein content varies. A lower-protein flour can give you softer dough with less strength, making a tall, freestanding loaf harder to shape.
Honey and maple syrup bring water as well as sweetness. They don’t behave exactly like brown sugar, so a direct one-for-one substitution isn’t a verified adjustment here. If experimenting, reassess the mixing water rather than assuming the dough should keep the same consistency. For a dependable starting point, keep the listed bread flour and brown sugar.
How to Make Chocolate Sourdough Bread
Plan around the rise cues and your chosen proofing route, rather than a fixed finish time. This loaf yields 12 servings and bakes for 50 minutes: 40 minutes covered, followed by 10 minutes uncovered. Starter preparation, fermentation, proofing, and cooling determine the overall schedule.
Mixing the Stiff Dough and Stretch-and-Folds
Expect some resistance during mixing. Cocoa absorbs water, so this dough won’t immediately feel loose and stretchy. The rest gives the flour time to hydrate; folding then develops strength without continuous kneading.
Mixing the Dough
- Refresh the starter at a 1:1:1 ratio and leave it at room temperature for 4 to 6 hours.
Use it when bubbles and visible expansion show that it is active. - Combine 125 g active starter, 350 g warm water, 50 g brown sugar, and 50 g cocoa powder in a large bowl, stirring to distribute the cocoa.
The mixture should look evenly chocolate-colored rather than streaked with dry powder. - Work 11 g salt and 475 g bread flour into the mixture by hand, then leave the dough undisturbed for 30 minutes.
Squeeze and knead until no dry flour remains, even though the dough feels firm. - Begin the first folding set by pulling one edge upward and folding it toward the middle, turning the bowl a quarter turn and repeating 4 to 5 times, then rest for 30 minutes.
The dough should gather into a more cohesive mass as you work around the bowl. - Continue to a total of 4 folding sets over 2 hours, allowing 30 minutes between sets and incorporating 170 g chocolate chips immediately before the final set.
Enclose the chips within the folds so they sit inside the dough rather than across its surface.
Bulk Fermentation Timing by Room Temperature
The main rise follows the folding stage. Mark the starting height on your bowl if possible; dark dough can make small bubbles harder to spot.
Bulk Fermentation
- Keep the bowl covered at room temperature for 8 to 12 hours, allowing the dough to reach twice its starting volume.
A smooth upper surface is the main cue, with rounded edges and an aerated, marshmallowy feel offering supporting signs.
Use room temperature to interpret the rise, not to assign an exact finishing hour:
- Around 65°F: expect slower growth and watch for genuine expansion before shaping.
- Around 70°F to 75°F: monitor steady growth and compare the dough with its marked starting level.
- Around 80°F: check progress more closely because warmer dough generally ferments faster.
Measure dough temperature if you can. A warm room doesn’t immediately warm a cool bowl of dough, and starter strength can shift the schedule considerably.
Shaping, Cold Proofing, and Baking to 200°F
Shape with gentle tension rather than force. The surface should become taut without tearing, and the dough needs a little counter grip to round up properly.
Shaping the Dough
- Ease the dough onto a lightly floured counter, fold the sides inward like an envelope, then turn it seam-side down and draw it toward you with cupped hands.
Stop once the outer surface looks taut and rounded without splitting. - Set the loaf seam-side up in a banneton, or arrange parchment inside a bowl and place the loaf on it seam-side down.
The basket or bowl should support the rounded shape during proofing.
Second Rise or Cold Proof
- Protect the loaf with a damp towel or plastic wrap and choose either a 1-hour room-temperature rise or a 6-to-8-hour refrigerated proof.
Keep the surface covered so it remains supple rather than forming a dry skin.
These are alternative proofing routes, not consecutive stages. Have parchment, oven mitts, and a clear landing spot ready before handling the hot Dutch oven.
Score and Bake
- Heat the oven to 400°F/205°C with the Dutch oven inside for a 45-minute preheat.
The thoroughly heated pot provides a hot baking environment as soon as the loaf goes in. - Apply a light coating of flour, slash the top with a bread lame or sharp knife, and use parchment to lower the dough carefully into the heated pot.
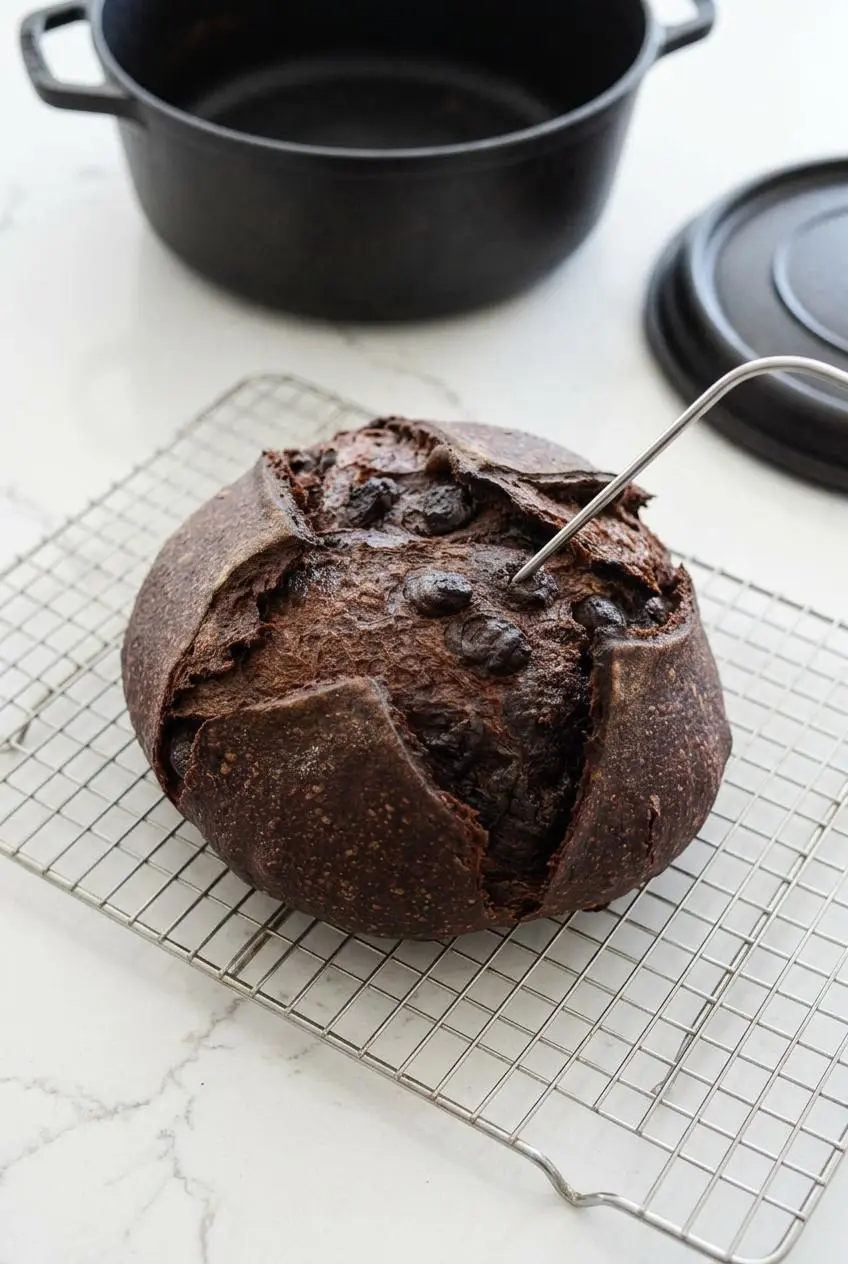
The cut should open the surface cleanly without dragging or flattening the loaf. - Keep the lid on for the first 40 minutes of baking, then uncover for another 10 minutes and check for a center temperature of 200°F/95°C.
Use the thermometer reading rather than the dark crust color to assess this loaf’s doneness. - Move the bread out of the pot and onto a wire rack, waiting until it has cooled completely before cutting.
The center should no longer feel warm, allowing the crumb and chocolate pockets to set.
Expert Tips and Troubleshooting Stiff Chocolate Dough
Check mixing, starter activity, and temperature before trying to fix the dough with more water or flour.
Why the Dough Feels Tight and Rises Slowly
- Firm but evenly mixed dough: cocoa absorbs water, making this feel tighter than classic sourdough bread; use your hands when a whisk struggles and let the scheduled rests do their work.
- Dry patches remain: incomplete incorporation can look like insufficient hydration; squeeze the dough together until the color and texture become uniform before deciding it needs adjustment.
- Little visible growth: check whether the starter was active and the dough is cool; look for increasing volume rather than assuming cocoa alone caused the delay.
Use warm, not hot, mixing water. It helps with dispersion and starting dough temperature, but it doesn’t create a universal water correction for cocoa.
Keeping Chocolate Chips Inside and Flour Streaks Off the Crust
- Exposed chips scorch: tuck visible chips beneath the surface while folding, where surrounding dough shields them from direct heat.
- The loaf slides during shaping: excess counter flour prevents useful grip; keep the dusting light so the dough can pull into a taut round.
- Pale flour streaks appear: heavy dusting shows strongly against cocoa dough; a lightly water-moistened counter is an optional handling alternative if you prefer to avoid extra flour.
A Dark Crust Can Hide an Underbaked Center
- The outside looks finished too early: cocoa disguises browning, so insert an instant-read thermometer into the center and follow the method’s endpoint.
- The crumb smears or feels gummy: underbaking or cutting while warm can cause this; finish the bake and let the loaf cool completely before slicing.
Avoid using a fixed cooling countdown as permission to cut. A large loaf can retain warmth in its center after the crust feels cool.
Chocolate Sourdough Flavor Variations and Pan Adaptations
Keep these optional experiments separate from the listed formula. Changes to inclusions, flour, sugar, or baking equipment can affect more than flavor.
Chocolate Sourdough Noir With Fruit and Nuts
Vanilla-soaked raisins or dried cherries paired with walnuts or hazelnuts add chewy fruit and crunchy contrast to the cocoa crumb. Drain soaked fruit well; retained moisture changes the dough, so this isn’t a verified direct addition to the formula.
Mocha Coffee Chocolate Sourdough
For an optional mocha direction, disperse espresso powder with the cocoa in some of the existing warm mixing water. Coffee can deepen the chocolate impression, though its own flavor may remain noticeable. This helps disperse cocoa but doesn’t remove its water absorption or guarantee softer dough.
Sweet Chocolate Loaf vs. Savory Dark Levain
- Lightly sweet: keep the listed formula for a balance of cocoa, tang, and chocolate pockets.
- Dessert direction: experiment with white chocolate chips, peanut butter chips, or orange zest for a different sweetness or aroma.
- Savory direction: reduced sugar, whole wheat flour, and darker cocoa point toward a different levain formula that needs testing for strength and fermentation.
Baking Without a Dutch Oven or in Loaf Pans
No banneton is necessary: use the supported parchment-lined bowl option with the loaf seam-side down. Changing the baking vessel, however, requires more adjustment.
- Baking stone with steam: exposed baking retains moisture differently; use an appliance-appropriate steam method and never pour water onto hot glass or the oven floor.
- Loaf pan: the pan supports the sides, but it changes heat exposure and crust development, so don’t automatically reuse the covered-pot schedule.
- Two smaller loaves: dividing the dough changes shaping and can shorten baking, requiring a verified schedule and center-temperature checks.
For a separate pan-baked option rather than adapting this loaf, try sourdough discard sandwich bread.
Serving and Keeping Chocolate Sourdough Slices
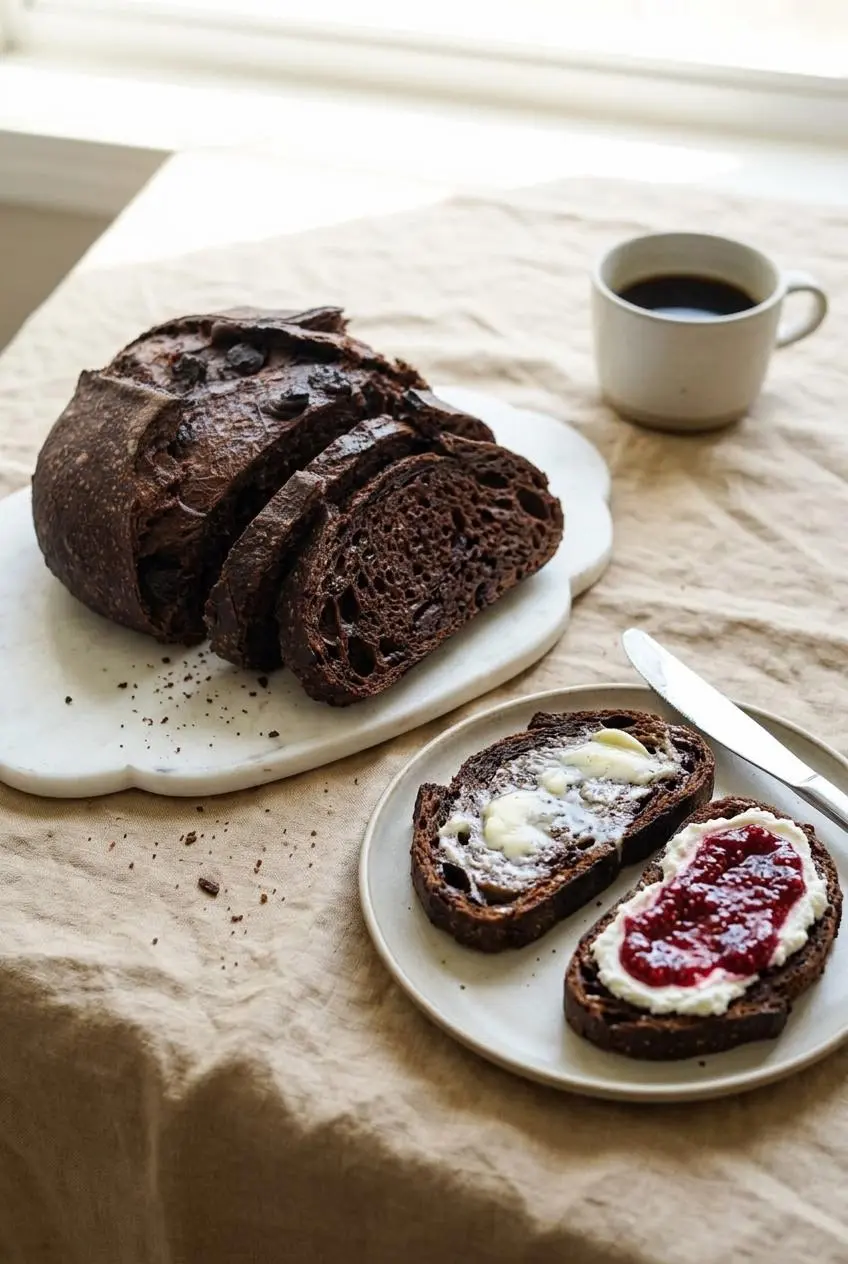
Toast cooled slices to soften the chocolate pockets again, then choose a topping that balances the cocoa.
- Breakfast: salted butter and coffee suit the loaf’s lightly sweet character.
- Afternoon snack: spread with whipped ricotta or cream cheese and raspberry jam.
- Dessert spread: offer orange marmalade or peanut butter alongside sliced bread.
Use leftover slices for French toast or homemade bread pudding, allowing for the sweetness already supplied by the chocolate chips.
Cool completely before wrapping, then keep the loaf in an airtight container at room temperature. Enclosing it retains moisture but softens the crust; toast individual slices when you want crisp edges again. Refrigeration can speed staling, so it isn’t the preferred way to preserve this loaf’s texture.
For schedule planning, use the refrigerated proof in the method. Longer holds need experimentation because refrigerator temperature, dough maturity, and starter strength affect how much fermentation continues.
Conclusion
A chewy cocoa crumb and sweet chocolate pockets make this loaf satisfying without turning it into cake. Let visible growth guide fermentation, and keep the chips tucked inside.
Give the finished loaf time to cool completely before slicing. That patience rewards you with a cleaner crumb and chocolate pockets that stay where they belong.
Frequently Asked Questions
Does Chocolate Sourdough Bread Taste Sweet or Sour?
It tastes lightly sweet and tangy, with roasted cocoa bitterness and sweeter chocolate pockets. The starter and fermentation affect the tang, but this remains an artisan bread rather than a cake-like loaf.
Can I Just Add Chocolate Chips to My Regular Sourdough Bread Recipe?
Yes, chips can work in suitable plain sourdough doughs, though the amount depends on batch size. For this cocoa loaf, use the listed 170 g and incorporate them immediately before the final folding set, keeping them enclosed.
Does Chocolate Sourdough Take Longer to Rise and Bake?
It may rise more slowly because cocoa makes the dough firmer, but starter strength and temperature also matter. This formula uses an 8-to-12-hour bulk rise after folding and a bake of 40 minutes covered plus 10 minutes uncovered.
Can I Cold Proof Chocolate Sourdough in the Fridge for Up to 48 Hours?
The supported refrigerated proof for this formula is 6 to 8 hours. A much longer hold isn’t validated here; mature dough or a warmer refrigerator can increase overproofing risk, so don’t assume the proposed extension will suit every batch.
Can I Use All-Purpose Flour or Swap the Sugar for Maple Syrup or Honey?
All-purpose flour may produce softer, less structurally strong dough, depending on its protein content. Maple syrup and honey add moisture and aren’t verified one-for-one replacements for brown sugar here; keep the listed formula for the most predictable starting point.
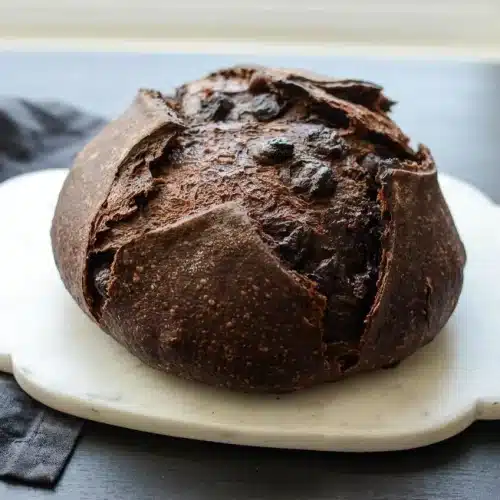
Chocolate Sourdough Bread

Equipment
- 1 Large Bowl
- 1 Danish dough whisk
- 1 lame
- 1 Dutch Oven
- Parchment Paper
Ingredients
- 350 g warm water (1⅓ cups + 1 tbsp)
- 475 g bread flour (3¾ cups)
- 50 g brown sugar (¼ cup)
- 50 g cocoa powder (⅓ cup + 1 tbsp)
- 125 g active sourdough starter (½ cup)
- 11 g salt (2 tsp)
- 170 g chocolate chips (1 cup)
Instructions
Mixing the Dough
- Refresh the starter at a 1:1:1 ratio and leave it at room temperature for 4 to 6 hours. Use it when bubbles and visible expansion show that it is active.
- Combine 125 g active starter, 350 g warm water, 50 g brown sugar, and 50 g cocoa powder in a large bowl, stirring to distribute the cocoa. The mixture should look evenly chocolate-colored rather than streaked with dry powder.
- Work 11 g salt and 475 g bread flour into the mixture by hand, then leave the dough undisturbed for 30 minutes. Squeeze and knead until no dry flour remains, even though the dough feels firm.
- Begin the first folding set by pulling one edge upward and folding it toward the middle, turning the bowl a quarter turn and repeating 4 to 5 times, then rest for 30 minutes. The dough should gather into a more cohesive mass as you work around the bowl.
- Continue to a total of 4 folding sets over 2 hours, allowing 30 minutes between sets and incorporating 170 g chocolate chips immediately before the final set. Enclose the chips within the folds so they sit inside the dough rather than across its surface.
Bulk Fermentation
- Keep the bowl covered at room temperature for 8 to 12 hours, allowing the dough to reach twice its starting volume. A smooth upper surface is the main cue, with rounded edges and an aerated, marshmallowy feel offering supporting signs.
Shaping the Dough
- Ease the dough onto a lightly floured counter, fold the sides inward like an envelope, then turn it seam-side down and draw it toward you with cupped hands. Stop once the outer surface looks taut and rounded without splitting.
- Set the loaf seam-side up in a banneton, or arrange parchment inside a bowl and place the loaf on it seam-side down. The basket or bowl should support the rounded shape during proofing.
Second Rise or Cold Proof
- Protect the loaf with a damp towel or plastic wrap and choose either a 1-hour room-temperature rise or a 6-to-8-hour refrigerated proof. Keep the surface covered so it remains supple rather than forming a dry skin.
Score and Bake
- Heat the oven to 400°F/205°C with the Dutch oven inside for a 45-minute preheat. The thoroughly heated pot provides a hot baking environment as soon as the loaf goes in.
- Apply a light coating of flour, slash the top with a bread lame or sharp knife, and use parchment to lower the dough carefully into the heated pot. The cut should open the surface cleanly without dragging or flattening the loaf.
- Keep the lid on for the first 40 minutes of baking, then uncover for another 10 minutes and check for a center temperature of 200°F/95°C. Use the thermometer reading rather than the dark crust color to assess this loaf’s doneness.
- Move the bread out of the pot and onto a wire rack, waiting until it has cooled completely before cutting. The center should no longer feel warm, allowing the crumb and chocolate pockets to set.