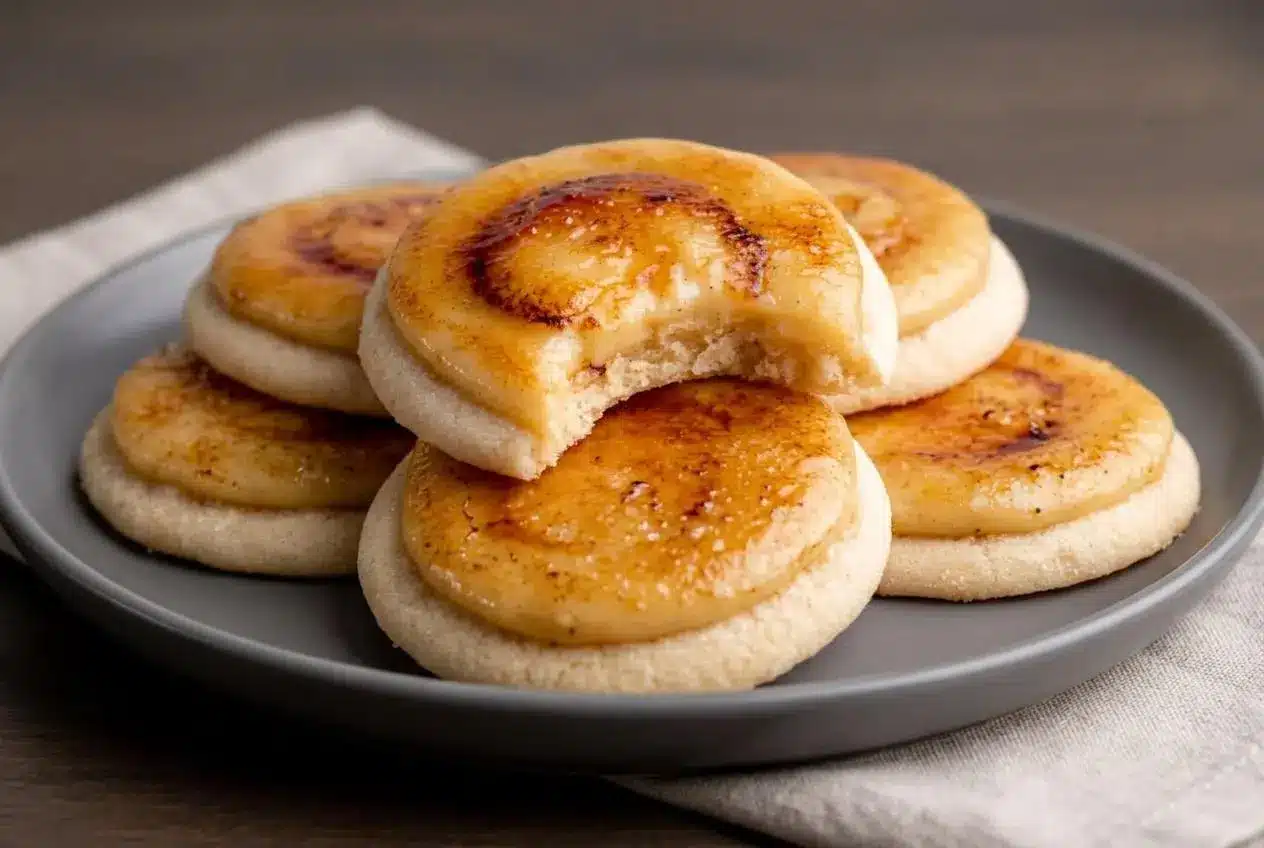
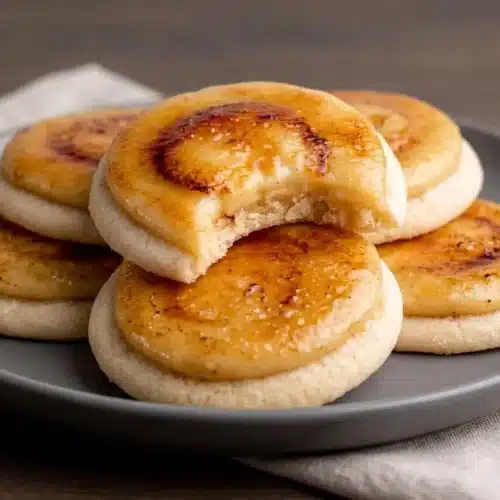
Creme brulee cookies are soft vanilla sugar cookies topped with chilled pastry cream and a brittle caramelized sugar crust. Bake the cookies, cool them completely, pipe on cold custard, then torch the sugar just before serving for the best contrast of creamy filling and crisp topping.
This creme brulee cookies recipe brings the familiar custard dessert to a buttery, chewy cookie. Tap the caramel with a spoon and listen for that hollow click before breaking through to cool vanilla cream.
The cooked pastry cream gives these cookies their rich flavor, while the thin sugar shell adds a pleasantly bitter caramel finish. Keep the components separate until serving, and each layer gets its moment. That first crack is worth the wait.
Start the pastry cream first so it can chill completely while you bake and cool the cookies.
Key Ingredients and Flavor Foundations
Milk and yolks give the pastry cream richness, cornstarch provides structure, and vanilla supplies its warm aroma. Butter keeps the cookies tender, flour supports their shape, and sugar contributes sweetness, chewy texture, and the final caramel crunch.
For the Vanilla Pastry Cream
- 2 1/4 cups (540 ml) whole milk
- 6 egg yolks
- 1 cup + 2 tbsp (225 g) granulated white sugar
- 1/8 tsp salt
- 1 1/2 tbsp vanilla bean paste
- 3 1/2 tbsp (28 g) cornstarch
- 3 tbsp (42 g) unsalted butter, cut in cubes
For the Sugar Cookies
- 2 1/2 cups (313 g) all-purpose flour, spooned and leveled
- 1/2 tsp baking powder
- 1/2 tsp salt
- 1 1/4 cup (250 g) granulated white sugar
- 1 cup (224 g) unsalted butter, softened
- 1 egg
- 1 tbsp vanilla bean paste
- 1/2 cup (100 g) granulated white sugar (for rolling the dough in)
- 1/2 cup (100 g) granulated white sugar (for the brulee topping)
Whole milk and egg yolks: Whole milk gives the custard a rounded dairy flavor without the heavier feel of a cream-based filling. The yolks add richness, color, and body; the butter stirred in afterward makes the finish smoother.
Cornstarch: This turns a pourable milk mixture into pastry cream that can hold a piped shape. Heat and thorough whisking matter as much as the measured amount. A mixture that merely looks thicker but still runs freely from the whisk needs more attention at the stove.
Vanilla bean paste: Paste distributes vanilla flavor and visible bean specks throughout both layers. Its strength varies by brand, so use the stated amounts rather than assuming it needs the same quantity as another vanilla product.
Flour, butter, and sugar: Spoon and level the flour if you aren’t weighing it; packing the cup can make the cookies dry. Softened butter should yield to gentle pressure but still hold its shape. Granulated sugar coats the dough and creates a relatively even topping that melts readily under the torch.
I prefer butter that’s pliable but not shiny or greasy here, because it’s easier to cream evenly with the sugar.
How to Make Creme Brulee Cookies
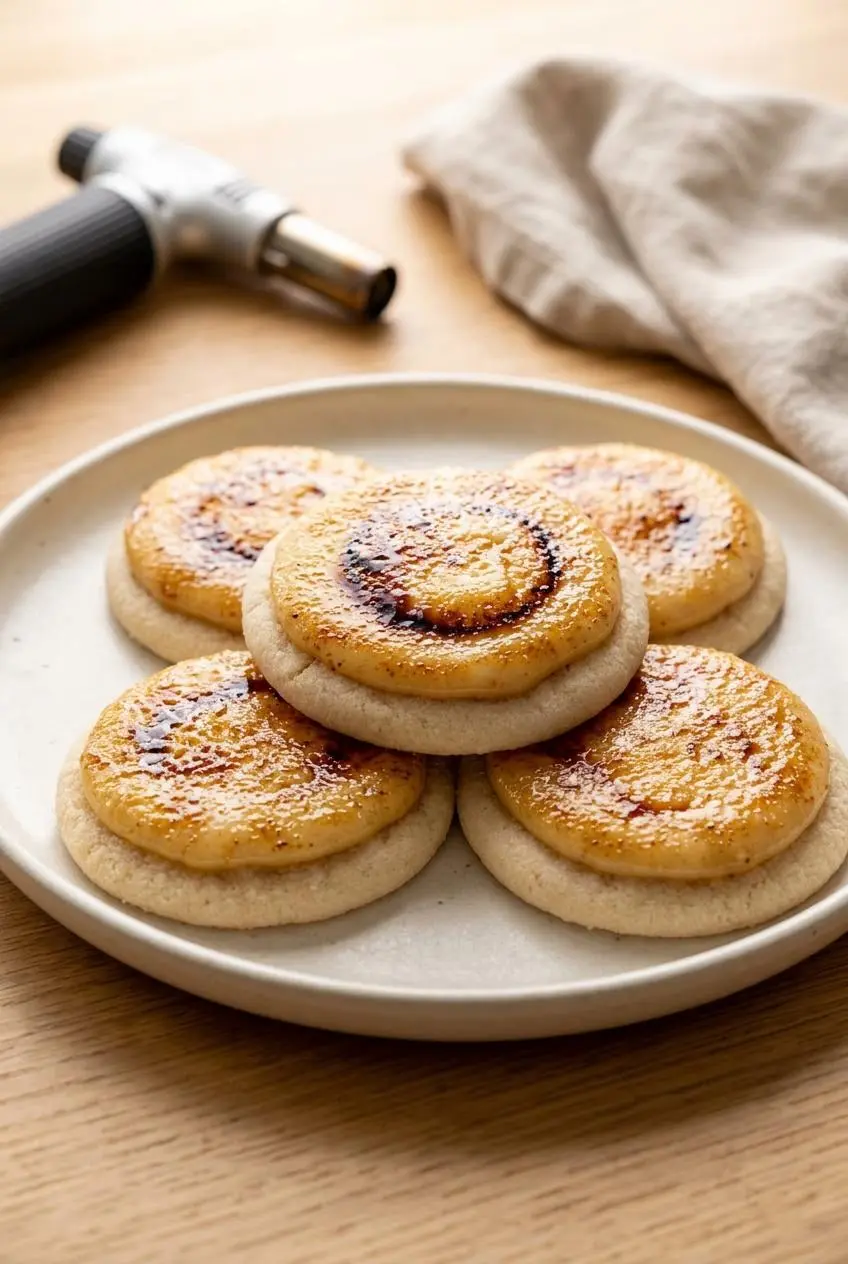
This recipe yields 24 cookies. Work in three stages: cook and chill the filling, bake the cookie bases, then assemble only when you’re ready to serve.
Crafting the Velvety Pastry Cream
Tempering gradually warms the yolk mixture instead of exposing it to all the hot milk at once. Keep the whisk moving as you pour, especially around the bottom and sides of the bowl where thick patches can hide.
For the Vanilla Pastry Cream
- Warm the milk in a medium saucepan over medium-low heat, then reduce the heat to low as soon as steam rises.
The milk should look hot and steamy without a rolling boil. - Whisk the yolks, sugar, salt, vanilla bean paste, and cornstarch together in a large bowl until pale and evenly blended.
The initial stiff paste should loosen into a smoother mixture as the whisk works through it. - Pour one-quarter of the warm milk into the yolk mixture gradually while whisking briskly, then whisk in the remaining milk.
The mixture should become fluid and uniform, with no cooked egg flecks or dry pockets. - Return the combined mixture to the saucepan and whisk constantly over medium-low heat for 8–12 minutes, until thick enough to hold soft peaks.
Look for glossy pudding-like cream that leaves whisk trails rather than flowing like milk. - Take the saucepan off the heat, scrape the cream into a bowl, stir in the butter cubes, and refrigerate with plastic wrap pressed directly against the surface until completely cold.
The butter should disappear into the cream, and the wrap should touch the entire surface to discourage a skin.
Watch the texture rather than relying on the clock alone. As the cream thickens, the whisk meets more resistance and leaves soft ridges behind. Sweep across the saucepan’s base and into its corners so the thickening stays even.
The yolk mixture may fall from the whisk in a pale, thick ribbon before you add the milk. After tempering, it becomes much looser; the final cooking stage builds the structure again. Cold pastry cream should hold a mound rather than immediately flatten into a puddle.
Baking Chewy Sugar Cookie Bases
Creaming incorporates air and distributes sugar through the butter. Stop when the mixture looks fluffy instead of continuing indefinitely, and keep the final flour mixing brief to preserve a tender cookie.
For the Sugar Cookies
- Set the oven to 350 °F and cover two cookie sheets with parchment paper.
The lined sheets will let you lift the delicate cookies cleanly after their initial cooling. - Blend the flour, baking powder, and salt with a whisk in a large bowl, then set the bowl aside.
The dry mixture should look evenly combined without concentrated patches of baking powder. - Beat the softened butter and the 1 1/4 cup of sugar on high speed for about 2 minutes using an electric mixer or a stand mixer with a paddle attachment.
Stop when the mixture looks fluffy and lighter rather than dense and greasy. - Mix the egg and vanilla bean paste into the butter mixture on medium speed for 1–2 minutes.
The batter should become pale and fluffy with the egg fully incorporated. - Add the dry mixture gradually while running the mixer on low, stopping as soon as a cohesive dough forms.
No loose flour should remain, but the dough should still feel soft rather than overworked. - Portion the dough with a large cookie scoop and gently shape each portion into a ball.
Evenly sized balls help the cookies finish baking together. - Put the rolling sugar in a small bowl and turn each dough ball through it.
A light, even coating should cling to the surface. - Arrange six dough balls at a time on a prepared sheet and press each one down slightly.
Leave room between them so the cookies can spread without joining. - Bake for 9–10 minutes, leave the cookies on the sheet for 5 minutes, then move them to a cooling rack.
The edges should look set while the centers remain pale and soft, becoming sturdier as they cool.
Don’t wait for a deeply browned center. These cookies need enough structure to support custard, but they should retain a chewy middle. The brief rest on the baking sheet helps them firm up before you lift them.
Piping and Torching the Caramel Top
Cold cream and completely cooled cookies give you the most control. Pipe a level layer rather than a tall mound so the sugar can spread evenly across the top.
Assembling the Cookies
- Fit a piping bag with a small circular tip, fill it with cold pastry cream, and pipe the cream onto completely cooled cookies when ready to serve.
The filling should hold its shape instead of sliding toward the edges. - Distribute about 1 teaspoon of topping sugar across each cookie and caramelize it with a kitchen torch.
Stop when the crystals have melted into golden caramel and give off a toasted-marshmallow aroma. - Let the torched cookies cool for 10 minutes before eating.
The caramel should set into a brittle shell over the cool cream.
Hold the torch at a slight slant and keep the flame moving in overlapping sweeps. Torch strength varies, so adjust the distance to melt the sugar steadily without scorching one patch. Let the caramel color guide you: pale crystals need more heat, while black spots mean you’ve lingered too long.
How to Caramelize Without a Kitchen Torch
A thin stovetop caramel drizzle gives you crunch without a kitchen torch, although it won’t create the same continuous shell.
A broiler is a poor substitute for this custard-topped cookie. It heats the cream and cookie along with the sugar, which can soften the filling before the topping caramelizes evenly. The focused heat used for desserts such as Tahitian vanilla creme brulee is easier to control over a delicate dairy layer.
For the optional stovetop finish, melt granulated topping sugar in a dry stainless-steel skillet over medium heat. Watch it turn from crystals into liquid caramel, then remove the pan when the sugar reaches amber. Aim for amber rather than very dark brown, which can taste harsh against vanilla cream.
Using a heatproof metal spoon, carefully drizzle a thin lattice over the cold, piped custard. Keep it light. A thick pool can warm the filling and set into a hard slab that’s awkward to bite through.
Molten sugar can cause serious burns. Keep hands away from the caramel, use a stable heatproof work surface, and don’t touch or taste it while hot. Let the drizzle harden before serving.
Essential Tips for Crisp Cookie Success
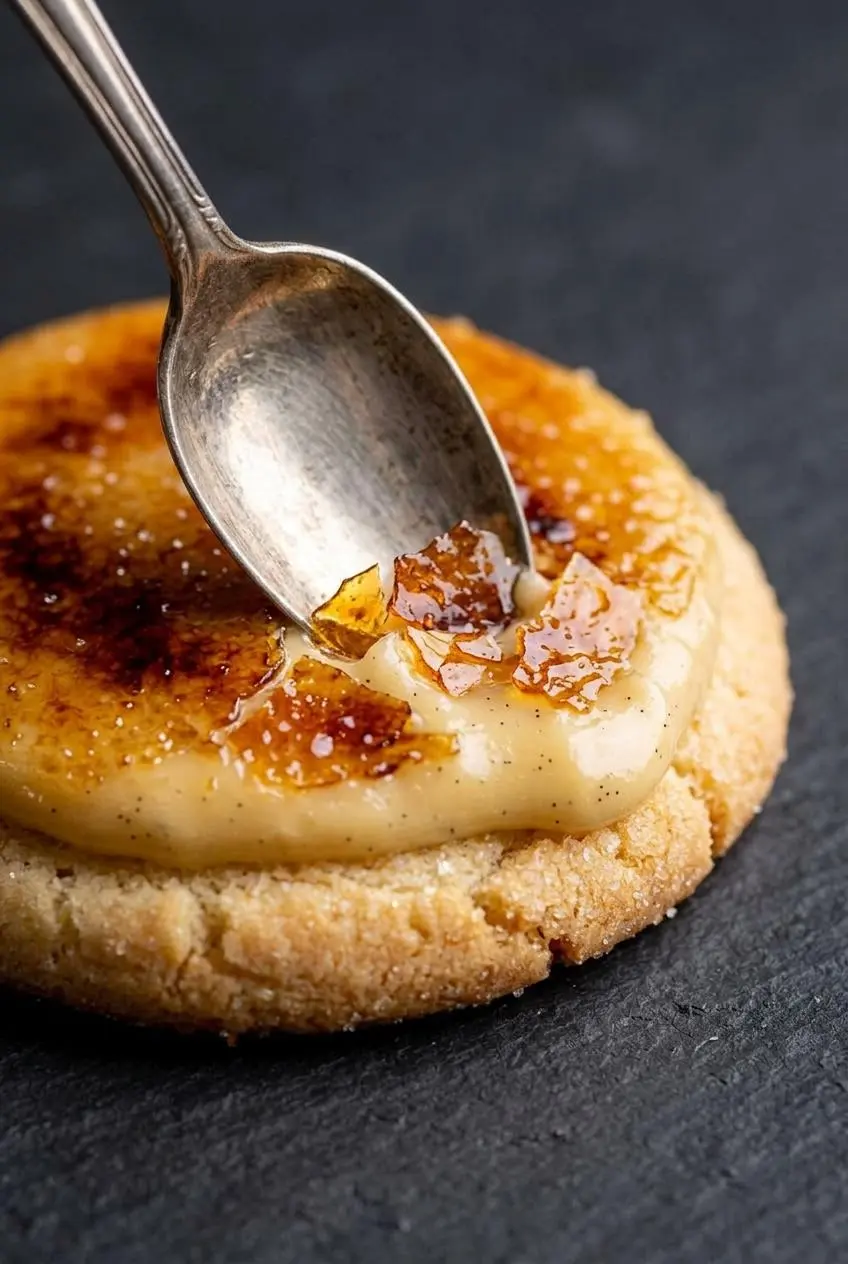
The most useful texture protection is late assembly. A sugar coating adds crunch, but it does not make a cookie waterproof against moist custard.
- Uneven cookie edges: While the cookies are still hot and flexible, place a slightly larger round cookie cutter around each one and move it in gentle circles. This nudges stray edges inward without cutting the cookie; avoid pressing down and crushing the center.
- Lumpy pastry cream: Uneven heat or incomplete whisking can leave small lumps. Carefully smooth the cream with an immersion blender in a suitable deep container, keeping the blade submerged to limit splashing; blending won’t remove a scorched flavor.
- Thin or weeping custard: Undercooked starch can leave weak structure, and yolk enzymes can contribute to thinning. Let the cream reach a thick, bubbling stage while whisking rather than removing it at the first hint of resistance, then chill it completely before judging its piping consistency.
- Burned sugar beside unmelted crystals: An uneven sugar layer or stationary flame causes patchy caramelization. Spread the sugar evenly and sweep the torch continuously instead of chasing one stubborn spot with prolonged heat.
- Soggy cookie bottoms: Custard moisture gradually moves into the cookie. Keep the layers separate until serving and pipe only the portion you’re about to finish.
- Dry cookie centers: Excess flour or waiting for deep browning can remove the intended chew. Measure the flour carefully and check for set edges rather than an all-over golden color.
The dough’s sugar coating provides a familiar textured exterior, much like the coating on classic snickerdoodle cookies. Here, it complements the caramel topping rather than acting as a moisture barrier.
Creative Recipe Variations
These optional alternatives change the flavor or structure of the dessert. Keep them separate from the ingredient list and method above.
Stuffed Creme Brulee Cookies
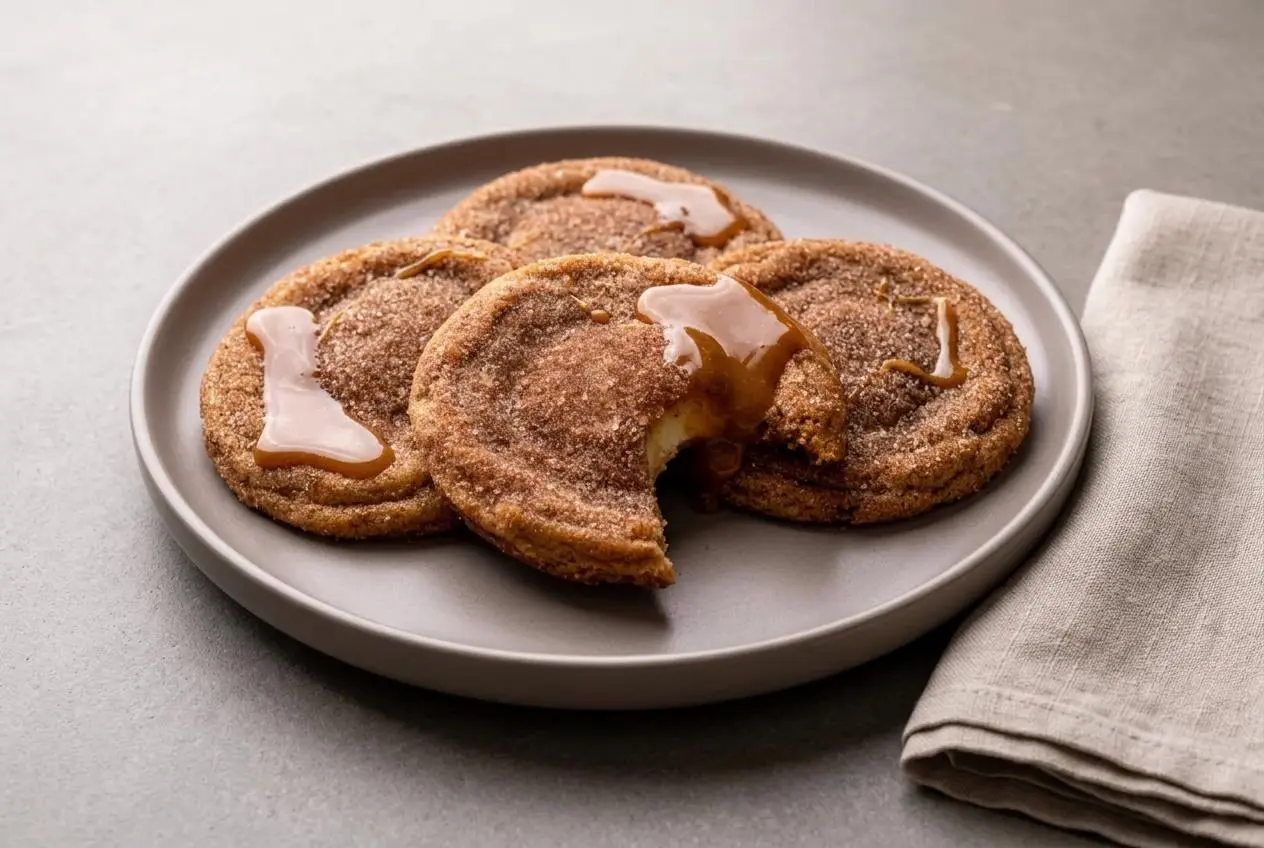
A stuffed version encloses pastry cream inside the dough instead of piping it over a baked cookie. That produces a softer filled center, with caramel on the exposed cookie surface rather than directly over custard.
This is a different baking project, not a direct assembly swap. The filling changes how the center heats and how the dough spreads, so use a recipe specifically developed for stuffed cookies rather than applying the baking time above to a filled dough ball.
Shortcut Cream Cheese Frosting
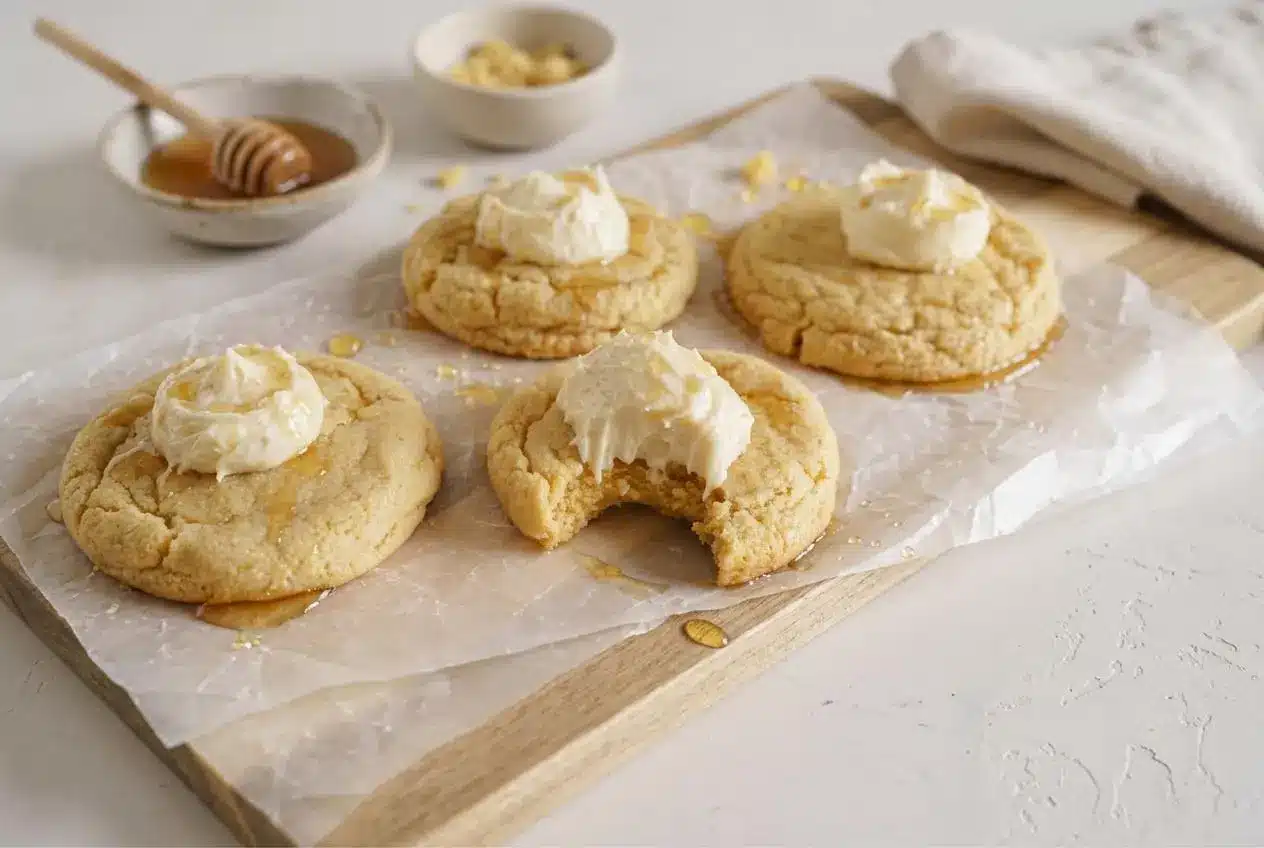
A firm vanilla cream cheese frosting can replace cooked pastry cream when you prefer a no-cook topping. It offers a tangier flavor and denser texture, so the result tastes more like a frosted cookie than classic vanilla custard.
Choose a frosting that holds a piped shape and keep it chilled before caramelizing the sugar. If that tangy contrast appeals to you, creme brulee cheesecake bars offer another way to pair cream cheese richness with a brittle topping.
Turbinado Raw Sugar Crunch
Turbinado sugar makes a coarser, more rustic caramel crust with a deeper sugar flavor. Its larger crystals take more attention to melt, increasing the chance of uneven browning or warming the cream underneath.
Use a light, even layer if you try it. Granulated white sugar remains the more manageable choice for a thin shell, especially when you’re learning to control a torch.
Make-Ahead and Storage Guidelines
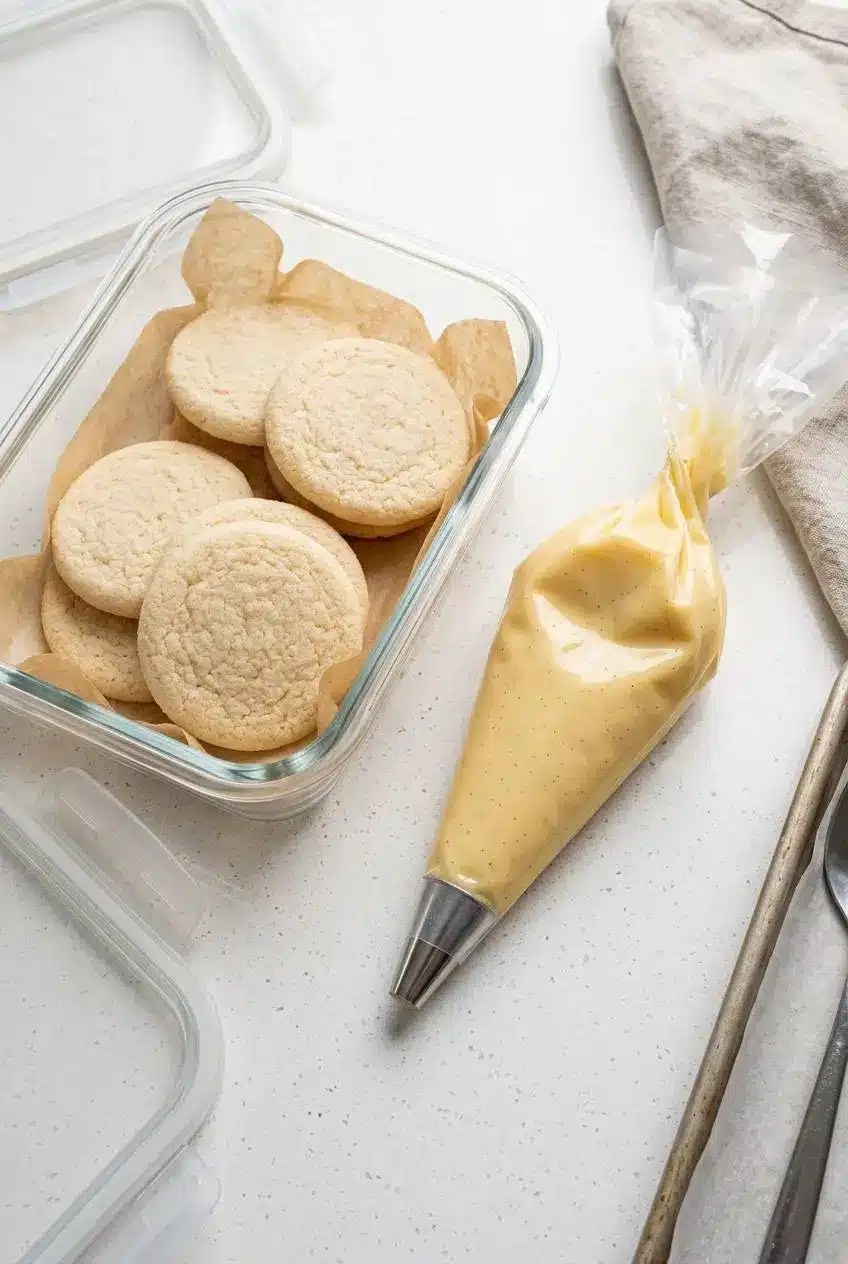
Plan around separate components, not finished cookies. The pastry cream needs refrigeration, while the baked cookies need protection from moisture.
- Cookie bases: Cool them completely before putting them in an airtight container. Trapping warmth inside the container creates condensation that softens their exterior.
- Pastry cream: Keep it covered and refrigerated, with wrap touching the surface or in a securely closed piping bag. Don’t leave the filling sitting out while organizing the rest of the dessert.
- Party assembly: Set out cooled cookies and have the topping sugar and torch ready before bringing out the cream. Pipe and caramelize a serving batch, keeping the remaining filling chilled.
- Assembled leftovers: Refrigerate them in a covered container in a single layer. Leave clearance above the topping so the lid doesn’t press into the custard.
Expect the caramel crust to soften after storage as it picks up moisture from the filling. Refrigeration preserves the chilled custard better than leaving assembled cookies on the counter, but it won’t preserve that freshly torched crackle.
Conclusion
Chewy vanilla cookies, silky cold pastry cream, and brittle caramel give these cookies three distinct textures in one bite. Fully cooled cookies and thoroughly chilled cream make the finishing stage much easier.
Save assembly and torching for serving time, and let the caramel set before taking a bite. Start with the custard, keep the layers separate, and enjoy that satisfying first crack.
Frequently Asked Questions
Do You Need a Kitchen Torch to Make Creme Brulee Cookies?
No, although a kitchen torch gives the best control over a thin caramel shell. You can melt the topping sugar in a dry skillet and drizzle amber caramel lightly over cold custard. Avoid treating the broiler as an equivalent substitute because it warms the filling along with the sugar.
Can You Make Creme Brulee Cookies Ahead of Time?
Prepare the components separately, allowing the cookies to cool and the pastry cream to chill completely. Keep the cream refrigerated and the cooled cookies in an airtight container. Pipe the custard and caramelize the sugar shortly before serving rather than storing finished cookies for their crunch.
How Do You Store Leftover Creme Brulee Cookies?
Refrigerate assembled cookies in a covered container in a single layer. Keep the lid clear of the custard topping. Expect the caramel to soften; leftovers won’t retain the freshly made shell.
Why Is My Pastry Cream Runny Instead of Pipeable?
It may be insufficiently cooked or still too warm to hold its shape. The starch needs thorough heating, not just the first sign of thickening, and the finished cream needs complete chilling. If undercooking is the likely cause, return it to the saucepan and whisk over gentle heat until thick, then cover the surface and chill again.
Creme Brulee Cookies Recipe

Equipment
- Medium saucepan
- electric mixer or stand mixer with paddle attachment
- Large Cookie Scoop
- Cookie sheets
- Parchment Paper
- Cooling Rack
- piping bag with small circular tip
- Kitchen torch
Ingredients
For the Vanilla Pastry Cream
- 2 1/4 cups whole milk (540 ml)
- 6 egg yolks
- 1 cup granulated white sugar + 2 tbsp (225 g)
- 1/8 tsp salt
- 1 1/2 tbsp vanilla bean paste
- 3 1/2 tbsp cornstarch (28 g)
- 3 tbsp unsalted butter cut in cubes (42 g)
For the Sugar Cookies
- 2 1/2 cups all-purpose flour spooned and leveled (313 g)
- 1/2 tsp baking powder
- 1/2 tsp salt
- 1 1/4 cup granulated white sugar (250 g)
- 1 cup unsalted butter softened (224 g)
- 1 egg
- 1 tbsp vanilla bean paste
- 1/2 cup granulated white sugar for rolling the dough in (100 g)
- 1/2 cup granulated white sugar for the brulee topping (100 g)
Instructions
For the Vanilla Pastry Cream
- Warm the milk in a medium saucepan over medium-low heat, then reduce the heat to low as soon as steam rises. The milk should look hot and steamy without a rolling boil.
- Whisk the yolks, sugar, salt, vanilla bean paste, and cornstarch together in a large bowl until pale and evenly blended. The initial stiff paste should loosen into a smoother mixture as the whisk works through it.
- Pour one-quarter of the warm milk into the yolk mixture gradually while whisking briskly, then whisk in the remaining milk. The mixture should become fluid and uniform, with no cooked egg flecks or dry pockets.
- Return the combined mixture to the saucepan and whisk constantly over medium-low heat for 8–12 minutes, until thick enough to hold soft peaks. Look for glossy pudding-like cream that leaves whisk trails rather than flowing like milk.
- Take the saucepan off the heat, scrape the cream into a bowl, stir in the butter cubes, and refrigerate with plastic wrap pressed directly against the surface until completely cold. The butter should disappear into the cream, and the wrap should touch the entire surface to discourage a skin.
For the Sugar Cookies
- Set the oven to 350 °F and cover two cookie sheets with parchment paper. The lined sheets will let you lift the delicate cookies cleanly after their initial cooling.
- Blend the flour, baking powder, and salt with a whisk in a large bowl, then set the bowl aside. The dry mixture should look evenly combined without concentrated patches of baking powder.
- Beat the softened butter and the 1 1/4 cup of sugar on high speed for about 2 minutes using an electric mixer or a stand mixer with a paddle attachment. Stop when the mixture looks fluffy and lighter rather than dense and greasy.
- Mix the egg and vanilla bean paste into the butter mixture on medium speed for 1–2 minutes. The batter should become pale and fluffy with the egg fully incorporated.
- Add the dry mixture gradually while running the mixer on low, stopping as soon as a cohesive dough forms. No loose flour should remain, but the dough should still feel soft rather than overworked.
- Portion the dough with a large cookie scoop and gently shape each portion into a ball. Evenly sized balls help the cookies finish baking together.
- Put the rolling sugar in a small bowl and turn each dough ball through it. A light, even coating should cling to the surface.
- Arrange six dough balls at a time on a prepared sheet and press each one down slightly. Leave room between them so the cookies can spread without joining.
- Bake for 9–10 minutes, leave the cookies on the sheet for 5 minutes, then move them to a cooling rack. The edges should look set while the centers remain pale and soft, becoming sturdier as they cool.
Assembling the Cookies
- Fit a piping bag with a small circular tip, fill it with cold pastry cream, and pipe the cream onto completely cooled cookies when ready to serve. The filling should hold its shape instead of sliding toward the edges.
- Distribute about 1 teaspoon of topping sugar across each cookie and caramelize it with a kitchen torch. Stop when the crystals have melted into golden caramel and give off a toasted-marshmallow aroma.
- Let the torched cookies cool for 10 minutes before eating. The caramel should set into a brittle shell over the cool cream.