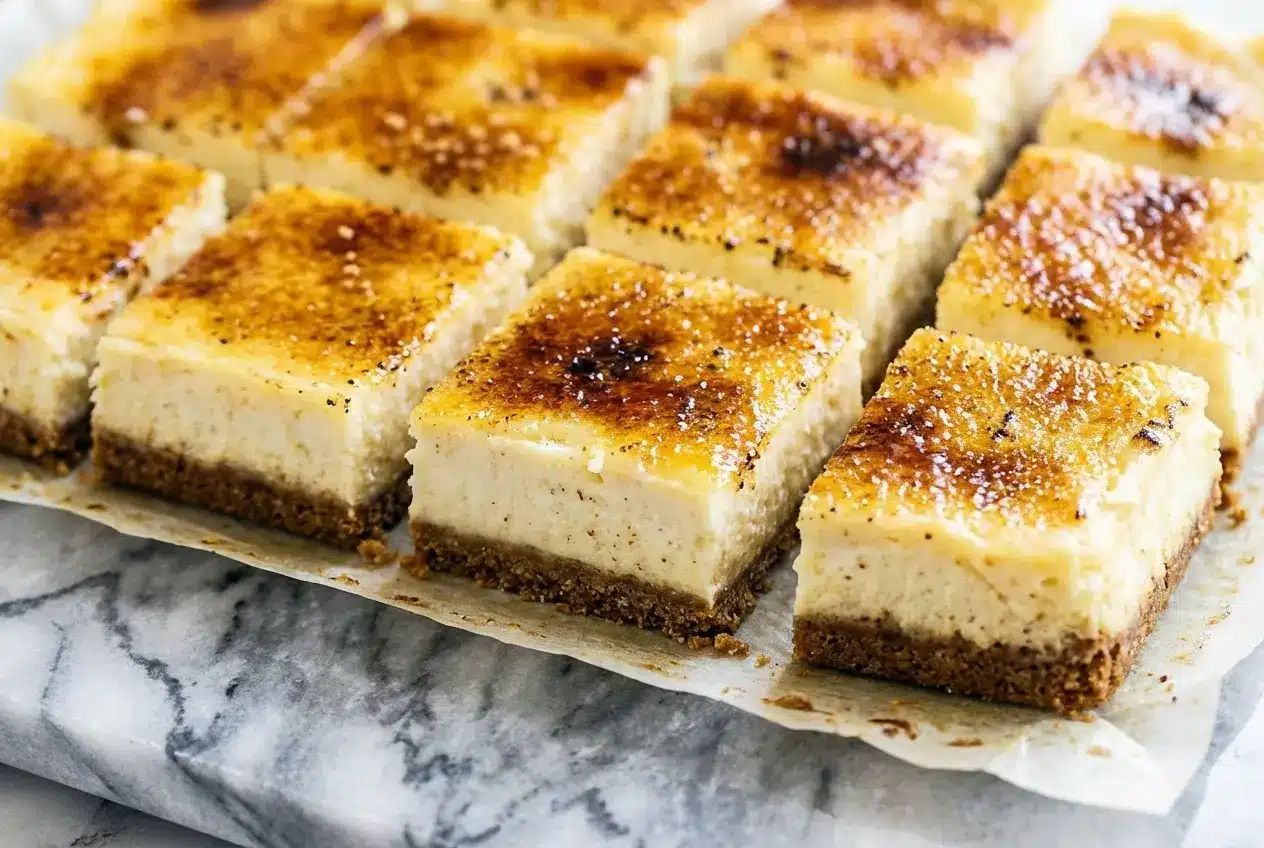
Some desserts know how to steal the room, and these Crème Brûlée Cheesecake Bars do it the second a spoon or fork hits that glassy sugar top. In my kitchen, this is the kind of bake I pull out when I want something that feels dinner-party polished, but still slices neatly and serves without any fuss.
You get the lush tang of cheesecake, the silkiness of custard, and that signature brûléed crackle all in one bite. They are especially perfect for holidays, birthdays, or any weekend when you want a dessert that feels just a little bit fancy without being fussy.
Why You’ll Love This Recipe
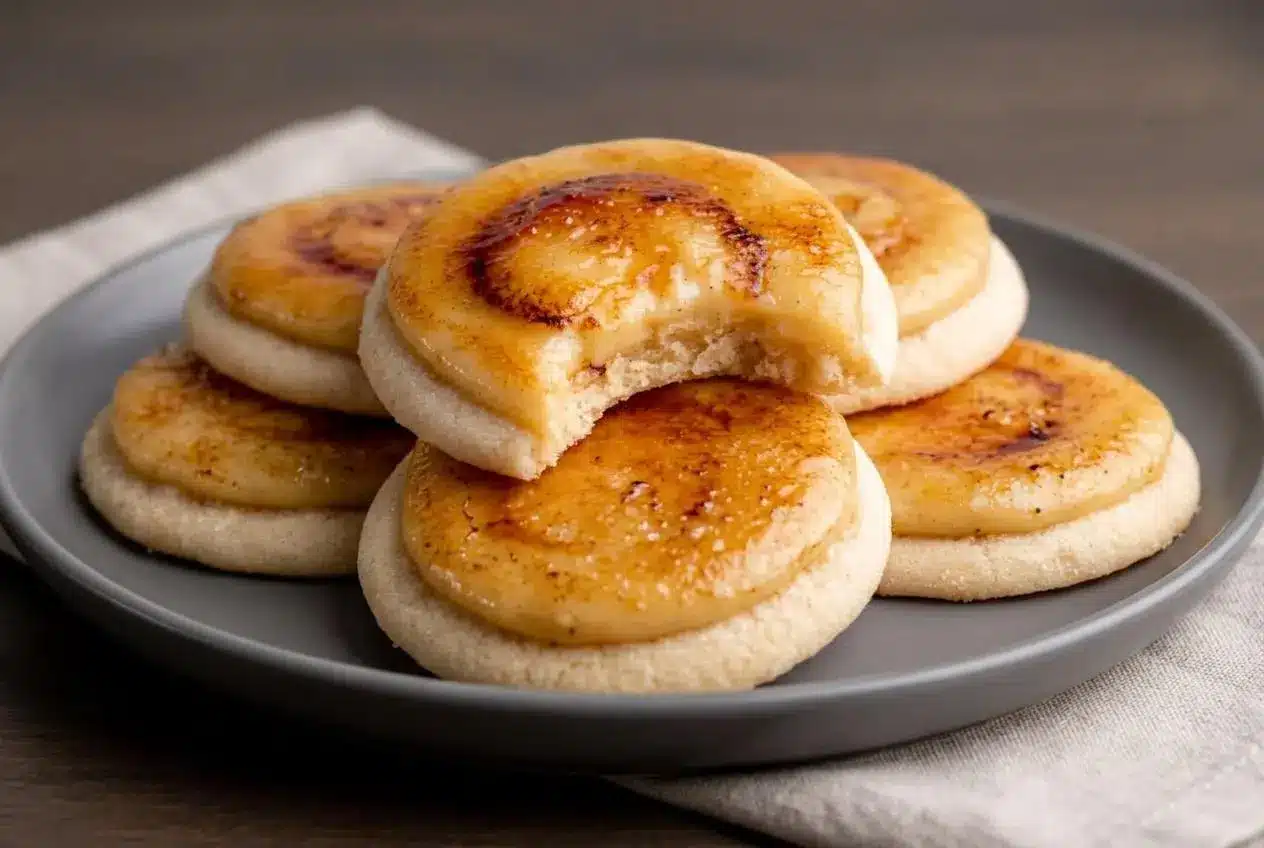
A bakery-style finish: The contrast here is pure magic, cold creamy filling underneath and a thin, crisp layer of caramelized sugar on top. It gives you that classic crème brûlée experience in a bar that is easy to slice and pass around.
The brown butter edge: In my kitchen, browning the butter for the graham cracker crumbs adds a deep toasted flavor that plain melted butter just cannot match. If you already love rich brown butter flavors, you will recognize that nutty aroma the moment the crust hits the oven.
Silky, reliable texture: With room temperature ingredients, gentle mixing, and the right bake, the filling stays smooth and custardy instead of dense or cracked. The cream cheese, heavy cream, and vanilla bean paste work together for that velvety finish you want in every bite.
Made for gatherings: Bars are simply easier to serve than a full cheesecake, and each square gets its own crackly sugar shell. That makes them ideal for parties, showers, and holiday tables where neat portions matter.
Ingredients and Substitutions
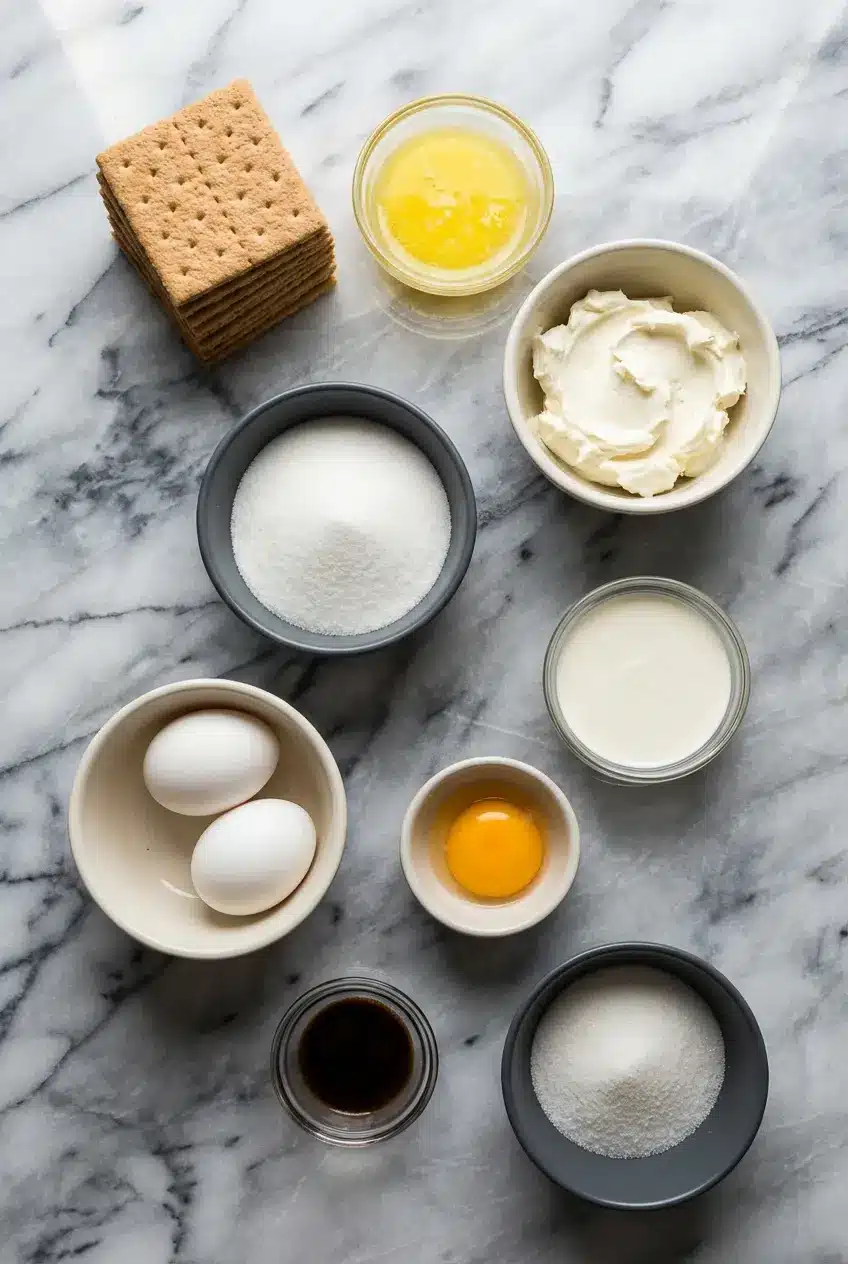
A short list does a lot of work here. Each ingredient earns its place, from the tangy filling to the brûlée topping that gives these bars their signature snap.
Ingredients
For the crust:
- 9 whole (135 grams) graham crackers
- 5 tablespoons (72 grams) unsalted butter, melted
For the filling:
- 16 ounces (454 grams) cream cheese, completely softened at room temperature
- 1 cup (200 grams) granulated sugar
- 1/4 cup heavy cream
- 2 large eggs, at room temperature
- 1 large egg yolk, at room temperature
- 2 teaspoons vanilla bean paste
- 1/2 teaspoon fine sea salt
For the brûlée topping:
- 1/4 cup (50 grams) granulated sugar
Ingredient Notes & Substitutions
Vanilla bean paste: This is what gives the filling that classic custard look with tiny black flecks and a fuller vanilla flavor. If you do not have it, use pure vanilla extract in a 1:1 swap, or scrape in the seeds from one vanilla bean for an extra luxe feel.
Cream cheese: Full-fat brick-style cream cheese is the one to reach for here. Tub-style cream cheese is softer and often contains more stabilizers, which can change the structure and leave the filling less firm.
Granulated sugar: Regular white sugar is best for the brûlée topping because it melts evenly and sets into a clean, brittle shell. Brown sugar tends to hold extra moisture, so instead of a crisp crack, you often end up with a soft, sticky top.
Graham crackers: Nine whole crackers gives you the right balance of sandy crumbs and buttery press-in texture. If you want a small twist, digestive biscuits or crisp sugar cookies can stand in for the crust, though the flavor will lean a little more buttery and less honeyed.
Heavy cream: Just a small amount loosens the filling and gives it that custard-like softness without turning it runny. I would not swap in milk here, because the lower fat content can leave the bars less rich and a little flatter in flavor.
Brown butter note: Even though the ingredient list says melted butter, the method browns it first for extra depth. That toasted, almost hazelnut-like character ties beautifully into the caramelization on top and makes the whole dessert taste more finished.
Fresh garnish ideas: If you want a restaurant-style plate, a fresh raspberry and a tiny mint leaf look beautiful against the deep amber sugar. White chocolate can also be folded into the filling in richer variations, but I prefer keeping the vanilla custard front and center for this version.
How to Make Crème Brûlée Cheesecake Bars
Prepare the Pan and Crust
- Heat your oven to 350°F and line an 8-inch square metal baking dish with foil, leaving enough overhang on the sides to lift the bars out later. A metal pan matters here because it bakes more evenly than glass and gives you neater, sharper edges.
- Pulse the graham crackers in a food processor until they turn into fine, even crumbs. Brown the butter in a small saucepan over medium heat, swirling often, until it smells nutty and the milk solids turn golden, then add it to the crumbs and pulse until the mixture looks like damp sand.
- Press the crumb mixture firmly into the bottom of the prepared pan, making sure the corners are packed well so the crust holds together after slicing. Bake for 8 to 10 minutes, until lightly browned and set, then let it cool while you lower the oven temperature to 300°F.
Mix the Filling
- In a large bowl, beat the softened cream cheese with an electric mixer on medium-high speed until completely smooth and creamy, with no cold lumps hiding at the bottom. Add the sugar and keep mixing until the batter looks glossy, stopping to scrape down the sides and bottom of the bowl well.
- Mix in the heavy cream first, then add the eggs, egg yolk, vanilla bean paste, and salt one at a time until the filling is smooth and fully combined. Keep the mixer on a lower speed at this stage so you do not whip in excess air, which can cause the cheesecake to puff, then sink or crack.
Bake Gently
- Pour the filling over the cooled crust and smooth the top so the surface is level. Tap the pan firmly on the counter about 30 times to knock out trapped air bubbles, which helps create that sleek top you want for the sugar layer.
- Bake at 300°F for about 35 minutes, just until the edges are set and the center still has a slight wobble when gently nudged. If you like using a thermometer, the sweet spot is when the internal temperature reaches exactly 150°F, which keeps the center creamy instead of rubbery.
Chill, Slice, and Brûlée
- Set the pan on a cooling rack and let the cheesecake cool completely before covering and chilling for at least 4 hours. Overnight is even better, because the filling firms up cleanly and the flavor settles into that rich custard-like finish.
- Lift the chilled slab out using the foil overhang and move it to a heat-safe surface. Slice into squares with a hot knife, wiping it dry between cuts so each bar keeps crisp edges instead of dragging.
- Right before serving, blot the top of each bar with a paper towel to remove any surface moisture. Sprinkle each square with a thin, even layer of sugar and torch until the top melts and turns a deep amber color, then serve once the shell has hardened into that signature crackly lid.
Secrets for the Perfect Crackle and Creamy Center
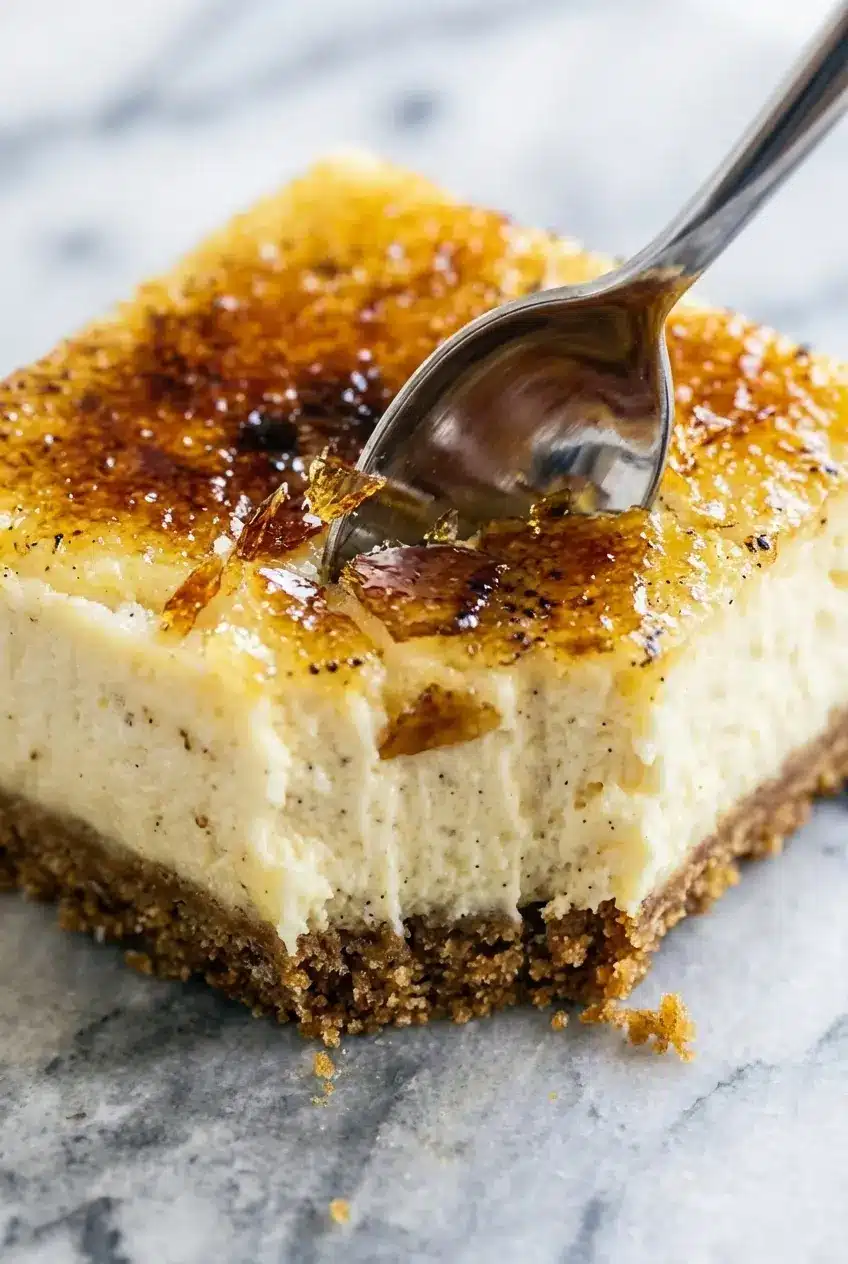
The biggest difference between a good bar and a stunning one comes down to moisture control and a gentle bake. Cheesecake is really a custard, so treating it patiently is what keeps the center silky and the top smooth, even without a water bath.
I rely on two checkpoints every single time, the jiggle test and temperature. The edges should look settled while the center still trembles slightly, and if you want extra precision, 150°F is the mark that keeps the filling luscious rather than dry.
The sugar top has its own rules. If the chilled surface is damp, the sugar starts dissolving from underneath, which is exactly why some brûlée toppings turn syrupy instead of brittle, so always blot before torching.
There is also a lovely flavor echo happening in this dessert. If you are the kind of person who loves the rich contrast in a good caramel cheesecake, you will appreciate how the cool vanilla filling and dark caramelized lid balance each other in much the same way.
The Science of Caramelization: Choosing Your Heat Source
That bronzed sugar lid is not just for drama, it changes the flavor in seconds. Pure sugar melts, darkens, and develops bittersweet notes through caramelization, while browned butter brings in toasted depth from milk solids, so the crust and topping feel beautifully connected on the palate.
If you enjoy the nerdy side of baking, the chemical differences between the Maillard reaction and caramelization help explain why brown butter tastes nutty and complex while the brûléed topping tastes clean, dark, and toasty. They are different processes, but in this dessert they play off each other in a way that makes every bite taste more layered.
A kitchen torch is still the gold standard because it gives you focused heat without warming the cheesecake underneath. Move the flame steadily over a thin layer of sugar until it melts, bubbles, and turns deep amber, then stop before it veers into bitterness.
If you do not have a torch, the broiler can work, but it asks for your full attention. Set the bars on a baking sheet, slide them under a very hot broiler with the oven door slightly ajar, and watch every second, shielding the edges with foil if the crust starts coloring too fast.
Pro Tips & Troubleshooting
Pro Tips
- Let the cream cheese and eggs come fully to room temperature before mixing. This is the easiest way to get a smooth batter without stubborn lumps.
- Scrape the bowl often, especially the bottom. Even good beaters can miss small pockets of unmixed cream cheese hiding there.
- Tap the filled pan firmly on the counter about 30 times before baking. That quick step releases trapped bubbles and helps create a flat surface for the sugar topping.
- Use a hot, dry knife for every cut if you want clean, bakery-style squares. Dip it in hot water, wipe it dry, then slice.
- A metal pan gives you cleaner edges and more even baking than glass. It is a small choice that makes a noticeable difference with cheesecake bars.
- Recipes like these reward a little practice with texture, and the same gentle mixing approach helps in other bar desserts such as cream cheese squares, where smooth batter and careful baking matter just as much.
- When room temperature ingredients blend properly, the filling emulsifies more evenly and stays satiny instead of grainy. The science of emulsification helps explain why cold dairy is such a troublemaker in custard-style bakes.
Common Mistakes to Avoid
- Using cold cream cheese is the fastest route to a lumpy filling. Once those lumps form, they rarely disappear completely.
- Overmixing after the eggs go in can whip too much air into the batter. That extra air often causes the bars to rise, then fall or crack as they cool.
- Skipping the surface blotting before torching almost always leads to a soft or weepy sugar top. Moisture is the enemy of a clean crack.
- Overbaking dries out the center and robs the bars of their custard texture. Pull them when the middle still jiggles slightly.
- Torching too far ahead of serving can leave you with a melted, syrupy topping within 30 to 60 minutes. For the best texture, brûlée the sugar at the last minute.
Serving & Storage
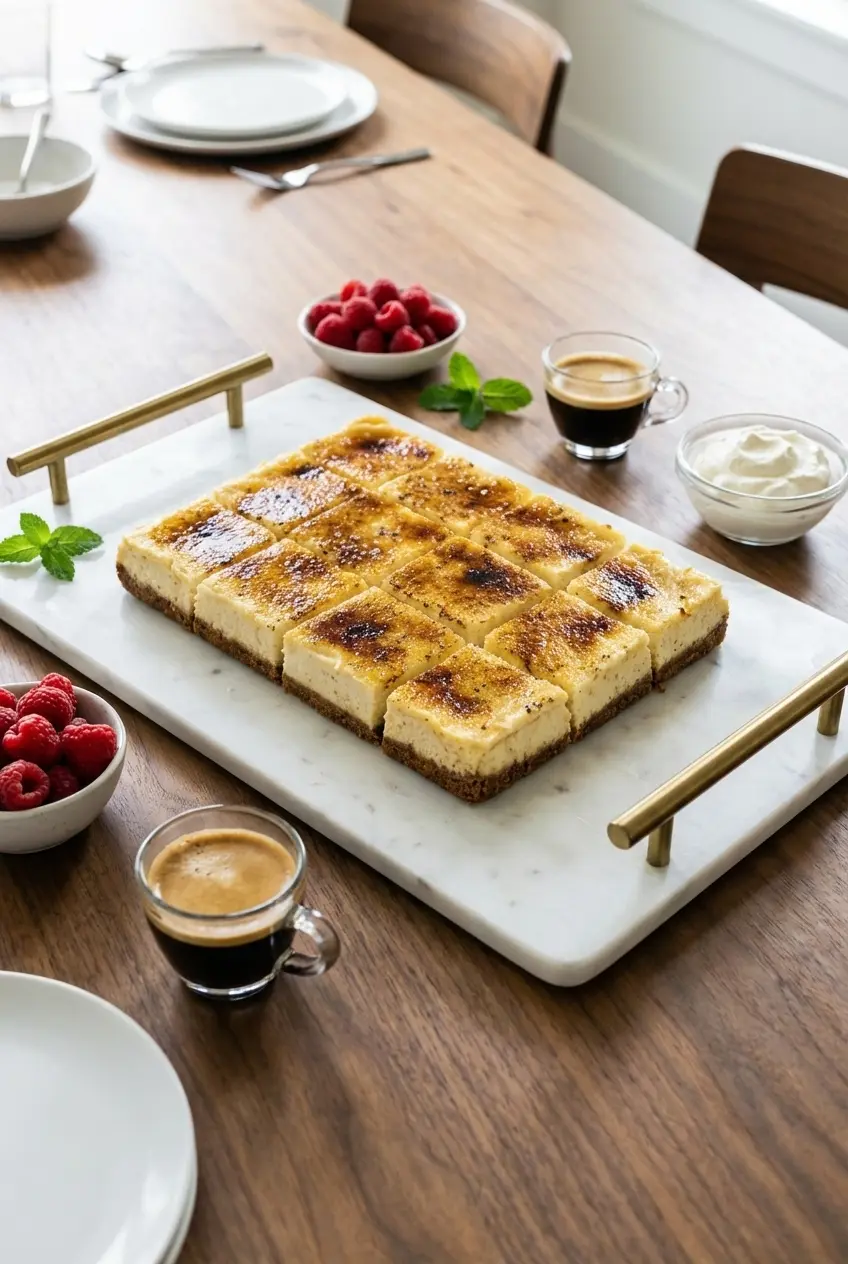
Serving Ideas
These bars shine brightest when served cold with the sugar torched just before they hit the plate. I love finishing each square with one raspberry and a tiny mint leaf, because that pop of color makes the deep amber top look even more striking.
The richness also plays beautifully with something bitter or crisp on the side. A double espresso is classic, and if you want a cool pairing instead, creamy vanilla bean drinks make a fun contrast to the just-torched sugar shell.
For a plated dessert, a small spoonful of lightly sweetened whipped cream works nicely without stealing the spotlight. If you are serving wine, a chilled glass of Sauternes cuts through the creaminess in the loveliest way.
Storage & Make-Ahead
You can bake and chill the bars, without the sugar topping, up to 3 days in advance. Keep them covered in the refrigerator, then blot and torch right before serving so the topping stays crisp.
These freeze well too, as long as you freeze them before adding the brûlée layer. Wrap the bars tightly in plastic and foil and freeze for up to 1 month, then thaw overnight in the fridge before adding the sugar and caramelizing the tops.
If you have leftovers that are already brûléed, refrigerate them and know the sugar lid will gradually soften. They will still taste wonderful, but that dramatic crack is always best on the day the topping is torched.
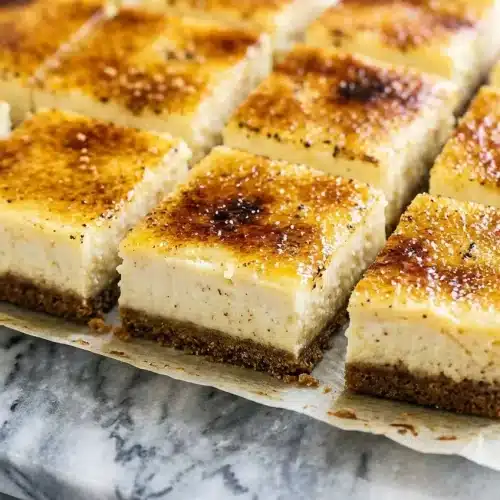
Crème Brûlée Cheesecake Bars

Equipment
- 8-inch square metal baking dish
- Food processor
- Small saucepan
- Electric Mixer
- Kitchen torch
- Paper towels
Ingredients
For the crust:
- 9 whole (135 grams) graham crackers
- 5 tablespoons (72 grams) unsalted butter, melted
For the filling:
- 16 ounces (454 grams) cream cheese, completely softened at room temperature
- 1 cup (200 grams) granulated sugar
- 1/4 cup heavy cream
- 2 large eggs, at room temperature
- 1 large egg yolk, at room temperature
- 2 teaspoons vanilla bean paste
- 1/2 teaspoon fine sea salt
For the brûlée topping:
- 1/4 cup (50 grams) granulated sugar
Instructions
Prepare the Pan and Crust
- Preheat your oven to 350 degrees F. Line an 8-inch square metal baking dish with aluminum foil, ensuring there is enough overhang on the sides to lift the bars out later.
- Pulse the graham crackers in a food processor until they become fine crumbs. In a small saucepan over medium heat, brown the butter by swirling it constantly until it smells nutty and the milk solids are golden. Mix the brown butter with the cracker crumbs until the texture resembles damp sand.
- Press the mixture firmly into the bottom of the prepared pan. Bake for 8 to 10 minutes until set. Remove from the oven and lower the oven temperature to 300 degrees F.
Mix the Filling
- Beat the room-temperature cream cheese with an electric mixer on medium-high speed until perfectly smooth. Add the granulated sugar and continue mixing until glossy, scraping the bowl well.
- Lower the mixer speed and incorporate the heavy cream. Add the eggs, egg yolk, vanilla bean paste, and salt one at a time, mixing just until combined to avoid whipping too much air into the batter.
Bake Gently
- Pour the filling over the crust and level the top. Tap the pan firmly on the counter 30 times to remove air bubbles. Bake at 300 degrees F for approximately 35 minutes, or until the edges are set and the center has a slight jiggle (internal temperature should be 150 degrees F).
Chill, Slice, and Brûlée
- Cool the pan on a wire rack completely, then refrigerate for at least 4 hours, or ideally overnight.
- Lift the cheesecake out using the foil. Slice into squares with a hot, dry knife, cleaning the blade between every cut. Just before serving, blot the surface of each bar with a paper towel to remove moisture.
- Sprinkle a thin, even layer of sugar over each bar. Use a kitchen torch to melt and caramelize the sugar into a deep amber shell. Serve immediately once the sugar has hardened.
Notes
Nutrition
Conclusion
These Crème Brûlée Cheesecake Bars bring together everything I love in a special-occasion dessert, a silky vanilla custard center, a crisp sugar shell, and that extra nutty depth from the brown butter crust. The little details, especially pulling the bars at 150°F and blotting before torching, are what turn a good batch into a truly memorable one.
Once you hear that first clean crack of caramelized sugar, you will understand why this dessert never lasts long on the table. Keep the core method, then have fun with small touches like a berry garnish or a cookie-crust variation to make it your own.
Frequently Asked Questions
How do I get a perfectly crunchy sugar top?
What can I use if I don’t have a torch?
Can these be made ahead of time?
Why is my cheesecake filling lumpy?