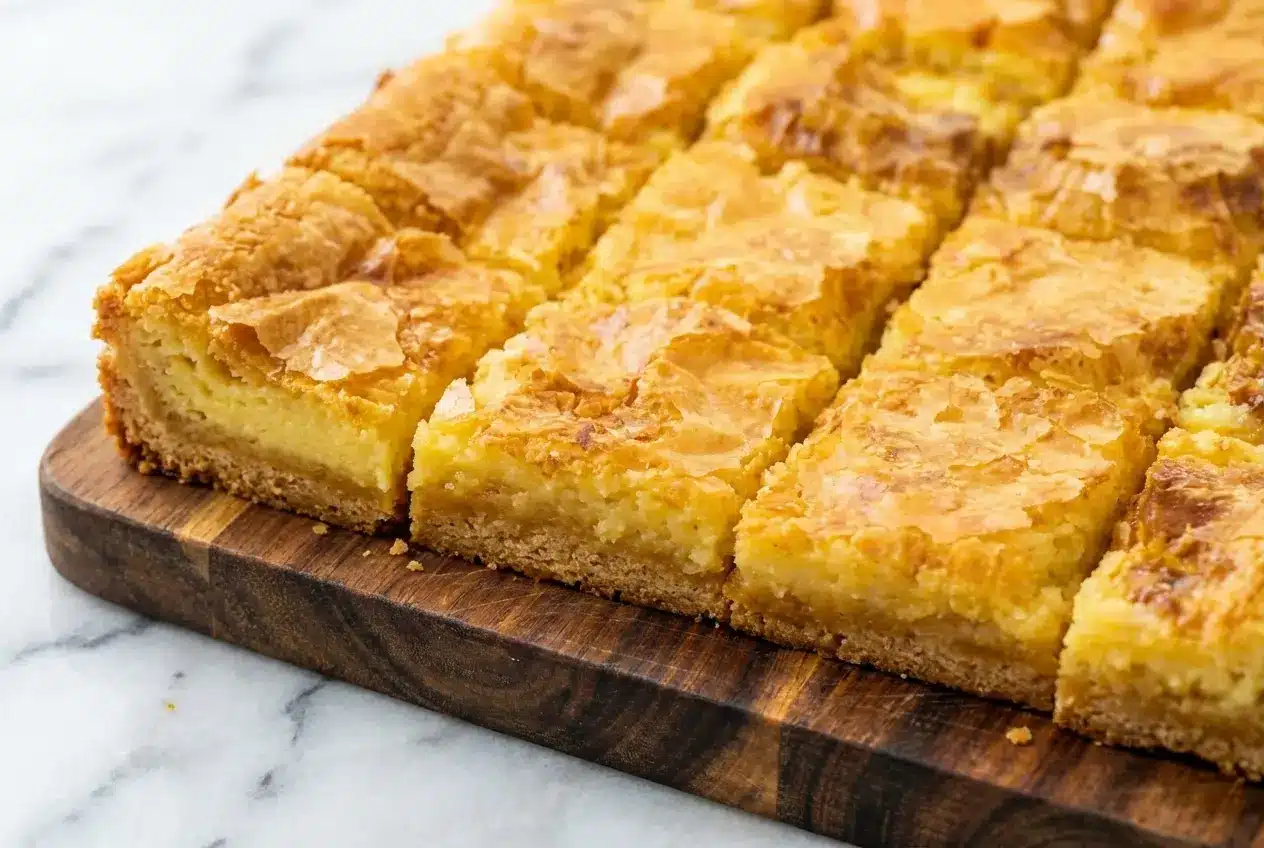
There is something wonderfully familiar about cream cheese squares on an American dessert table. They show up at church suppers, holiday cookie swaps, and family reunions, usually on a paper plate with a few crumbs already missing because somebody could not wait.
In my kitchen, this version takes that old-school favorite and gives it a richer, more grown-up edge. Brown butter deepens the crust, flaky sea salt reins in the sweetness, and the result is a sticky, gooey, chewy pan of bars that feels just right for potlucks, parties, or a make-ahead dessert stashed in the fridge.
Why You’ll Love This Recipe
That bakery-style flavor: Browning the butter gives the yellow cake mix crust a toasted, nutty depth that tastes far more special than the ingredient list suggests. I started doing this in my own kitchen once I realized how much it wakes up simple dessert squares.
The sweet-salty balance: A pinch of flaky sea salt right after baking makes all the difference. It cuts through the richness of the cream cheese and powdered sugar filling, so every bite tastes balanced instead of one-note sweet.
The texture everyone reaches for: These gooey butter cake bars bake up dense, chewy, sticky, and soft in the center, with lightly set edges that keep each square from feeling heavy. They are the kind of potluck dessert that disappears fast.
Easy to make ahead: Because they need to chill until firm, these cream cheese squares are actually better when made in advance. That makes them a lifesaver when you want dessert done before guests ever ring the bell.
Ingredients and Substitutions
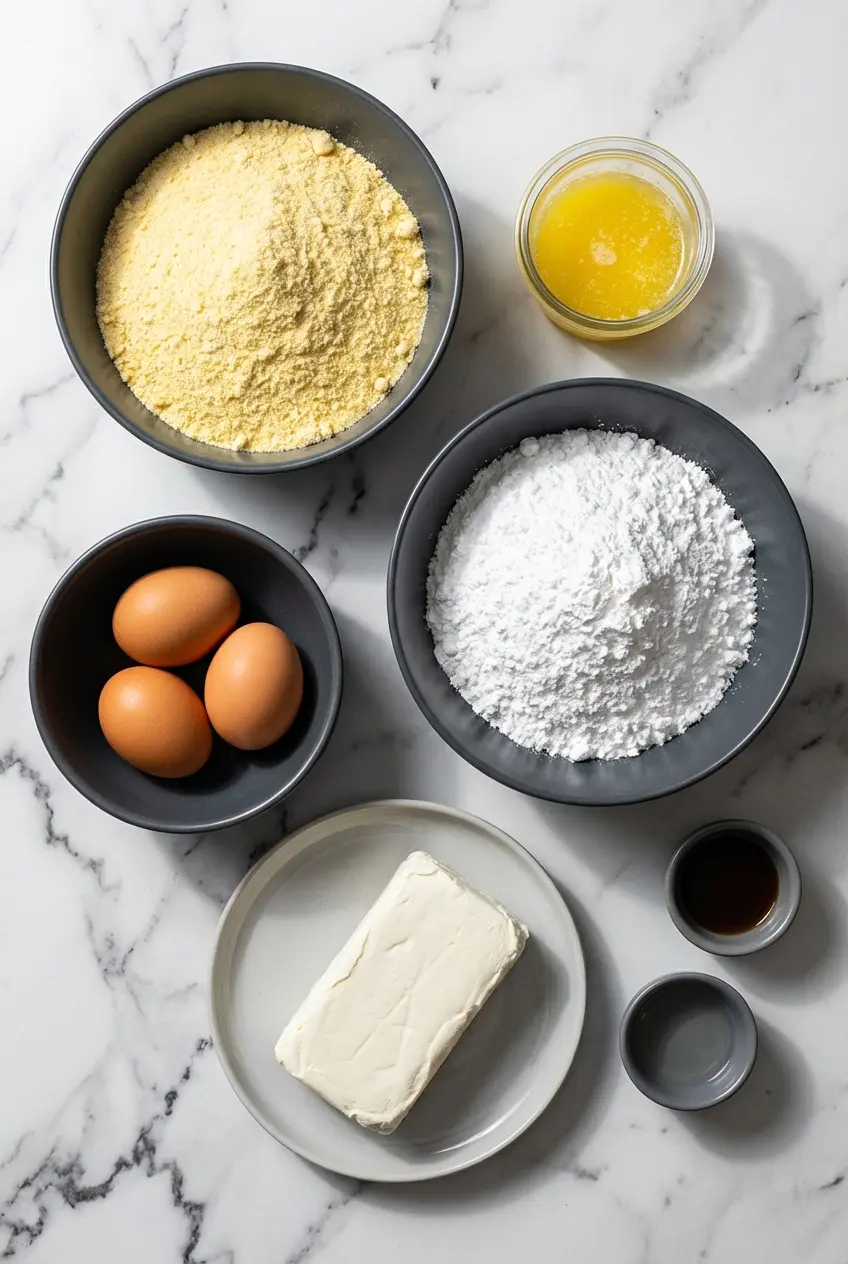
This recipe keeps the ingredient list simple, but each piece plays an important role in creating that signature rich crust and creamy, gooey filling.
Ingredients
Crust:
- 1 box yellow cake mix
- 1 stick butter, melted
- 1 egg
Filling:
- 1 Lb powdered (confectioner’s) sugar
- 1 8-oz package cream cheese, somewhat softened
- 2 eggs
- 1 tsp vanilla extract
- 1/4 tsp coconut extract
Ingredient Notes & Substitutions
Cream cheese: Full-fat cream cheese gives these dessert squares their best texture, rich, smooth, and properly gooey once chilled. Let it soften fully at room temperature before mixing, otherwise it tends to ride up the beaters of the electric hand mixer and leave little lumps behind.
Butter: The ingredient list says melted butter, but for this version I brown it first in a small saucepan until it smells nutty and toasted. Let it cool slightly before stirring it into the crust so the dough stays soft and easy to press into the pan.
Cake mix: Yellow cake mix is the classic base and gives that nostalgic gooey butter cake bar flavor, but it is also a great place to play. Chocolate, strawberry, or lemon cake mix all work beautifully when you want a different mood without changing the basic method.
Nuts: A handful of chopped pecans or walnuts can be folded right into the crust dough if you want a little crunch. I especially like pecans here because their buttery flavor pairs naturally with the browned butter.
Citrus additions: Fresh lemon zest in the filling is a smart way to bring a brighter contrast to all that sweetness. If citrus desserts are your thing, the same creamy-sweet balance is part of why lemon dessert bars are such a favorite in my kitchen too.
Coconut extract: The small amount does not make the bars taste tropical, it simply rounds out the vanilla and adds a subtle old-fashioned bakery note. If coconut is not your style, you can leave it out or swap in a tiny splash of almond extract, used carefully because it is stronger.
Sopapilla-style variation: For a completely different spin, some bakers use crescent roll dough instead of the cake mix crust and finish the top with cinnamon sugar. It is a delicious shortcut when you want something closer to a flaky pastry bar than a dense, chewy potluck dessert.
How to Make Cream Cheese Squares
Prep the Pan and Brown the Butter
- Heat your oven to 350 degrees. Line a 13×9 baking pan with aluminum foil or parchment paper, making sure some hangs over the sides so you can lift the slab out later, then spray the liner well with cooking spray.
- Place the butter in a small saucepan over the stove and melt it until the milk solids turn golden and the aroma becomes deeply nutty and toasted. Take it off the heat and let it cool for a few minutes so it is warm, not scorching hot.
Make the Crust and Filling
- In a medium mixing bowl, stir together the yellow cake mix, the browned butter, and 1 egg until you have a smooth, soft dough. It will feel thicker than cake batter and softer than cookie dough, which is exactly what you want.
- Press that dough evenly over the bottom of the prepared pan, reaching into the corners so the crust bakes level. Set the pan aside while you mix the filling.
- In another medium mixing bowl, use an electric hand mixer on the lowest setting to blend the powdered sugar, somewhat softened cream cheese, 2 eggs, vanilla extract, and coconut extract until smooth. Mix just until the filling looks creamy and mostly lump-free, without whipping in too much air.
- Pour the filling over the crust and spread it gently with a spoon so it reaches the edges in an even layer. The top should look glossy and thick.
Bake and Finish
- Bake for about 40 minutes, until the bars are puffed, evenly browned on top, and set around the edges. The center should still have a slight jiggle when you nudge the pan, which is the sweet spot for a gooey middle.
- As soon as the pan comes out of the oven, scatter a pinch of flaky sea salt over the top. That little finishing touch wakes up the browned butter flavor and keeps the sweetness from feeling overwhelming.
Cool, Chill, and Slice
- Let the pan cool on a rack. As it cools, the center will settle and the top may crack in places, which is completely normal for this style of bar.
- Refrigerate the bars until very cold and firm, preferably overnight. Once chilled, invert the slab onto a cutting board, peel away the liner, and cut into small squares for the neatest edges and the best chewy texture.
Secrets for Baking Perfection
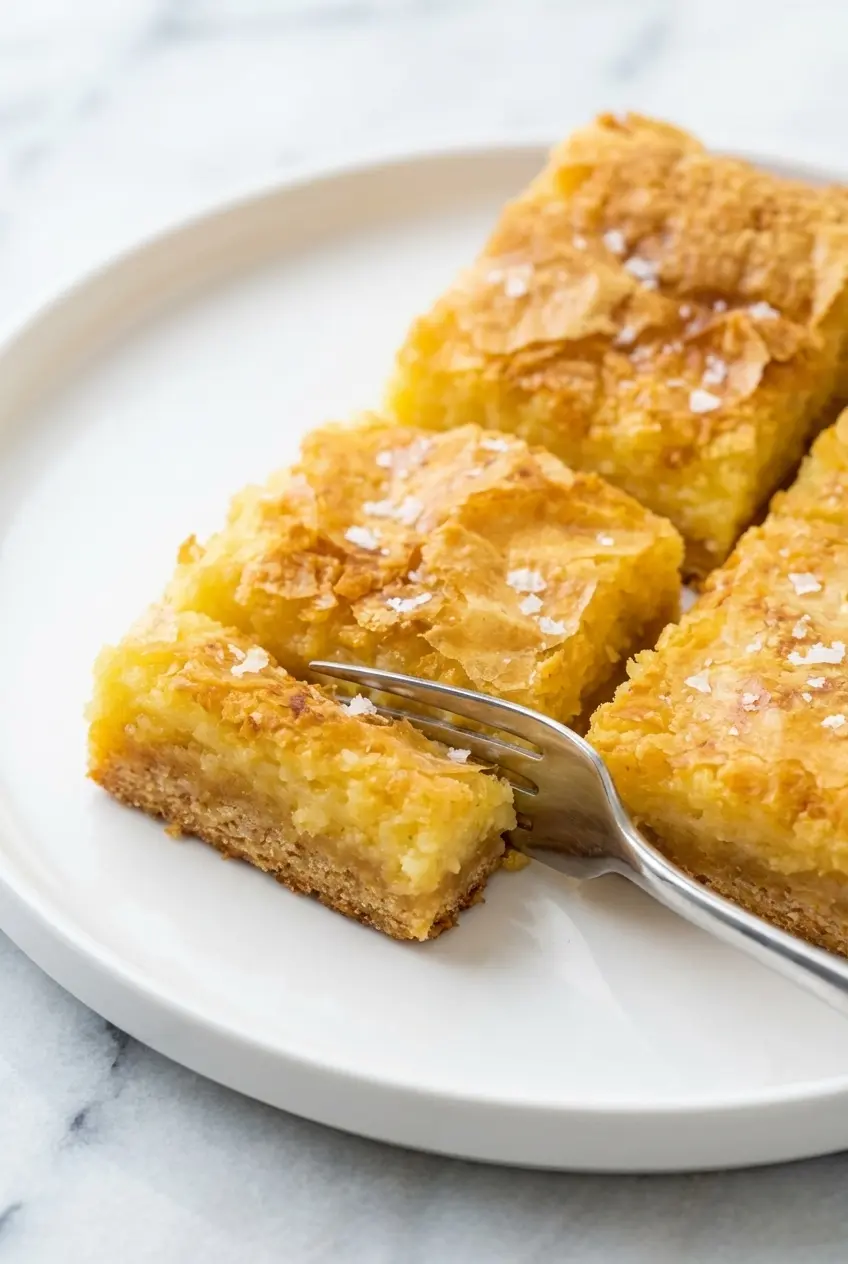
The best cue for doneness is not just color, it is movement. The edges should look set and lightly browned, while the middle still gives a small wobble when the pan is gently shaken, the same kind of visual clue that matters in creamy bakes like coconut pie bars.
If you bake until the center is completely firm in the oven, the bars will lose some of that signature gooey texture after chilling. I always pull them when the top is bronzed and lifted but the middle still looks a touch soft.
For an 8×8 pan, the easiest route is to halve the ingredients for a smaller batch. If you choose to bake a thicker layer in that pan, expect the center to take longer to set, and keep an eye on the same visual signs rather than relying only on the clock.
A cracked top is part of the charm here, not a mistake. These bars rise in the oven, then sink as they cool, and that little bit of cracking is a natural result of a dense filling settling into its chewy final texture.
The Science of Texture and Structure
It is tempting to look at 1 pound of powdered sugar and think it can be cut in half, but in cream cheese squares that sugar does more than sweeten. It helps create the structure of the filling, supporting the dense, chewy body that makes gooey butter cake bars different from a standard cheesecake.
When the sugar ratio drops too far, the filling turns looser, less glossy, and much less distinctive after baking. Instead of those rich dessert squares with a gooey center, you are more likely to end up with something flatter and softer, closer to a basic baked cream cheese layer.
There is real baking chemistry behind that. A solid baking science resource explaining sugar’s role shows how sugar affects tenderness, moisture, and structure in baked goods, which is exactly why this filling depends on the full amount to hold its classic texture.
Pro Tips & Troubleshooting
Pro Tips
- Leave an overhang of parchment paper or foil on all sides of the pan. That simple sling makes it easy to lift out the chilled slab without breaking the edges.
- Soften the cream cheese fully at room temperature before mixing. In my experience, cold cream cheese is the fastest way to end up with stubborn lumps in the filling.
- Brown the butter until it smells nutty and toasty, then cool it slightly before adding it to the crust. That keeps the dough easy to handle and builds a deeper flavor from the start.
- Chill the bars overnight whenever possible. They slice more cleanly, taste more balanced, and develop that signature chewy bite once fully cold.
Common Mistakes to Avoid
- Do not overmix the filling. You want it smooth, not fluffy, because too much air changes the texture and can lead to more dramatic sinking.
- Do not skip greasing the foil or parchment paper. The sugars caramelize as the bars bake, and they cling fiercely to an ungreased liner.
- Do not cut the bars while they are warm. The filling needs time in the refrigerator to firm up, otherwise the squares will smear and collapse.
- Do not reduce the powdered sugar if you want the classic result. The sweetness is intense, but that sugar is also what helps create the dense texture these bars are known for.
Serving & Storage
Serving Ideas
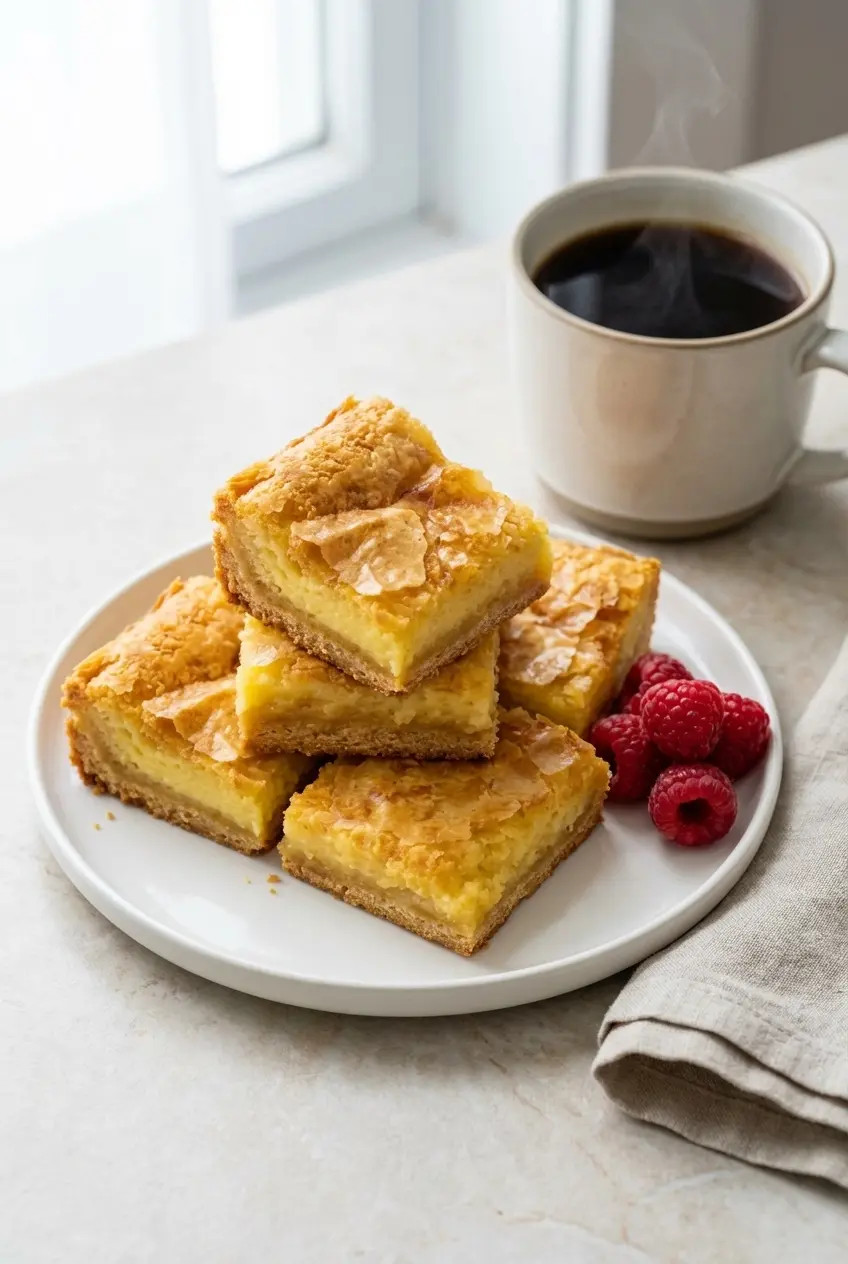
These cream cheese squares are at their best served cold straight from the refrigerator. The chilled texture is firmer, chewier, and much more satisfying than when they sit out too long at room temperature.
A spoonful of homemade strawberry jam or a tart raspberry coulis over the top can balance the richness beautifully. I also love serving them with strong black coffee or unsweetened iced tea, and if you enjoy cream cheese bakes with coffee, a slice of blueberry coffee cake makes the same kind of comforting companion for brunch or dessert.
Storage & Make-Ahead Tips
For neat slices, use a pizza cutter or a sharp knife dipped in hot water and wiped clean between cuts. That little trick keeps the sticky filling from dragging across the tops and gives you cleaner, bakery-style squares.
Store leftovers in an airtight container in the refrigerator for up to 1 week. Because the filling contains cream cheese and eggs, cold storage is the safest and best choice for both texture and freshness.
These bars freeze very well, which is one reason I love them for holiday baking and party prep. Wrap the uncut slab or individual squares tightly in plastic wrap, then add a layer of foil, and freeze for up to 3 months.
For thawing, transfer the bars to the refrigerator and let them defrost overnight before serving. That slow thaw helps preserve the texture, and it lines up well with general safe freezing guidelines for keeping homemade baked goods at their best.
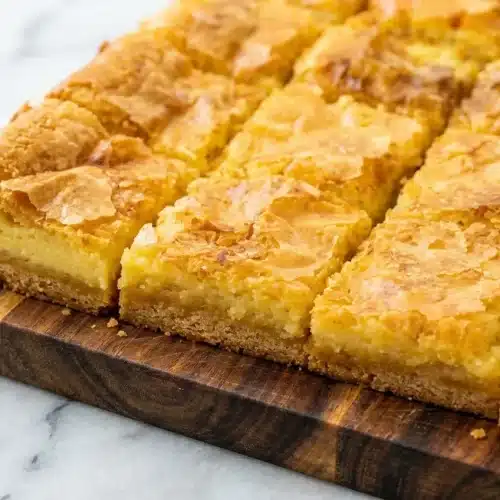
Classic Cream Cheese Squares

Equipment
- 13×9 baking pan
- Aluminum foil or parchment paper
- Small saucepan
- Electric hand mixer
- Medium mixing bowls
Ingredients
Crust:
- 1 box yellow cake mix
- 1 stick butter, melted
- 1 egg
Filling:
- 1 Lb powdered (confectioner’s) sugar
- 1 8-oz package cream cheese, somewhat softened
- 2 eggs
- 1 tsp vanilla extract
- 1/4 tsp coconut extract
Instructions
Prep the Pan and Brown the Butter
- Heat your oven to 350 degrees. Line a 13×9 baking pan with aluminum foil or parchment paper with an overhang on the sides, then spray the liner well with cooking spray.
- In a small saucepan, melt the butter over medium heat until the milk solids turn golden and the aroma is nutty and toasted. Remove from heat and let cool for a few minutes.
Make the Crust and Filling
- In a medium mixing bowl, stir together the yellow cake mix, the cooled browned butter, and 1 egg until a smooth, soft dough forms. Press the dough evenly into the bottom of the prepared pan.
- In another bowl, use an electric hand mixer on the lowest setting to blend the powdered sugar, softened cream cheese, 2 eggs, vanilla, and coconut extract until smooth and creamy.
- Pour the filling over the crust and spread it gently with a spoon to reach the edges in an even layer.
Bake and Finish
- Bake for about 40 minutes until the bars are puffed and golden on the edges, while the center still has a slight jiggle. Scatter a pinch of flaky sea salt over the top immediately after removing from the oven.
Cool, Chill, and Slice
- Let the pan cool completely on a rack. Refrigerate until very cold and firm, preferably overnight. Lift the slab out using the liner overhang and cut into small squares.
Notes
Nutrition
Conclusion
These cream cheese squares have all the nostalgic charm of the pan desserts many of us grew up with, but the browned butter crust and pinch of flaky sea salt make them taste a little more polished and a lot more irresistible. They stay gooey, chewy, rich, and balanced, exactly what a great make-ahead dessert should be.
If you bake a batch, do not be surprised when people ask for the recipe before the pan is empty. This is one of those dependable favorites that welcomes a few small twists, and it earns a spot at everything from casual potlucks to holiday dessert tables.
Frequently Asked Questions
Do these bars need to be kept in the refrigerator?
How can I cut sticky bars cleanly without making a mess?
Can I reduce the amount of powdered sugar to make them less sweet?
Can I freeze cream cheese squares for later?
Why did the top of my bars crack during cooling?