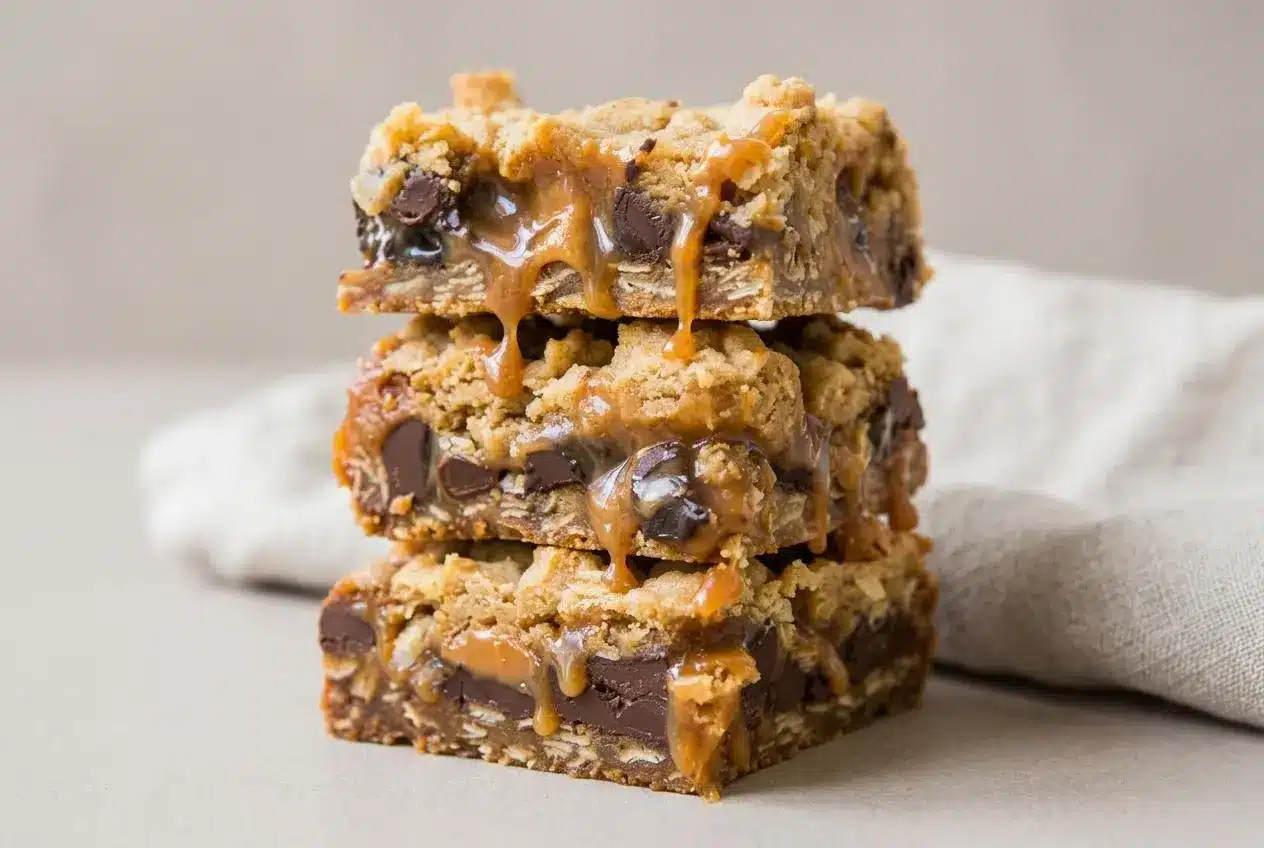
Carmelitas are chewy oat cookie bars with chocolate chips and melted caramel tucked between a buttery brown sugar crust and crumb topping. Bake the bottom layer first, add the filling, then finish baking and cool completely before cutting.
This carmelitas recipe brings together toasted oats, rich chocolate, and a soft caramel center in an 8×8-inch pan. It makes 16 squares with a sturdy bottom and a loosely crumbled top.
The oven fills with the aroma of buttery oats as caramel bubbles through the topping. The baking is straightforward, but cooling makes the difference between spoonable dessert and neatly layered bars. Give that caramel time to settle.
Unwrap the caramels before mixing the dough so you can melt the filling while the bottom crust bakes.
Essential Ingredients for Carmelitas
Butter and brown sugar give the oat layers richness and moisture, flour provides structure, and vanilla adds aroma. Caramels and cream create the soft filling, while chocolate and salt balance its sweetness.
- 3/4 cup butter, melted (1 1/2 stick; I use unsalted butter but salted may be used)
- 3/4 cup light brown sugar, packed
- 1 tablespoon vanilla extract
- 1 cup all-purpose flour
- 1 cup whole-rolled old fashioned oats, not instant or quick cook
- 1 teaspoon baking soda
- 1/2 teaspoon salt, or to taste
- 35 caramel squares, unwrapped
- 1/2 cup heavy cream
- 1 cup semi-sweet chocolate chips or chunks
Brown sugar contributes a gentle molasses flavor and helps the crust stay chewy. Melted butter coats the flour and oats, producing a thick mixture that presses into a bottom crust but also breaks into crumbs for the topping.
Heavy cream loosens the melted candies into a pourable filling that firms as it cools. Semi-sweet chocolate adds cocoa flavor against the sweet caramel, while vanilla rounds out both layers. Use the listed salt to taste across the dough and filling, especially if you choose salted butter.
I unwrap all the caramel squares before starting; sticky wrappers are easier to handle when there isn’t a hot crust waiting nearby.
The Role of Whole Rolled Oats Versus Quick Oats
Old-fashioned rolled oats give these bars their recognizable chewy bite. Their broad flakes remain distinct in the dough, so the baked crust has texture rather than tasting like a solid cookie layer.
Quick oats have smaller pieces, and instant oats are more heavily processed. They take up moisture differently and can make this mixture finer, drier, or more crumbly. Stick with the whole rolled oats specified here rather than treating every kind of oatmeal as interchangeable.
Measure the oats without crushing or grinding them. The flakes should still be visible when you stir the dough and when you crumble the topping.
Selecting the Best Caramels for Melting
Choose soft, chewy caramel squares, not hard caramel candies. The squares melt with heavy cream into a thick sauce that spreads over the chocolate and sets into a soft layer after cooling.
- Wrapped caramel squares: These are the most direct choice for this recipe because the filling quantities are built around them.
- Soft baking caramel bits: These avoid wrapper removal, but their size differs from squares, so don’t substitute them piece for piece.
- Thick jarred baking caramel: This may suit a recipe designed for prepared sauce, but it is not automatically interchangeable with the candy-and-cream filling here.
- Thin ice cream topping: Avoid it for these bars because it can soak into the crust and leave the center too loose.
A jar labeled “caramel sauce” doesn’t tell you how it will behave in the oven. For the most predictable result, use the caramel squares and cream rather than trying to adjust a runny topping with extra flour or oats.
How to Make Carmelitas Step by Step
Build the bars in stages so the bottom crust gets a head start before the filling goes on. Allow about 15 minutes for preparation, followed by the two baking stages and a complete cooling period.
- Set the oven to 350°F, then fit aluminum foil into an 8×8-inch pan and coat it with cooking spray.
Leave foil extending above opposite sides so the finished slab has handles for lifting. - Microwave the butter in a large microwave-safe bowl on high for about 90 seconds, until melted.
The butter should be liquid with no solid pieces remaining. - Whisk the brown sugar and vanilla into the melted butter.
The mixture should look evenly blended, without pockets of dry sugar. - Stir in the flour, rolled oats, baking soda, and a pinch of the listed salt if desired.
Expect a thick, coarse mixture with visible oat flakes rather than a pourable batter. - Press roughly half of the oat mixture into the lined pan with a spatula or the back of a spoon, reserving the rest.
A level layer reaching all four corners will support the filling evenly. - Bake the bottom crust for 10 minutes and prepare the caramel during this first bake.
The surface should begin to set but does not need to be deeply browned. - Combine the caramel squares, heavy cream, and salt to taste in a large microwave-safe bowl, then microwave on high in 60-second intervals, stirring between intervals, for about 4 to 5 minutes total.
Stop when stirring produces a smooth sauce without unmelted candy pieces. - Alternatively, melt the caramel squares and cream in a medium saucepan over medium-low heat, stirring almost continuously.
The filling is ready when it becomes uniform and flows from the spoon in a thick ribbon. - Take the crust out after its 10-minute bake and distribute the chocolate chips or chunks across it.
Even coverage gives each square a chocolate layer rather than isolated pockets. - Pour the warm caramel gradually over the chocolate, moving across the pan as you pour.
The sauce should cover the chocolate without collecting entirely in one spot. - Break the reserved oat mixture into crumbs and scatter them over the filling.
Loose clusters with small gaps allow caramel to peek through the topping. - Bake the assembled bars for another 15 to 18 minutes.
Look for lightly browned edges and gentle bubbling near the center. - Leave the bars in their pan until completely cool, allowing up to 4 hours at room temperature, or use the refrigerator to help them firm with foil covering the top.
The center should hold its shape instead of flowing when you begin cutting.
The saucepan method replaces the microwave caramel-melting step; you don’t need to do both. Either way, handle the filling carefully. Hot caramel can burn even after the pan leaves the oven.
The dough should resemble damp, coarse crumbs that hold together under pressure. Don’t add liquid because it looks less cohesive than cookie dough. Pressing creates the bottom layer; leaving the reserved portion loose creates the crumb topping.
The 10-minute first bake gives the bottom crust structure before it receives the warm filling. Skipping it can leave a softer, less distinct bottom. Aim for an even thickness rather than pressing the edges thinner than the middle.
During assembly, pour across the pan instead of emptying the caramel bowl into one corner. If the filling becomes too stiff to pour, gently warm it again using the same melting method and stir until smooth. Finish with scattered crumbs, not a tightly packed top layer.
At the end of baking, watch for a lightly golden border and small bubbles coming through the topping. A dark brown crust is not the goal, and a soft center straight from the oven does not necessarily mean the bars need more baking.
Critical Cooling and Clean Slicing Techniques
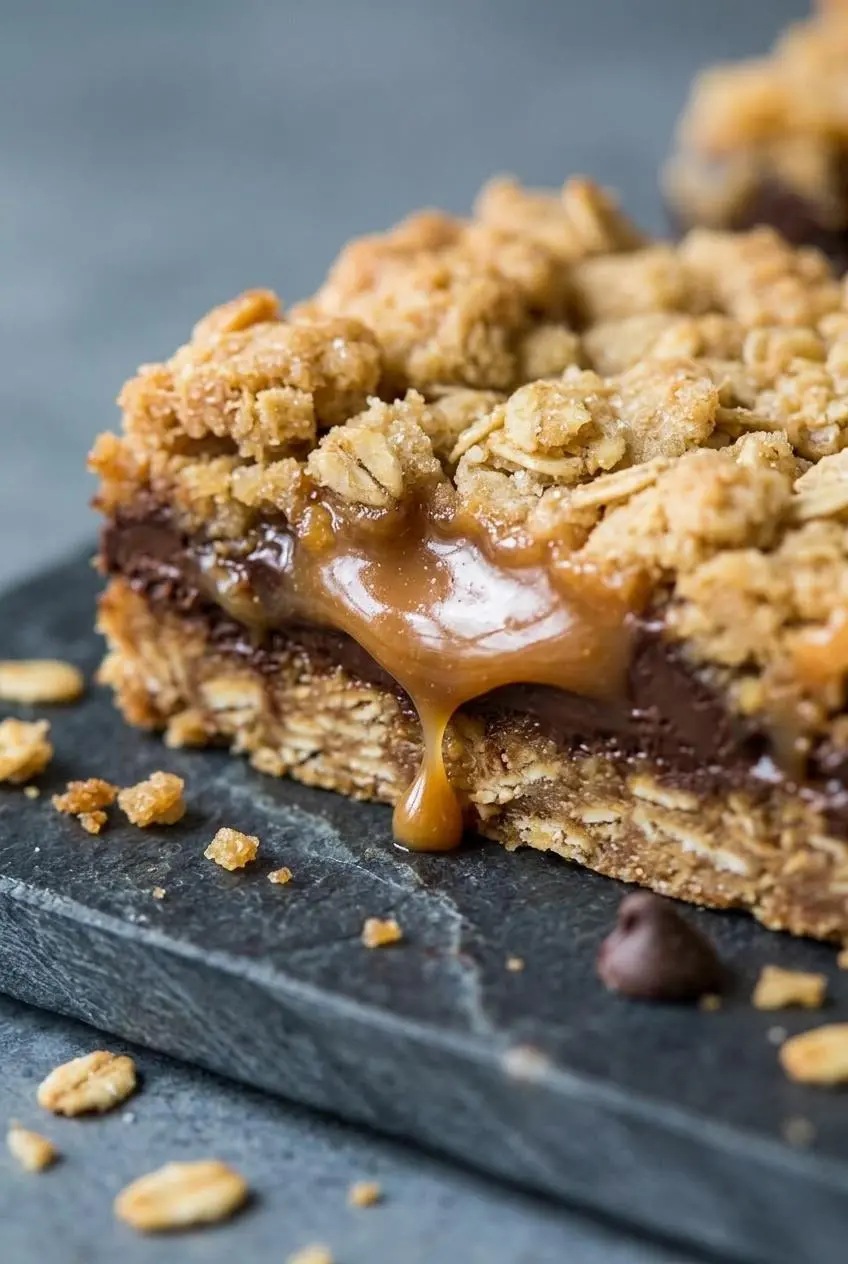
Loose caramel during cutting usually means the bars haven’t cooled enough. The crust can feel firm while the filling underneath is still warm and mobile.
Allow up to 4 hours for room-temperature cooling, but judge readiness by the center rather than the clock alone. For a firmer slice, use the refrigerator and cover the pan with foil to protect the bars from refrigerator odors. Don’t assume a cool pan edge means the middle has set.
- Caramel spills from the cut: Stop slicing and let the remaining slab cool further before trying again.
- The layers slide apart: The center may still be warm; chill the slab until it holds together under the knife.
- The bottom crumbles: Uneven pressing or a skipped first bake can weaken the foundation; press the next batch level and keep the initial bake.
- The filling stays unusually loose after cooling: A thin caramel topping may be responsible; use the specified candy-and-cream filling next time.
Using a Foil or Parchment Sling for Neat Removal
The foil lining does more than reduce cleanup. Its overhang lets you remove the whole slab without digging a spatula underneath sticky caramel edges.
Fit the lining snugly into the corners before adding the dough. Foil is the lining used in the method above; parchment paper with overhang is another practical option for lifting the bars.
Once the slab is completely cool and firm, loosen any exposed edges and lift evenly using the overhang. Set it on a solid cutting board, then peel the lining away from the sides. If the center bends noticeably as you lift, return it to the pan and let it firm further.
Knife Techniques for Bakery-Style Squares
Use a long, sharp chef’s knife so you can cut straight down through the layers without sawing repeatedly through the topping.
Run the blade under warm water, wipe it dry, and make a deliberate downward cut. Clean and dry the knife between cuts so chocolate and caramel don’t drag across the next square.
For 16 servings, cut the slab into four rows in each direction. Chilled bars make especially tidy squares; their filling will feel firmer than it does at room temperature.
Delicious Variations and Pan Size Conversions
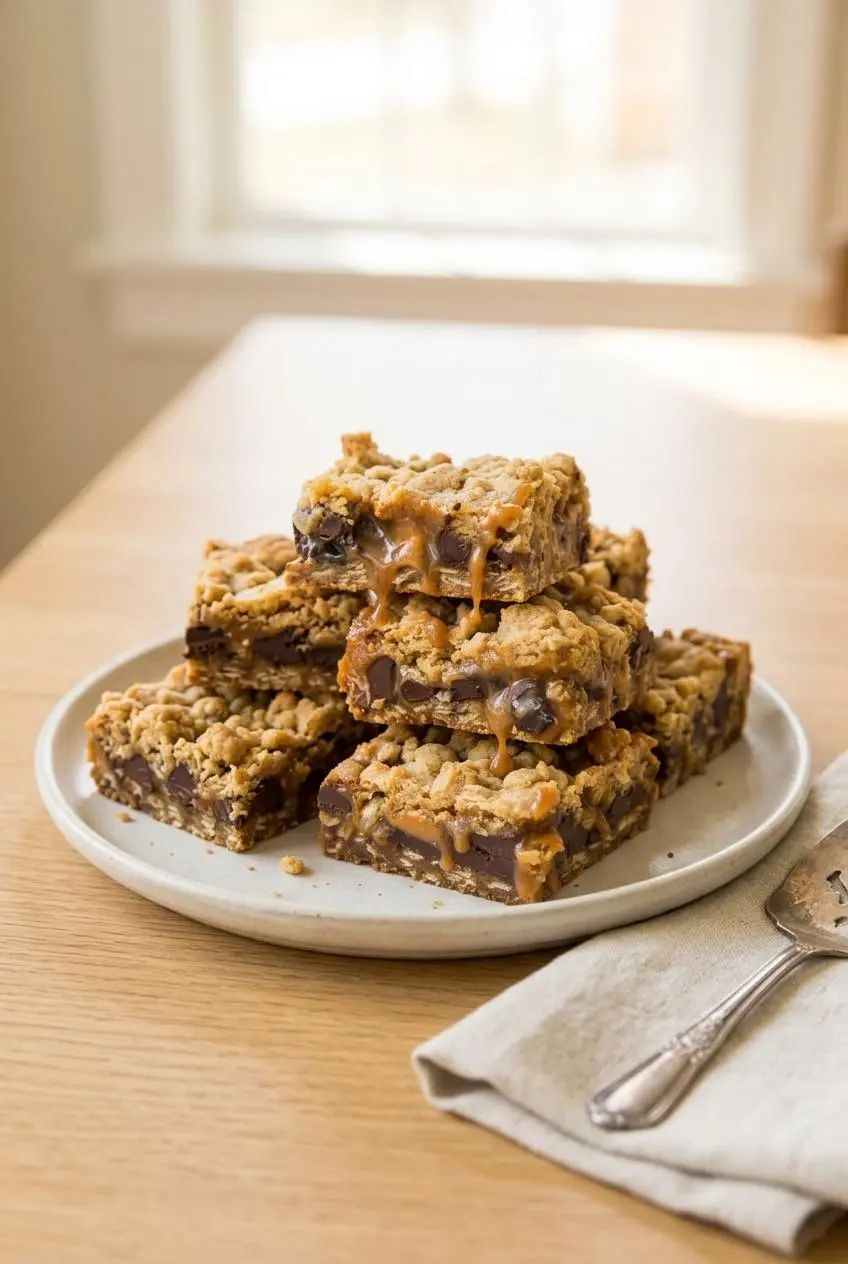
Keep the classic filling and oat layers intact, then choose optional changes for crunch, chocolate intensity, or a larger batch.
How to Scale for a 9×13-Inch Baking Pan
For a crowd-sized version, double every ingredient and use a lined 9×13-inch pan. The doubled quantities are:
- 1 1/2 cups butter
- 1 1/2 cups packed light brown sugar
- 2 tablespoons vanilla extract
- 2 cups all-purpose flour
- 2 cups whole rolled old-fashioned oats
- 2 teaspoons baking soda
- 1 teaspoon salt, or to taste
- 70 caramel squares, unwrapped
- 1 cup heavy cream
- 2 cups semi-sweet chocolate chips or chunks
Keep the oven at 350°F. For this optional larger-pan version, allow about 10 to 12 minutes for the bottom crust, then approximately 20 to 25 minutes after adding the filling and topping. That second range is the final baking stage, not the combined oven time.
Use the same lightly browned edges and gentle center bubbling to judge doneness. The larger pan still needs complete cooling before cutting, so plan your dessert serving around that resting stage rather than the oven time alone.
Toasted Pecan and Flaky Sea Salt Additions
Optional nuts and darker chocolate add contrast to the rich caramel. Keep these additions outside the main ingredient list and choose the combination you prefer.
- Toasted pecans: Scatter chopped pecans alongside the chocolate for a nutty crunch between the chewy oat layers.
- Toasted walnuts: Use these instead of pecans for a slightly more robust, earthy flavor.
- Salted dark chocolate: Swap dark or bittersweet chocolate for the semi-sweet chips, then lightly sprinkle flaky sea salt over the caramel before adding the crumbs.
Go lightly with extra salt if you use salted butter. A finishing sprinkle should sharpen the caramel flavor rather than make the filling taste salty.
Serve firm squares on a dessert platter, or pair a softened square with vanilla ice cream for a plated dessert. For another chocolate-and-caramel baking project, layered Twix cake offers a different take on the same flavor pairing.
Considering a Condensed Milk Caramel Filling
A cooked condensed milk filling is a different approach, not a direct replacement for melted caramel squares and cream. Its consistency depends on the full formula, including the butter and other ingredients.
If you prefer that style, use a complete recipe specifically developed for condensed milk caramel bars. Simply simmering condensed milk with an unspecified amount of butter does not provide enough guidance for a filling that will bake and slice like this one.
For stovetop preparation without changing these bars, use the saucepan option in the method above. It produces the same filling without relying on the microwave.
Storage and Make-Ahead Preparation
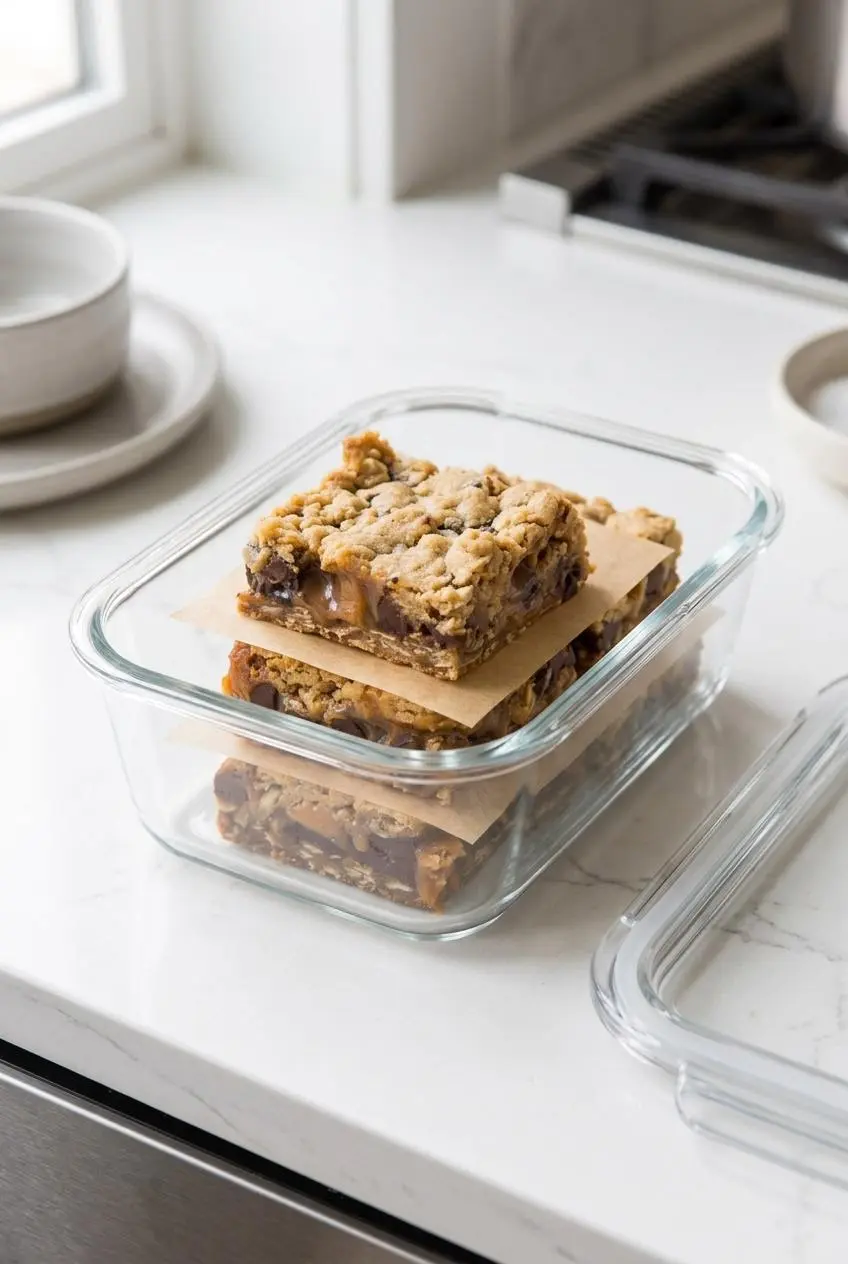
Let the bars cool completely before packing them so the layers stay intact and trapped warmth doesn’t soften the topping.
Store the cut squares in a tightly closed container, using parchment between stacked layers to prevent sticking. Refrigeration keeps the filling firmer; keep the container closed to protect the bars from odors and drying.
For serving preparation, leave the cooled slab intact until you’re ready to portion it, or cut firm squares and arrange them in a covered container. If you prefer a softer bite, let chilled portions lose some of their refrigerator chill before serving.
Conclusion
These carmelitas combine chewy oats, soft caramel, and rich chocolate in bars that feel generous without needing an elaborate finishing touch.
Give the bottom crust its first bake, spread the filling evenly, and let the slab cool completely. A little patience makes those distinct layers much easier to enjoy.
Frequently Asked Questions About Carmelitas
What Is the Best Type of Caramel to Use for Carmelitas?
Use soft, chewy caramel squares melted with the listed heavy cream for the most predictable filling. Soft baking caramel bits are a wrapper-free option, but don’t replace squares by piece count. Avoid thin ice cream caramel topping, which can leave the center loose.
Can I Use Quick Oats or Instant Oats Instead of Rolled Oats?
Use whole old-fashioned rolled oats for this recipe. Quick and instant oats have a finer texture and can produce a drier, more crumbly crust instead of the intended chew.
Why Did My Carmelitas Turn Into a Runny Mess When Cut?
The most likely cause is cutting before the caramel has cooled and firmed. Stop cutting and let the slab cool completely, using the refrigerator if needed. If the filling remains loose after cooling, check whether you used a thin caramel sauce instead of the specified filling.
How Do I Double This Recipe for a 9×13-Inch Pan?
Double every ingredient and line a 9×13-inch pan with overhang for lifting. Keep the oven at 350°F, par-bake for about 10 to 12 minutes, then bake the assembled bars for approximately 20 to 25 minutes. Look for lightly browned edges and gentle center bubbling, then cool completely before slicing.
How Should I Keep Carmelitas for Later?
Pack completely cooled squares in a tightly closed container. Separate stacked layers with parchment and refrigerate for a firmer filling. Keep the container covered until serving to protect the topping and prevent sticking.
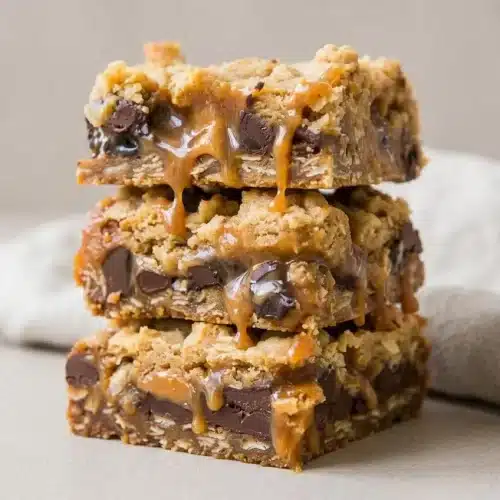
Carmelitas Recipe

Equipment
- 8×8 inch pan
- Aluminum Foil
- microwave-safe mixing bowl
Ingredients
- 3/4 cup butter melted (1 1/2 stick; I use unsalted butter but salted may be used)
- 3/4 cup light brown sugar packed
- 1 tablespoon vanilla extract
- 1 cup all-purpose flour
- 1 cup whole-rolled old fashioned oats not instant or quick cook
- 1 teaspoon baking soda
- 1/2 teaspoon salt or to taste
- 35 caramel squares unwrapped
- 1/2 cup heavy cream
- 1 cup semi-sweet chocolate chips or chunks
Instructions
- Set the oven to 350°F, then fit aluminum foil into an 8×8-inch pan and coat it with cooking spray. Leave foil extending above opposite sides so the finished slab has handles for lifting.
- Microwave the butter in a large microwave-safe bowl on high for about 90 seconds, until melted. The butter should be liquid with no solid pieces remaining.
- Whisk the brown sugar and vanilla into the melted butter. The mixture should look evenly blended, without pockets of dry sugar.
- Stir in the flour, rolled oats, baking soda, and a pinch of the listed salt if desired. Expect a thick, coarse mixture with visible oat flakes rather than a pourable batter.
- Press roughly half of the oat mixture into the lined pan with a spatula or the back of a spoon, reserving the rest. A level layer reaching all four corners will support the filling evenly.
- Bake the bottom crust for 10 minutes and prepare the caramel during this first bake. The surface should begin to set but does not need to be deeply browned.
- Combine the caramel squares, heavy cream, and salt to taste in a large microwave-safe bowl, then microwave on high in 60-second intervals, stirring between intervals, for about 4 to 5 minutes total. Stop when stirring produces a smooth sauce without unmelted candy pieces.
- Alternatively, melt the caramel squares and cream in a medium saucepan over medium-low heat, stirring almost continuously. The filling is ready when it becomes uniform and flows from the spoon in a thick ribbon.
- Take the crust out after its 10-minute bake and distribute the chocolate chips or chunks across it. Even coverage gives each square a chocolate layer rather than isolated pockets.
- Pour the warm caramel gradually over the chocolate, moving across the pan as you pour. The sauce should cover the chocolate without collecting entirely in one spot.
- Break the reserved oat mixture into crumbs and scatter them over the filling. Loose clusters with small gaps allow caramel to peek through the topping.
- Bake the assembled bars for another 15 to 18 minutes. Look for lightly browned edges and gentle bubbling near the center.
- Leave the bars in their pan until completely cool, allowing up to 4 hours at room temperature, or use the refrigerator to help them firm with foil covering the top. The center should hold its shape instead of flowing when you begin cutting.