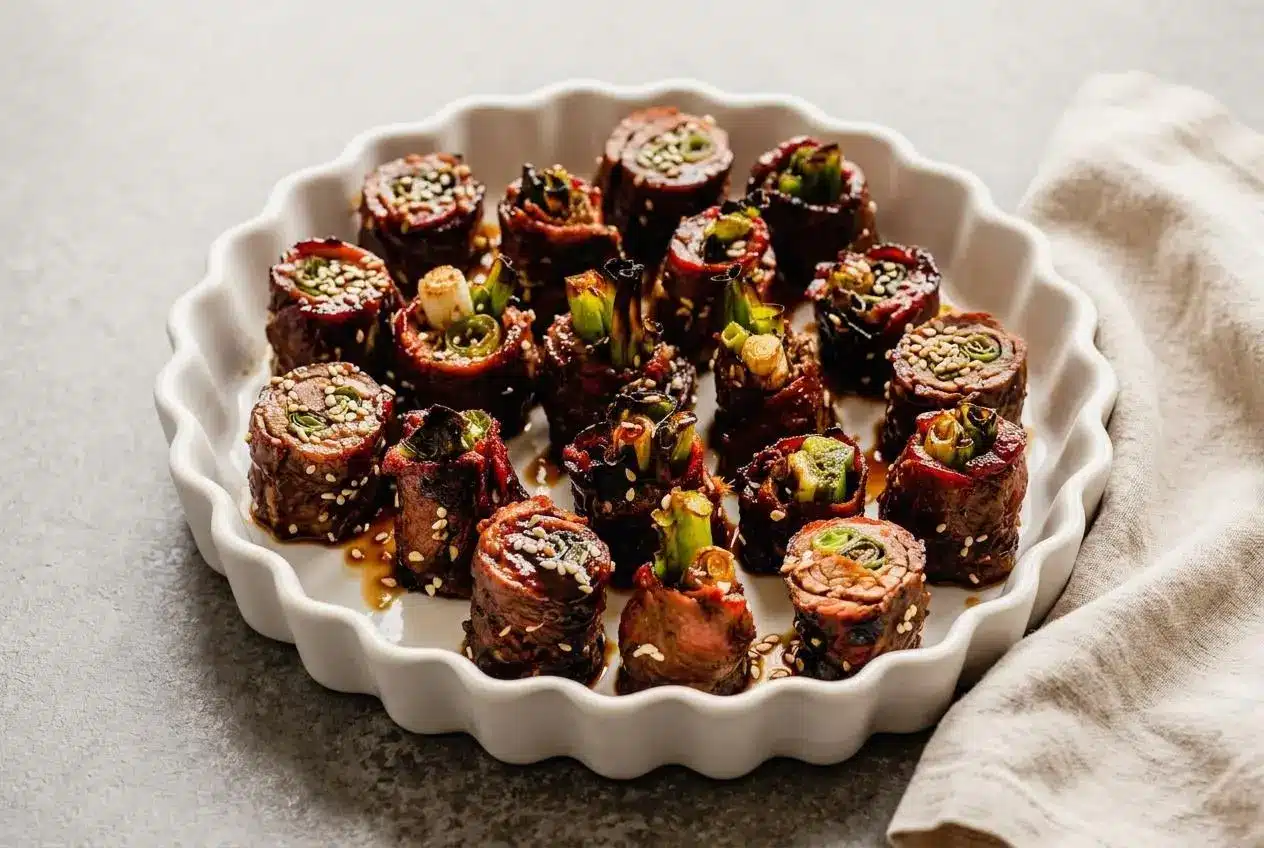
Beef negimaki is a Japanese dish of thin, tender beef wrapped around scallions, charred over high heat, and finished with a glossy sweet-savory soy, mirin, sake, and honey glaze.
Beef negimaki delivers juicy beef, tender-crisp green onions, and a lacquered glaze in every bite. The key is slicing the flank steak against the grain, then pounding it thin enough to roll without fighting back.
The scallions steam gently inside while the outside turns deeply caramelized. That contrast is worth the extra few minutes.
Keep the beef chilled until you are ready to slice it, since firm meat is far easier to cut into even strips.
What Is Beef Negimaki?
Negimaki is a Japanese-style beef roll built around scallions. “Negi” means scallion or green onion, while “maki” means roll, which describes the dish perfectly: thin beef wrapped snugly around fresh scallion stalks.
The finished rolls are cooked over high heat until the beef develops dark charred spots and the scallions soften at the center. A sweet-savory glaze gives the exterior shine and balance, with soy sauce for saltiness, honey and mirin for sweetness, and sake for a lightly fragrant depth.
Beef negimaki differs from teriyaki because teriyaki describes a broader glazing and cooking style for proteins, while negimaki specifically refers to rolled meat with scallions inside. It also differs from beef tataki, which is typically lightly seared and served much rarer rather than rolled and fully cooked around vegetables.
Ingredients
Each ingredient supports the balance of this dish: beef creates structure, scallions add freshness and crunch, and the glaze brings sweetness, savoriness, aroma, and a glossy finish.
- 1 (2-pound) flank steak, trimmed
- 1/2 cup low-sodium soy sauce
- 1/4 cup honey
- 1/4 cup mirin
- 1/4 cup sake
- 1 tablespoon sesame seeds
- 3/4 teaspoon grated fresh ginger
- 16 scallions, trimmed and halved crosswise
Flank steak has a pronounced grain that becomes tender when sliced against it and pounded thin. Scallions bring a sweet, mildly sharp center that stays slightly crisp near the green tops. Sake adds aroma and helps the glaze taste rounded, while mirin gives it shine. Honey balances the salty soy sauce and caramelizes beautifully after the beef has seared.
For a gluten-free version, use tamari in place of standard soy sauce and loosen it with a small splash of water if it tastes especially salty. The glaze should remain savory and lightly sweet rather than aggressively salty.
I look for scallions with firm white bases and bright green tops, because limp stalks make a less tidy filling and lose their fresh bite quickly.
How to Make Beef Negimaki
Build the rolls before heating the grill so the beef stays cool and easy to handle. The reduced glaze needs time to cool before it touches the rolls, and separating it early keeps the finishing sauce clean for serving.
Assembly
- Set the trimmed flank steak on a large plate and chill it in the freezer for about 30 minutes until firm.
The meat should resist the knife slightly without becoming frozen solid. - Warm the soy sauce, honey, mirin, and sake in a small saucepan over medium heat, stirring until blended.
Let the mixture simmer for 8 to 10 minutes, until reduced by half to about 2/3 cup and thick enough to coat the back of a spoon. - Take the saucepan off the heat and stir in the sesame seeds and grated ginger.
Divide the glaze evenly between two bowls, then leave both bowls to cool while reserving one strictly for serving. - Move the chilled steak to a cutting board and trim slices from the narrow end until the steak measures about 7 inches across.
Cut the beef on a bias against the grain into 3/8-inch slices so the strips stay broad enough to roll. - Cut the steak in half lengthwise, then continue slicing both pieces on the bias against the grain until you have at least 24 slices.
Pound each slice between protective sheets until it reaches about 3/16-inch thick and bends easily without tearing. - Lay 3 beef slices on the board with their short sides facing you, overlapping each by 1/4 inch and alternating the tapered ends.
The joined slices should create a rough rectangle about 4 to 6 inches wide and at least 4 inches long, with no open gaps. - Arrange 4 scallion halves along the near edge of the beef, keeping them parallel to you and perpendicular to the meat strips.
Alternate thicker white sections with slender green sections so the filling stays even from end to end. - Roll the beef tightly away from you around the scallions and secure it with 3 evenly spaced toothpicks.
The roll should feel compact with no air pockets or loose flap along the seam. - Repeat with the remaining beef and scallions, placing the finished rolls on a platter.
Cover and refrigerate the assembled rolls for up to 24 hours if preparing them ahead.
Charcoal Grill
- Open the bottom grill vent fully and light a large chimney starter filled three-quarters full with charcoal briquettes.
When the upper coals show a coating of ash, spread them over half of the grill and replace the grate. - Cover the grill with the lid vent fully open and heat for about 5 minutes.
The grate should be very hot before the rolls go on, which helps the beef char before the glaze can scorch.
Gas Grill
- Set all gas burners to high, close the lid, and preheat the grill for about 15 minutes.
Keep the burners on high so the beef gets quick, concentrated heat across each side.
Grilling
- Oil the hot grill grate, then place the rolls over the coals on a charcoal grill or directly over the burners on a gas grill.
Set each roll with its seam facing down first so the meat edges can seal together. - Cook the first side for about 4 minutes without brushing on glaze.
Wait for char marks to begin forming before turning, since early glazing can burn the honey. - Turn the rolls and brush the cooked side with glaze from the basting bowl, then cook the second side for about 4 minutes.
The beef should develop a dark caramelized surface while the scallions start to steam inside. - Turn and glaze the remaining sides, cooking until all four sides are evenly charred.
Check from the end of a roll with an instant-read thermometer; the scallion core should register around 150°F, with total grill time around 10 to 12 minutes.
Serving
- Transfer the cooked rolls to a cutting board, tent them loosely with aluminum foil, and let them rest for 5 minutes.
Discard any glaze left in the bowl used for brushing the meat. - Remove the toothpicks, cut each roll crosswise into 3 pieces, and arrange them cut side down on a clean platter.
Drizzle with 2 tablespoons of the reserved glaze and serve the remaining reserved glaze alongside.
Best Cuts of Beef and Slicing Tips
The right beef cut determines whether the rolls stay tender and flexible or turn chewy and stubborn. Choose a piece with an even thickness where possible, and save unusually tapered trimmings for a quick beef stir fry rather than trying to force them into a roll.
Flank Steak vs Ribeye vs Top Round
- Flank steak: The classic choice. Its clear grain makes it easy to slice against the grain, and pounding turns it into flexible, flavorful sheets that hold scallions securely.
- Ribeye: A more marbled option with a richer, softer bite. Ask for very thin slices, since its fat can make it harder to pound evenly.
- Top round: Lean and beefy, with a firmer texture. Pound it thoroughly so it rolls smoothly and stays tender after cooking.
- Thin-sliced beef: Pre-sliced beef from an Asian market can work as a shortcut, provided the slices are broad enough to overlap into a stable rectangle.
For any cut, slice across the visible muscle fibers. That technique shortens the fibers in each bite and makes fast-cooked beef easier to chew. It is the same useful knife skill behind tender savory Mongolian beef.
The 30-Minute Freezer Slicing Trick
A brief 30-minute freezer chill firms the flank steak without freezing it solid. Soft meat compresses under the knife and produces thick, uneven slices. Firm meat holds its shape, allowing cleaner 3/8-inch bias cuts with less tearing.
Use a sharp chef’s knife and long, smooth strokes instead of sawing through the steak. Place the slices between plastic wrap before pounding. The wrap keeps the meat clean, prevents splattering, and helps you thin the slices evenly with a meat mallet or rolling pin.
Step-by-Step Assembly and Rolling Technique
Negimaki holds together because the beef is built into a flexible sheet before it is rolled. Overlap three slices by 1/4 inch, alternating wide and tapered ends, so the scallions sit on one continuous layer of meat rather than several disconnected strips.
- Keep the scallions level: Put thicker white ends beside thinner green tops. This evens out the filling, so the roll cooks more uniformly.
- Roll with steady pressure: Start from the edge nearest you and roll away from your body. Keep the beef snug around the scallions without squeezing them out.
- Secure at an angle: Insert three toothpicks through the finished roll at a slight angle. This pins the seam and prevents it from opening as the beef contracts over heat.
- Optional filling variation: Add blanched matchstick carrots beside the scallions for extra color and a gentle crunch. Keep the layer thin so the beef can still form a tight roll.
If a roll seems loose, do not add more scallions. Remove one or two pieces instead, reroll it firmly, and reinsert the toothpicks. Overstuffed rolls tend to split before the seam has a chance to seal.
Cooking Methods: Grill or Skillet
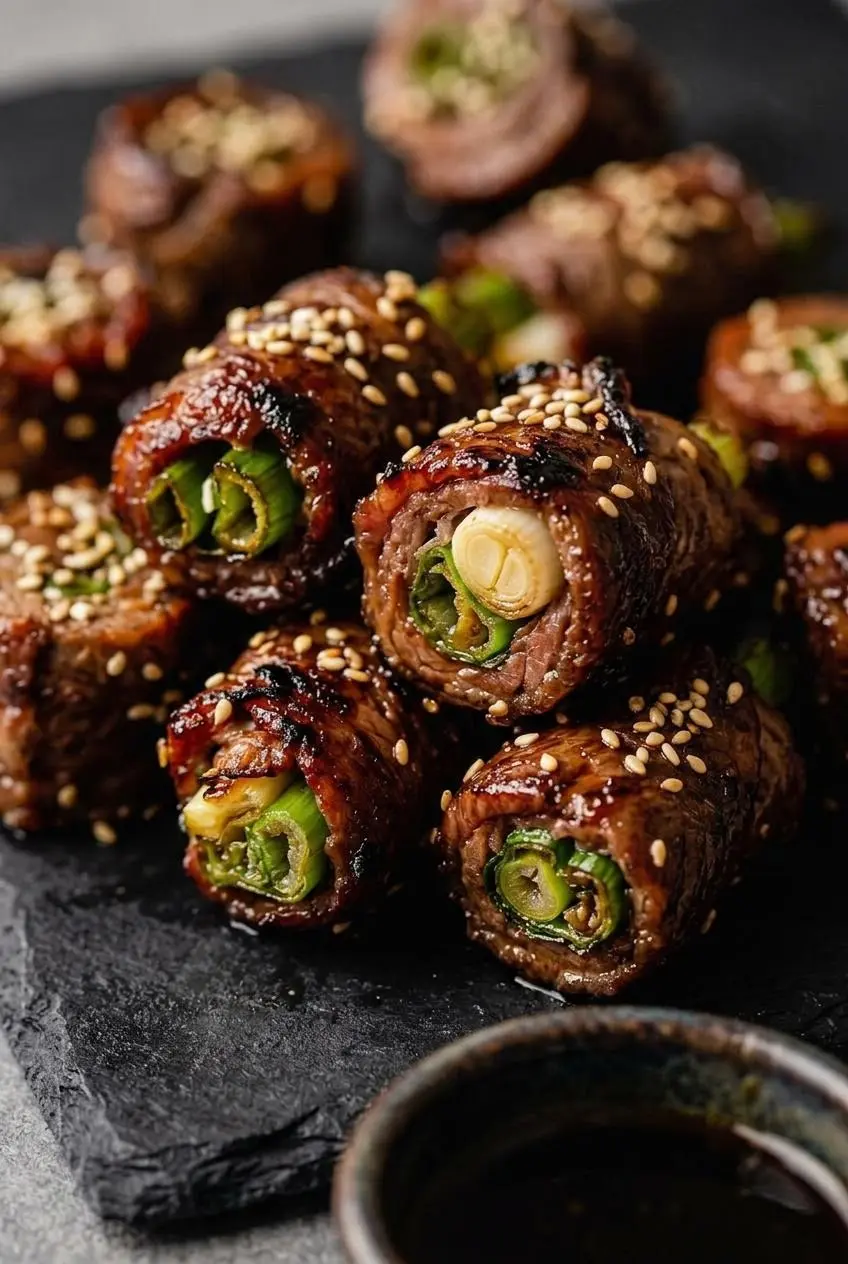
High heat gives negimaki its signature charred exterior while gently softening the scallion centers. Whether you grill outdoors or use cast iron inside, wait to brush on the sweet glaze until the beef has already formed a browned crust.
High-Heat Outdoor Grilling
For charcoal, bank the hot coals over one half of the grill to create a strong direct-heat area. For gas, preheat all burners on high. Begin with the rolls seam-side down, then turn them as each surface takes on deep brown char marks.
The goal is fast cooking, not long exposure to heat. The beef should brown quickly while the scallions soften and release steam inside the rolls. If flare-ups threaten the glaze, shift the rolls briefly away from the hottest spot, then return them to direct heat for color.
Indoor Cast-Iron Skillet Method
For an indoor option, heat a heavy cast-iron skillet over medium-high heat until it is very hot. Lightly oil the pan, then place the rolls seam-side down and leave them alone long enough for the seam to bond.
Turn the rolls regularly as the sides brown, working in batches if needed so the pan does not crowd and steam the beef. Brush glaze only onto browned sides near the end of cooking. The sugars should bubble and darken slightly, not turn black.
A lightly crisp exterior can be useful in a skillet, but do not add starch to the classic version. The beef and glaze already create plenty of contrast when the pan is hot and the rolls are not crowded.
Basting Safely With the Glaze Reduction
Divide the cooled glaze into two bowls before any raw beef is handled. Use one bowl only for brushing the rolls as they cook, and reserve the second untouched bowl for drizzling and dipping at the table.
Once a brush has touched raw meat, keep it with the basting bowl and discard whatever glaze remains there after cooking. This small two-bowl habit avoids bringing raw-meat residue back onto the finished rolls.
Serving Suggestions and Pairings
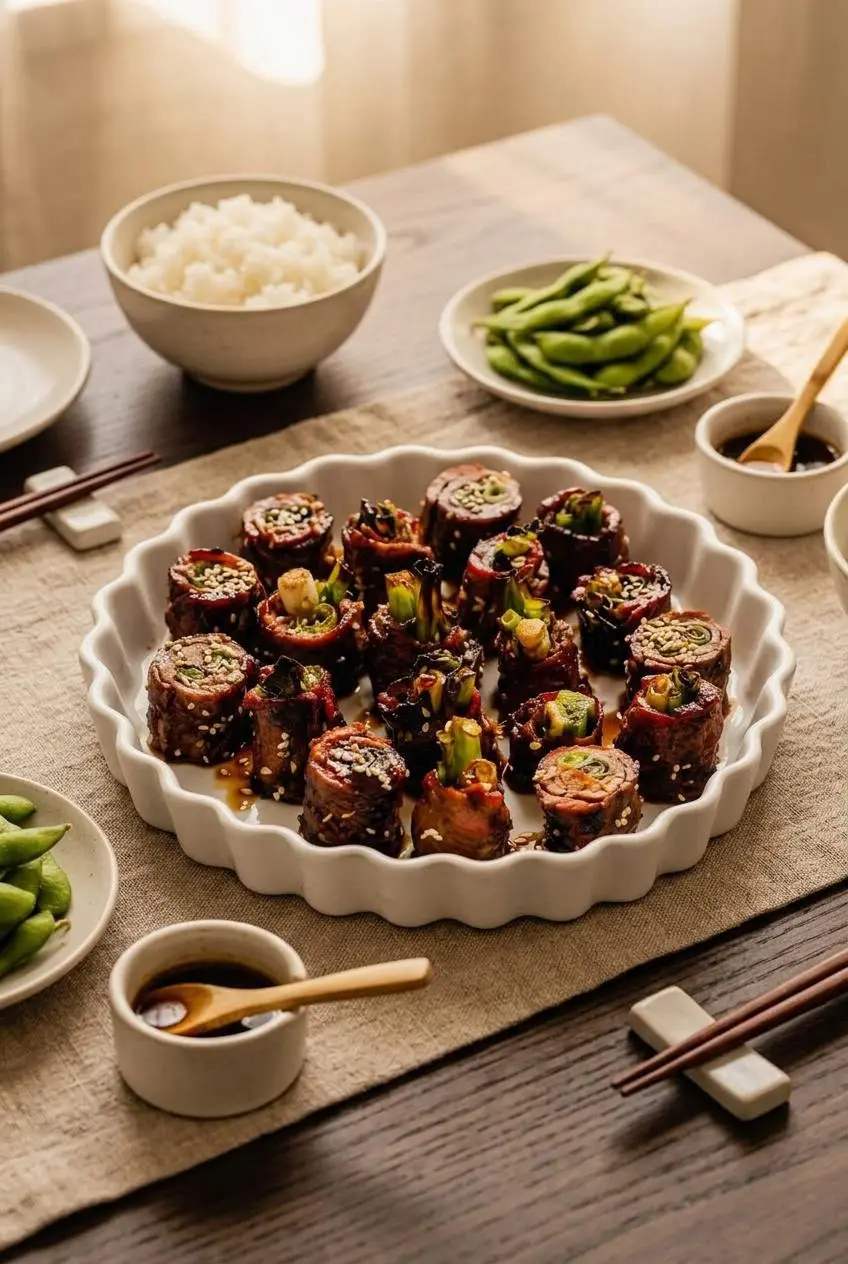
Slice the rolls into neat pieces and serve them cut side down so the scallion centers stay visible. Their sweet, savory glaze pairs especially well with mild sides that soak up extra sauce without competing with the beef.
- Serve over warm short-grain white rice with steamed edamame for a balanced dinner plate.
- Add roasted asparagus or sugar snap peas for a crisp green side with a little char of its own.
- Pair with sesame cucumber salad for a cool, tangy contrast to the rich beef glaze.
- Make a more substantial meal with loaded beef fried rice instead of plain rice.
- Pack cooled slices into bento-style lunch boxes with pickled ginger and fresh cucumber.
Storage, Make-Ahead, and Reheating
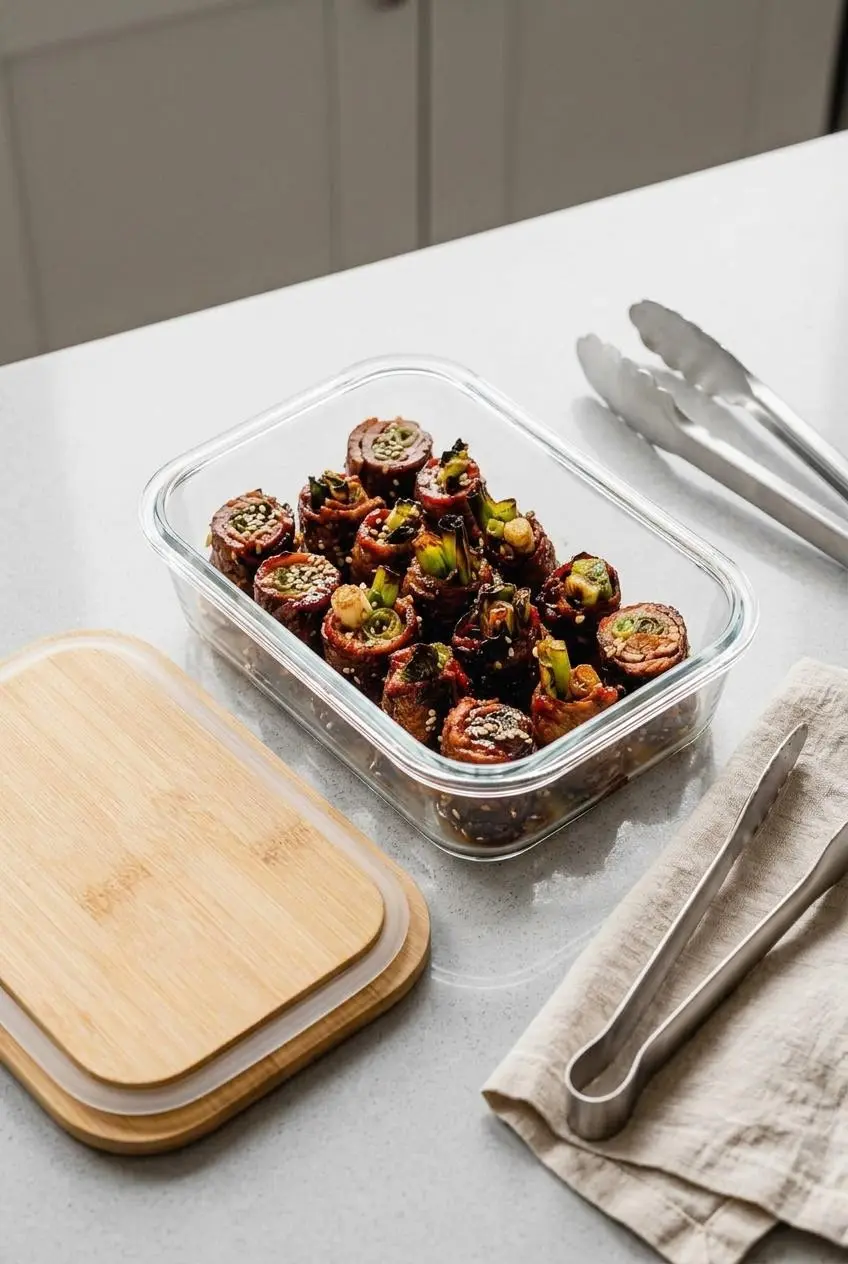
You can assemble, toothpick, cover, and refrigerate the uncooked rolls for up to 24 hours before cooking. Keep the reserved serving glaze separate from the beef during this time so it stays clean and ready to use.
For cooked leftovers, cool the sliced rolls, place them in an airtight container, and keep them chilled. Rewarm portions gently in a skillet over medium-low heat with a little of the reserved glaze, just until warmed through. High microwave heat can make the thin beef tough and rubbery.
Do not freeze assembled raw negimaki with scallions inside. The scallions release moisture as they thaw, which can weaken the rolls and dull their fresh texture.
Conclusion
Beef negimaki turns flank steak and scallions into glossy, charred little rolls with a lot of character. Chill the meat, slice against the grain, pound it thin, and keep the seams tight for the best texture.
Divide the glaze before basting, then save the untouched portion for the final drizzle. If you like a little extra depth, add cracked black pepper to the glaze before serving.
Frequently Asked Questions
What Cut of Beef Is Best for Negimaki?
Flank steak is the classic choice because it has strong beef flavor, slices well against the grain, and becomes flexible when pounded thin. Thinly sliced ribeye makes a richer, more tender version. Top round also works well when sliced thinly and pounded thoroughly.
Can I Make Beef Negimaki Ahead of Time?
Yes. Assemble the rolls, secure them with toothpicks, cover them tightly, and refrigerate them for up to 24 hours before cooking. Keep the serving glaze separate and brush the rolls only once they are on the grill or skillet.
How Do You Keep Beef Negimaki From Unrolling While Cooking?
Pound the beef to an even thinness, overlap the slices into a solid sheet, and roll firmly around the scallions. Use three toothpicks per roll and place the roll seam-side down first. That first sear helps the meat edges stay sealed.
What Is the Difference Between Beef Negimaki and Teriyaki?
Teriyaki is a broad style of cooking and glazing meat, seafood, or vegetables with a sweet-savory sauce. Negimaki is more specific: it is thin beef rolled around scallions, then cooked and glazed. The scallion filling is what gives negimaki its distinctive shape and texture.
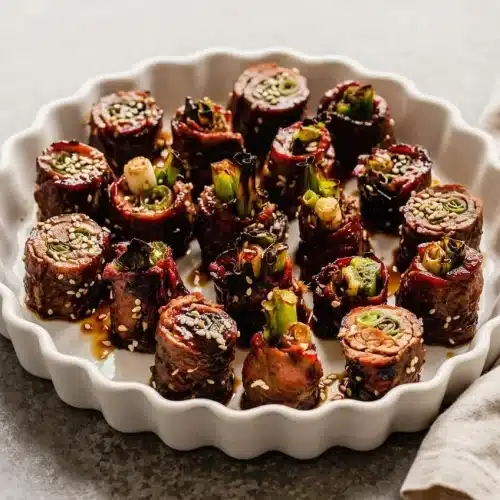
Beef Negimaki

Equipment
- Small saucepan
- Meat mallet or rolling pin
- Toothpicks
- Grill or grill pan
- Instant-read thermometer
Ingredients
- 1 pound (2-pound) flank steak trimmed
- 1/2 cup low-sodium soy sauce
- 1/4 cup honey
- 1/4 cup mirin
- 1/4 cup sake
- 1 tablespoon sesame seeds
- 3/4 teaspoon grated fresh ginger
- 16 scallions trimmed and halved crosswise
Instructions
Assembly
- Set the trimmed flank steak on a large plate and chill it in the freezer for about 30 minutes until firm. The meat should resist the knife slightly without becoming frozen solid.
- Warm the soy sauce, honey, mirin, and sake in a small saucepan over medium heat, stirring until blended. Let the mixture simmer for 8 to 10 minutes, until reduced by half to about 2/3 cup and thick enough to coat the back of a spoon.
- Take the saucepan off the heat and stir in the sesame seeds and grated ginger. Divide the glaze evenly between two bowls, then leave both bowls to cool while reserving one strictly for serving.
- Move the chilled steak to a cutting board and trim slices from the narrow end until the steak measures about 7 inches across. Cut the beef on a bias against the grain into 3/8-inch slices so the strips stay broad enough to roll.
- Cut the steak in half lengthwise, then continue slicing both pieces on the bias against the grain until you have at least 24 slices. Pound each slice between protective sheets until it reaches about 3/16-inch thick and bends easily without tearing.
- Lay 3 beef slices on the board with their short sides facing you, overlapping each by 1/4 inch and alternating the tapered ends. The joined slices should create a rough rectangle about 4 to 6 inches wide and at least 4 inches long, with no open gaps.
- Arrange 4 scallion halves along the near edge of the beef, keeping them parallel to you and perpendicular to the meat strips. Alternate thicker white sections with slender green sections so the filling stays even from end to end.
- Roll the beef tightly away from you around the scallions and secure it with 3 evenly spaced toothpicks. The roll should feel compact with no air pockets or loose flap along the seam.
- Repeat with the remaining beef and scallions, placing the finished rolls on a platter. Cover and refrigerate the assembled rolls for up to 24 hours if preparing them ahead.
Charcoal Grill
- Open the bottom grill vent fully and light a large chimney starter filled three-quarters full with charcoal briquettes. When the upper coals show a coating of ash, spread them over half of the grill and replace the grate.
- Cover the grill with the lid vent fully open and heat for about 5 minutes. The grate should be very hot before the rolls go on, which helps the beef char before the glaze can scorch.
Gas Grill
- Set all gas burners to high, close the lid, and preheat the grill for about 15 minutes. Keep the burners on high so the beef gets quick, concentrated heat across each side.
Grilling
- Oil the hot grill grate, then place the rolls over the coals on a charcoal grill or directly over the burners on a gas grill. Set each roll with its seam facing down first so the meat edges can seal together.
- Cook the first side for about 4 minutes without brushing on glaze. Wait for char marks to begin forming before turning, since early glazing can burn the honey.
- Turn the rolls and brush the cooked side with glaze from the basting bowl, then cook the second side for about 4 minutes. The beef should develop a dark caramelized surface while the scallions start to steam inside.
- Turn and glaze the remaining sides, cooking until all four sides are evenly charred. Check from the end of a roll with an instant-read thermometer; the scallion core should register around 150°F, with total grill time around 10 to 12 minutes.
Serving
- Transfer the cooked rolls to a cutting board, tent them loosely with aluminum foil, and let them rest for 5 minutes. Discard any glaze left in the bowl used for brushing the meat.
- Remove the toothpicks, cut each roll crosswise into 3 pieces, and arrange them cut side down on a clean platter. Drizzle with 2 tablespoons of the reserved glaze and serve the remaining reserved glaze alongside.