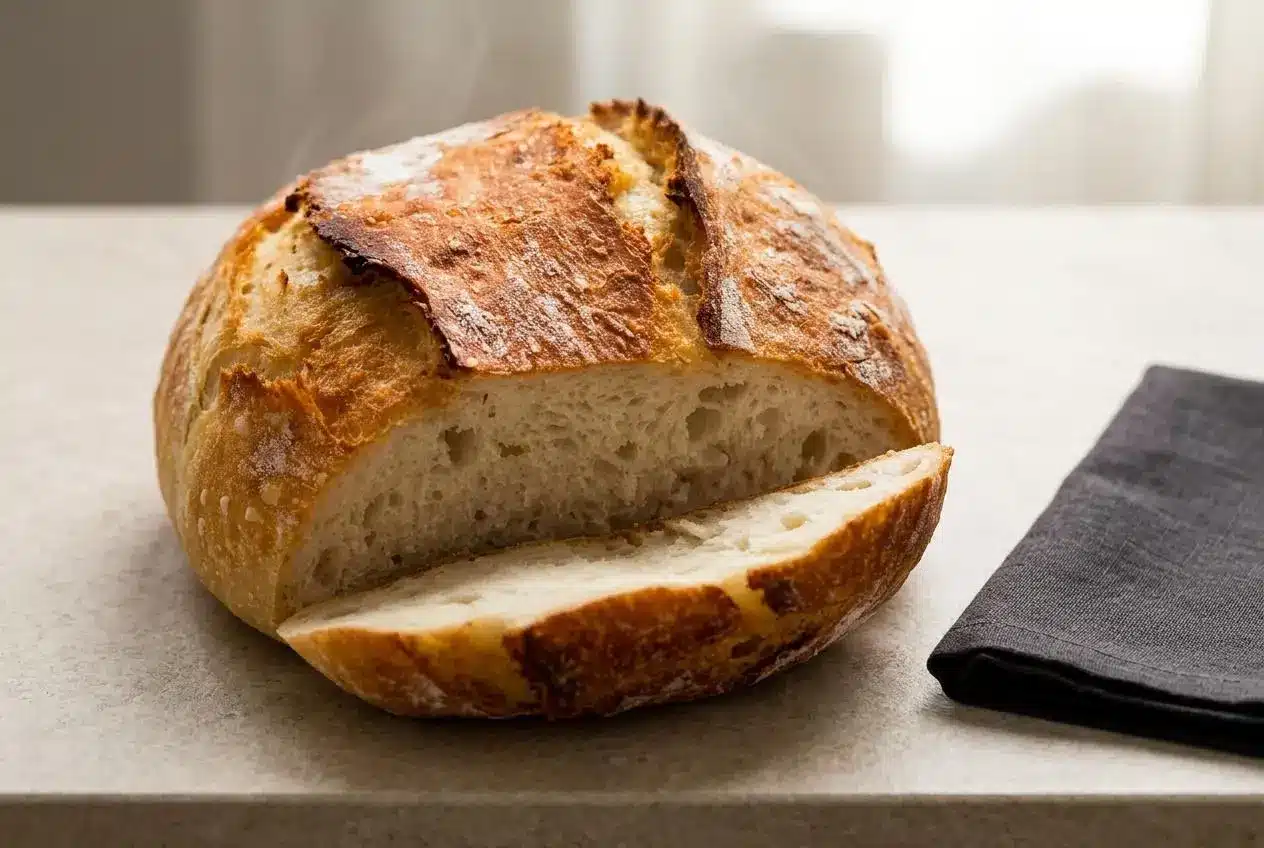
This crusty bread recipe is a no-knead loaf made with flour, yeast, salt, and warm water, then baked in a very hot Dutch oven for a crisp crust and chewy center.
It’s the kind of bread that feels surprisingly fancy for how little hands-on work it takes. The dough looks messy, the method is forgiving, and the loaf comes out deeply golden and crackly.
If you’ve wanted artisan-style bread without learning a full bread course, this is a great place to start. The steam, the sticky dough, and the long rise do most of the heavy lifting.
Have your parchment ready before you open the hot pot, because once the dough is shaped, things move fast.
What You’ll Need: 4 Simple Ingredients
Each ingredient pulls its weight here, building structure, flavor, moisture, and that crisp-chewy contrast that makes this loaf so good.
- 3 cups (450g) flour, bread or plain/all purpose
- 2 tsp instant or rapid rise yeast
- 1 1/2 tsp cooking salt / kosher salt, HALVE if using table salt
- 1 1/2 cups (375 ml) very warm tap water, NOT boiling or super hot (ie up to 55°C/130°F)
Dough shaping
- 1 1/2 tbsp flour, for dusting
Flour gives the loaf its body. Bread flour is the stronger choice because the higher protein helps build more gluten, which means a chewier crumb and a little more structure. All-purpose flour still works and gives a slightly softer interior.
Yeast handles the lift and much of the flavor. Instant yeast can go straight into the dry ingredients, while active dry yeast needs to be dissolved in the warm water first until it looks foamy. If you need a fully tested wheat-free option, use a dedicated gluten-free bread recipe rather than swapping flour here.
Salt does more than season the dough. It tightens gluten structure, keeps the loaf from tasting flat, and helps the bread taste like bread instead of warm flour.
Water brings everything together and controls texture. It should feel very warm, like a comfortable bath, not hot enough to sting. Too hot can weaken the yeast, while cooler water may simply slow the rise.
I always weigh the flour when I can, because this dough is meant to be wet and shaggy, and a little too much flour changes the whole loaf.
How to Make Easy Crusty Bread
This method works because a wet dough and a long rise develop gluten with time instead of kneading. If the dough looks sticky and unruly at first, you’re on the right track.
- Stir the flour, yeast, and salt together in a large bowl, then pour in the water and mix with the handle of a wooden spoon until no dry flour remains.
The dough should look like a shaggy, sticky mess that holds together loosely without flowing like cake batter. - Cover the bowl with plastic wrap or a plate and leave it on the counter for 2 to 3 hours to rise.
It’s ready when it has roughly doubled, the surface looks bubbly, and the dough jiggles with a wobbly, jelly-like movement. - If you want deeper flavor, place the covered dough in the refrigerator after the rise instead of baking right away.
This rest develops a more complex taste and the dough will look a little firmer once chilled. - If the dough has been chilled, set the bowl on the counter for 45 to 60 minutes while the oven heats.
Taking off some of the chill helps the loaf expand better in the oven. - Set a Dutch oven with its lid in the oven and preheat to 230°C/450°F (220° fan) for 30 minutes.
The pot needs to be fully hot so the loaf gets a strong oven spring and a crisp crust. - Dust the work surface with 1 tbsp flour, scrape out the dough, and sprinkle the top with the remaining 1/2 tbsp flour.
The flour makes the sticky surface easier to handle without turning the dough stiff. - Use a dough scraper, cake server, large knife, or spatula to fold the edges inward about 6 times to make a rough round.
You’re shaping just enough to gather the dough and knock out some oversized air pockets, not making it perfectly smooth. - Place a large sheet of parchment paper beside the dough, turn the dough onto it so the smoother side faces up, and nudge it back into a round shape.
A slightly uneven loaf is completely fine and often gives you more craggy, crunchy edges. - Carefully remove the hot Dutch oven, lift the dough by the parchment, lower it into the pot, and cover with the lid.
Work carefully here because the pot is extremely hot and the dough will still feel soft and delicate. - Bake for 30 minutes covered, then remove the lid and bake 12 minutes more until the loaf is deep golden and crisp.
The bread should sound hollow when tapped on the bottom and the crust should feel firm, not pale or soft. - Transfer the loaf to a rack and cool for 10 minutes before slicing.
The crumb finishes setting as it cools, so waiting helps keep the center chewy instead of gummy.
How to Bake Crusty Bread Without a Dutch Oven
You can still get a very good crust without a Dutch oven by using a heavy baking sheet or pizza stone and adding steam to the oven. The key is the same: strong heat underneath the loaf and moist heat at the start of baking.
Baking Method Comparison
| Feature | Dutch Oven | Baking Sheet With Steam |
|---|---|---|
| Equipment needed | Heavy lidded pot | Heavy baking sheet or pizza stone plus a metal pan for boiling water |
| Crust result | Thicker and more crackly | Crisp and golden, usually a bit lighter |
| Crumb result | Excellent oven spring and chewy interior | Good rise with a slightly more open, rustic shape |
| Ease of use | Very reliable once preheated | Easy if you’re comfortable working carefully with steam |
To use this method, place a heavy baking sheet or pizza stone in the oven while it preheats to 230°C/450°F (220° fan). Put a metal pan on a lower rack. Shape the dough on parchment the same way, then slide it onto the hot baking surface.
Right after the loaf goes in, pour boiling water into the lower pan and close the oven door quickly to trap the steam. Bake until the loaf is deeply golden and crisp, keeping a close eye on color in the final stretch since this method can brown a little differently than a covered pot.
Use real caution here. Boiling water and oven steam can burn fast, so keep your hands and face back when pouring, and do not use a glass pan for the water.
Tips for Bakery-Quality Bread Every Time
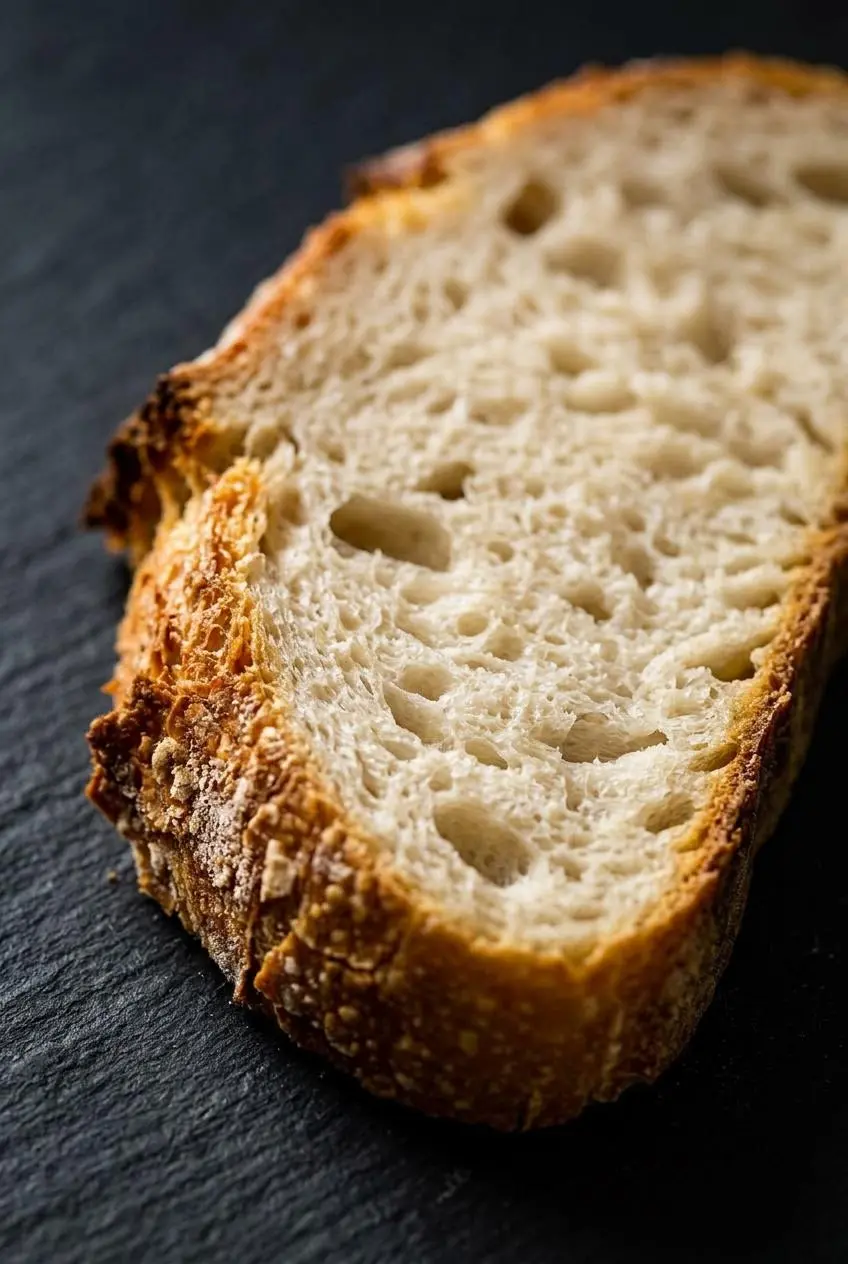
These are the small details that make a good loaf better and help prevent the usual beginner frustrations.
Use a Kitchen Scale for Best Results
Flour is easy to overmeasure with cups, especially if it gets scooped straight from the bag. A kitchen scale keeps the dough at the right hydration, which matters a lot in no-knead bread because the wet texture is what helps create that airy, chewy crumb.
This recipe is forgiving, so don’t panic if you’re using cups. Still, a scale removes the guesswork and makes repeat loaves much more consistent.
The Magic of a Long, Cold Rise
A cold rest in the fridge deepens flavor without adding work. As the dough sits, it develops a more complex taste and a breadier aroma that edges closer to sourdough style, even though this is still a yeast bread.
The dough also becomes a bit easier to handle after chilling. If you like a loaf with more character and a fuller flavor, this is the move.
What to Do if Your Kitchen Is Cold
Cool rooms slow yeast down, sometimes by quite a bit. If the dough seems sleepy after the first hour, move it somewhere gently warm, like an oven with only the light on or a draft-free corner of the kitchen.
A slower rise is not a failure. In fact, bread often tastes better when it takes its time, so aim for visible signs of readiness rather than watching the clock too hard.
Using a Whole Wheat Blend
You can replace about 50g of the bread flour with whole wheat or rye flour for a nuttier, earthier loaf. Keep it to a modest amount so the bread still rises well and keeps that chewy, open crumb instead of turning heavy.
Troubleshooting Common Crusty Bread Problems
If something went sideways, the fix is usually straightforward. Bread can be dramatic, but it’s rarely mysterious.
| Problem | Possible Causes | How to Fix It |
|---|---|---|
| Dough didn’t rise | Yeast was old or the room was too cold | Check that your yeast is active and move the bowl to a warmer spot |
| Bottom of the bread is burnt | The pot sat too close to the lower heat source | Move the oven rack up one level or place a baking sheet under the pot |
| Crust is too soft, not crispy | Not enough steam or not enough uncovered baking time | Fully preheat the Dutch oven or use the steam-pan method correctly, then let the loaf brown deeply at the end |
| The inside is dense and gummy | The loaf was underbaked or sliced too soon | Bake until the crust is deep golden and cool the bread fully before cutting |
Easy Variations to Try
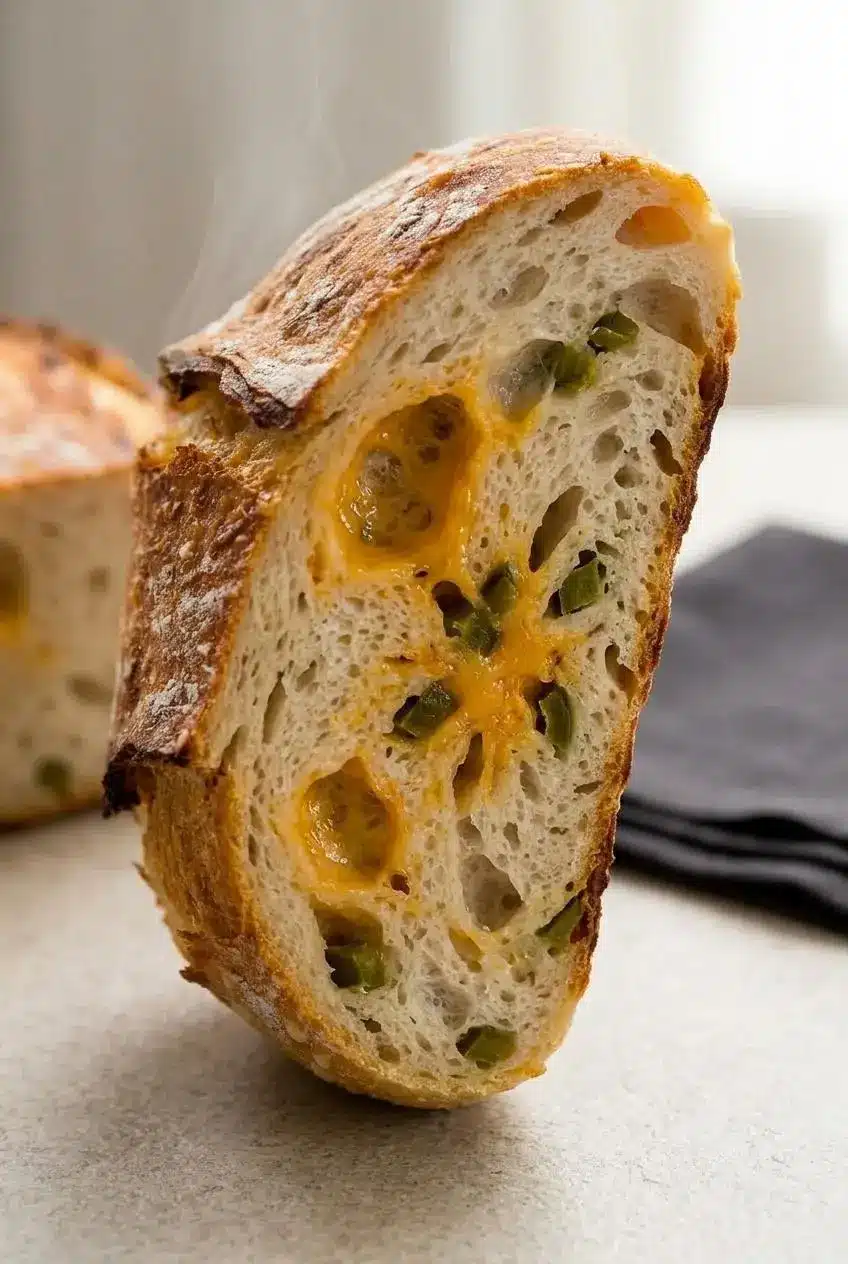
The base dough is flexible, so once you’ve made it once, it’s easy to branch out. Add-ins work best when folded in during shaping so they stay distributed without changing the main dough formula.
| Variation | What to Add | When to Add It |
|---|---|---|
| Rosemary and Roasted Garlic Bread | About 1 tablespoon chopped fresh rosemary and 4 to 5 cloves roasted, mashed garlic | Scatter over the dough during shaping, then fold in gently |
| Jalapeño Cheddar Bread | About 1 cup shredded sharp cheddar and 1 diced jalapeño, seeds removed for less heat | Add during shaping so the cheese and pepper stay tucked through the loaf |
| Cinnamon Raisin Bread | About 1 cup raisins and 2 teaspoons ground cinnamon | Mix the cinnamon with the dry ingredients and fold in the raisins as the dough comes together |
Rosemary and Roasted Garlic Bread
This one gives the loaf a savory, almost dinner-party feel. The rosemary adds a piney herbal note, while roasted garlic melts into the crumb and softens into sweetness.
Jalapeño Cheddar Bread
For a bolder loaf, this variation brings heat, richness, and little pockets of melted cheese. It’s especially good served warm or turned into toast the next day.
Cinnamon Raisin Bread
This version leans cozy and breakfast-friendly. If sweet spiced breads are your thing, you might also like cinnamon swirl bread for a more dessert-like loaf.
How to Serve Your Homemade Bread
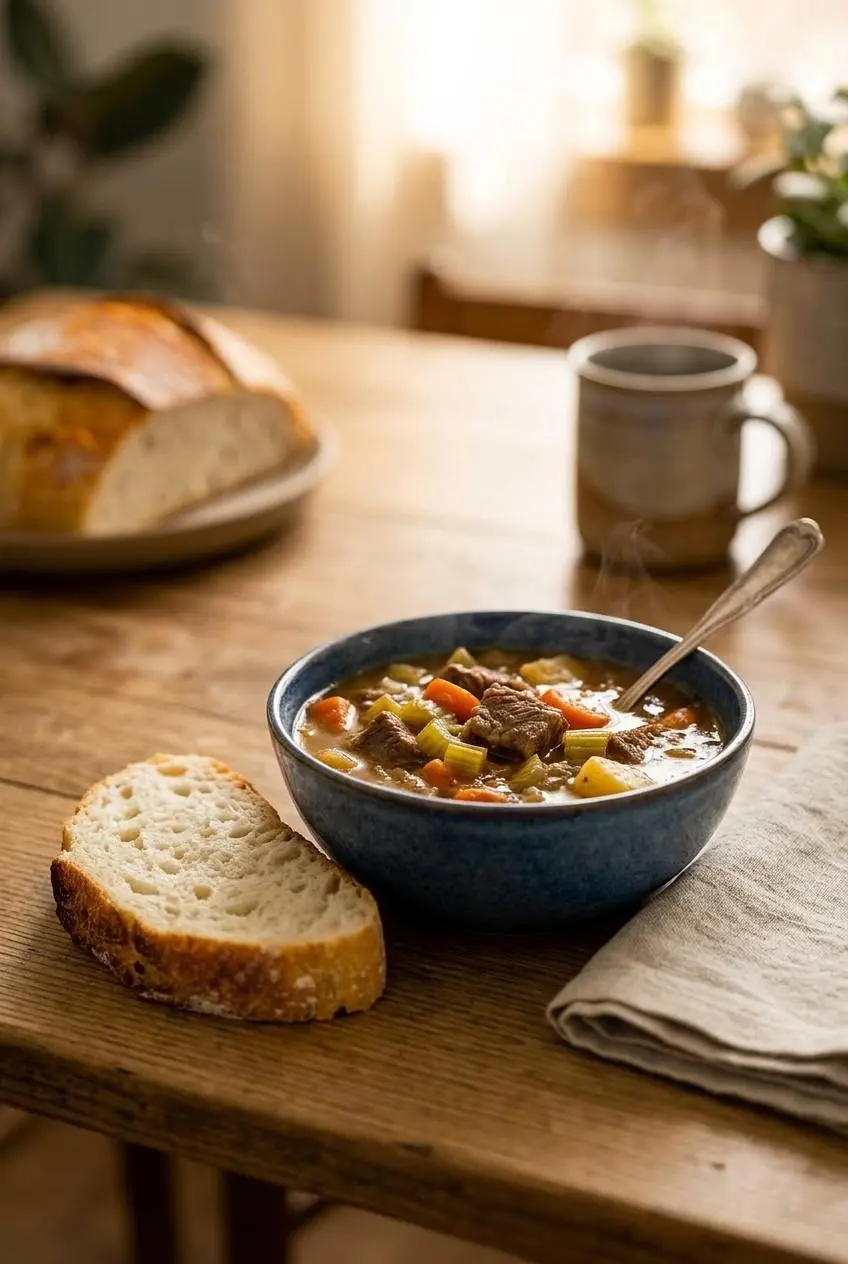
A fresh loaf like this can go in a lot of directions, from dinner side to lunch centerpiece. The crackly crust and chewy middle make it especially good for anything that benefits from contrast.
- Serve warm with butter and a pinch of flaky salt.
- Tear it into chunks for soups, stews, or an olive oil bread dip.
- Slice it thick for grilled cheese or other sturdy sandwiches.
- Toast slices and top with avocado, tomatoes, ricotta, or jam.
- Use the loaf as the base for homemade French bread pizza when you want an easy dinner.
Storing Your Homemade Bread
Homemade bread keeps best at room temperature, not in the refrigerator. The fridge dries it out faster and dulls the crust.
For the best crust, keep the loaf cut-side down on a board or loosely wrapped in paper once it has cooled completely. If you want to hold onto softness a bit longer, move it to a bread box or a bag after the crust has had time to breathe.
To refresh room-temperature bread, warm it briefly in the oven until the outside crisps again. If the loaf starts going stale instead of staying appealing for eating out of hand, turn it into homemade breadcrumbs and call it a win.
Conclusion
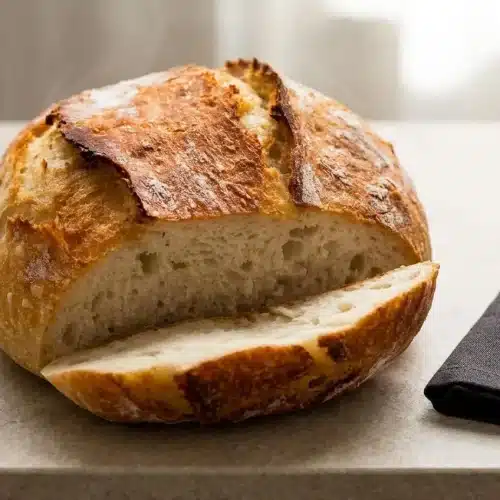
This loaf proves that great bread doesn’t have to be complicated. A wet dough, a hot oven, and a little patience are enough to get a crispy golden crust and soft chewy crumb.
Once you get comfortable with the texture cues, this becomes the kind of bread you can make almost on autopilot. Your kitchen smells amazing, which is a nice bonus.
Frequently Asked Questions
Can I use active dry yeast instead of instant yeast?
Yes. Active dry yeast works here. Dissolve it in the warm water first and let it sit for 5 to 10 minutes until foamy. Then mix it with the flour and salt as usual. The dough may take a little longer to rise.
Why isn’t my bread crusty?
The usual reason is a lack of steam in the oven. Make sure the Dutch oven is thoroughly preheated before the dough goes in. If you are baking without one, use the pan of boiling water on the lower rack. Finish the loaf uncovered long enough for the crust to turn deeply golden and crisp.
How long should I let the dough rise?
For a quick loaf, let it rise on the counter for 2 to 3 hours. Look for dough that has doubled, looks bubbly, and jiggles when the bowl moves. For deeper flavor, chill the dough after rising and bake it later. The longer cold rest gives the bread a more developed, almost sourdough-like taste.
Can I make this recipe gluten-free?
No, not with a straight 1 to 1 flour swap. Gluten is what gives this loaf its structure and chewy texture. A gluten-free flour blend will behave very differently in this wet dough. For the best result, use a recipe that was developed specifically for gluten-free bread.
Crusty Bread Recipe

Equipment
- Dutch oven
- large bowl
- Dough scraper
- Parchment Paper
Ingredients
- 3 cups flour, bread or plain/all purpose (450g)
- 2 tsp instant or rapid rise yeast
- 1 1/2 tsp cooking salt / kosher salt HALVE if using table salt
- 1 1/2 cups very warm tap water (375 ml) NOT boiling or super hot (ie up to 55°C/130°F)
Dough shaping
- 1 1/2 tbsp flour, for dusting
Instructions
- Stir the flour, yeast, and salt together in a large bowl, then pour in the water and mix with the handle of a wooden spoon until no dry flour remains. The dough should look like a shaggy, sticky mess that holds together loosely without flowing like cake batter.
- Cover the bowl with plastic wrap or a plate and leave it on the counter for 2 to 3 hours to rise. It’s ready when it has roughly doubled, the surface looks bubbly, and the dough jiggles with a wobbly, jelly-like movement.
- If you want deeper flavor, place the covered dough in the refrigerator after the rise instead of baking right away. This rest develops a more complex taste and the dough will look a little firmer once chilled.
- If the dough has been chilled, set the bowl on the counter for 45 to 60 minutes while the oven heats. Taking off some of the chill helps the loaf expand better in the oven.
- Set a Dutch oven with its lid in the oven and preheat to 230°C/450°F (220° fan) for 30 minutes. The pot needs to be fully hot so the loaf gets a strong oven spring and a crisp crust.
- Dust the work surface with 1 tbsp flour, scrape out the dough, and sprinkle the top with the remaining 1/2 tbsp flour. The flour makes the sticky surface easier to handle without turning the dough stiff.
- Use a dough scraper, cake server, large knife, or spatula to fold the edges inward about 6 times to make a rough round. You’re shaping just enough to gather the dough and knock out some oversized air pockets, not making it perfectly smooth.
- Place a large sheet of parchment paper beside the dough, turn the dough onto it so the smoother side faces up, and nudge it back into a round shape. A slightly uneven loaf is completely fine and often gives you more craggy, crunchy edges.
- Carefully remove the hot Dutch oven, lift the dough by the parchment, lower it into the pot, and cover with the lid. Work carefully here because the pot is extremely hot and the dough will still feel soft and delicate.
- Bake for 30 minutes covered, then remove the lid and bake 12 minutes more until the loaf is deep golden and crisp. The bread should sound hollow when tapped on the bottom and the crust should feel firm, not pale or soft.
- Transfer the loaf to a rack and cool for 10 minutes before slicing. The crumb finishes setting as it cools, so waiting helps keep the center chewy instead of gummy.