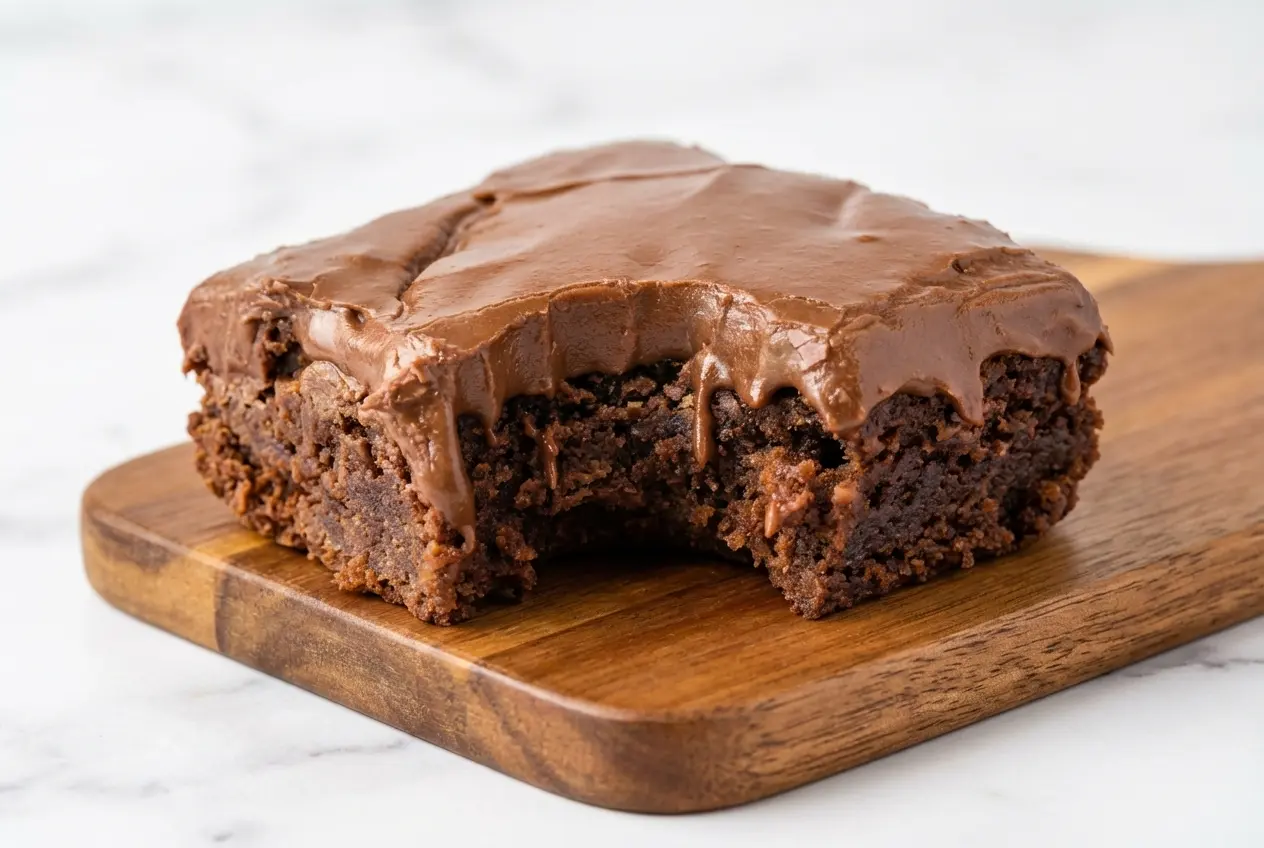
Some desserts take you straight back to fluorescent school cafeterias, wax paper trays, and those big sheet pans filled with glossy chocolate squares. Lunch lady brownies have that kind of magic, and this version shows you exactly how to recreate the classic at home while giving it a richer, deeper flavor with a few smart bakery-style upgrades.
In my kitchen, this is the kind of school cafeteria dessert I bake when I want something easy, deeply chocolatey, and guaranteed to disappear fast. If you love nostalgic recipes but want a more grown-up finish, this guide will walk you through a foolproof way to make them extra fudgy, chewy, and beautifully frosted.
Why You’ll Love This Recipe
Pure nostalgia: These brownies keep everything people love about old-school lunch lady brownies, right down to the soft, dense crumb and that signature layer of sweet cooked icing on top.
The secret twist: In my kitchen, browning the butter first makes all the difference. It brings a nutty, caramel-like depth that turns simple fudgy chocolate brownies into something far more memorable.
Better texture: Swapping part of the granulated sugar for dark brown sugar adds a little molasses richness, and I’ve found it gives the brownies more chew and moisture without changing their classic personality.
Sweetness in balance: A light sprinkle of flaky sea salt over the warm frosting cuts through the powdered sugar beautifully. The result still tastes nostalgic, but the flavor feels fuller and less one-note.
Retro comfort, upgraded: If you love vintage sweets like lemon impossible pies, this recipe hits the same comfort-food note while bringing a little more depth and polish to the pan.
Ingredients and Substitutions
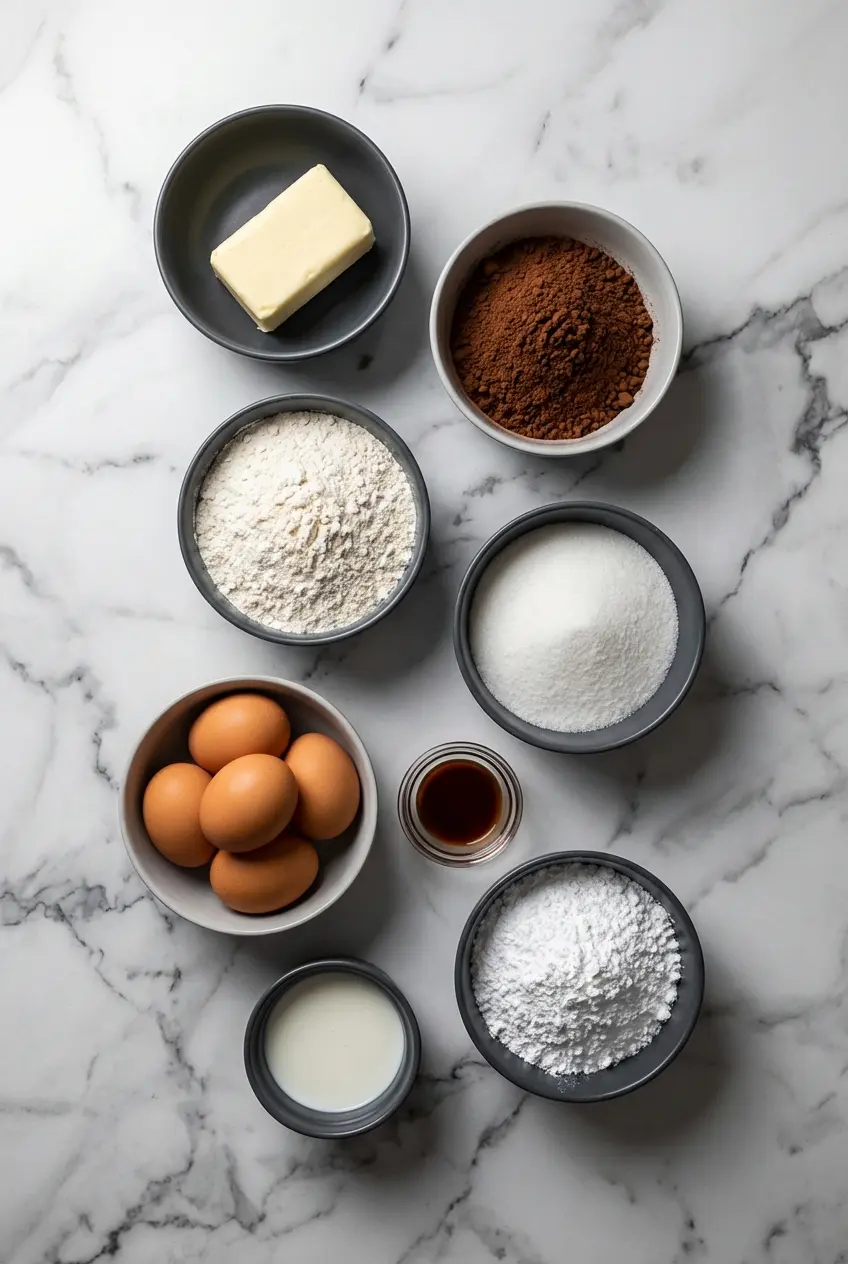
This recipe uses simple pantry staples, but each one pulls real weight. The butter, cocoa, and sugar work together to create that signature dense texture and soft frosting layer.
Ingredients
Brownies:
- 1 cup salted butter melted
- 1/2 cup unsweetened cocoa powder
- 2 cups all-purpose flour
- 2 cups granulated sugar
- 4 large eggs
- 4 teaspoons vanilla extract
Chocolate Frosting:
- 1/4 cup salted butter softened
- 1/4 cup 2% milk
- 1/4 cup unsweetened cocoa powder
- 3 cups powdered sugar
Ingredient Notes & Substitutions
Salted butter: I strongly prefer salted butter here because these brownies are intentionally sweet, and that built-in salt keeps the flavor from falling flat. For the upgraded version, brown the butter for the brownie batter before using it, then measure and proceed while it is still warm.
Granulated sugar: To apply the flavor twist, use 1 cup granulated sugar and 1 cup dark brown sugar in place of the full amount of white sugar. That little bit of molasses adds moisture, chew, and a deeper old-fashioned flavor.
Unsweetened cocoa powder: Natural unsweetened cocoa gives these lunch lady brownies a familiar, nostalgic chocolate profile. If you prefer a darker, smoother finish, Dutch-process can work, but the brownies and frosting may taste slightly mellower and less sharp.
Milk: The 2% milk in the frosting works beautifully, but evaporated milk is a terrific swap when you want a silkier, richer icing. I’ve also used half-and-half for a fuller finish when serving these at holiday parties or bake sales.
Nuts: If you like a little texture in your brownies, fold 1 cup of chopped toasted pecans or walnuts into the batter. It gives the soft, fudgy center a welcome contrast without taking away from the classic feel.
Vanilla extract: Use a good-quality vanilla if you can, because it rounds out the cocoa and brown butter notes in a noticeable way. Even in a simple pan dessert, that warm bakery aroma matters.
How to Make Lunch Lady Brownies
Prep the Pan and Build the Chocolate Base
- Heat your oven to 350° F. Line a 9×13 baking dish with parchment paper, then give the paper a light coat of non-stick spray so the brownies lift out cleanly later.
- Place the butter in a saucepan and cook it just until it turns golden and smells nutty, then pour it into the bowl of a stand mixer. Add the cocoa powder right away and blend with the paddle attachment until the mixture looks smooth, glossy, and deeply chocolatey. This quick bloom in the warm butter brings out a richer flavor.
Mix the Batter
- Add the flour and sugar to the chocolate mixture, using 1 cup granulated sugar and 1 cup dark brown sugar if you’re making the upgraded version. Beat until the dry ingredients are worked in.
- Add the eggs and vanilla extract, then mix only until everything comes together. The batter will be very thick, almost like cookie dough, and that heavy texture is exactly what gives these brownies their dense bite.
Bake and Frost
- Scrape the batter into the prepared pan and spread it into an even layer. Bake for 25 to 30 minutes, until the edges are set and a toothpick inserted in the center comes out with moist crumbs.
- Set the pan aside for 15 minutes. You want the brownies warm, not piping hot, when the frosting goes on so the top layer softens just enough to grab onto that icing.
Finish the Frosting
Beat the softened butter, milk, cocoa powder, and powdered sugar until the frosting is smooth and spreadable. Pour it over the warm brownies, smooth it across the top, and if you’re using the twist, scatter flaky sea salt over the frosting right away. Let the brownies cool completely before slicing and serving.
Secrets for Baking Success
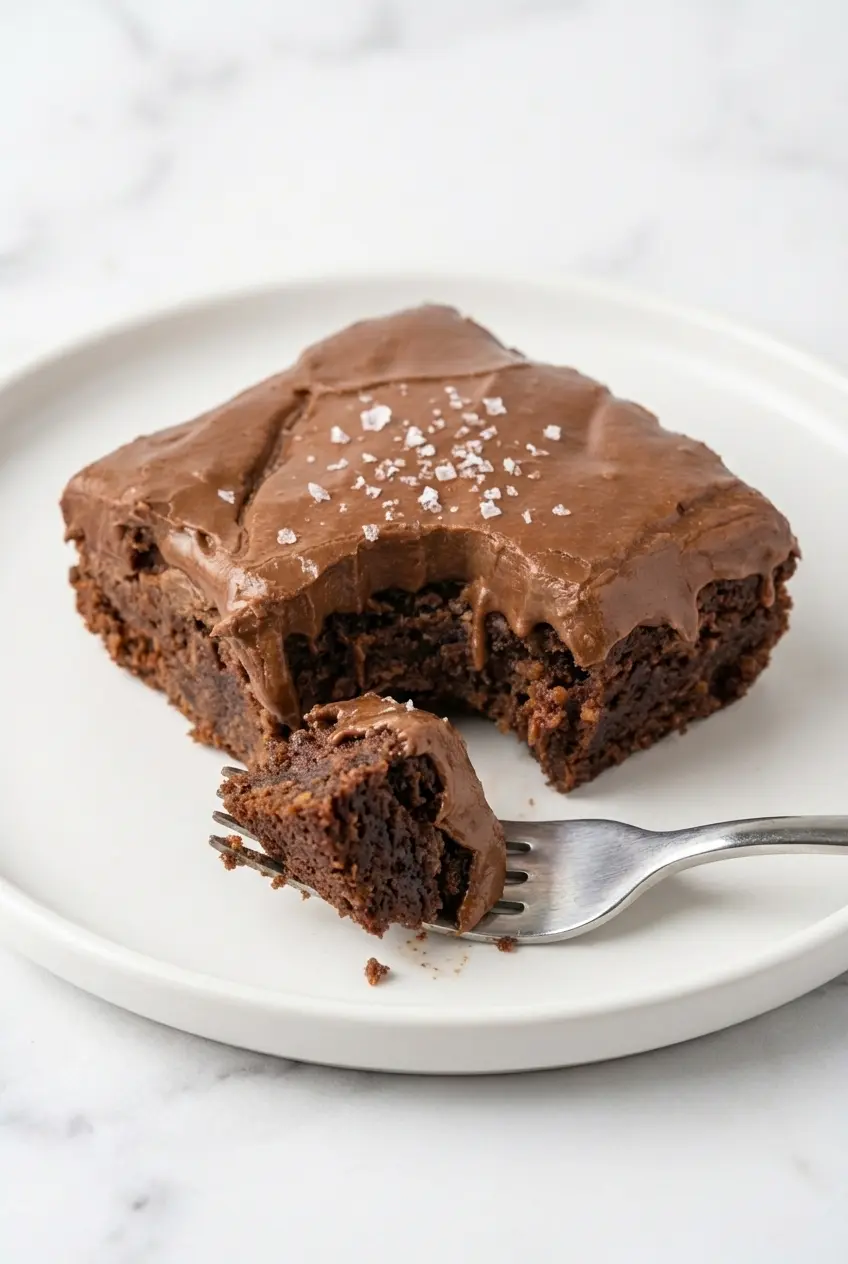
The reason these lunch lady brownies stay so dense is simple, there is no baking powder or baking soda in the batter. Without chemical leaveners creating lift, the crumb stays tight, rich, and firmly in fudgy territory instead of drifting into cake.
The batter is supposed to feel thick and stubborn. When I spread it in a parchment paper-lined pan, I use a flexible rubber spatula and press gently from the center outward, or I lightly dampen my hands and pat it into the corners without tugging the paper loose.
Because this recipe has roots in Utah-style home baking, high-altitude bakers may notice the center setting a bit differently. In my experience, it helps to watch the pan early, keep a close eye on the toothpick test, and avoid adding extra bake time unless the middle still looks visibly wet.
A good 9×13 baking dish also matters more than people think. Metal pans usually bake a little faster and give you firmer edges, while glass can take longer and sometimes encourages overbaking in the center if you wait for a fully dry toothpick.
The Science of Perfectly Cooked Icing
The magic of cooked icing, or this quick lunch lady brownie style frosting, is all about timing. When you spread it over brownies that have rested for 10 to 15 minutes, the warmth slightly melts the bottom of the icing so it bonds to the surface and sets into that thin, crackly fudge layer everyone remembers.
If your frosting ever feels grainy, the usual culprit is powdered sugar that went in with lumps. I always sift the powdered sugar first, especially for sheet pan desserts, because those tiny clumps do not fully disappear once the icing is mixed.
Cocoa choice changes the finish too. Natural unsweetened cocoa powder gives a brighter, more classic chocolate taste, while Dutch-process cocoa tends to be darker and smoother, and depending on the fat content, the frosting can set a touch softer or glossier.
The butter in the frosting also affects texture. Softened butter beats more evenly with the milk and cocoa, giving you a smoother spread that settles into the top of the brownies instead of sitting in a thick layer like cake frosting.
Pro Tips & Troubleshooting
Pro Tips
- Use the toothpick test carefully. Pull the brownies when the toothpick shows moist crumbs, not when it comes out completely dry, because they continue to settle as they cool.
- Whisking or blending the cocoa into the warm browned butter is one of the best flavor moves in this recipe. It blooms the chocolate and gives the batter a deeper, fuller taste.
- If the batter feels almost too thick to spread, resist the urge to add liquid. A rubber spatula, offset spatula, or lightly wet hands will help you press it evenly into the pan.
- For the cleanest slices, let the brownies cool completely before cutting and wipe the knife between passes. This is especially helpful if you’re taking them to a school event, church supper, or potluck table.
Common Mistakes to Avoid
- Using unsalted butter without adding extra salt often leaves the brownies tasting overly sweet and flat. This recipe really benefits from that salted butter balance.
- Overbaking is the fastest way to turn fudgy chocolate brownies dry. Because the batter is thick, many bakers leave the pan in too long waiting for a perfectly clean toothpick.
- Waiting until the brownies are fully cool before frosting them changes the texture of the top. The icing will sit on the surface instead of melding into it.
- Overmixing after the eggs go in can make the finished brownies a little tougher. Once the batter is combined, stop there.
Serving & Storage
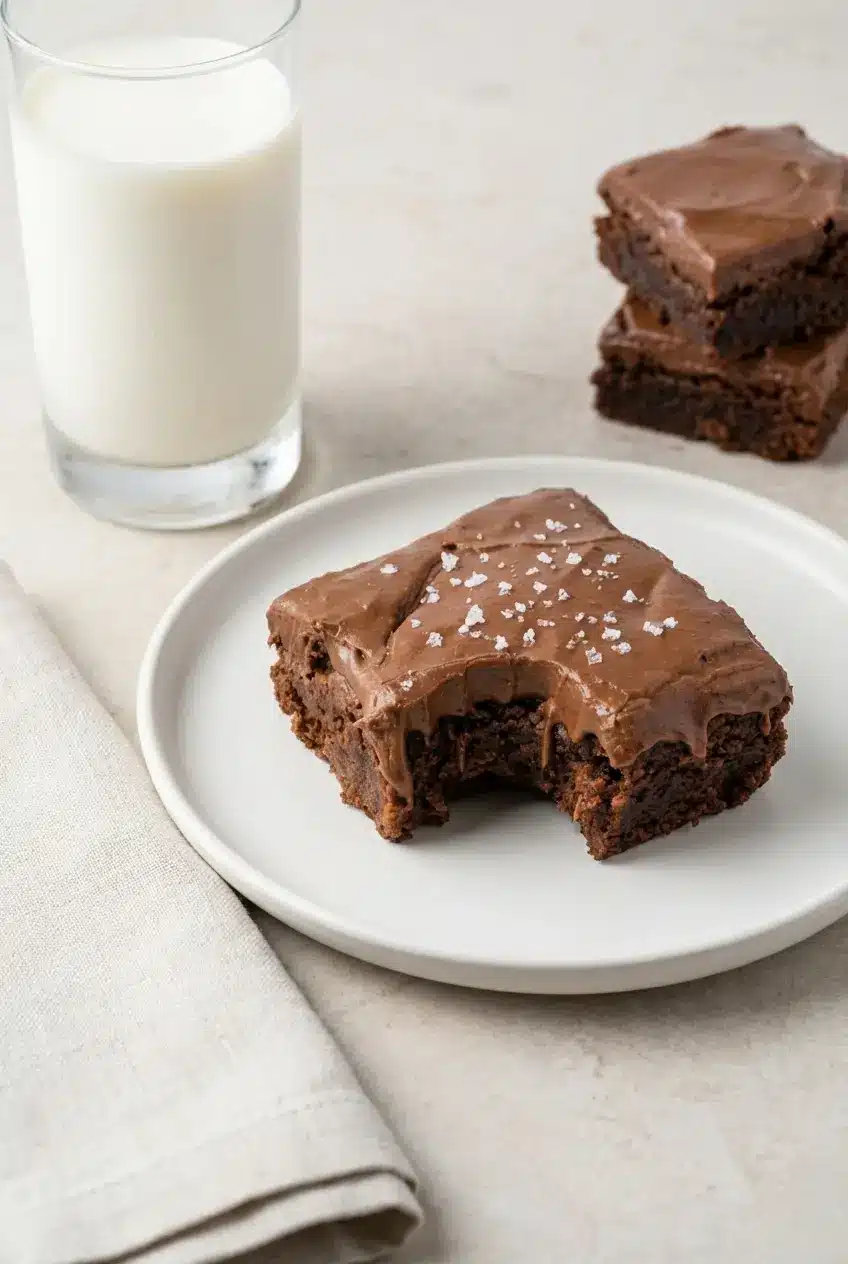
Serving Ideas
These brownies are wonderful served slightly warm with a scoop of vanilla bean ice cream. If you want something a little unexpected, a spoonful of mango ice cream gives the rich chocolate a bright, fruity contrast that works surprisingly well.
Because they are rich, I like to cut them into small squares and serve them with an ice-cold glass of whole milk. Do not skip that final pinch of flaky sea salt on top if you want the sweetness to feel balanced instead of heavy.
Storage & Make-Ahead
Once the frosting is set, keep the brownies covered at room temperature for up to 3 days. If your kitchen runs warm, you can refrigerate them, but let them sit out a bit before serving so the texture softens again.
To freeze frosted lunch lady brownies, chill the pan first so the icing firms up, then slice and place the pieces on a tray until solid. After that, wrap them well and stack them in a freezer-safe container with parchment paper between layers to protect the frosting.
For potlucks and school events, I usually bake them a day ahead because the flavor settles beautifully overnight. They also pair nicely on a dessert table with other easy crowd-pleasers like blueberry coffee cake, especially when you want a mix of chocolate and fruit-forward bakes.
For extra-clean squares, chill the brownies briefly before slicing, then use a long sharp knife wiped clean between cuts. That little step makes a big difference when you want neat edges for a bake sale tray.
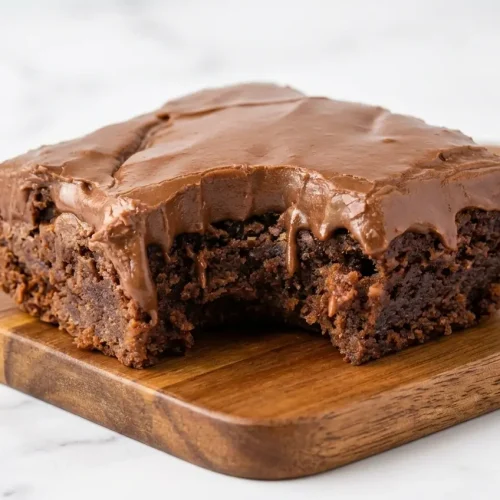
Lunch Lady Brownies

Equipment
- 9×13-inch baking dish
- Parchment Paper
- Saucepan
- Stand mixer
- Rubber spatula
Ingredients
Brownies:
- 1 cup salted butter melted
- 1/2 cup unsweetened cocoa powder
- 2 cups all-purpose flour
- 2 cups granulated sugar
- 4 large eggs
- 4 teaspoons vanilla extract
Chocolate Frosting:
- 1/4 cup salted butter softened
- 1/4 cup 2% milk
- 1/4 cup unsweetened cocoa powder
- 3 cups powdered sugar
Instructions
Prep the Pan and Build the Chocolate Base
- Heat your oven to 350° F. Line a 9×13-inch baking dish with parchment paper and apply a light coat of non-stick spray.
- In a saucepan, cook the butter until it turns golden and smells nutty. Pour the warm butter into a stand mixer bowl and immediately blend in the cocoa powder until the mixture is smooth and glossy.
Mix the Batter
- Add the flour and sugar to the chocolate mixture. Beat until the dry ingredients are fully incorporated.
- Add the eggs and vanilla extract. Mix only until combined. The batter will be very thick, which is essential for the dense texture.
Bake and Frost
- Spread the batter evenly into the prepared pan. Bake for 25 to 30 minutes until the edges are set and a toothpick reveals moist crumbs.
- Remove from the oven and set the pan aside for 15 minutes. The brownies should be warm when frosted to help the icing bond.
Finish the Frosting
- Beat the softened butter, milk, cocoa powder, and powdered sugar until smooth. Pour the frosting over the warm brownies and spread evenly. Allow them to cool completely before slicing into squares.
Notes
Conclusion
There is a reason lunch lady brownies have never really gone out of style. They deliver that beloved cafeteria-style comfort, but with brown butter, dark brown sugar, and flaky sea salt, they taste even more special without losing their old-fashioned charm.
I hope you bake a pan for your next family gathering or bake sale and make it your own. They sit beautifully beside other nostalgic treats like classic oatmeal cookies, and they never last long once people take the first bite.
Frequently Asked Questions
Why is the brownie batter so thick?
Do I really need to frost the brownies while they are still warm?
Can I freeze frosted lunch lady brownies?
Why did my brownies turn out dry instead of fudgy?
Can I use Dutch-process cocoa powder for this recipe?